Basically, I’ve never been a very with-it person as far as style and fashion trends go. I wear what I like (and what I have in my closet…not much shopping happening around here…), fix myself up simply and though I enjoy looking nice, I don’t put much effort into the day-to-day.
I used to cut and color my hair on a regular basis, and in all different ways. But, these last few years I’ve been pretty low maintenance. The last time I cut my hair…well, Dave cut it! And I haven’t colored it since before I was expecting Milo. So, I was surprised a couple weeks ago when I looked at this awesome hair tutorial and thought “I love how her color melts from dark to light. I’d like that look for myself…is that just grown out highlights?” So, I asked in the comment section, and a few days later got the reply that, in fact, the color was intentional, and it had a name: ombre.
Well, I google “ombre hair” and come to find out this is one of the trends in hair right now (and already headed out, according to some…) I talked to Dave about my plan to trim and ombrefy my hair at a post-Eliot refresher to the salon (for around $150), and he said to make an appointment…
…and then I remembered who I am (you know, the impatient, irrational, occasionally reckless one) and did it myself:)
An hour of arm aching trimming and a $8.99 box of Frost & Tip later, I was in business.
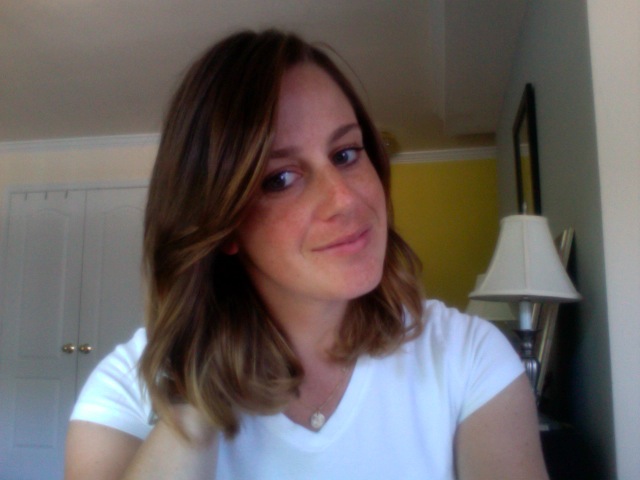
The freshly trimmed, brown-to-the-tips BEFORE:

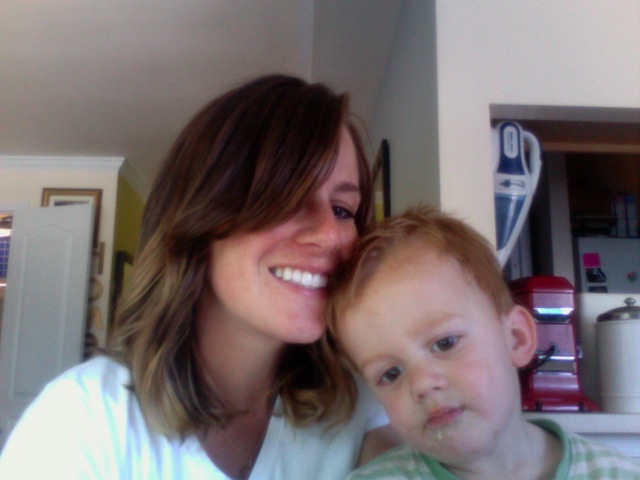
The subtle-melt-from-dark-to-light AFTER:
The I-have-no-idea-how-this-is-going-to-go PROCESS:
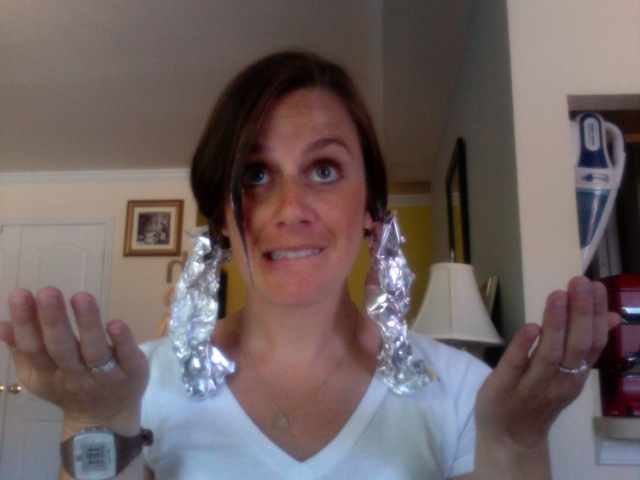
Basically, I created pigtails, slathered on the creme from ears down, and began rinsing in two-inch sections from the top after about 10 minutes. Top two inches: 10 processing minutes, middle two inches: 20 processing minutes, end two-inches: 30 processing minutes. And a little snip on my bangs for about 25 minutes to blend the front top with the back.
Just as I was finishing up, Milo woke up from his nap. He didn’t run screaming back to bed, so I was confident I hadn’t completely botched it!

Now, even pre-Eliot, I’m feeling refreshed and snazzy.
The best part? I really can just be lazy and not worry about my re-growth, because it will be totally unaffected.
Perfect.

