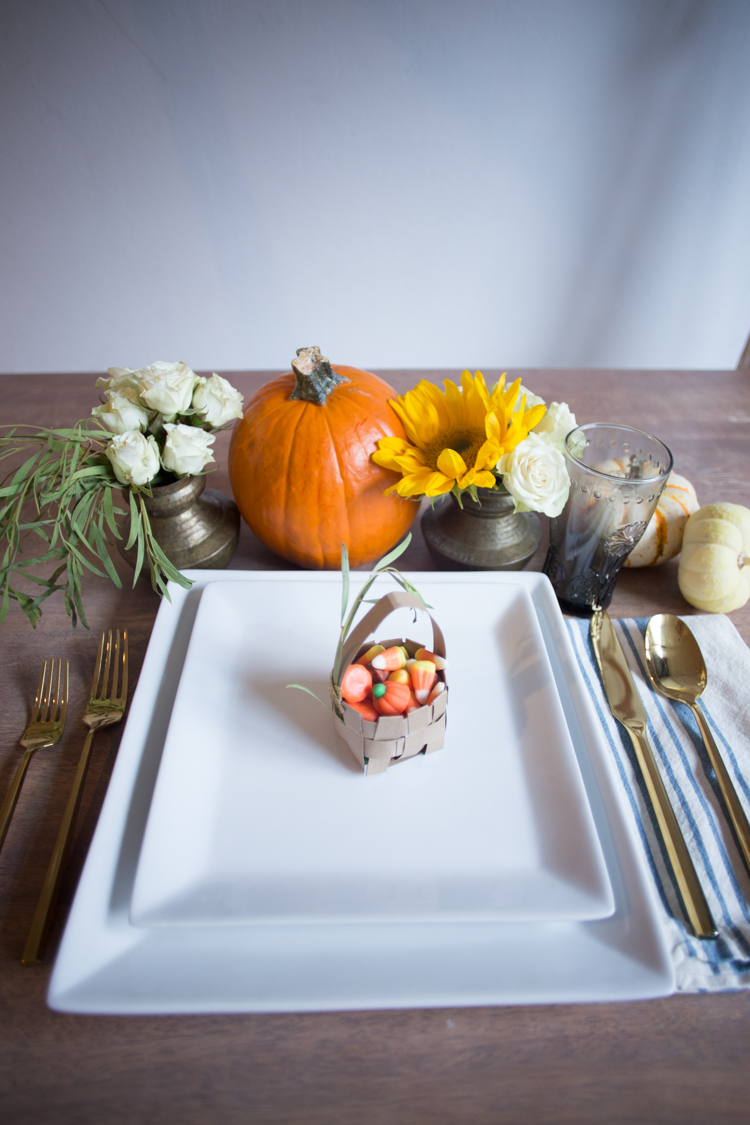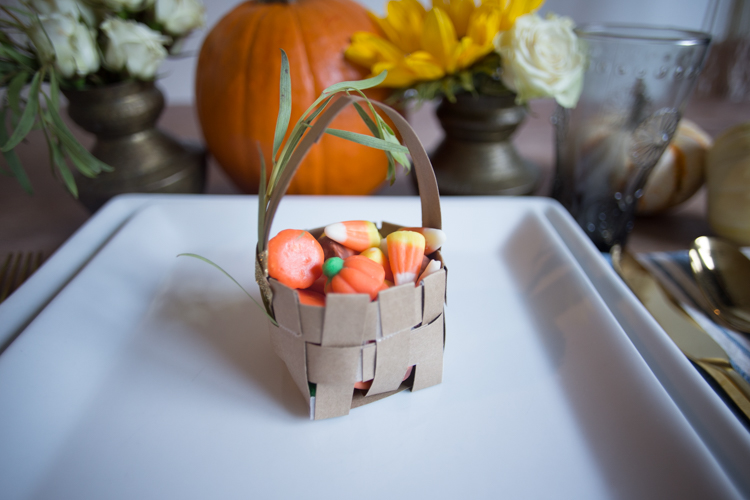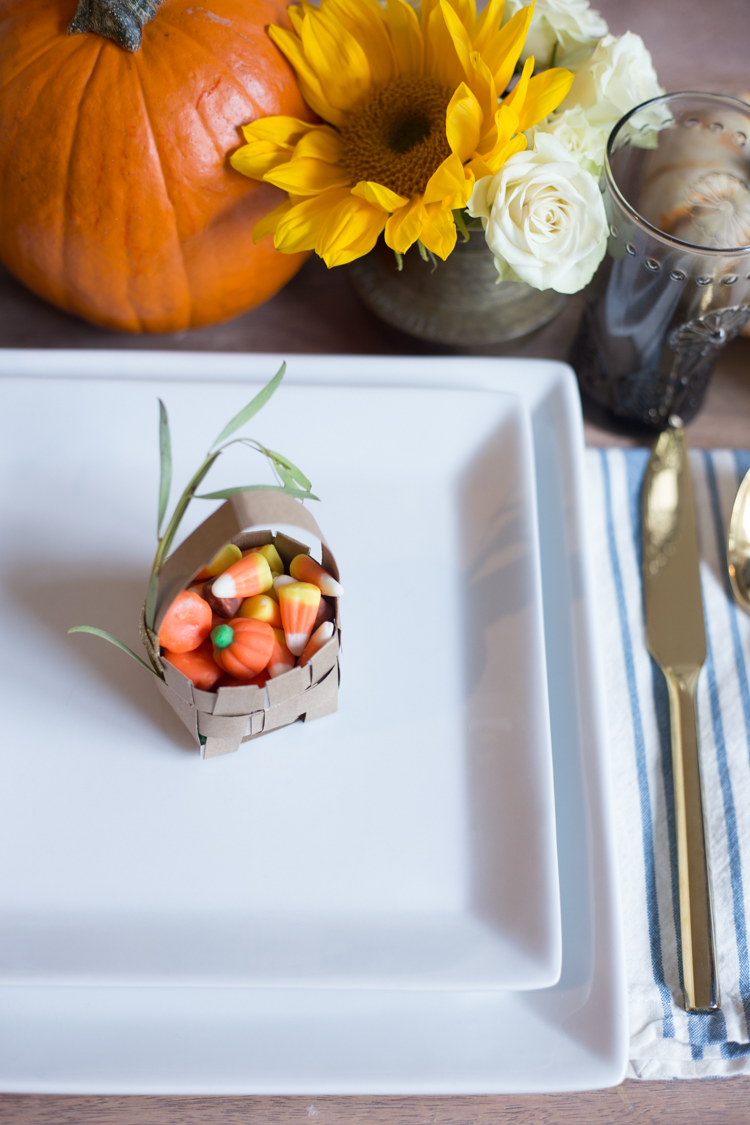
These small paper baskets are simple enough to complete in just a few minutes each, using basic craft materials you probably have around the house. I love the idea of filling these little baskets with festive treats and setting them on each plate around the Thanksgiving table, even adding names to the handles to see as name cards.
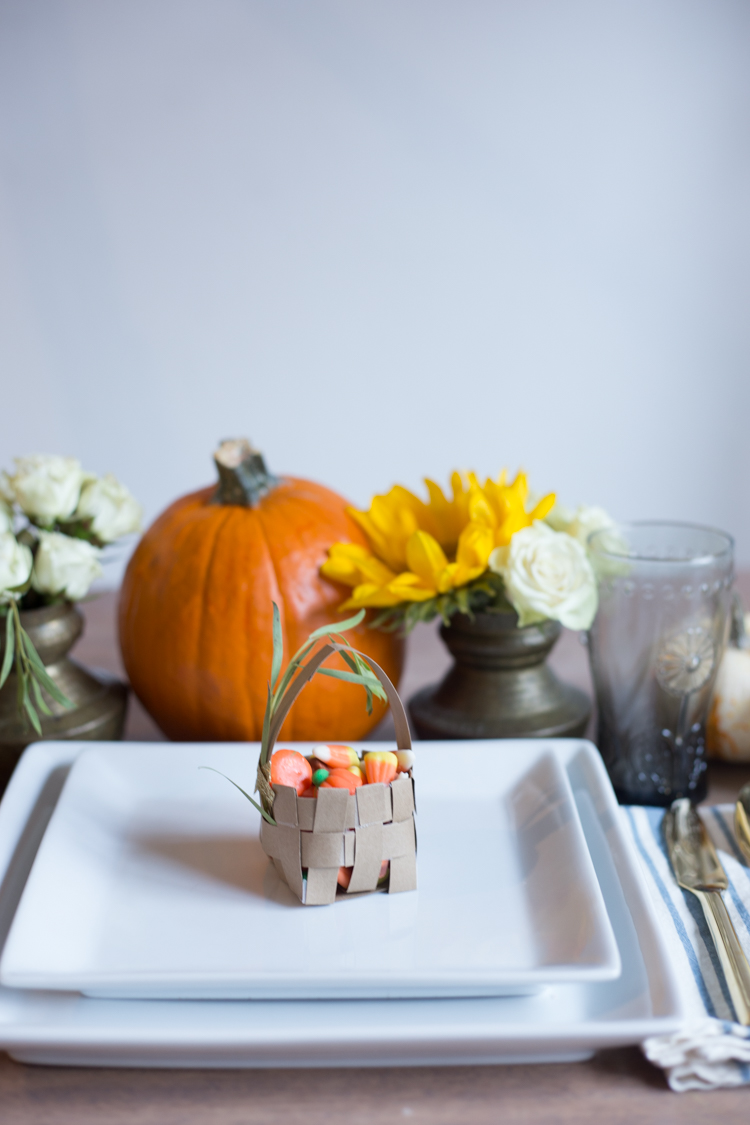
Here are the step by step instructions, in case you don’t catch every step during the video.
To make a kraft paper basket you’ll need:
1 page of 8.5″ x 11″ kraft paper cardstock
a ruler
a pencil
scissors
double-sided tape
fresh greenery
gold/glitter washi tape
treats for filling
- Using the ruler, measure 8 1/2″ strips along the long side of the paper
- Cut down the lines, creating 8 11″x 1/2″ strips
- Choose 2 strips and cut 3″ from the edge, leaving them at 8″ x 1.5″
- Lay out 3 strips and add double sided tape to the center of the middle strip, and two pieces on each of the other strips on either side of the center.
- Weave the other three strips in between the three with tape so that the paper overlaps along the taped areas and a basket weave creates the base of the basket.
- Holding your finger along the edge of the basket base square and fold the long edges straight up vertically to begin creating the basket sides.
- Add double stick tape to one end of each of the shortened strips and stick the ends together on each, forming two loops.
- On each edge of the basket base, grab every-other strip and pull them to the center, then slide the first loop down towards the base.
- Grab the opposite strips (continuing the basket weave up the basket sides) towards the center, and thread the second loop down towards the base.
- Choose two center strips opposite each other and tape the ends together creating the basket handle.
- Fold each of the long strip ends down over the edge of the upper loop, finishing the top end of the basket.
- Trim the long edges back to 1/2″, then add double stick tape to each cut edge to stick down along the edge.
- Add a bit of greenery tucked in between the paper along the handle, then wrapped up and around the handle itself. I used eucalyptus, but almost any soft-stemmed greens will do.
- Cut 1″ of gold washi tape in half, then add it to secure the greenery along the handle.
- Fill the basket with treats and add to your Thanksgiving table.

