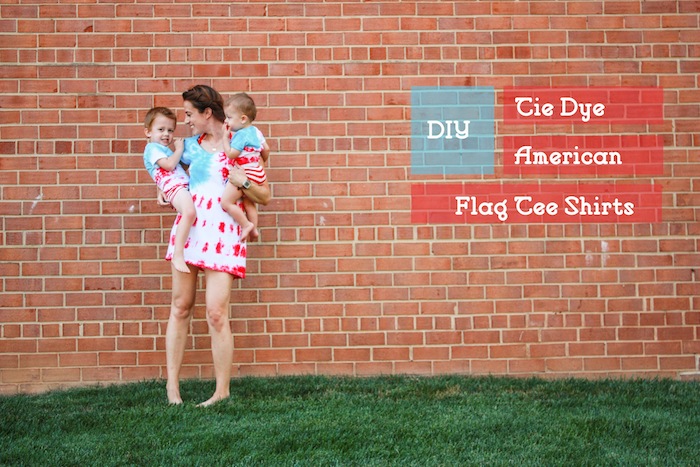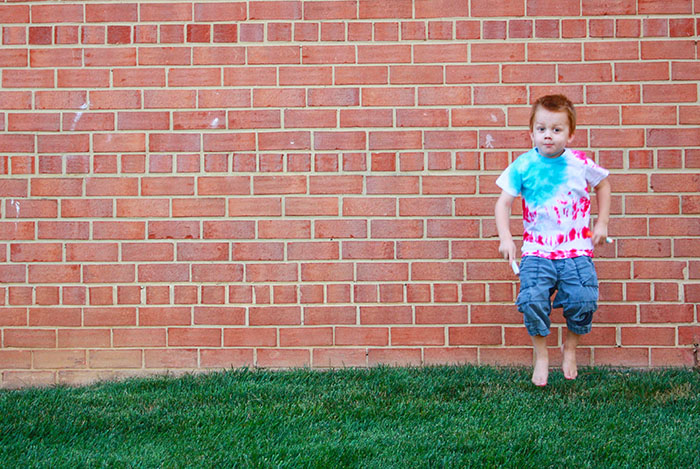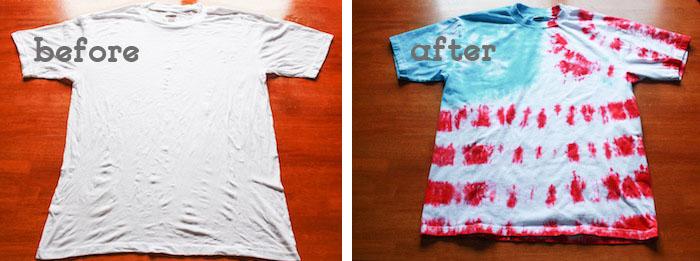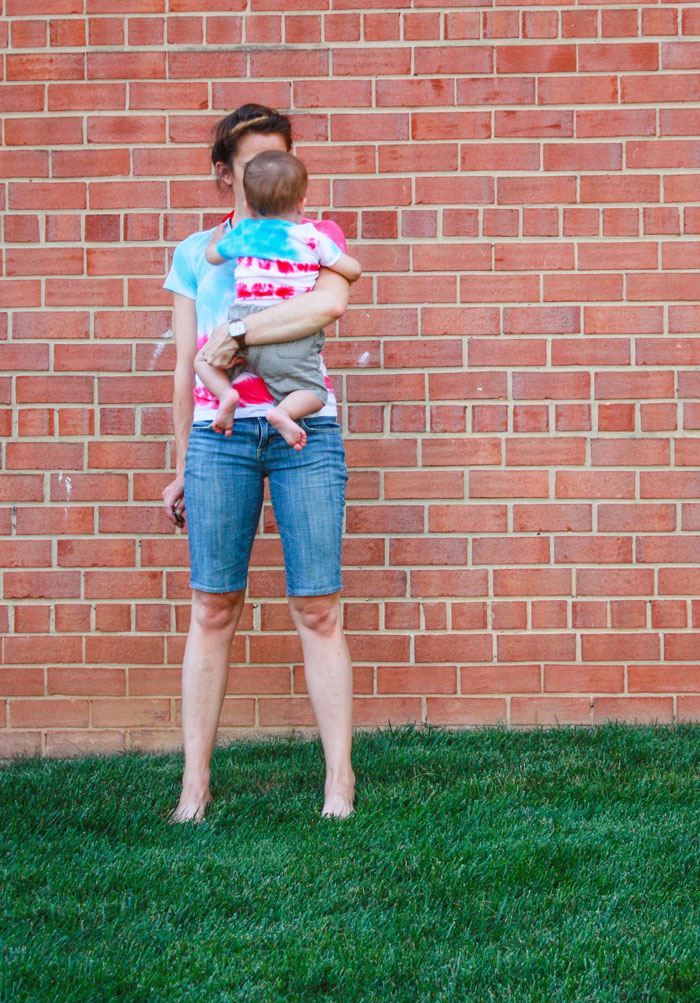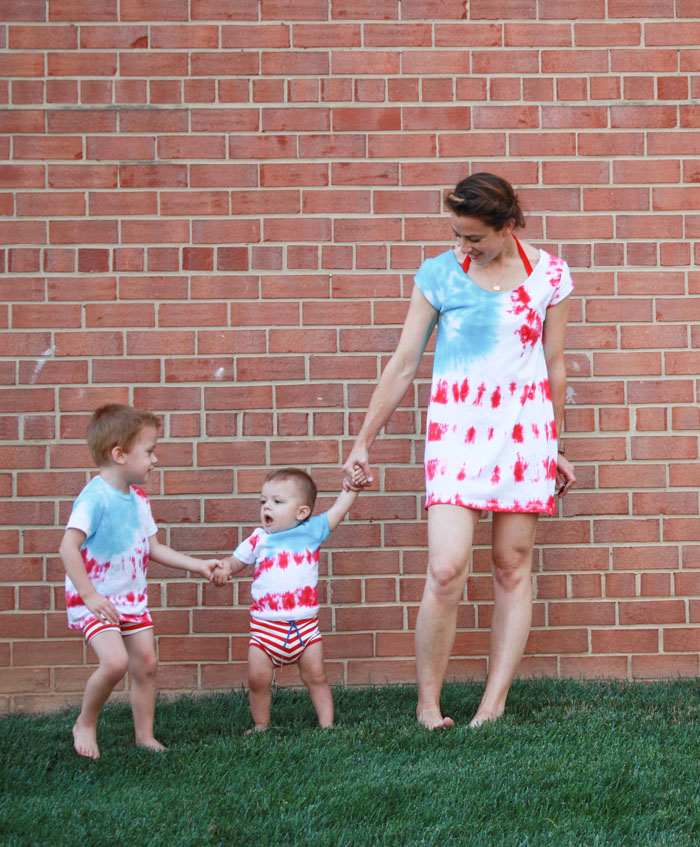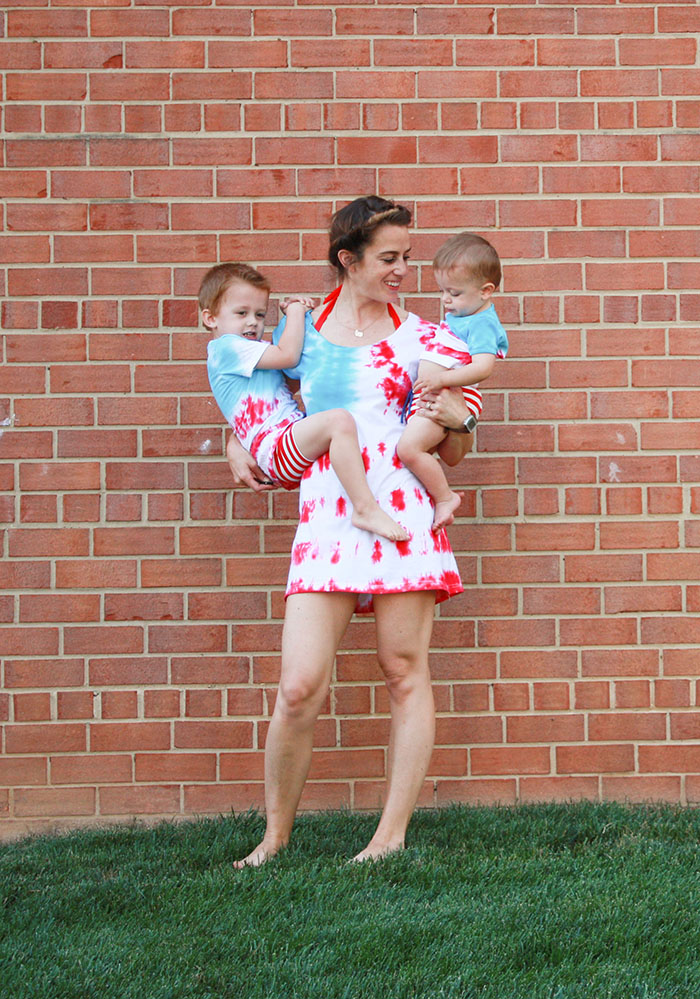
I thought today would be a fun day to share this fun DIY Tie Dye American Flag Tee Shirt tutorial with you. I made a bunch of these tees (and a unitard…) for my race a few months back, and was so happy with how they turned out! With Independence Day two-weeks away you should have time to grab a Jacquard Tie Dye Kit and whip up some tees for your family.
In case you’re new to tie dying, I’ll give you the whole run-down. It’s really simple, and the kit provides everything you’ll need, except for the shirts and a couple garbage bags. The kit dyes up to 5 large tops, so I figure it could easily do a family of 6 or 7 with smaller tees, too! Here we go:
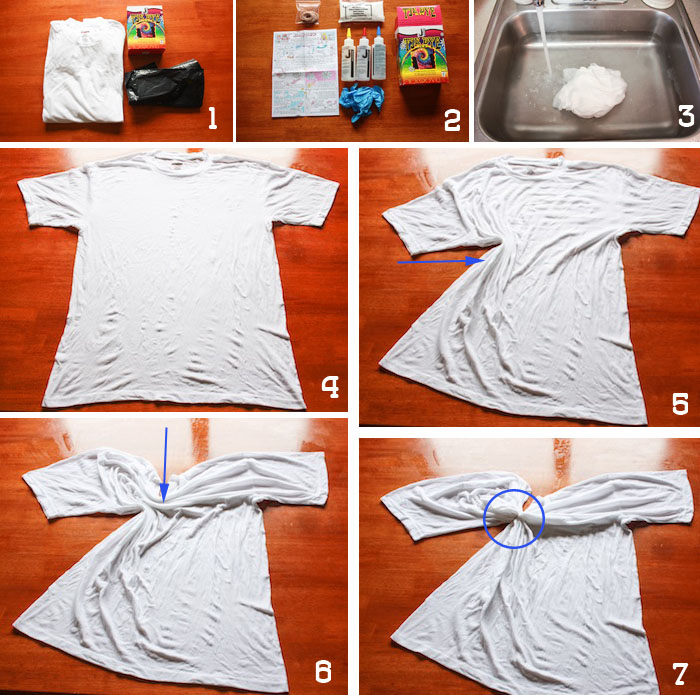
1. Gather your cotton tee shirts, a tie dye kit, and two large garbage bags 2. Open up the kit and find: soda ash, three colors of dye in bottles, rubber bands, instructions, and rubber gloves 3. Fill the sink with water and pre-wet the tee (this to make it easier to fold) 4. Lay the tee flat on a table 5. Pull the shirt directly in to the center from just under the sleeve on the Left 6. Pull the tee directly down to the center to meet the Left side, effectively sectioning off the top, Left corner for the blue of the flag 7. Secure with a rubber band
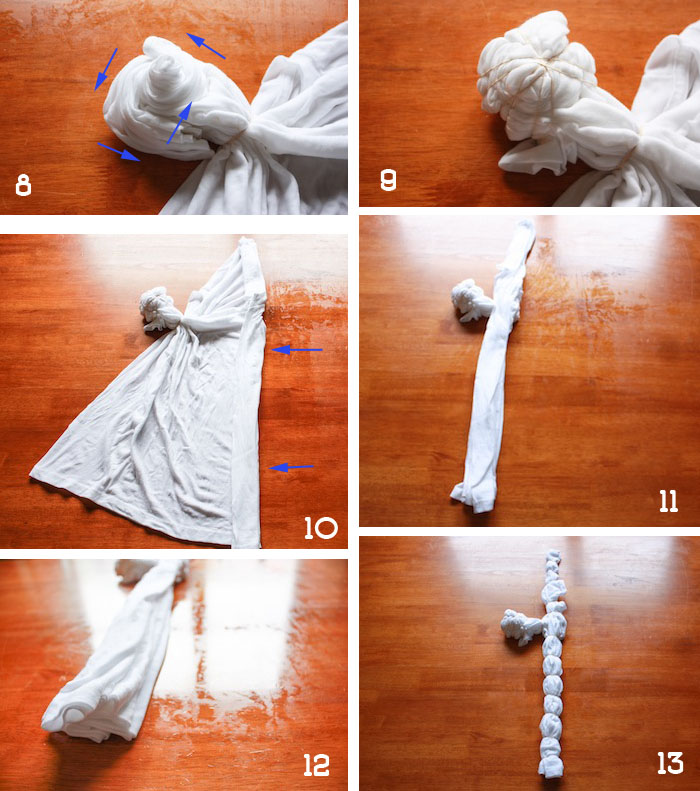
8. Starting from the center of the section, twist the fabric into a spiral 9. Secure with several rubber bands 10. Starting on the Right side of the tee, begin folding the shirt accordion style 11. Continue folding until the whole rest of the tee is folded into about 2″ lengths 12. See the accordion? 13. Secure with rubber bands about every 2-3″ or however wide you want your red and white stripes
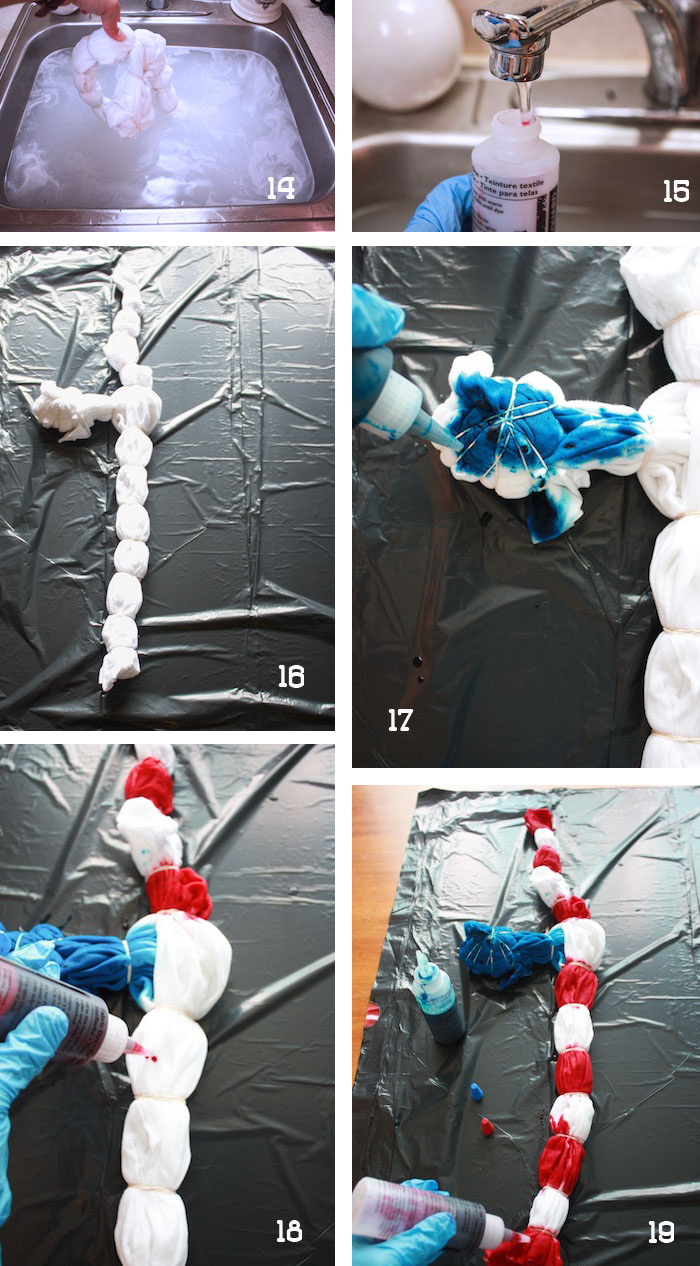
14. Stir the soda ash package into the warm water until it is dissolved, then let the shirts soak in the solution for 20 minutes 15. While the tees are soaking, fill the red and blue dye bottles up to the fill-line (save the Yellow for a different project!) 16. Lay one of the garbage bags out on a flat surface where the shirts can be left undisturbed for 24 hours (a little tip: even if the kitchen table seems like a good place…it’s not!) 17. Begin squirting the blue dye onto the corner spiral. Make sure to stay within the rubber bands sectioning off the corner, and flip over to dye the back side as well 18. Squirt the red dye into every-other section of the folded tee shirt 19. Flip over to get the back sides, and stick the tip of the dye bottle in between the folds for more solid stripes, if you want.
20. Cover the dyed tees with the second garbage bag and tape to secure. Leave undisturbed for 24 hours 21. After the time has passed, rinse the tees under running water until the water runs almost clear 22. Carefully cut off the rubber bands and rinse some more 23. Finally, you can wash the tees in the washing machine with soap (I also throw in a color catcher, to be safe), and dry in the dryer. And you’re done!
If you accidentally start with one of the shirts face-down, you might get a little backwards flag (like baby Eliot…). It will still be super cute though, so don’t fret.
Since I already have a tie dyed American Flag tee shirt (and unitard) for myself, I though I’d make this XL one into a swimsuit cover up for all of our many pool days! The refashion was as easy as they get:
Use a good-fitting tee as a guide, trace the general pattern, cut, flip inside out and stitch back up with right sides together, then flip back right side out and toss on over a bathing suit! The jersey knit won’t fray, so I left the neckline and sleeves raw. Perfectly festive and perfectly simple.
We’re ready for summer now! Bring on the heat! Now, we’re off to the pool. Have a very happy happy welcome to Summer!

