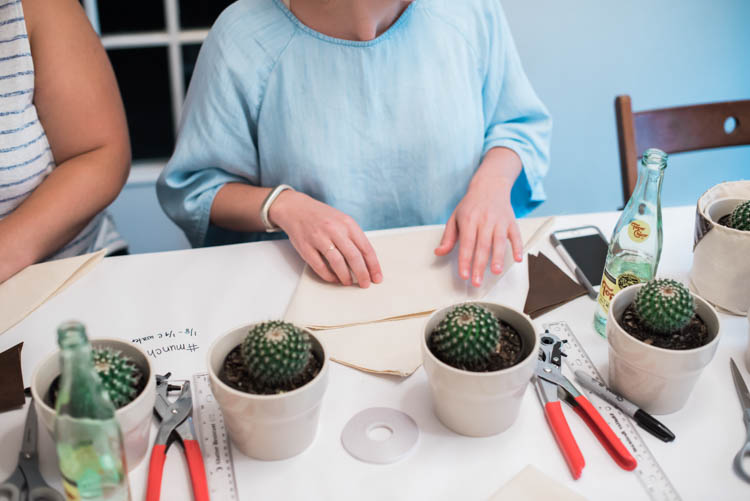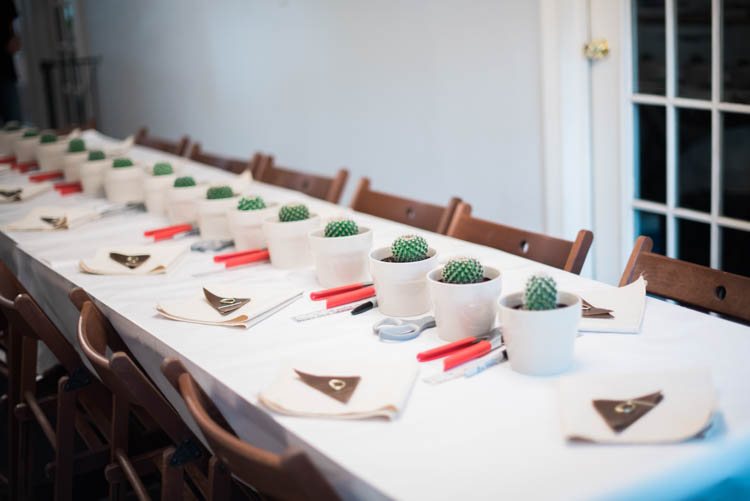
When I came up with the idea, the goal was to support moms in their roles as caretakers and nurturers by eliminating as many obstacles as possible for them to come together and create. The first workshop, back in March, had an amazing energy and this second one exceeded expectations as well.
Because so many of my friends and readers don’t live nearby, I’ve included a full tutorial for the DIY origami wall planter at the end of this post so you can make one of your own!
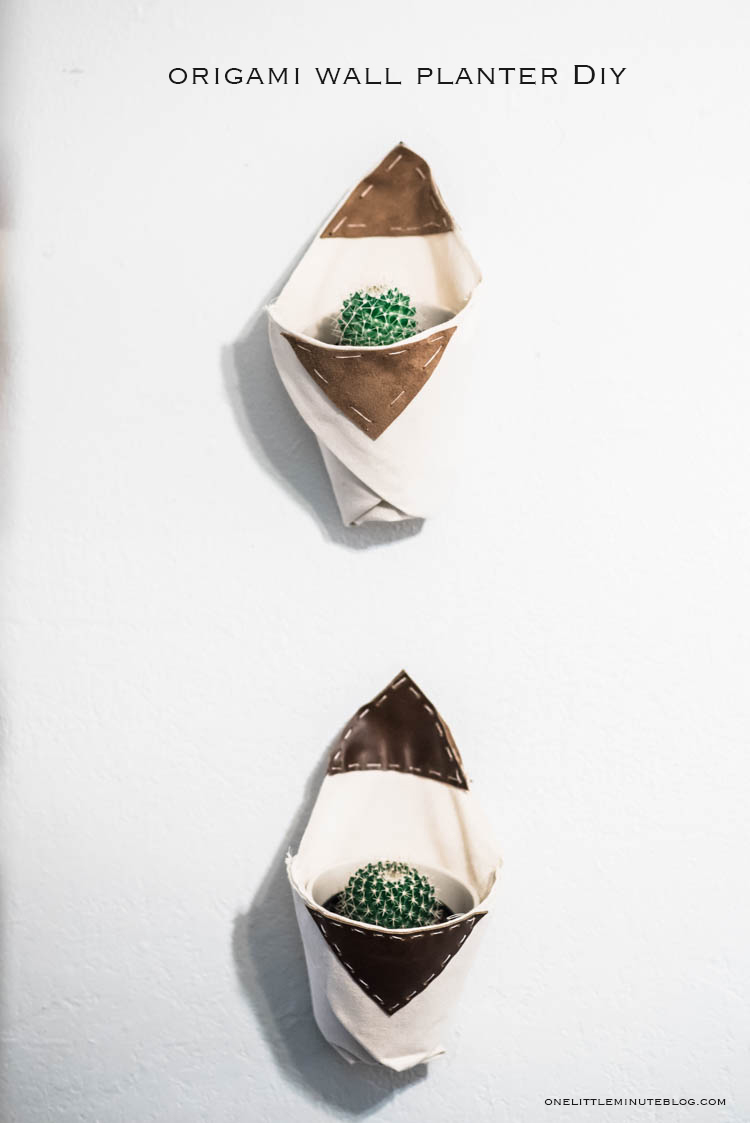
The planter is created from canvas and leather, with a brass D ring for hanging. It fits a ceramic pot perfectly, so the plant can be watered while it’s on the wall without worrying about the water leaking. I’ve loved having mine up, and was so excited to share the steps with a group of maker mamas.
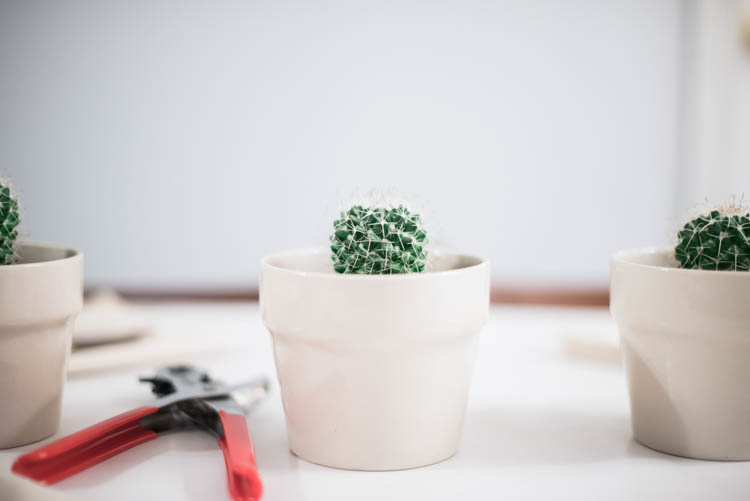



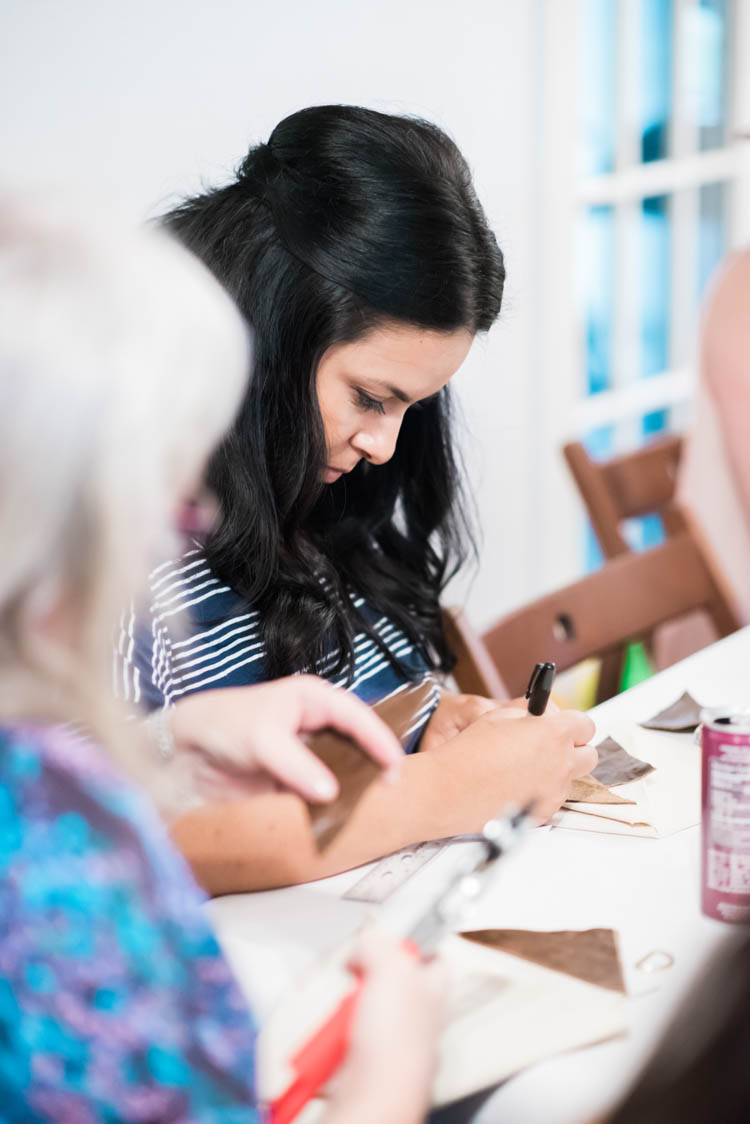

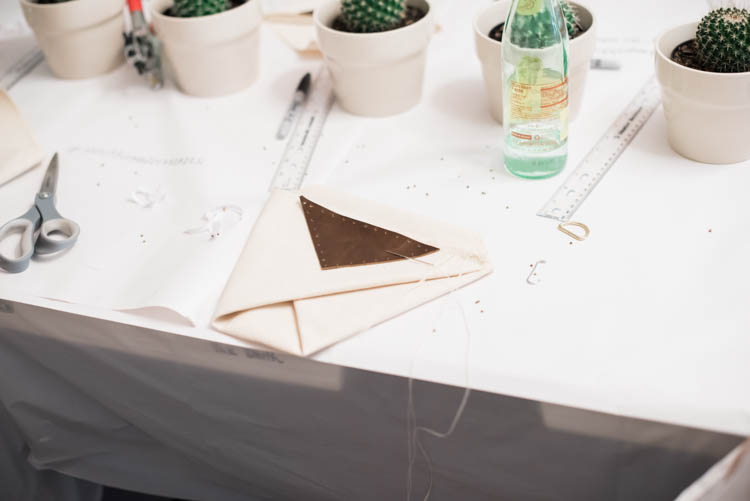
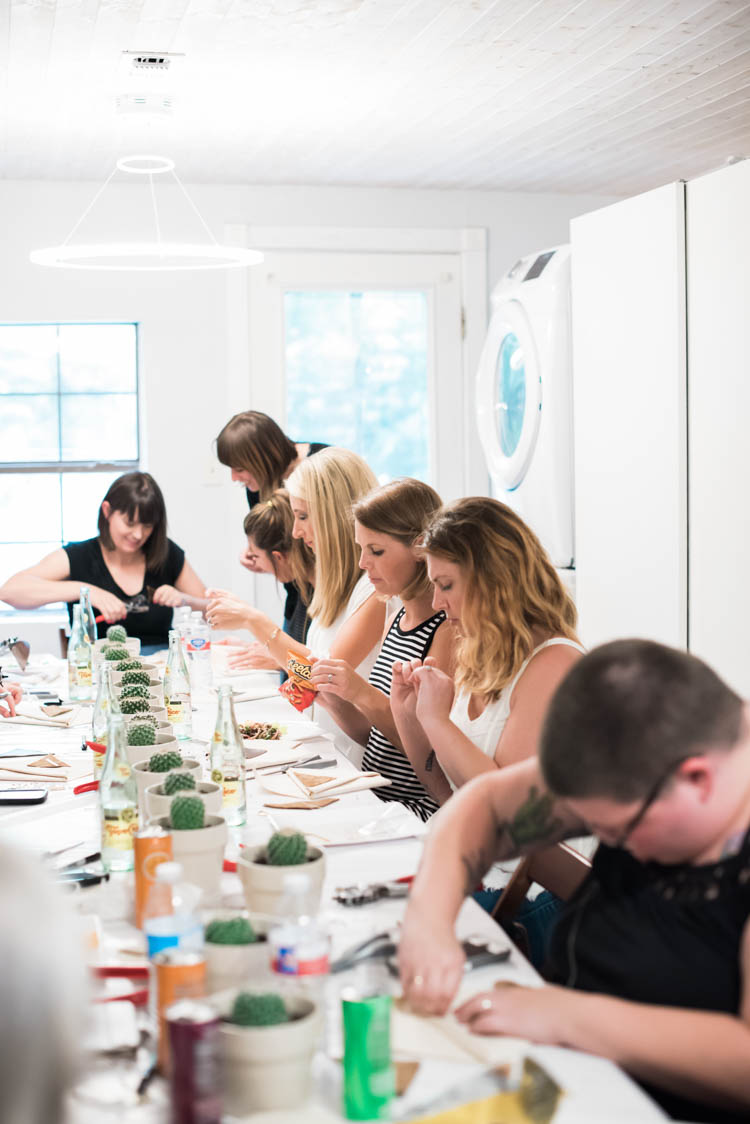



When working with a large group of people for a workshop (this one had 14 attendees) I try to ensure the project is simple enough to complete in the time allowed, but also includes some new tools or techniques so everyone is sure to learn something. I think this wall planter nailed that combination.
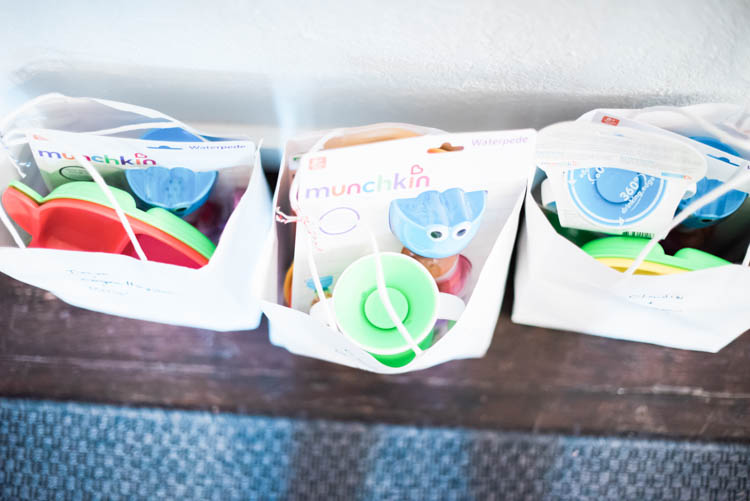







Now that I’ve gushed all about the event that you didn’t attend, I’d love to share a piece of the experience with you! To make the origami wall planter you will need:
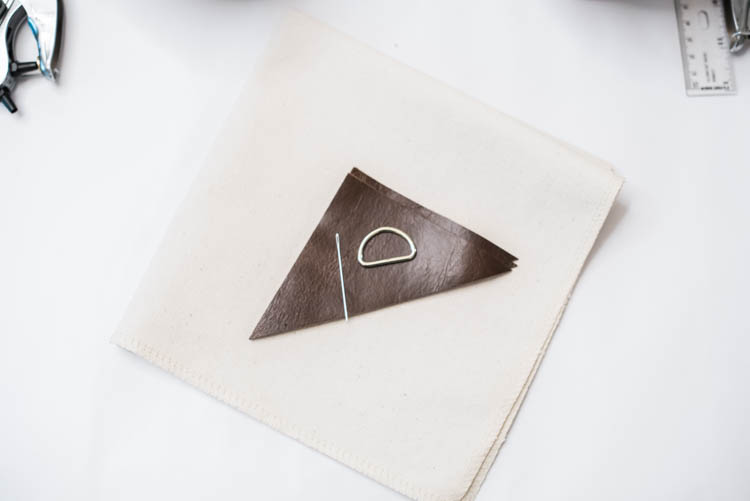
- (1) 16 in x 16 in piece of canvas (I serged the edges, but you could also use fray-check)
- (1) 1 in brass D ring
- (2) 4 in square pieces of leather, cut on the diagonal to make 4 triangles
- leather hole punch
- upholstery thread
- needle
- this ceramic planter pot
- your favorite plant
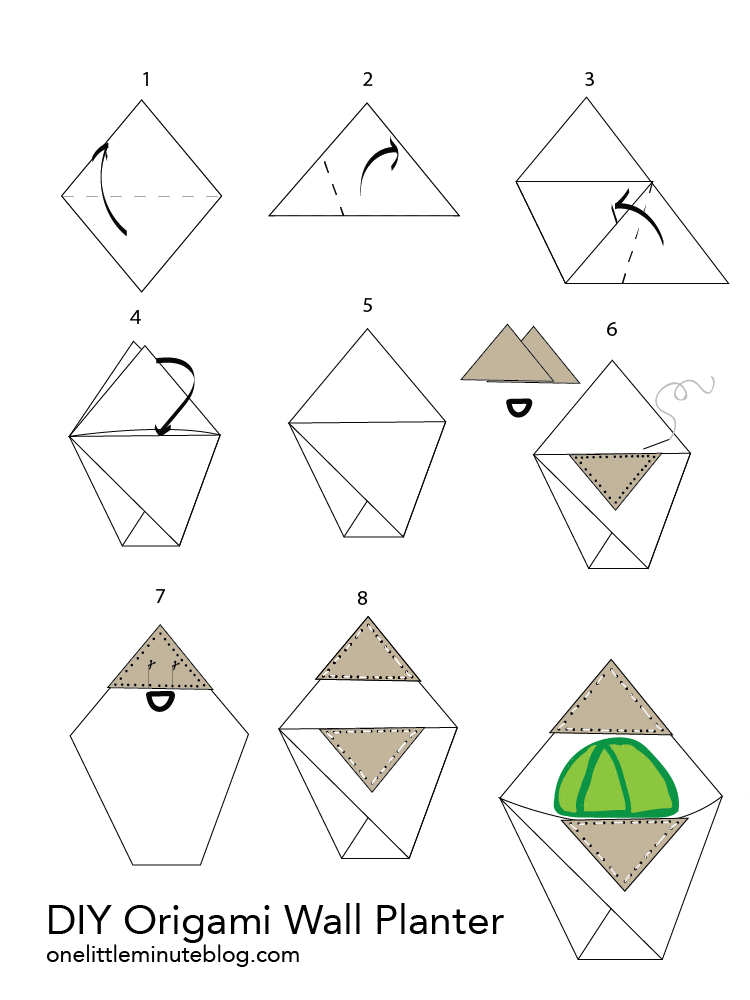
1. Fold the square of canvas in half and turn the fold to face you
2. Fold the left side up on the diagonal to make 3 triangles as pictured
3. Fold the right side up to match the horizontal line of the previous fold
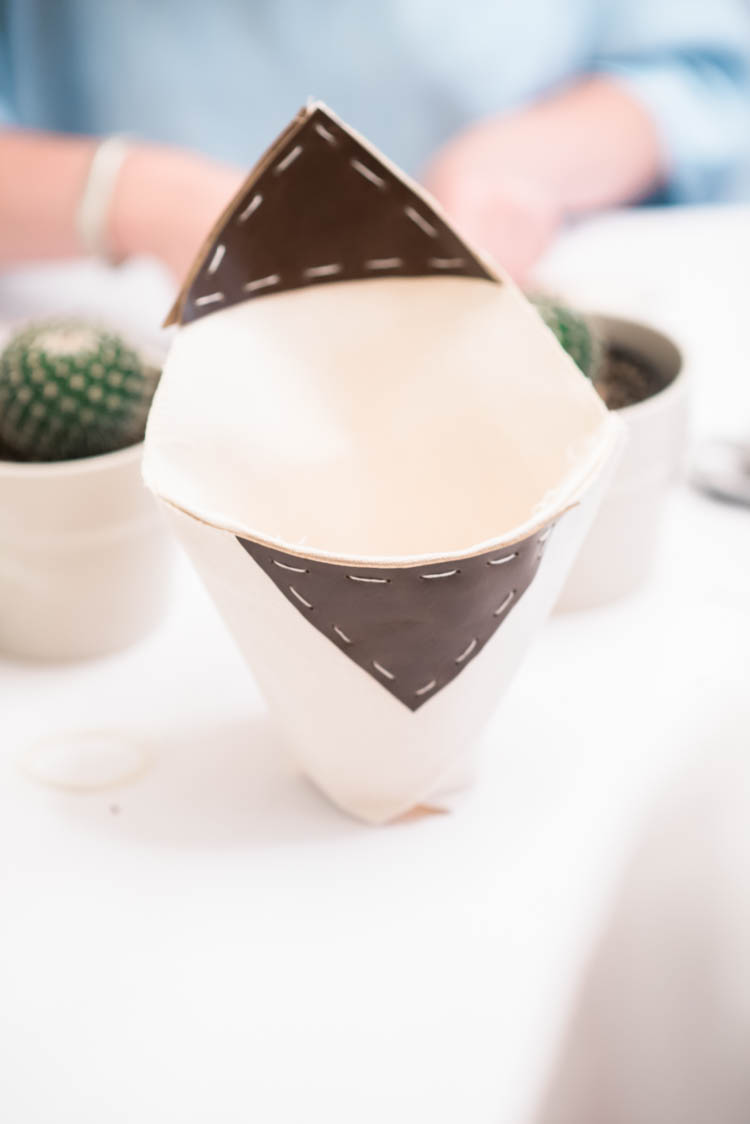
4. Separate the open top and fold the front triangle down and INSIDE the front flap of the outermost fold of fabric as shown. At this point, the origami should hold itself together. We will stitch it to reinforce that.
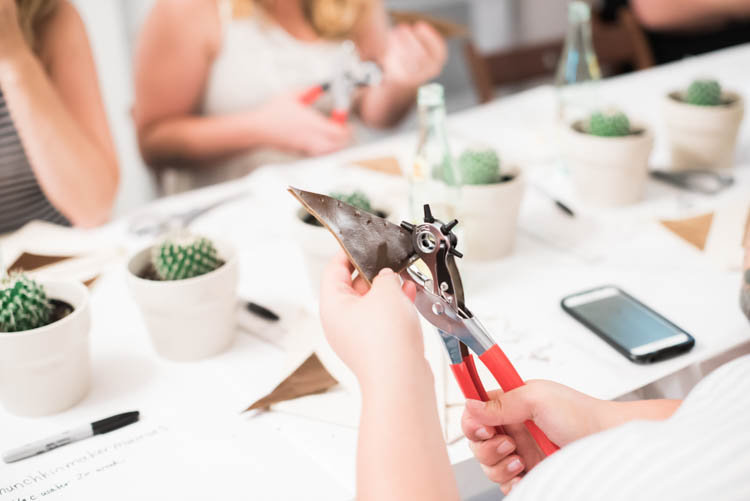
5. Gather the leather pieces and punch holes through 3 of the 4 (the last one is extra) around the edge about every 1/2 inch and 1/4 inch from the edge.
6.Thread the needle and stitch a basic stitch from the edge corner of the folded front across to the other corner. Add the leather detail to the front with a basic stitch.
7. On one of the two remaining leather triangles cut two slits, 1 in long and 1 in apart in the center of the base. Thread the D ring up onto the leather piece, and then sandwich the front leather piece, the top of the canvas triangle, and the back leather piece with the D ring together.
8. Stitch all the way around the pieces, securing them onto the canvas planter, and creating the hanging hardware with the D ring.
Add your pot and plant and you’re finished!
All photos by the talented Melisa Mckinney Photography







 1. Fold the square of canvas in half and turn the fold to face you