I have a growing love for candles, but have had a hard time finding simple, chic, affordable candlesticks that I loved. So, I did as any DIY-er would do, and set out to make some on my own. You’ll be surprised by how quick and easy these DIY wood block candlesticks are to make, and I love the modern, bohemian look they have. I already have a set out on my entry table, and another on the mantle. The’ll be your go-to candlesticks for any occasion!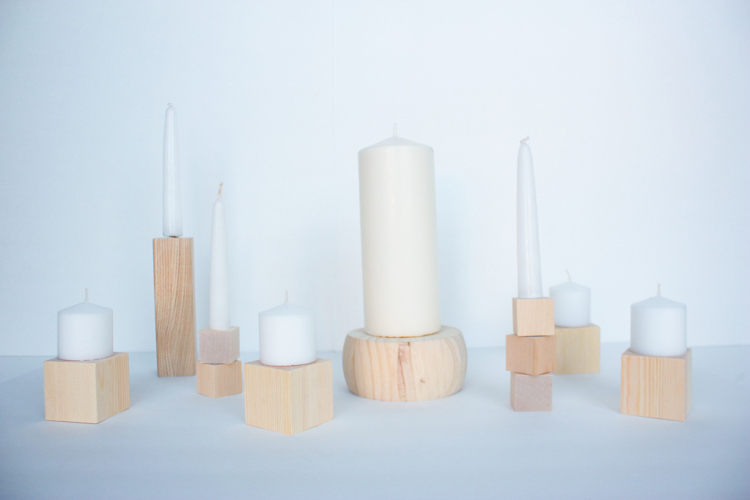
 When I went to buy the materials for what I had in my mind, I was pleased to find several sizes of wooden blocks at the local craft store. The larger ones turned out being perfect for a tea-light size candle. When I stacked the smaller ones, I loved the lines and the height.
The hardware store turned out to be another place to find some great, ready-to-use wooden candlesticks (okay, okay, they’re sold as furniture legs, but make the BEST candlesticks, like this bun leg-turned pillar candle base!!) The full tutorials for each of the three DIY wood block candlesticks I made are below. Enjoy!
You’ll need:
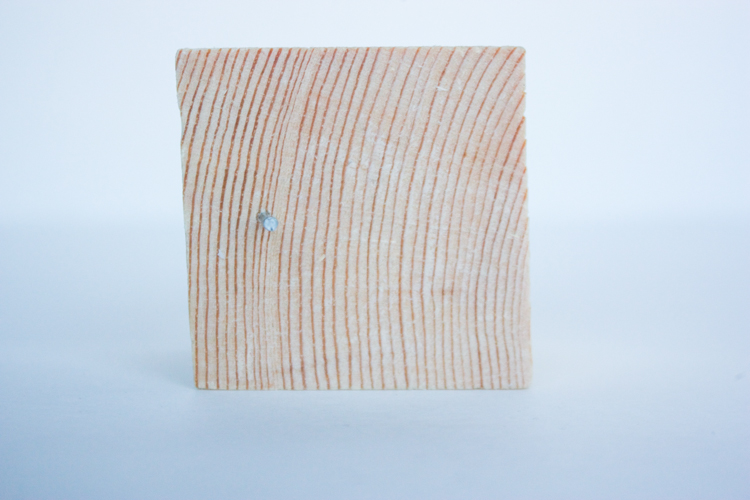
wood blocks (2″ size for the tea light bases, 1″ wide for the tall tapers)
finish nails
hammer
glue gun
xacto knife or awl
For the Wood Furniture Legs Candlesticks:
wood furniture legs (wide bun legs are perfect for pillar candles, the tall squares are perfect for tapers)
Stacked Wood Block Candlesticks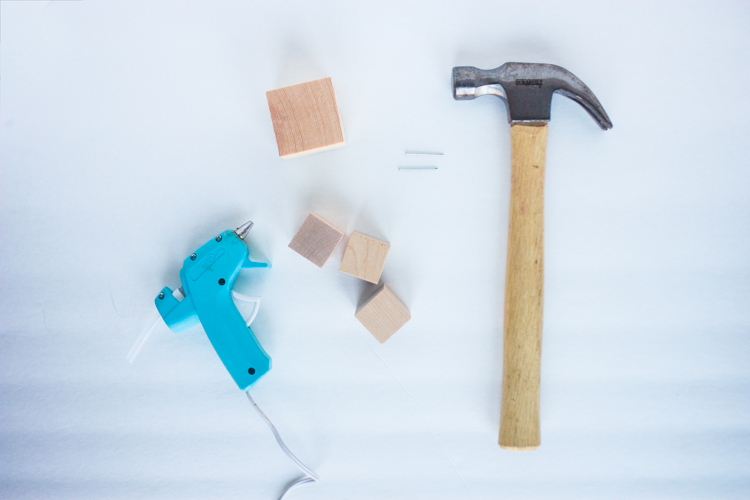 Gather your supplies.
 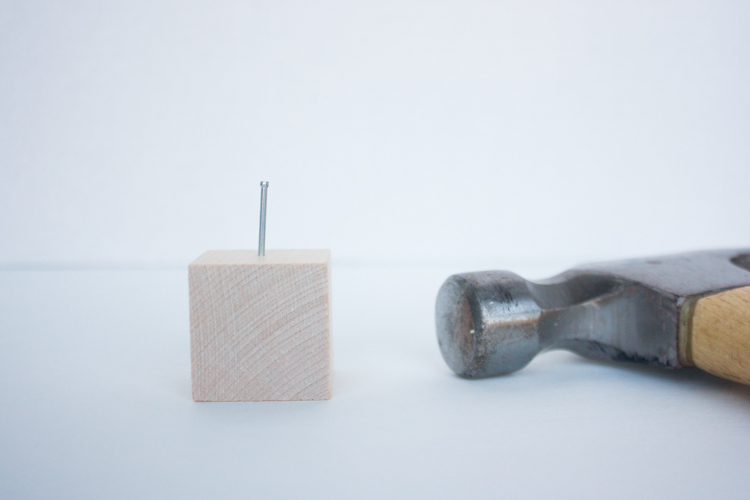 Hammer a finishing nail into the center of the first 1″ wood block.
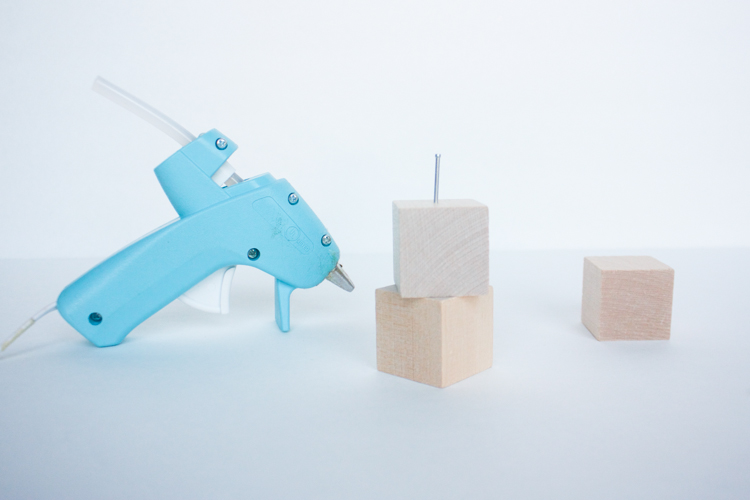 Use a dot of hot glue to secure two blocks together, alternating the corners.
 Glue as many blocks together as the height of candlestick you’d like! I thought three was about right.
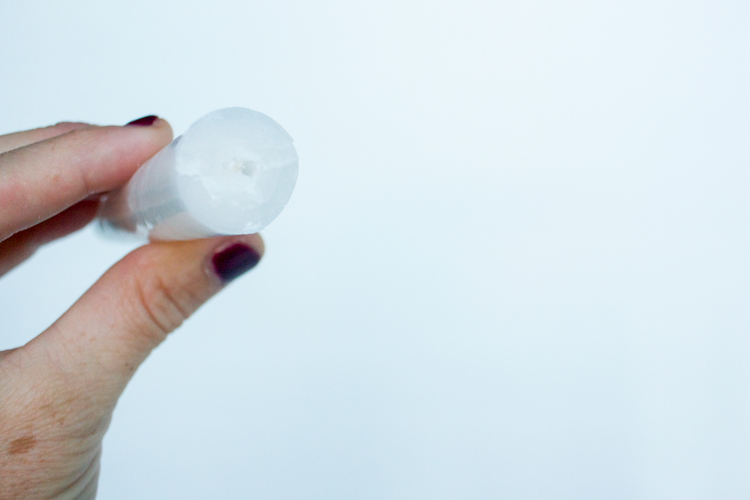 Look at the bottom of the candle. You want to place the candle on the nail exactly where the wick is, that way the base of the candle will stay nicely together. If you want, neatly slice the bottom of the candle off, so the wick is obvious.
 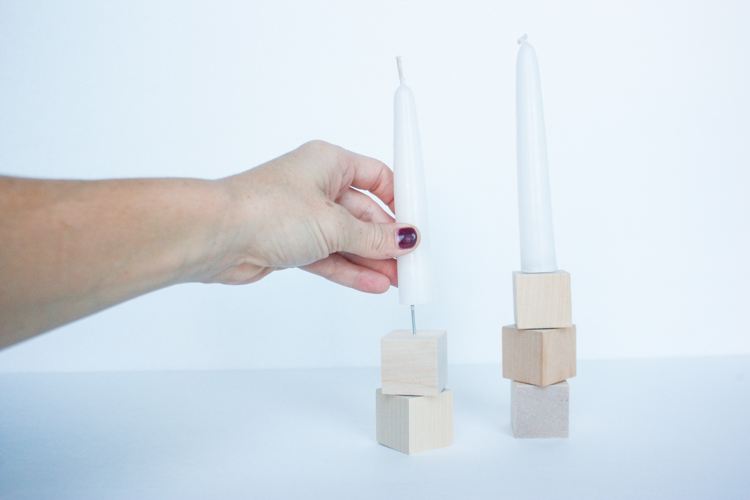 Place the candle on the nail and push down into place.
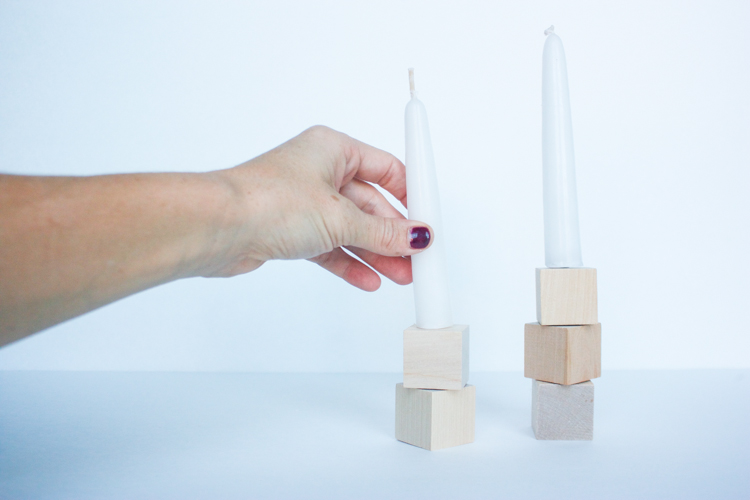 The nail will keep the candle taper secure on the candlestick and you’re finished!
 I told you it was easy!
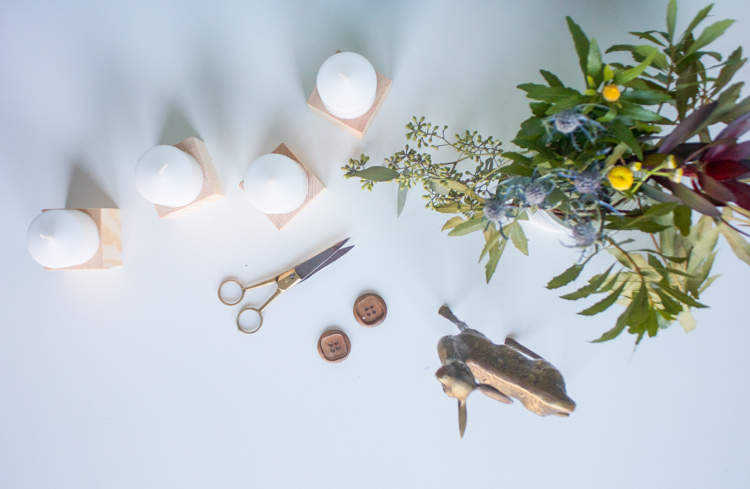
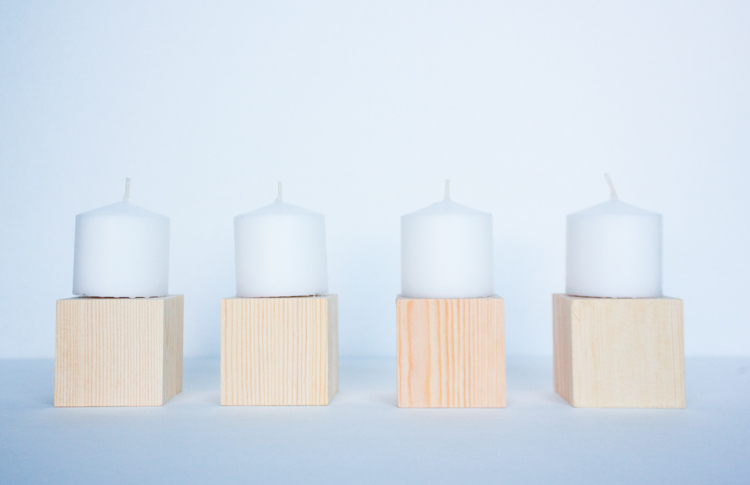
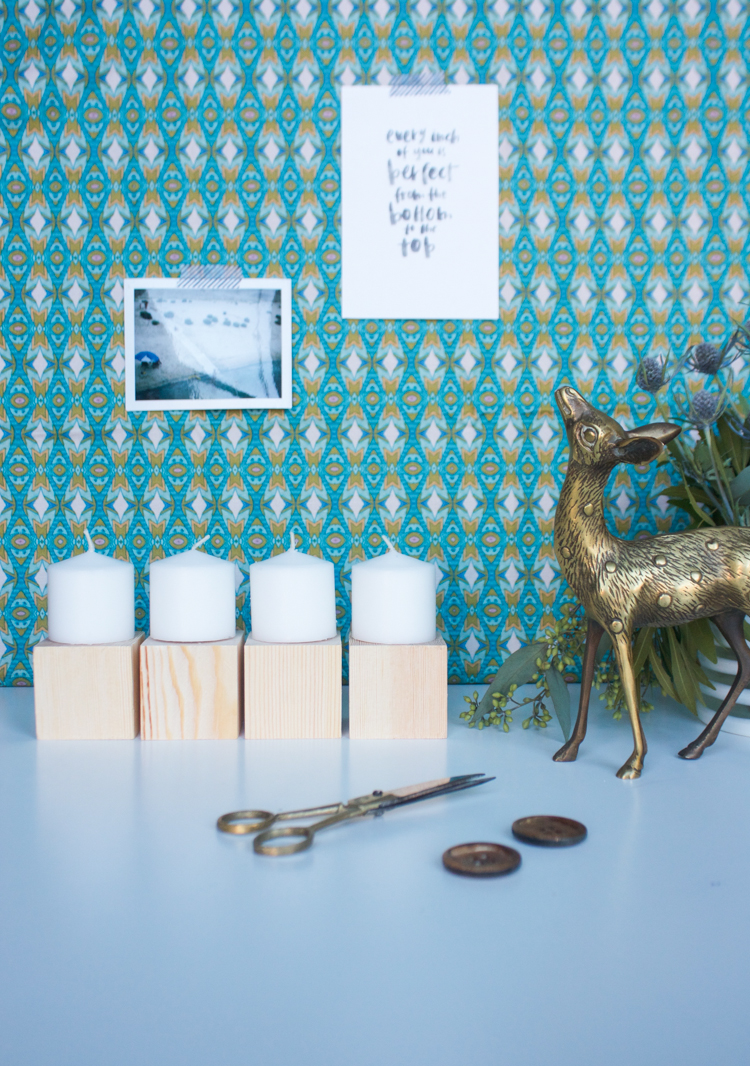
Wood Block Tea Lights
 The wick of a tea light candle is usually secured with a metal base, so we can’t put the nail straight in the center on these ones.
 Hammer the nail just off center, so that the candle will be able to sit squarely onto the wood block base.
 Because the candle is a little thicker than the taper, these guys should slide right onto the bases, with the nails holding them in place. One and done!
 I considered painting or gold leafing the wood block candlesticks, but it turned out that I really love them as-is. Simple is more my style with these types of things. If you’re an embellisher though, there are so many possibilities here!
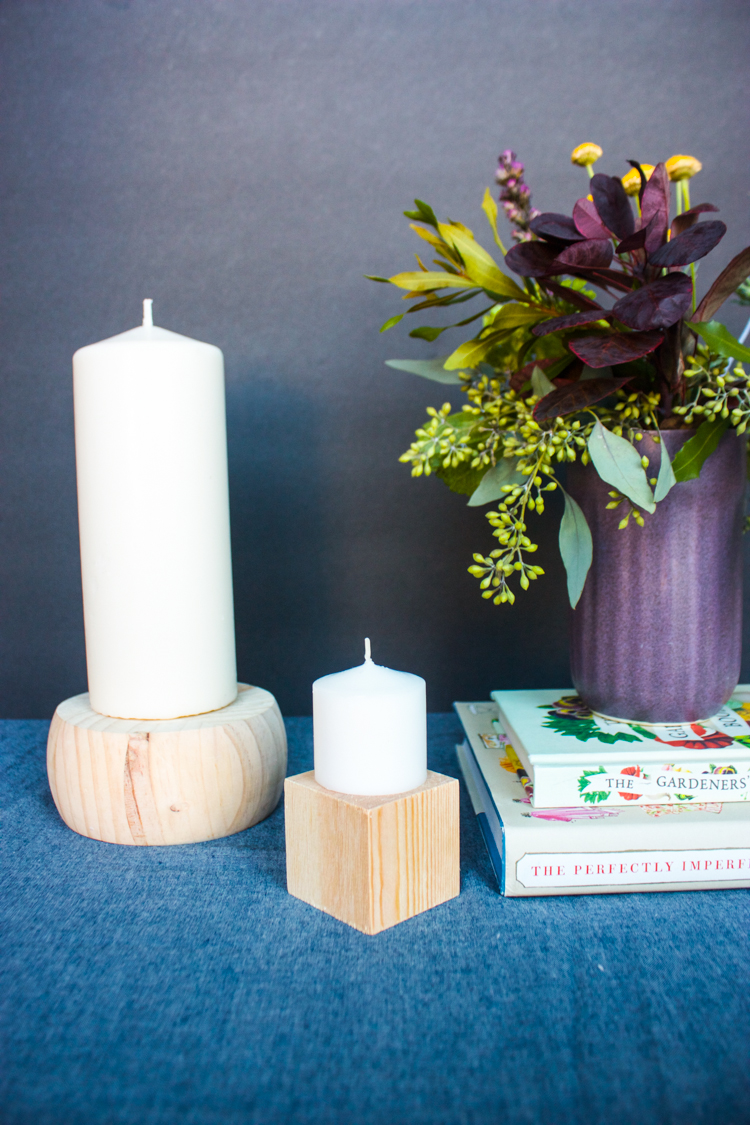
Wood Furniture Leg Candlesticks
 I mean, this is kind of crazy right? These beautiful wooden furniture legs come basically ready to be candlesticks out of the bin! The bolt in the center is meant to be threaded onto the furniture, but for this project it takes the place of the finish nail to keep the candles in place.
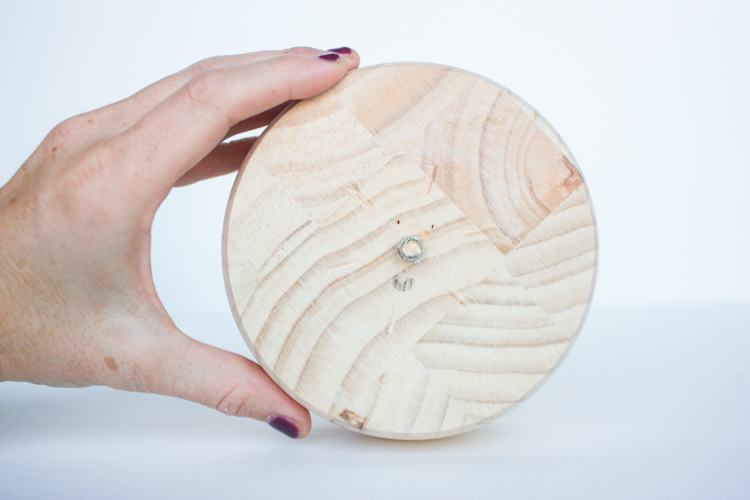
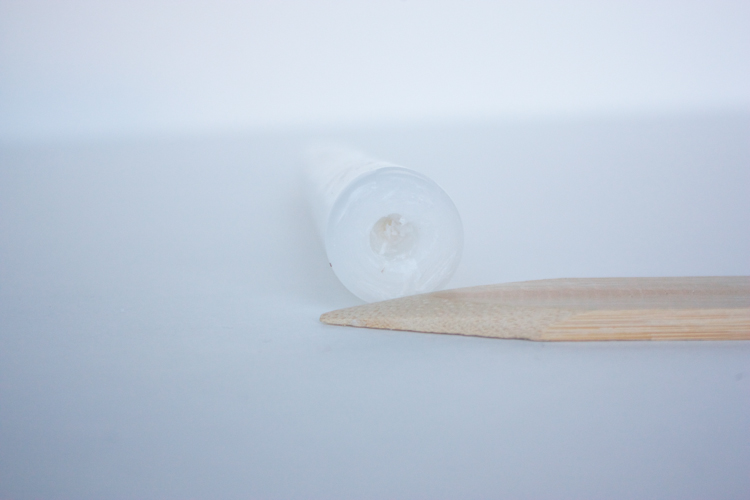 The candle will need to be carved out a bit to fit nicely onto the bolt. I used a wooden corner turner, but an xacto knife or awl would work perfectly too!
 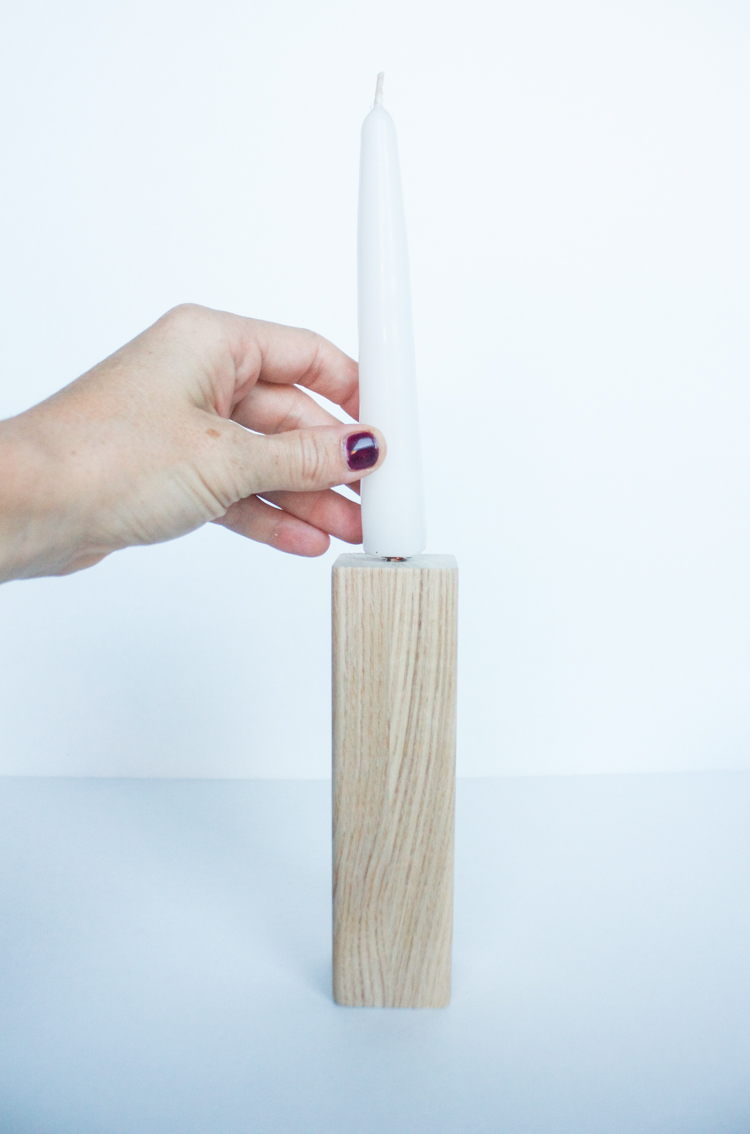 Once you’ve got the base carved out a bit, simply slide the candle onto the bolt, twist a few times to thread it into place, and call it done.
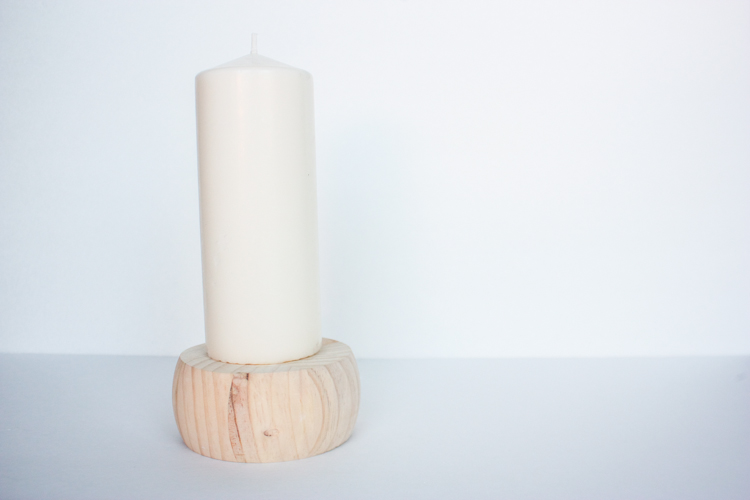
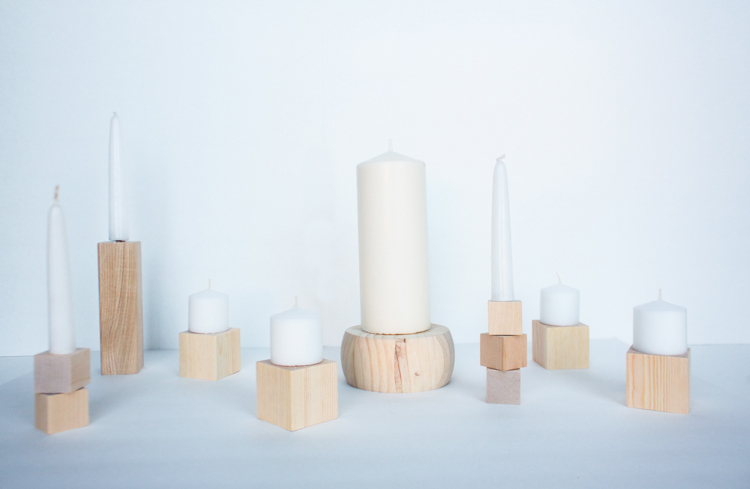
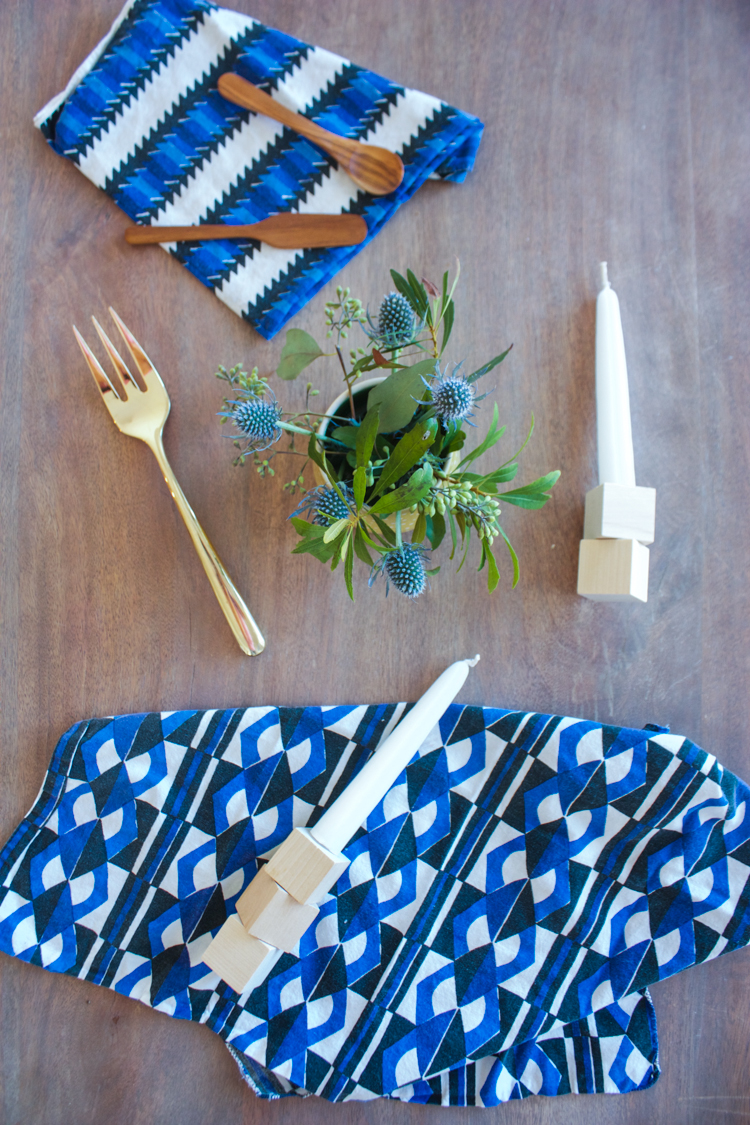
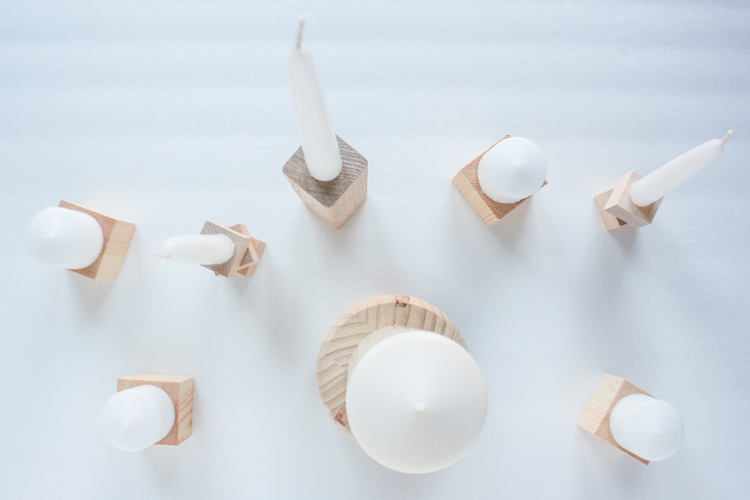 Wasn’t that fun? I love all of these different variations of DIY wood block candlesticks, and they look awesome all together for a but tabletop arrangement, too.
 This project initially came together as one of the three simple Thanksgiving Tabletop ideas I was able to share on the Austin Fox 7 morning show earlier this week. When the segment airs, I’ll be sure to add a link here so you can see it live!

