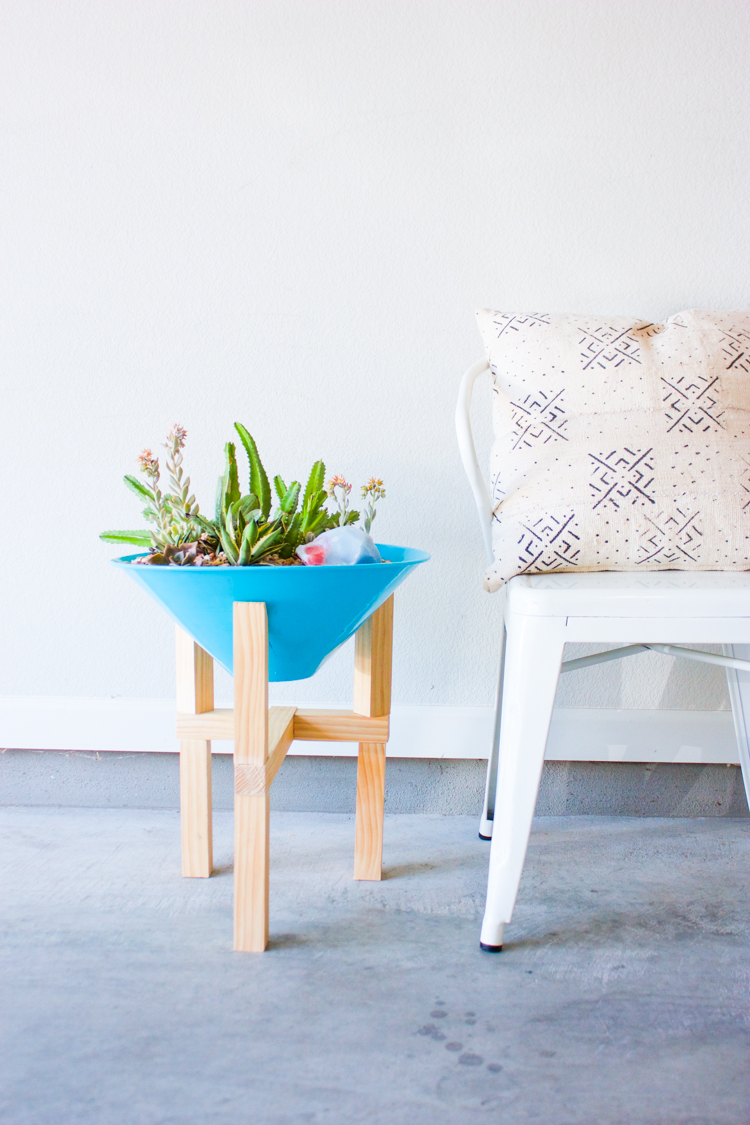
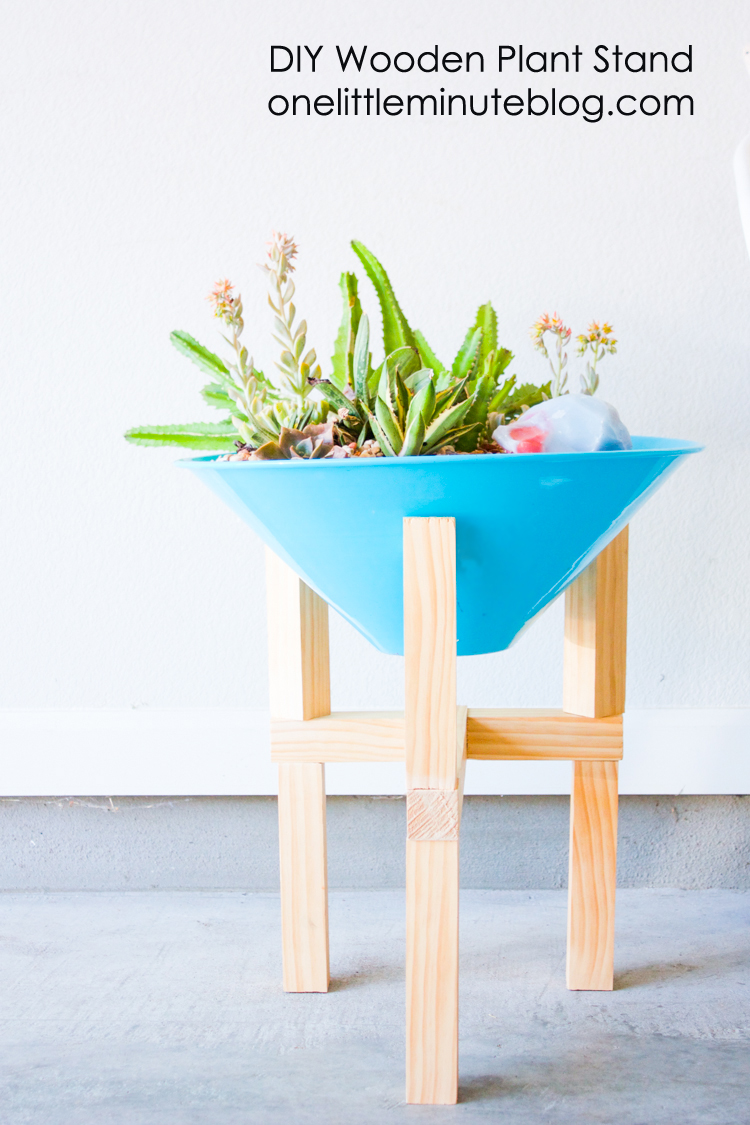
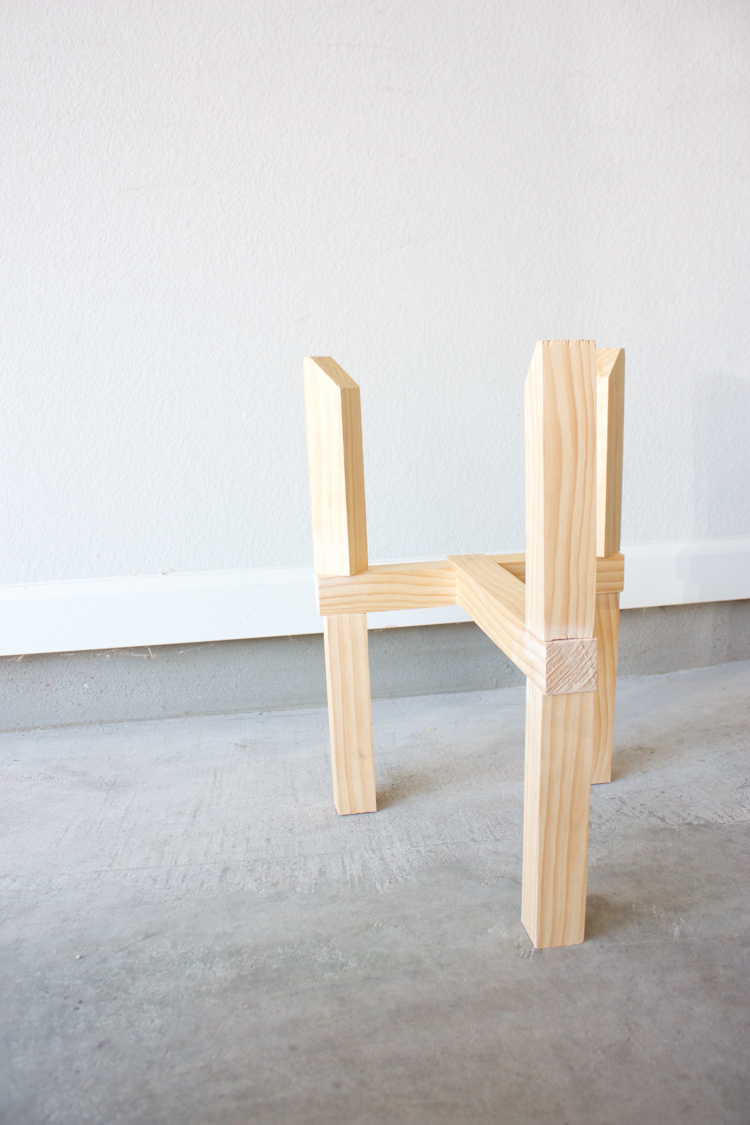
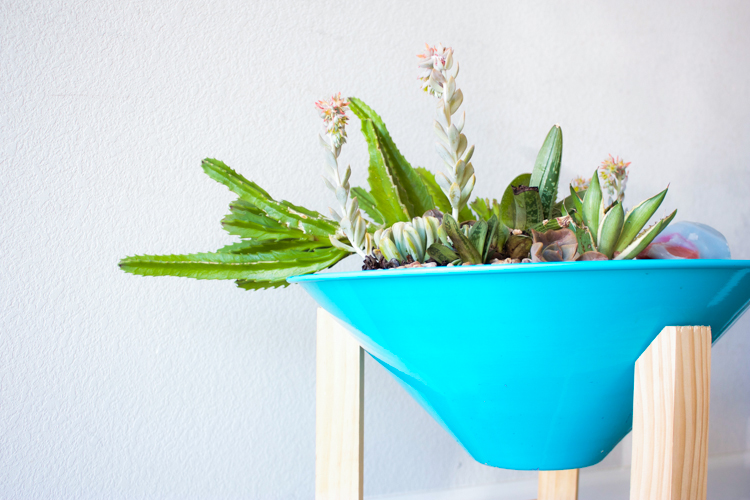
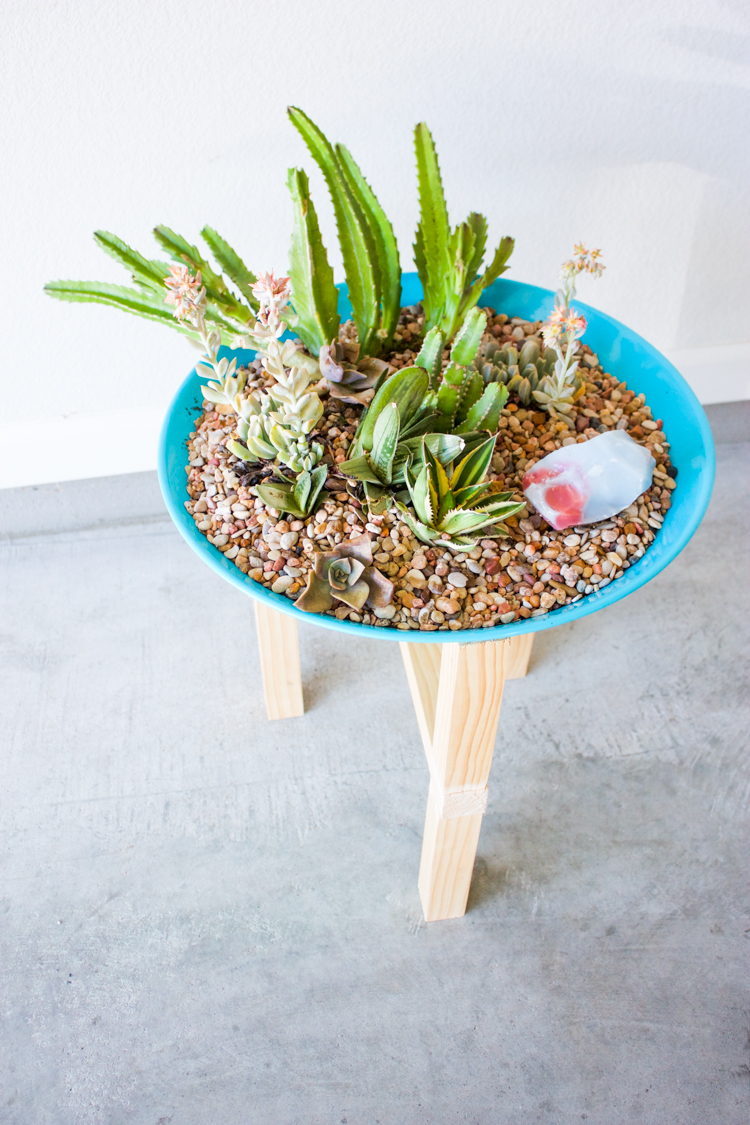
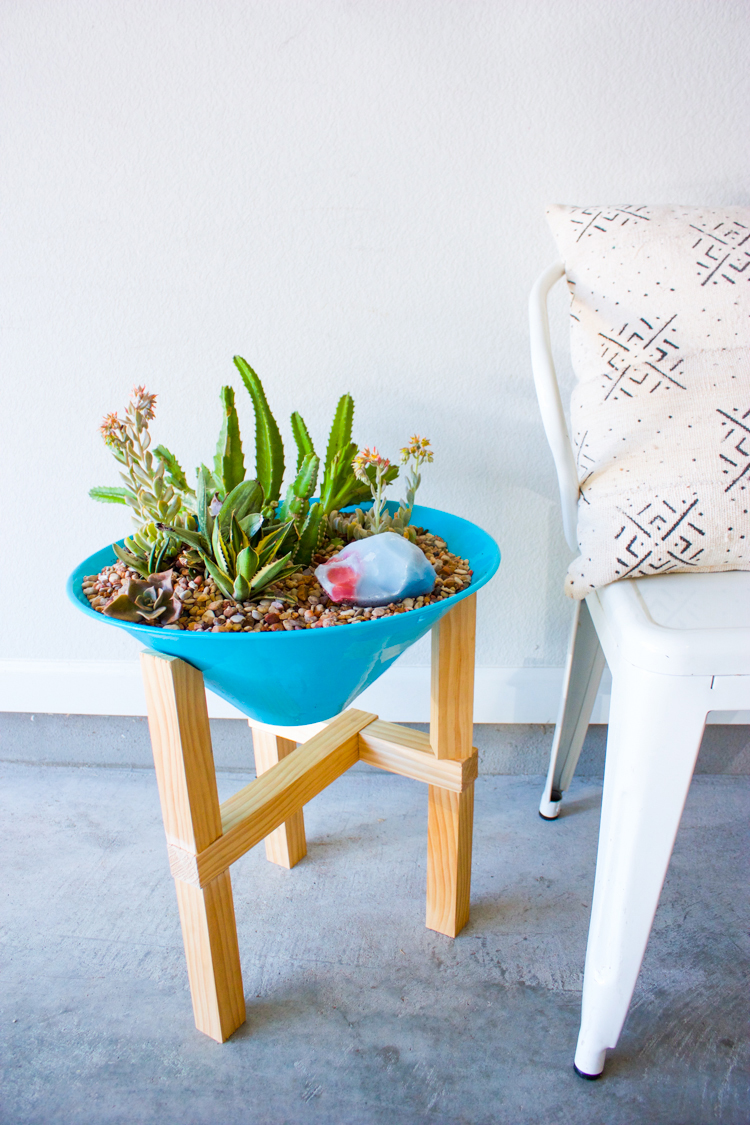
Ever so slowly, I’m converting my house into a nursery. Each new plant that I buy and successfully keep alive adds to my confidence, and so I continue to buy more and more! I find I’m especially able to care well for cacti and succulents, because they thrive with a little neglect and forgetfulness. I water mine about once monthly, and sometimes even less than that. Of course, more plants, means more pots and more pots need some interest. When I spotted this blue metal plant pot at a yard sale a couple months ago, I immediately thought of this interesting modern planter I had seen before. Because I love a good project, I thought I would make a DIY wooden plant stand to complete the look.
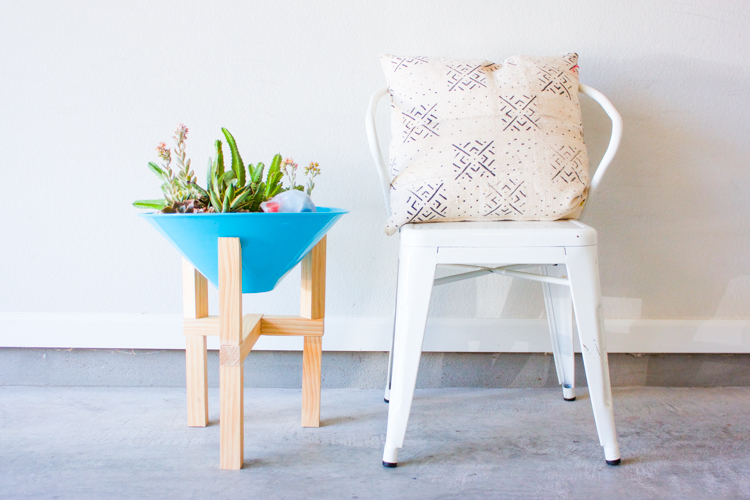
The stand took about 1 hour start to finish (minus the two weeks that the cut wood sat on the garage floor while I tried to make time to get to Home Depot to buy the double-ended screws…ha, mom life!) I love the simple, modern look of the stand, and it would look great with any type of simple modern planter, like this simple steel bowl. Read on for full instructions!
You’ll need:
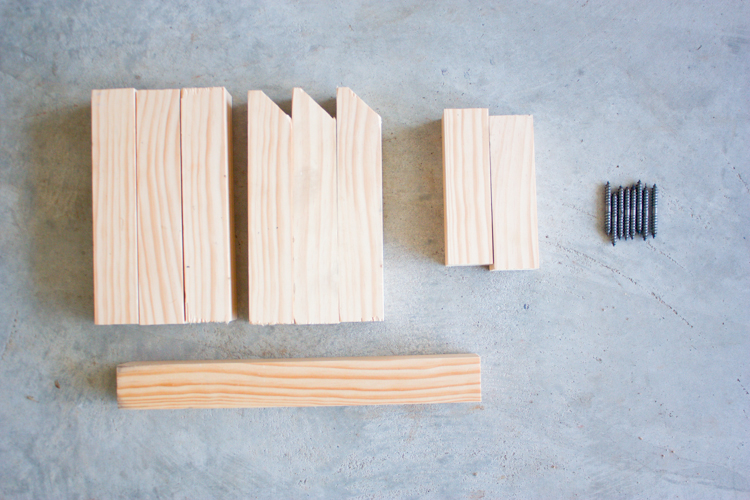
8 double edge screws
1 drill with a drill bit
a 1.5″x1.5″ piece of wood cut into the following pieces:
(6) cut to 6″ with (3) of those cut at a 45 degree angle 1/4″ from the edge as shown below
(2) cut to 5.25″
(1) cut to 12″
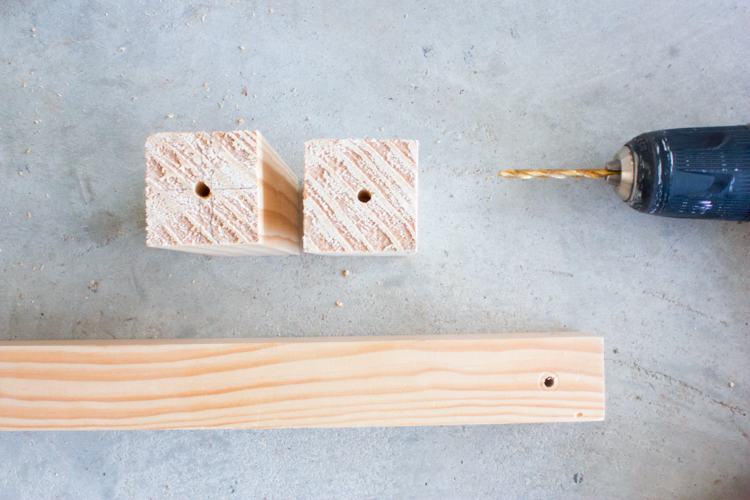
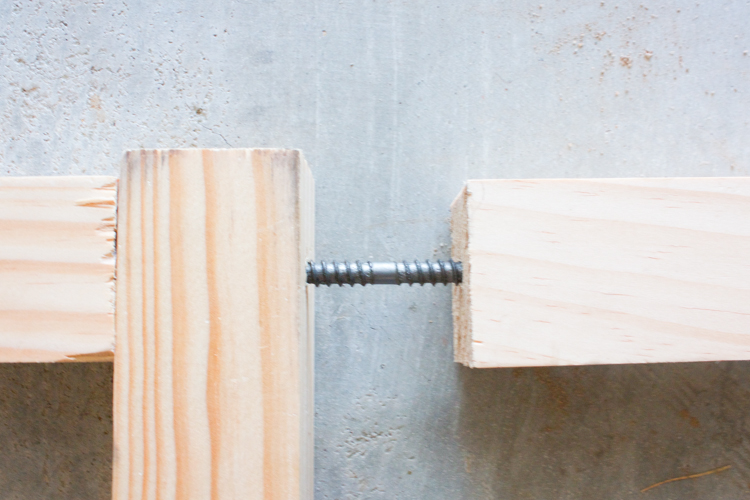
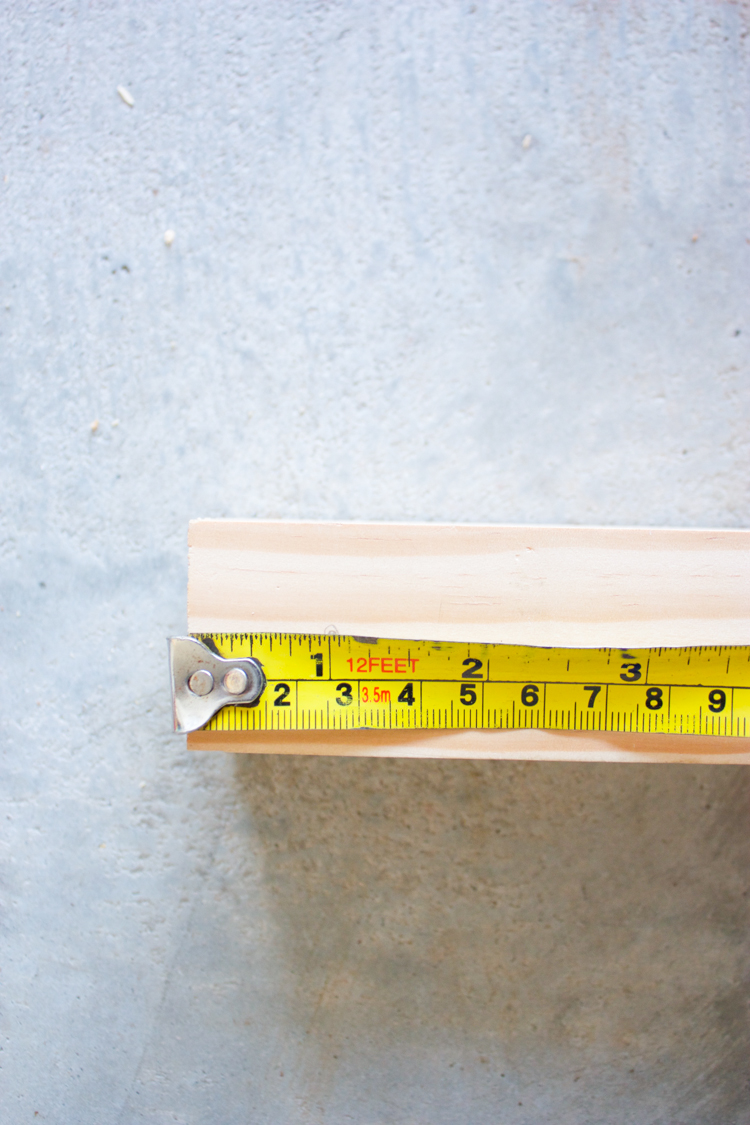
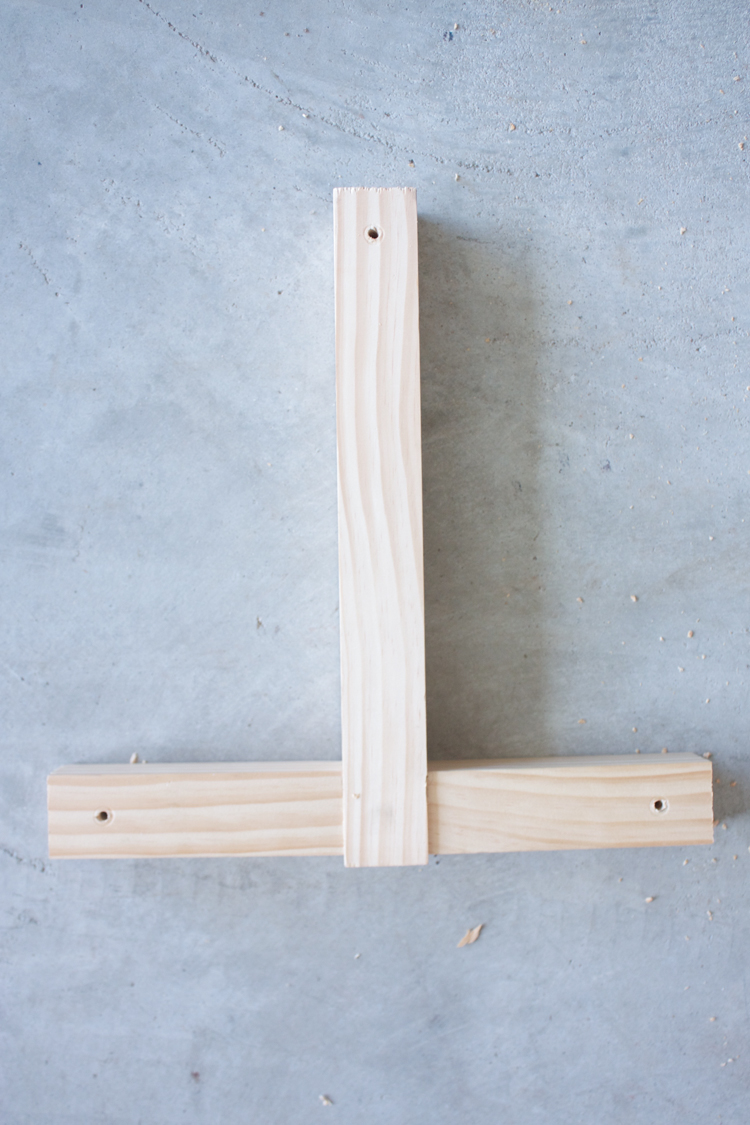
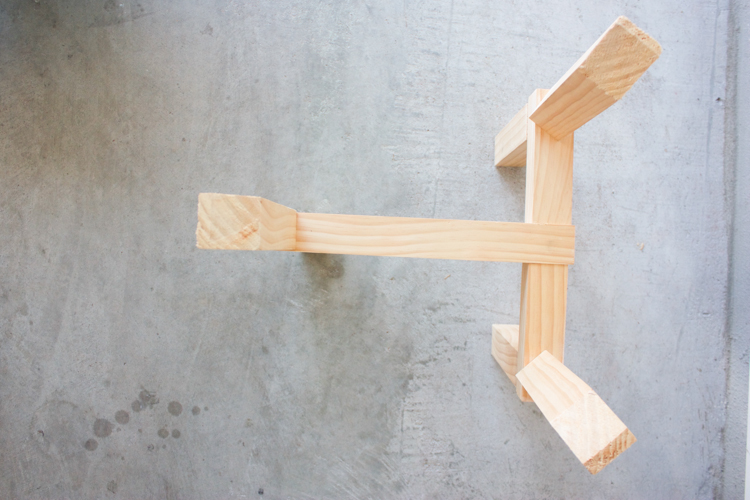
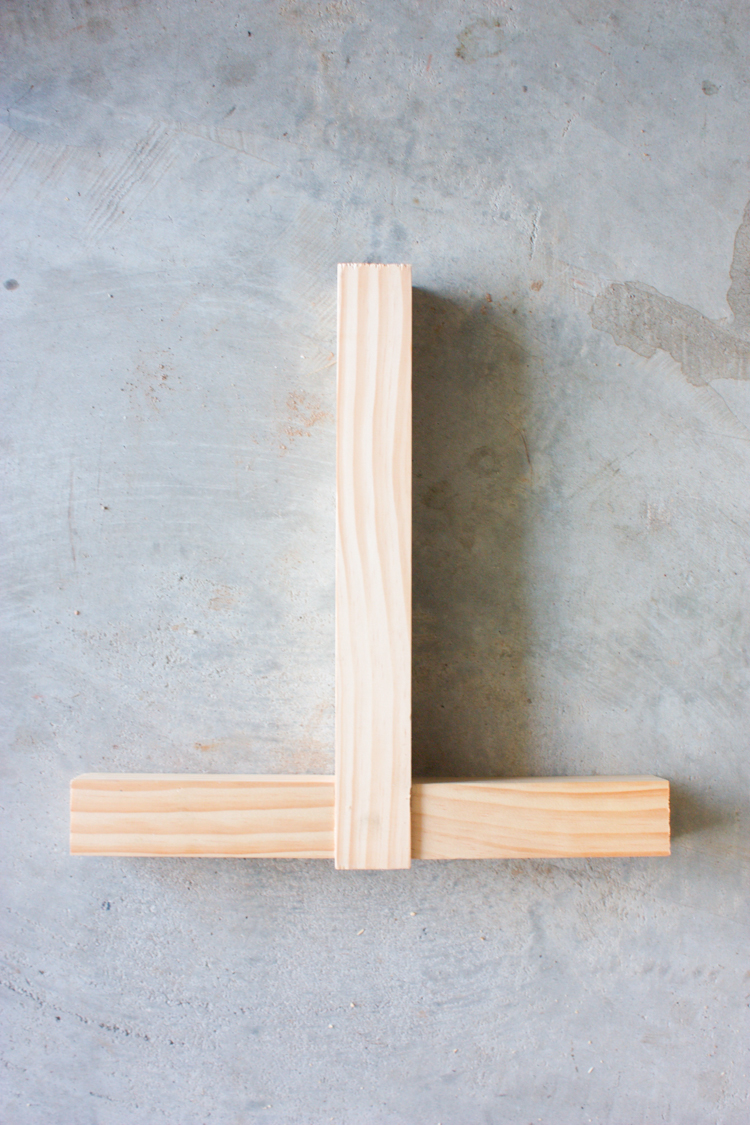
Mark the center of each of the ends (non angled) on the 6″ pieces and the 5.25″ pieces, then use the drill to make a hole down the centers. This just makes screwing the pieces together easier. Try to do the holes as straight as you can. *At this point you should also probably sand all of the edges and ends well, before you start assembly. I clearly didn’t do this step, and wish I would have!On each end of the 12″ piece, measure 1.5″ from the end and mark, then drill a hole straight through one end. Use the double ended screws to twist the 5.25″ pieces on either side of this end, making a T. Measure one inch from each end of the T, and drill holes straight through the wood. Using the same technique, screw the 3 angled pieces on to one side of the T, and the 3 blunt legs onto the other side of the T.
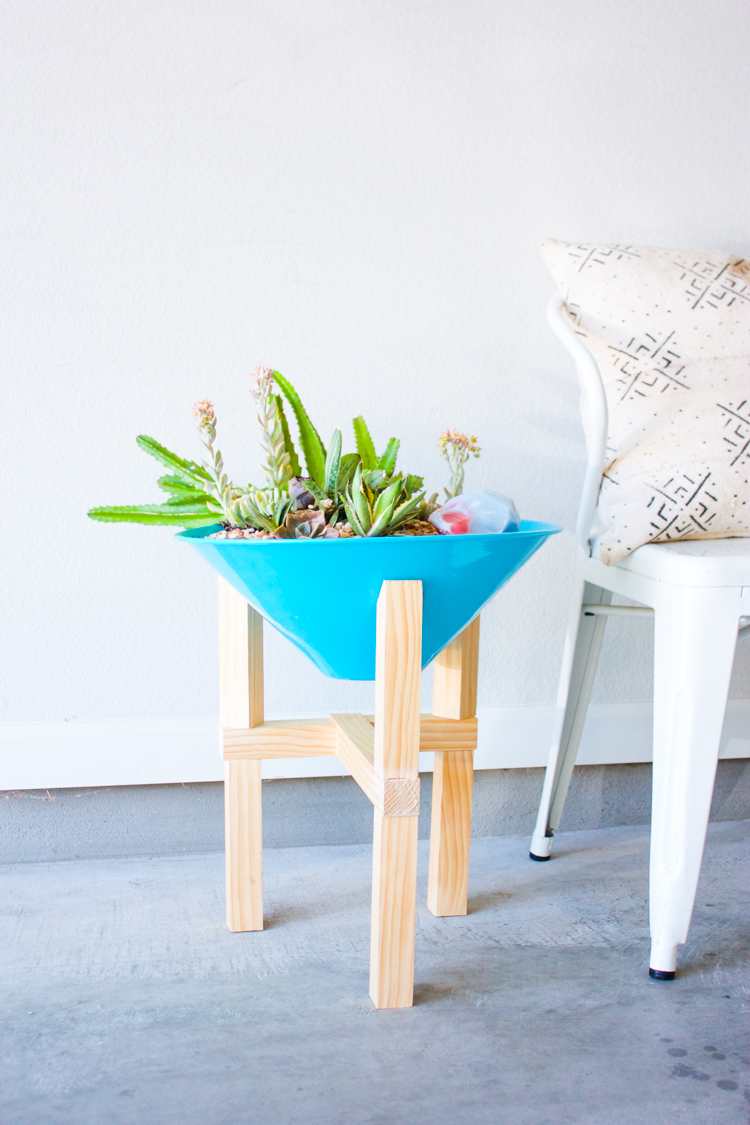
That’s it, you’re done! If your bowl isn’t angled like mine, you could leave the top ends blunt, and let the bowl sit on the edges.
In order for my bowl to fit snug, I twisted two of the top legs a bit and like the little different angle that they sit.
I loved using these double edge screws for the first time to connect pieces so easily without any hardware showing! I think I’ll use that method again for some more projects in the months to come.
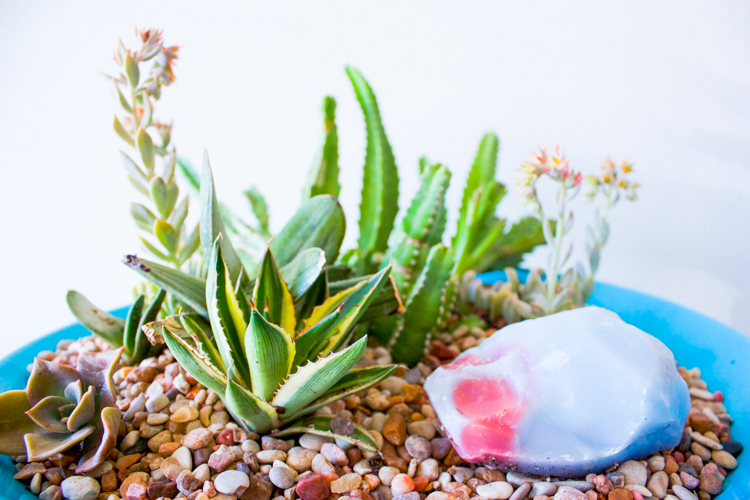
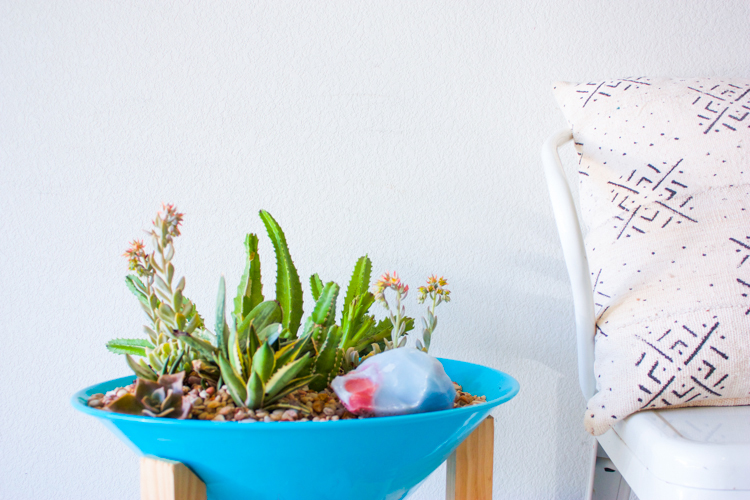
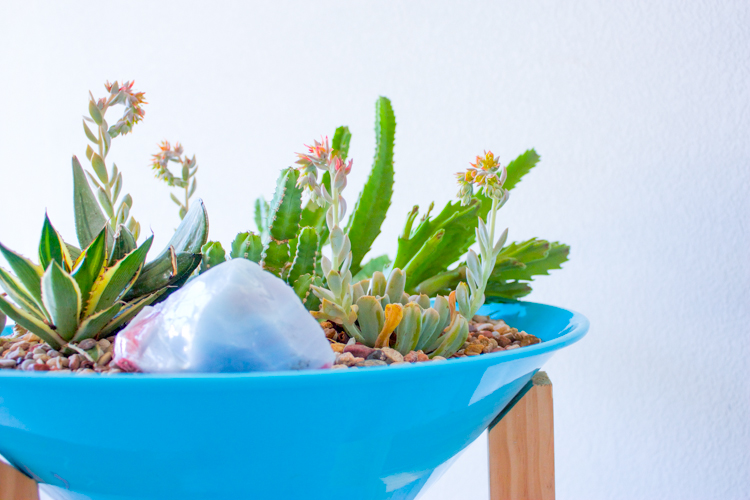
And, of course, one the stand was complete, I gave myself the go-ahead to fill the planter with some new fun plants. I went to East Austin Succulents for the first time, and didn’t want to leave! The selection was endless and the employees answered all of my questions. This stand is destined for the front porch…as soon as I have someone come pour concrete for one, which is now just a neglected flowerbed. See, I’m much better with potted plants than real gardens! This little DIY wooden plant stand will probably be my main motivation for getting that porch put together asap. Happy building!