 Plum is officially a walking baby as of two days ago! I made her all of these fun summer things banking on the idea that she’d be off her knees and able to comfortably wear them standing upright, and hooray, she’s done it.
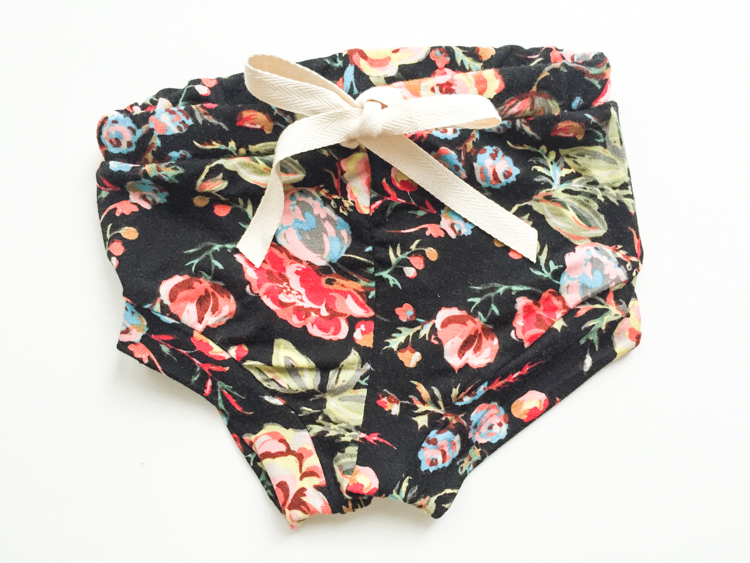
These little drawstring baby shorties are a really fun and simple to make, and will be a definite summer staple. I can see them as everyday wear for little girls and boys, and even made in some fun swimsuit fabrics for little swim bottoms!
Again, the starting point for these shorties is this perfect diaper cover pattern. Download and print that, then read on to see the full tutorial and make your own!
To make a pair of drawstring baby shorties you’ll need:
.5″ yd fabric (I prefer knit for these, but woven will work!)
1 yd twill tape for drawstring
20″ .5″ elastic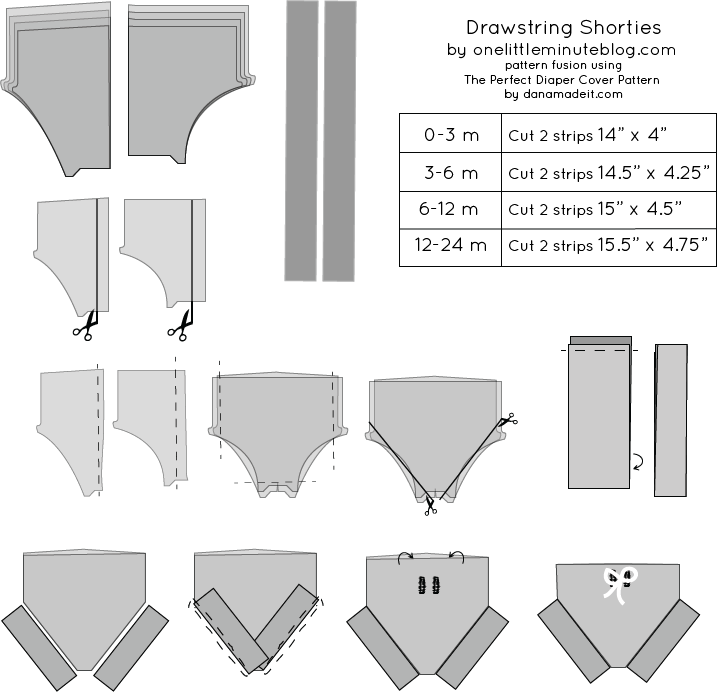 Cut out the pattern, then follow the chart above to cut two additional strips of fabric. Use a ruler and rotary blade to straighten the leg openings out a bit for adding the leg bands.
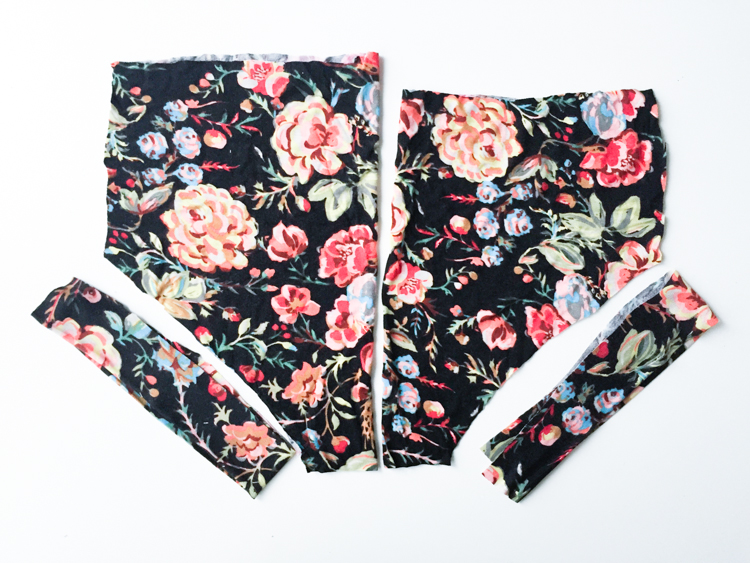 I think these shorts ask for knit fabric, but I’m sure they’d be super cute in a woven as well if you’re more comfortable with that.
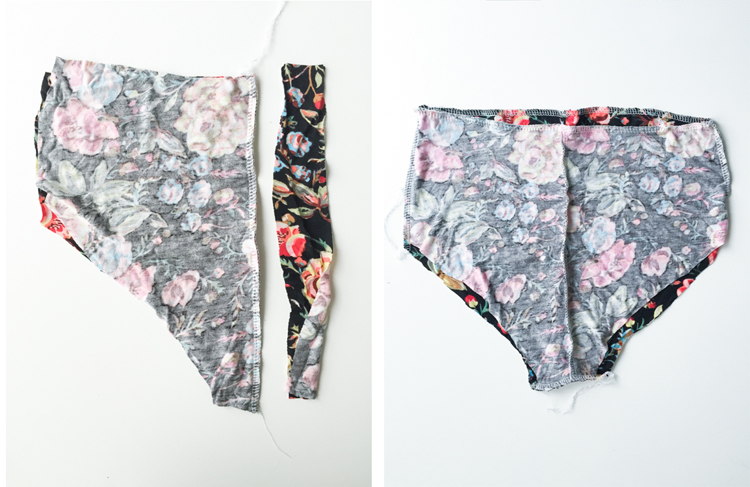 Take 1.5″ inches out of the center of each pattern piece by lining them up on the fold and using a ruler to slice down along the .75″ line on each piece. Then, stitch back up that center line. If you want to match, or mismatch patterns (like I did with these stripes) pay attention and pin accordingly. After sewing the front and back pieces together again, place right sides together and stitch up the side seams and along the crotch.
Place right sides of each leg band together and stitch up to form a circle. Fold in half with right sides OUT and line up the seam on the leg band with the crotch seam. Stretch the band out to pin along four points on each leg opening, and stitch in place.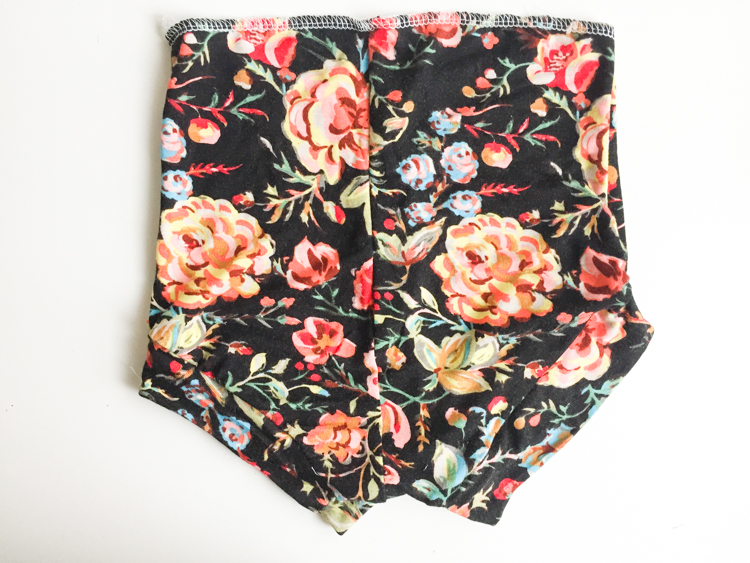 Finish the top edge of the shorts waist by serging or folding twice .25″ and stitching.
Measure down from the top edge 1.5″ and create two button holes, one on either side of center. Fold down the waistband .75″ and stitch all the way around forming a casing for the elastic and drawstring. Thread the elastic through the casing and tie off or stitch together forming a loop. Thread the twill tape through the casing and tie it into a bow! You’re done. Find a chubby baby to put them on.

