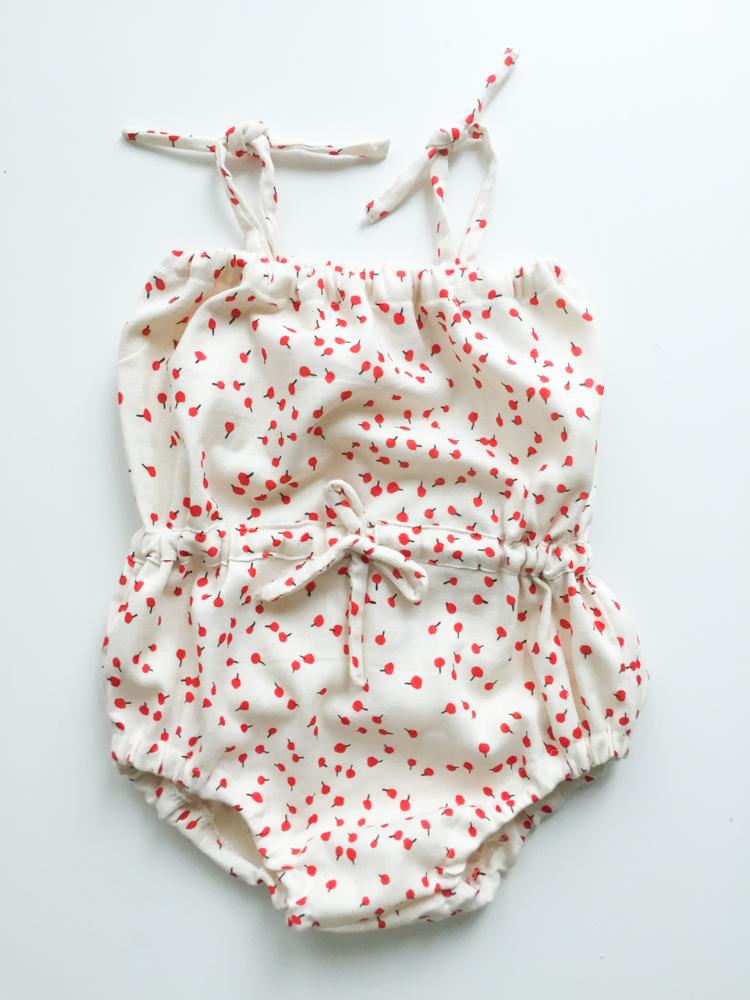
Austin has been gloomy for a week! It’s way outside of our typical sunshine + cactus drill, and I’m feeling the winter blues. It was really nice to have the distraction of working on a summer wardrobe for Plum to help keep the foggy funk from creeping in too much. With each little outfit I made her, I would try it on her and dream of days at the pool that are not too far away. This little drawstring romper might be my very favorite, and it is so easy to make I’ve already cranked out several, some to give as simple but darling baby gifts. I love the way a romper is a full outfit in one piece, and the little details make this one cute enough to carry itself, as if it’s little baby contents weren’t already squishy and adorable enough!

The basic shape comes from this (free) perfect diaper cover pattern made by my good friend and sewing buddy Dana, and you’ll need to hop over and download and print that before we begin this step by step of turning it into a romper. Read on to get the full drawstring romper tutorial and make one (or ten) of your own!
To make the drawstring romper you’ll need:
1/2 yard of fabric (cotton, double gauze, linen, knit, sky’s the limit!)
1-1.5 yards of 1/2″ elastic
1 yard cotton twill tape or matching ribbon for straps and drawstring (optional)
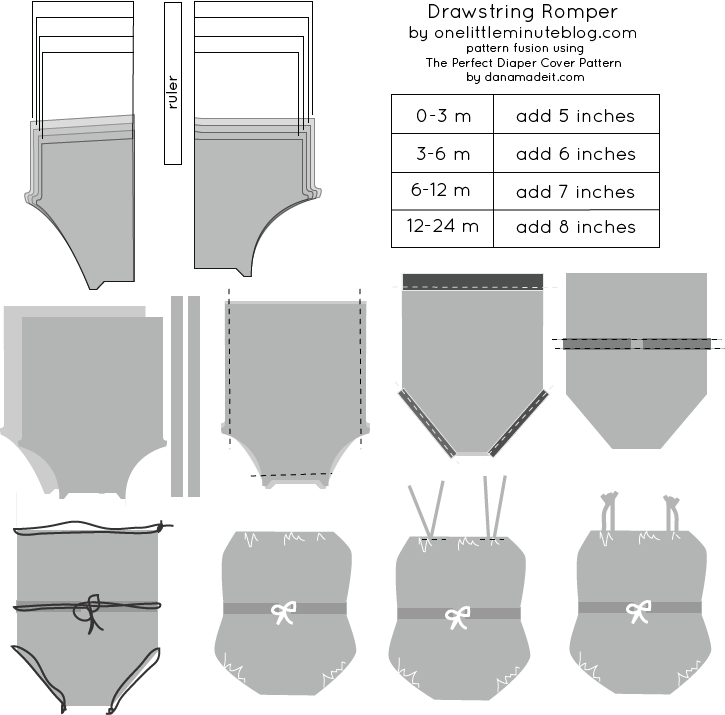
The basic idea of this romper is taking the perfect diaper cover and simply extending it up to be a full body bubble romper. The drawstring with casing is optional, and in my opinion looks absolutely darling on older kiddos, maybe unnecessary on the younger sizes. Read through Dana’s tutorial to get an idea of the basics, and then this is the first way to mix it up (three more coming, so get those needles ready!) The above illustration walks you through the very basics of the construction, and notice the chart in the top right that gives the measurements to add for the bodice extension. Okay, here we go!
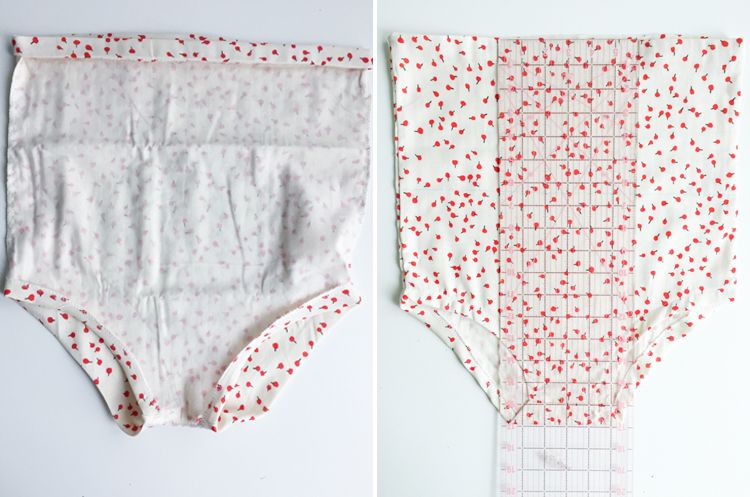
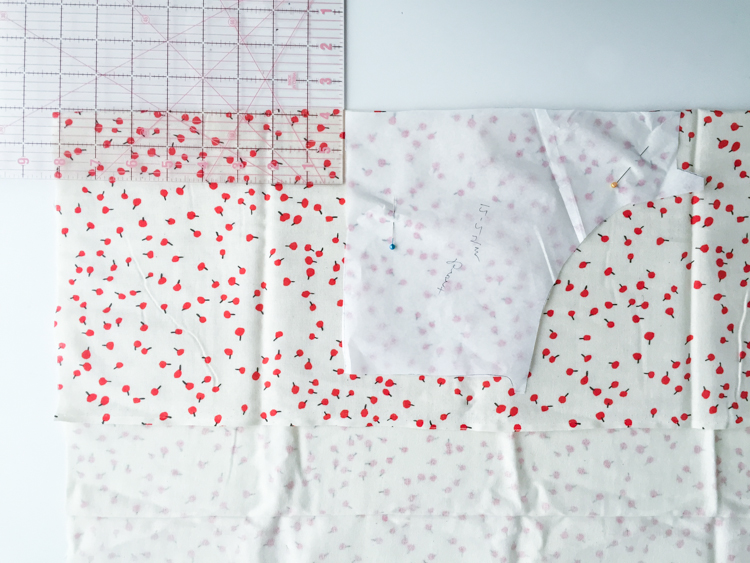 Print out the diaper cover pattern, trace the size you want onto tracing paper (or just cut it out and print another when you need a different size), line the pattern up along the fold of your fabric and then use a ruler to measure the added height to the top of the pattern piece using the chart above as shown. Add the same height to both the front and the back pattern pieces and cut out the fabric.
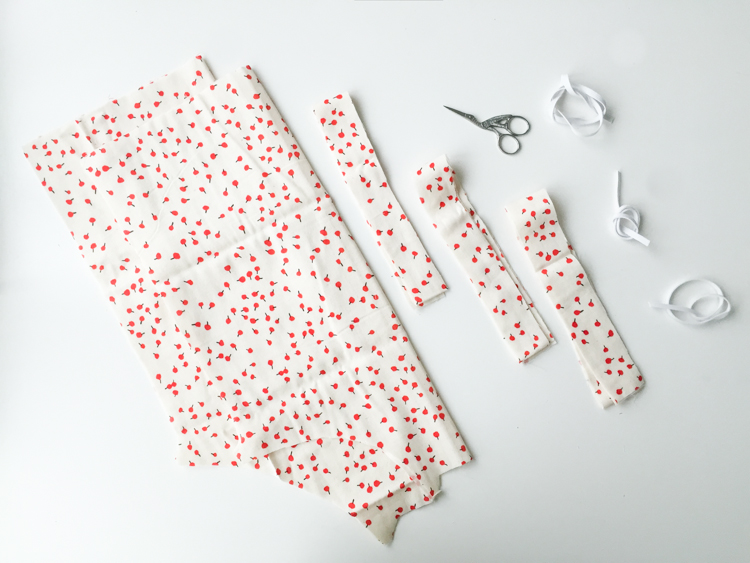
Also cut out three (the illustration shows two, but you need three!) 1.5″ widths of fabric about 30″ long, and cut your elastic pieces according to the chart on the diaper cover pattern. Two for the legs and one for the waist–which is now the chest, but the measurement is the same.
Sew along the center crotch seam and along both side seams with right sides together.
 Fold under the leg holes and along the bodice top. If you have a serger you can simply serge the edge and the fold under 5/8″. If not, fold under 1/4″ and then 1/2″. Press the folds in place, then stitch just around the inside folded edges, leaving 1″ open for threading the elastic through each of the casings.
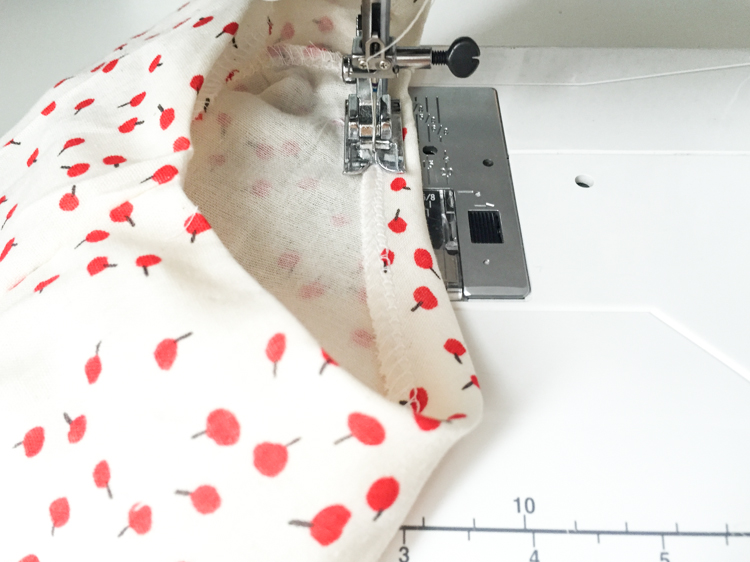
Turn the romper bodice right side out and measure down half-way from top edge to the crotch seam (shown in photo before this one). Mark the same distance at points all the way around the romper, then use a ruler and tailors chalk or disappearing ink to create a line at the center all the way around the bodice. You’ll use this for placing your draw string casing.
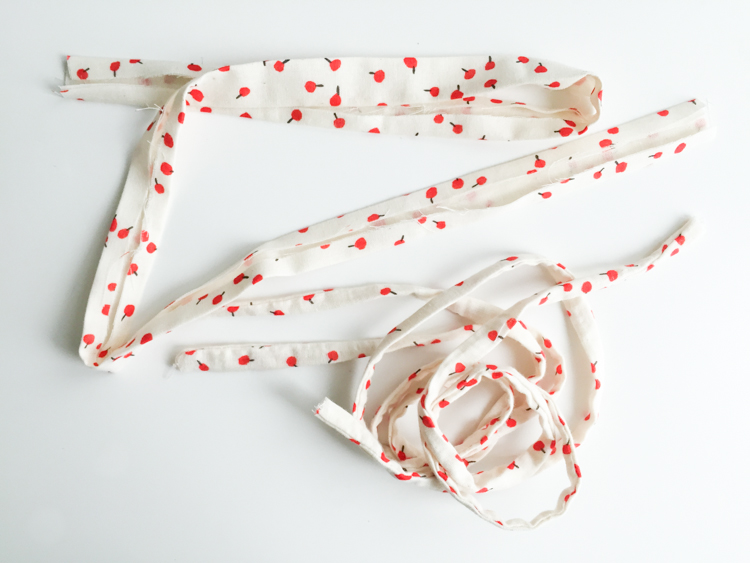 Iron one of your strips of fabric into a single fold bias tape by running through a bias tape maker, or folding each side in to the center as shown in the photo. Fold the other two strips in half, stitch along the edges forming two tubes, and turn right side out. These will be your straps and drawstring. If you are using twill tape or ribbon, you can disregard this step.
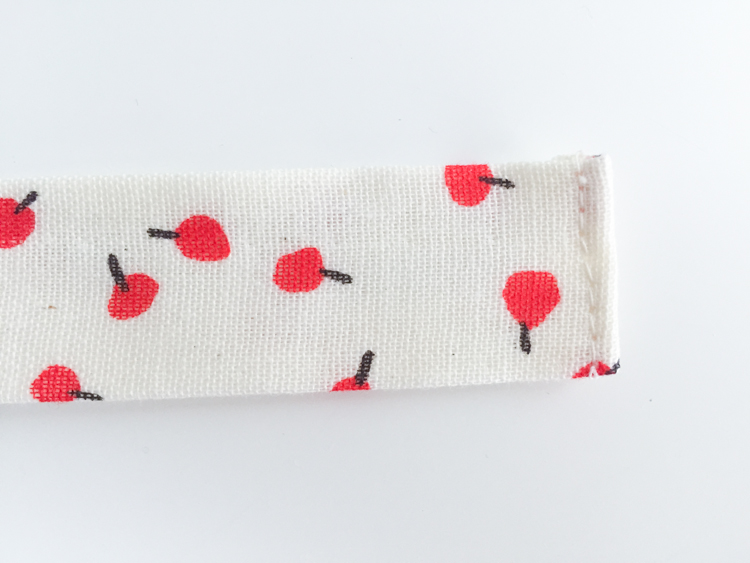 Fold the end of the bias tape strip under about an inch and stitch along the fold to create a finished edge.
 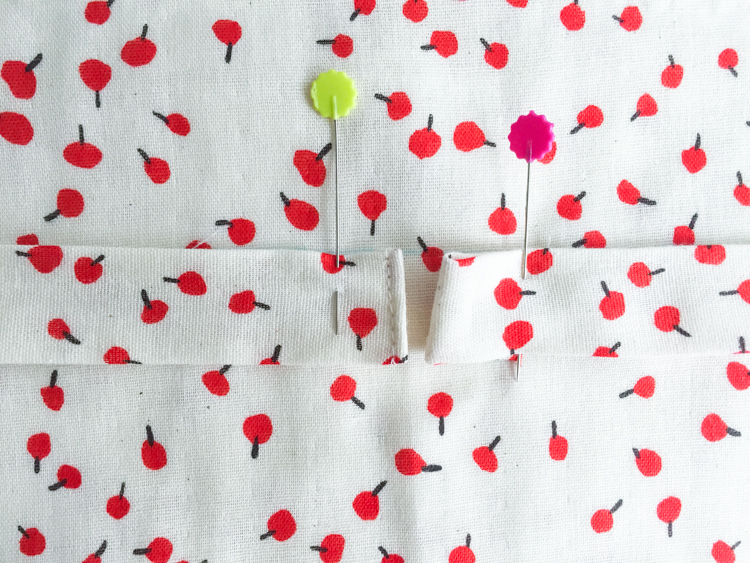 Pin one edge of the bias tape just to the left of center along the line you measured and marked. Line the top of the casing up with the line. Pin the casing along the measured line until you get to the center front again. Fold the other end of the bias tape under, stitch to finish the edge, and cut off the excess.
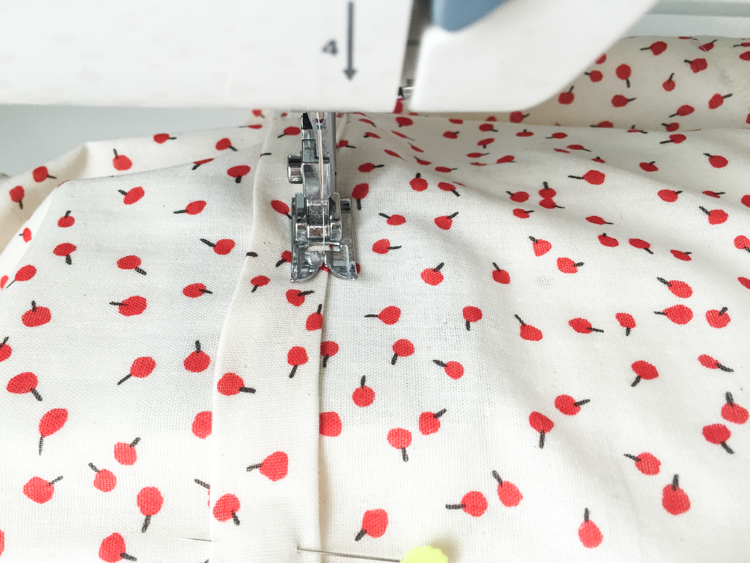
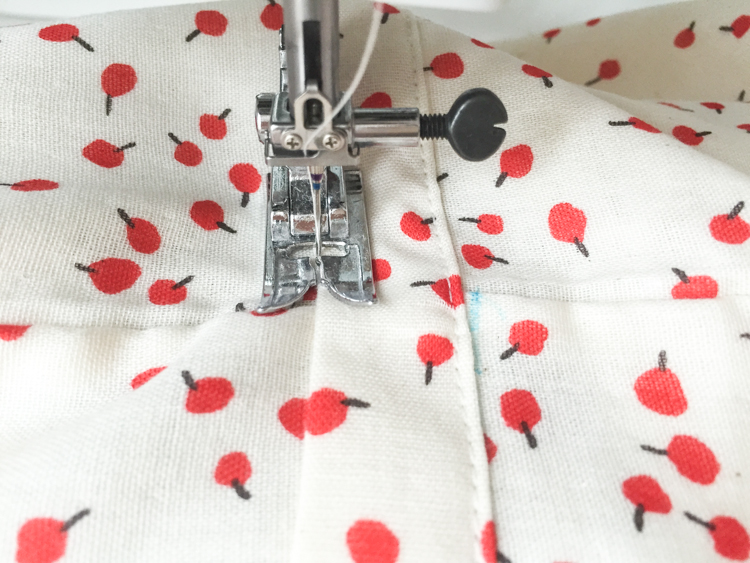 Stitch the bias tape onto the bodice, first along the top edge, then along the bottom edge. This will form the casing for the drawstring tie and the waist. If you don’t want to include a drawstring at the waist, simply disregard these steps.
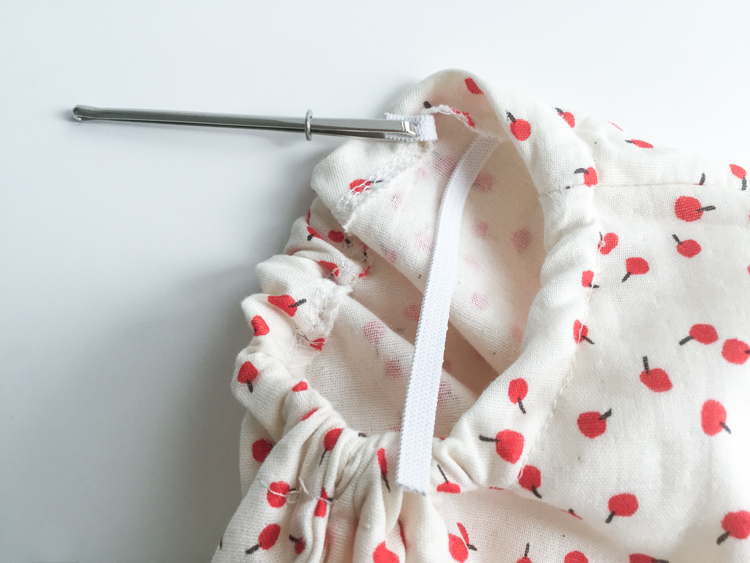 Thread your precut elastic through each leg hole and the bodice top. Tie or stitch the ends of the elastic together before stitching the opening closed.
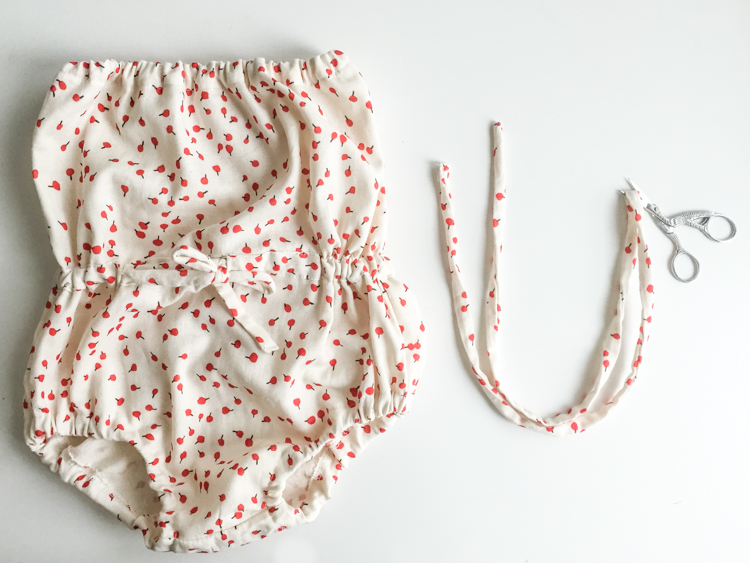 Thread one of your fabric tubes through the drawstring through the casing you made. Tie into a bow and cut off the excess fabric.
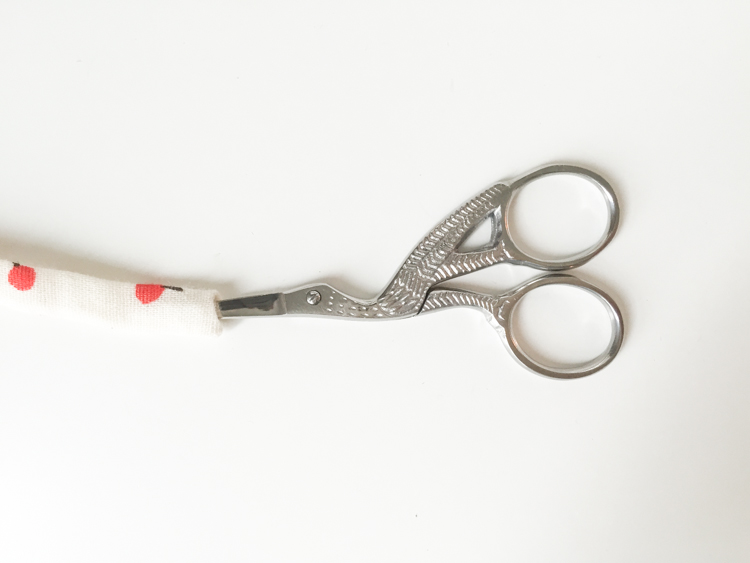
On both the drawstring and each of the strap pieces, once the length is cut, tuck the ends of the fabric in with a pair of snips (or a pencil, chopstick, or other pointy object) and stitch along the edge to finish. You can also tie the end into a little knot if you’d like the design detail.
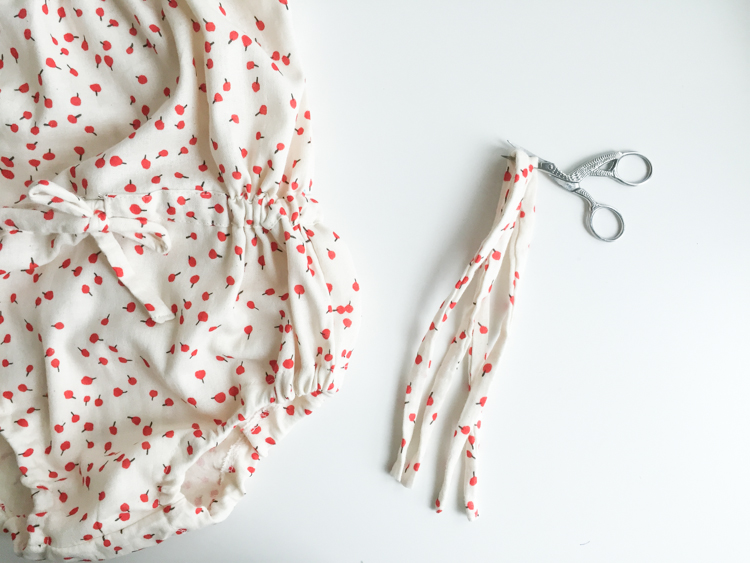 Cut the other tube into four equal pieces, around 5-6″ each, and finish both ends.
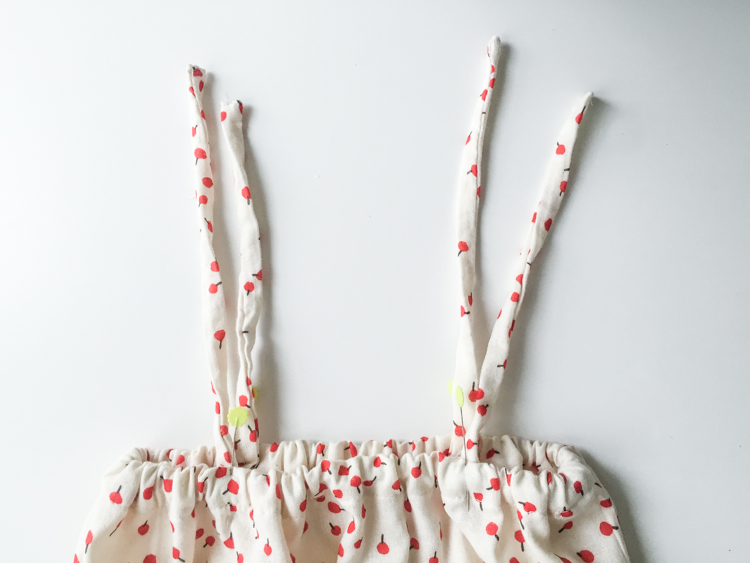 Center the straps along the front and back sides of the bodice with the ends tucked inside about 1″. Use a tight zig zag stitch to tack each strap into place. Tie into knots or bows and you’re finished!
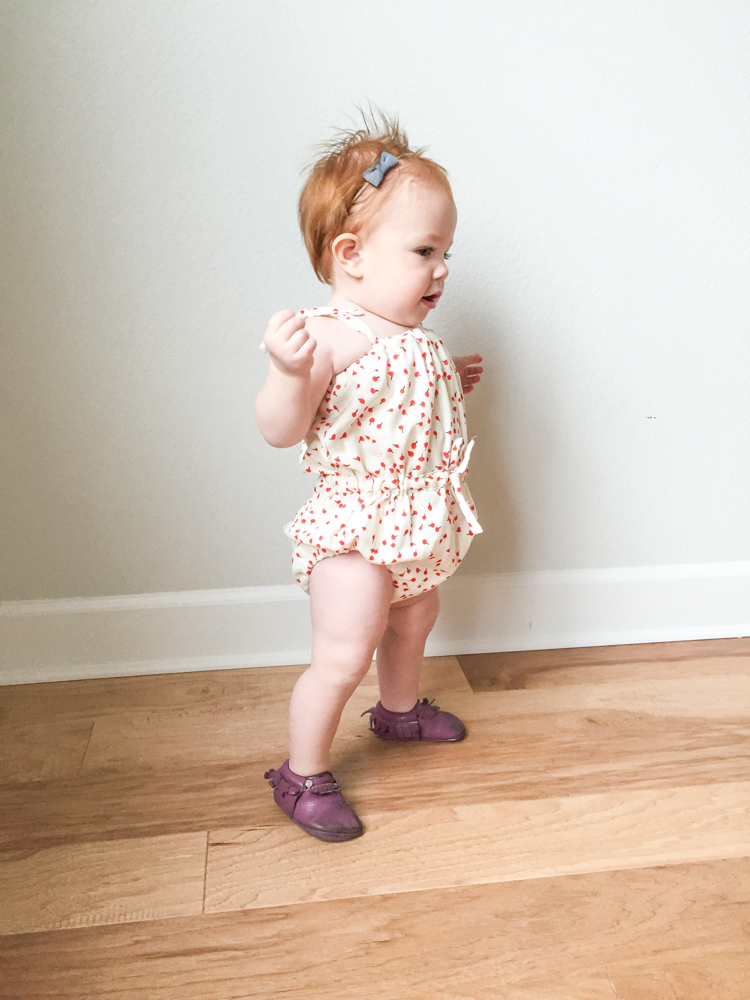 I mean, it really doesn’t get a whole lot cuter than that, now does it? And even though she’s just barely begun to take steps and is harder to photograph than ever, I won’t be able to resist her in these little outfits! (Not that I can anyway. Let’s be honest. I’m obsessed with my baby girl.) Ooookkkaaay Spring! We’re ready for you anytime!!

