Meet Emily. She’s the genius behind the lens and the photoshop of Project Baby. Yep folks, for 9 months this deary has snapped away as I grow and grow and grow (and still grow…no baby, yet!)
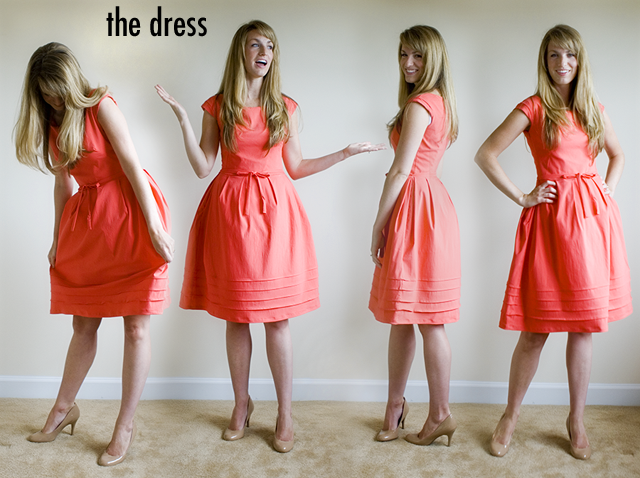
To say “thank you” for a million hours of her time, I offered to make her a dress. And I did.
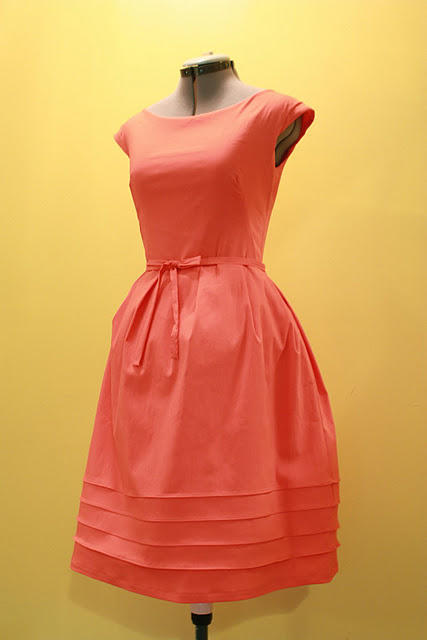
Isn’t it fantastic? I mean, Emily makes it look amazing, and I don’t mean to toot my own horn, but seriously, I love it.
Months ago Emily sent me the inspiration video and told me which dress she loved. Months ago we fabric shopped together for the perfect, slightly stiff poly blend in 2011 Honeysuckle, and last week I finally got busy creating.
It’s not that often that I get totally down to business on a bona fide adult dress. Usually, I just throw some serging into a knit and call it good enough for myself. It’s been since this one that I fell so completely in love with the end result. One day, when I have a waist again, I will make myself something wonderful.
For now, a little behind the scenes of a dress from scratch:
(I apologize ahead of time for the photos taken at night that are super yellow. Sometimes I’ve just got to sew when Milo is asleep…you understand:)
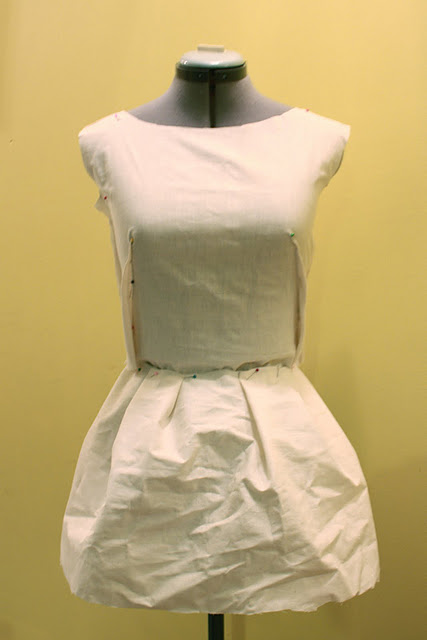
After checking out the inspiration dress, I chose the elements that must remain, and began draping. The dress form was set to Emily’s measurements, so the pattern ended up perfectly tailored.
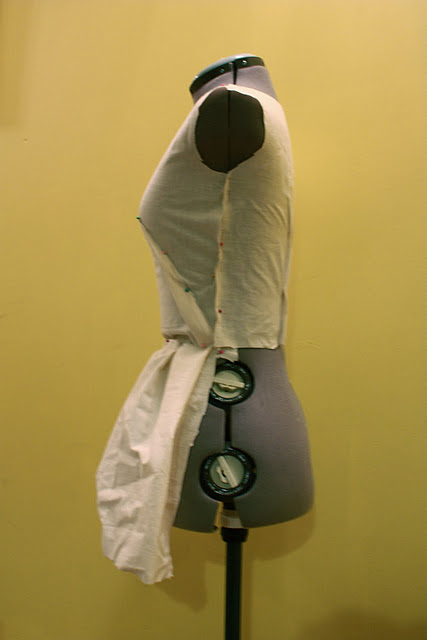
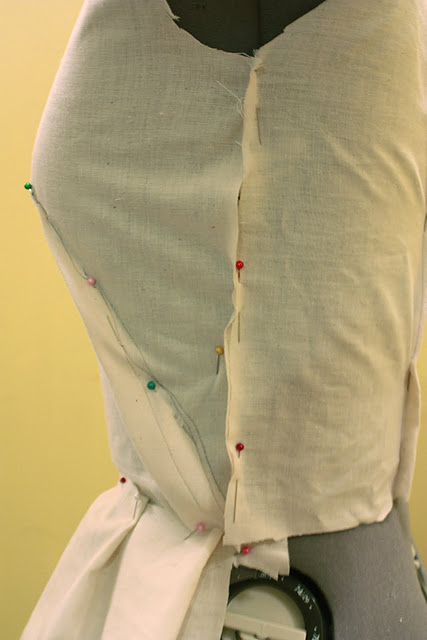
Draping for me literally involves chunks of muslin draped onto the form then cut and pinned into the shape of the desired dress. In this case, I really focused on the cool diagonal darts to give the front it’s dimension, and the almost off the shoulder dress body. I didn’t have enough muslin to drape the whole skirt, so I just stuck with the front and measured out the pleat length I wanted, knowing that it would be similar for the back.
Once all was in pinned in place, looking right and trimmed, I used a sharpie to mark the lines on the pattern, especially for the darts. Then the pieces come off and are used as an actual pattern to dig into the fabric.
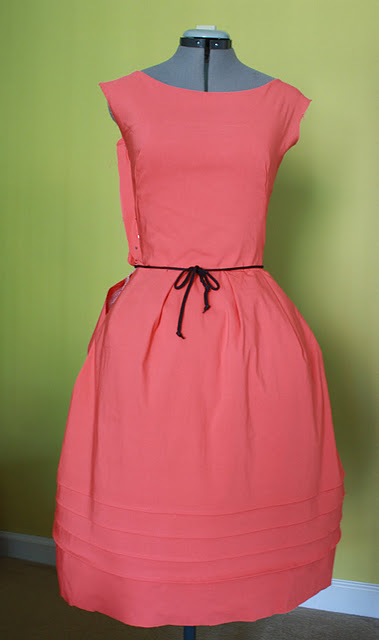
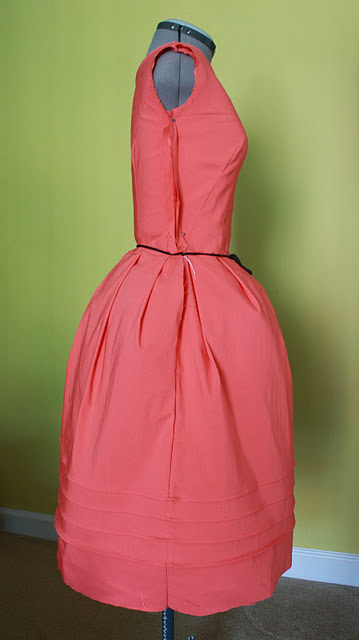
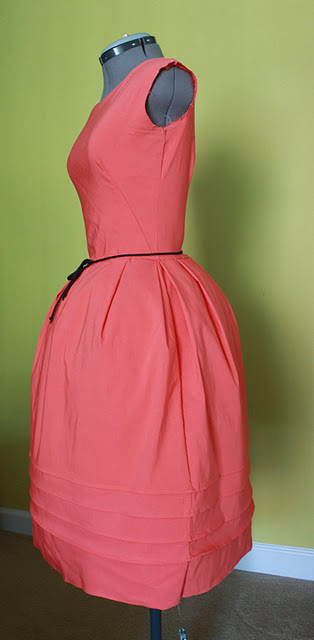
Fast forward to fabric cut, pieces basted together to complete a mock-up dress ready for a fitting. I decided to add pin tucks along the skirt bottom, which turn out to be one of my favorite features. The black tie is just a shoelace used to mock the waistband tie.
At this point, everything but the sleeves, zipper and tulle on the lining is sewn in place, but it’s all easily unpicked, should a major change need to be made.
Luckily, when Emily put it on, it fit perfectly and looked darling. We decided to add a short sleeve and remove one of the two pinned-in layers of tulle. Isn’t the diagonal dart cool? I love it!
And when I finished it was night again, Please excuse:)
At this point she’s done. The sleeves went in easily, the zipper was a breeze (I love invisible zippers!) and the hem finished up nicely.
We decided upon a removable tie at the waist, so it can be dressed up with the matching bow, or dressed down with a belt or shoelace;) The pleated skirt is full and fun. Makes you want to go dancing, or have a picnic on a boat with a sun umbrella…
If growing babies were anything like dress making, I’d grow one every week! I loved the process of this dress, and can’t thank Emily enough for both the chance to make it, and her countless hours dedicated to Project Baby.
Thank you dear! You’re fabulous!

