Garden Glove Rack
For as long as I can remember I have been looking forward to having a yard where I could plant a garden to grow some food and flowers. After years of apartment living, moving to a home with a big yard and temperate weather conditions year-round meant a dream come true! All of the the herbs and fruit trees I’ve planted are doing well, but I’ve needed a place to keep my garden gloves (and those of my kiddos) where they are easy to find! (The previous system involved tossing them into a bucket, where they would all turn into a muddy mess.)
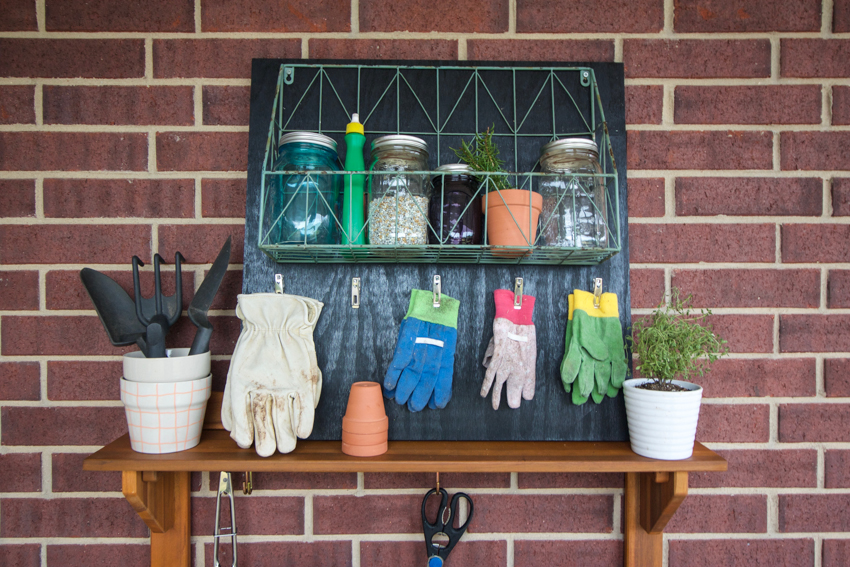
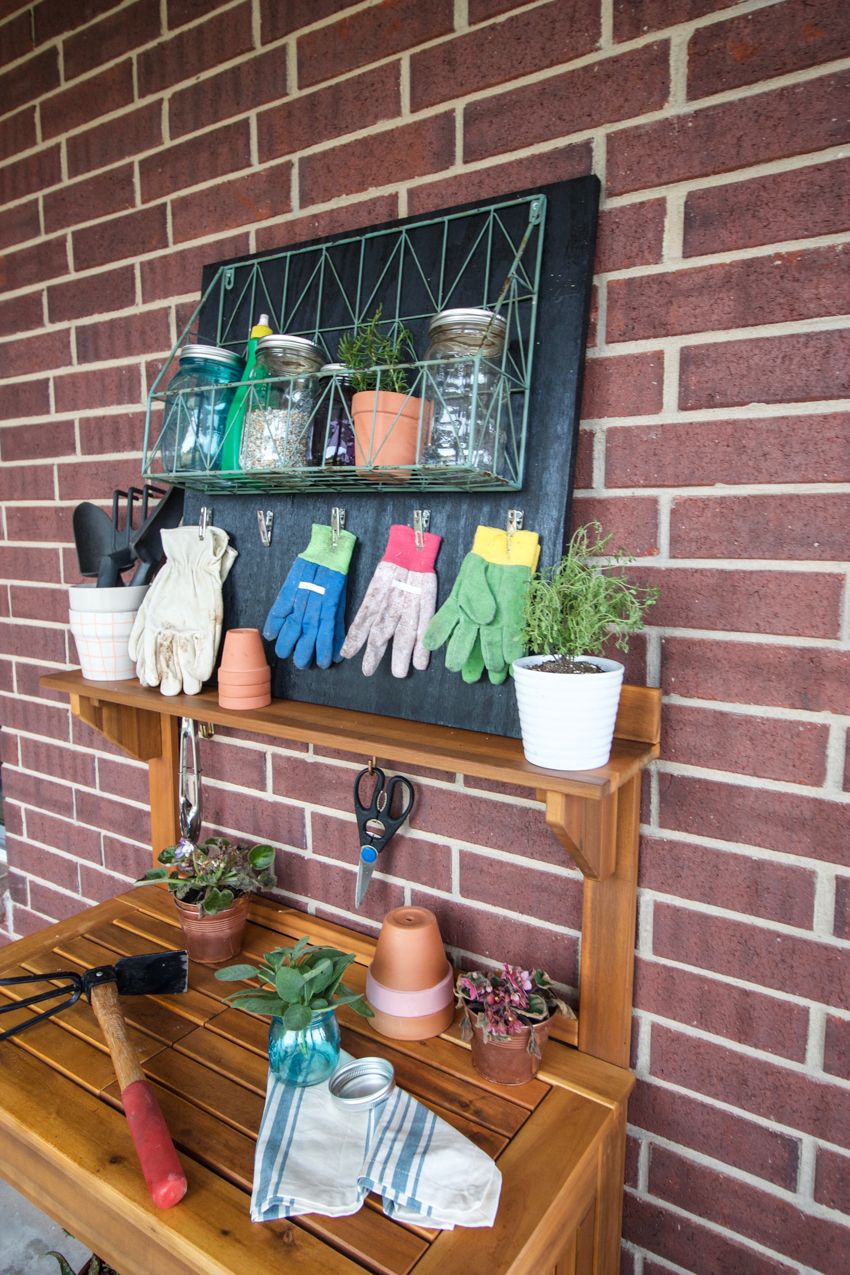
This DIY garden glove storage rack turned out as a perfect spot to clip up our gloves when they’re not in use, and doubles as a fun display. It’s a simple project that you can pull together in under an hour, which means more time for planting, weeding, and enjoying the garden.
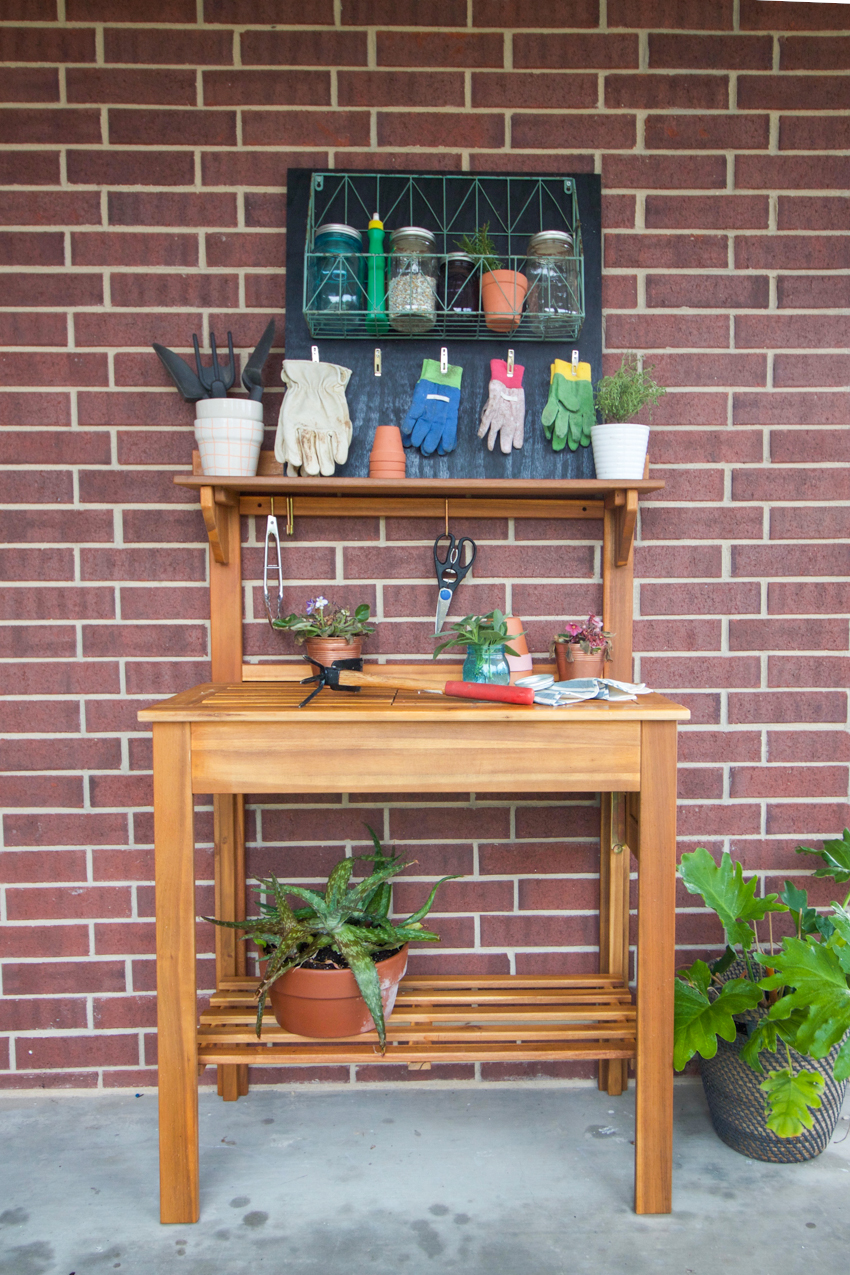
Easy Garden Organization
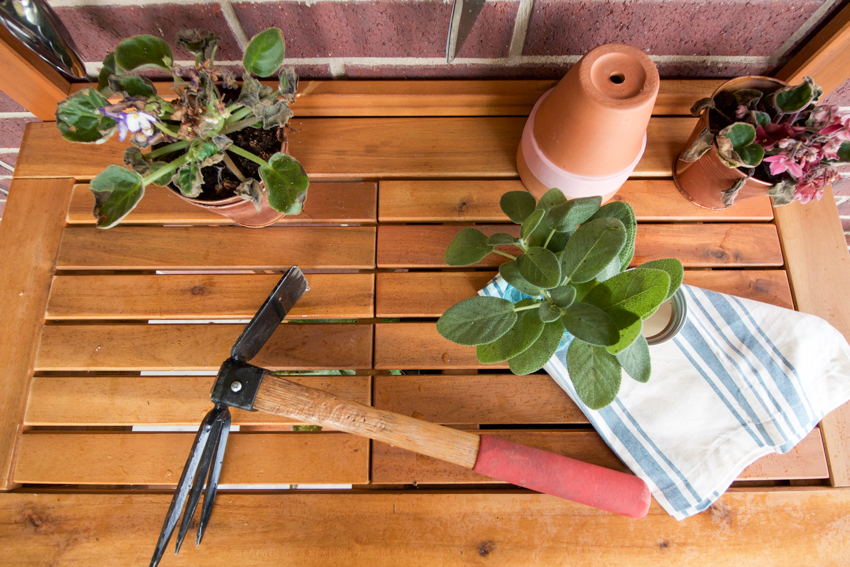
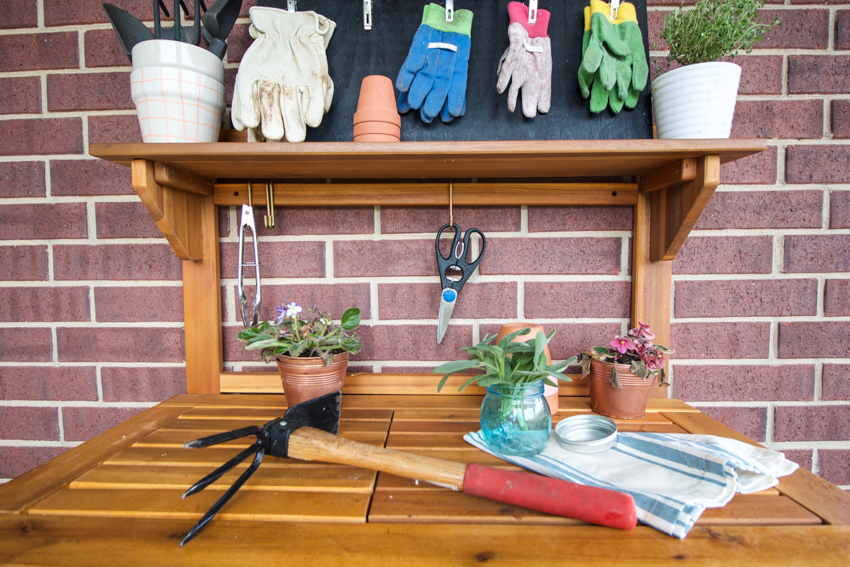
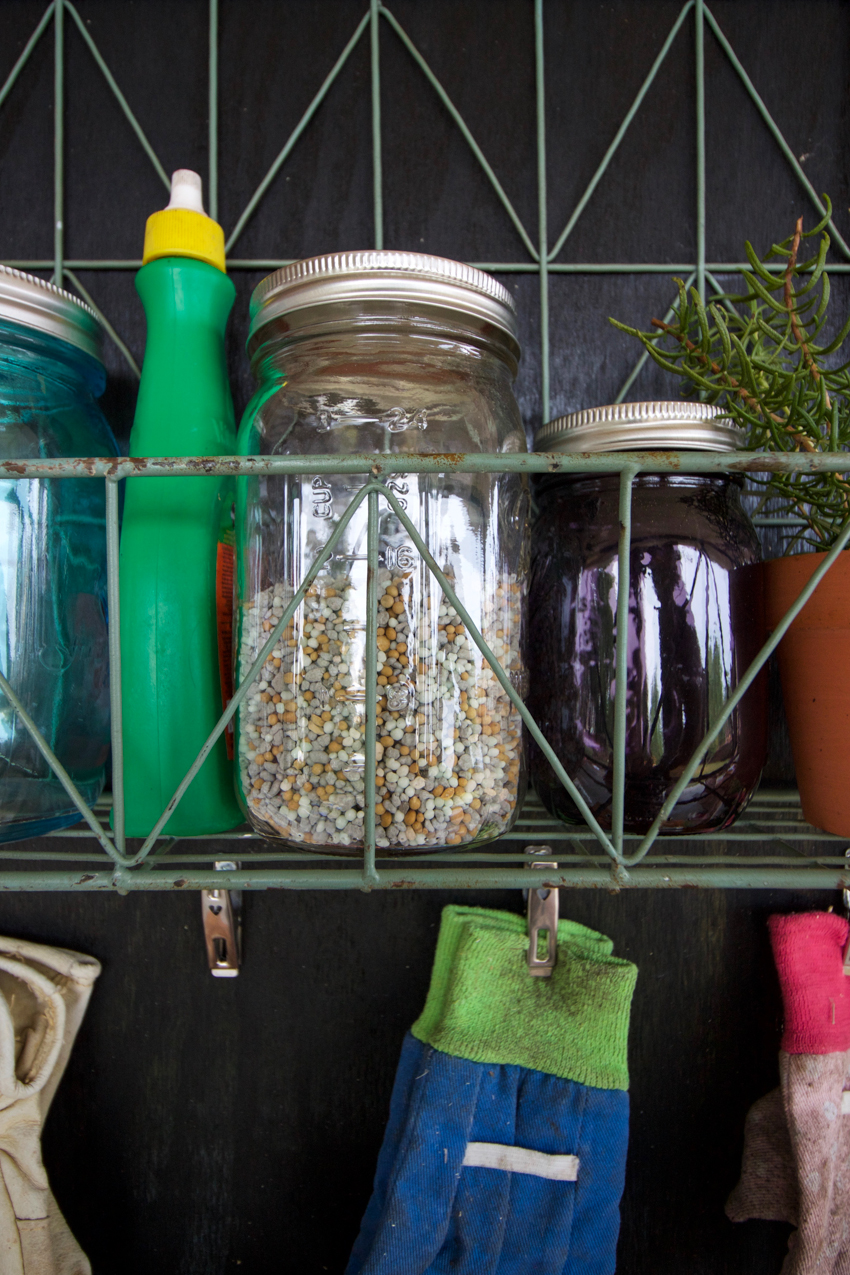
I’ve been using a wooden potting bench as the home-base for my planting and potting needs, and really love both the look and the functionality. It’s amazing to have all of the tools and garden accouterments in one place. I also wanted to make sure I could keep some of the fertilizers up higher, out of my kids reach, so adding the metal storage basket at the top of the garden glove rack made room for bottles and jars where little fingers can’t find them as easily.
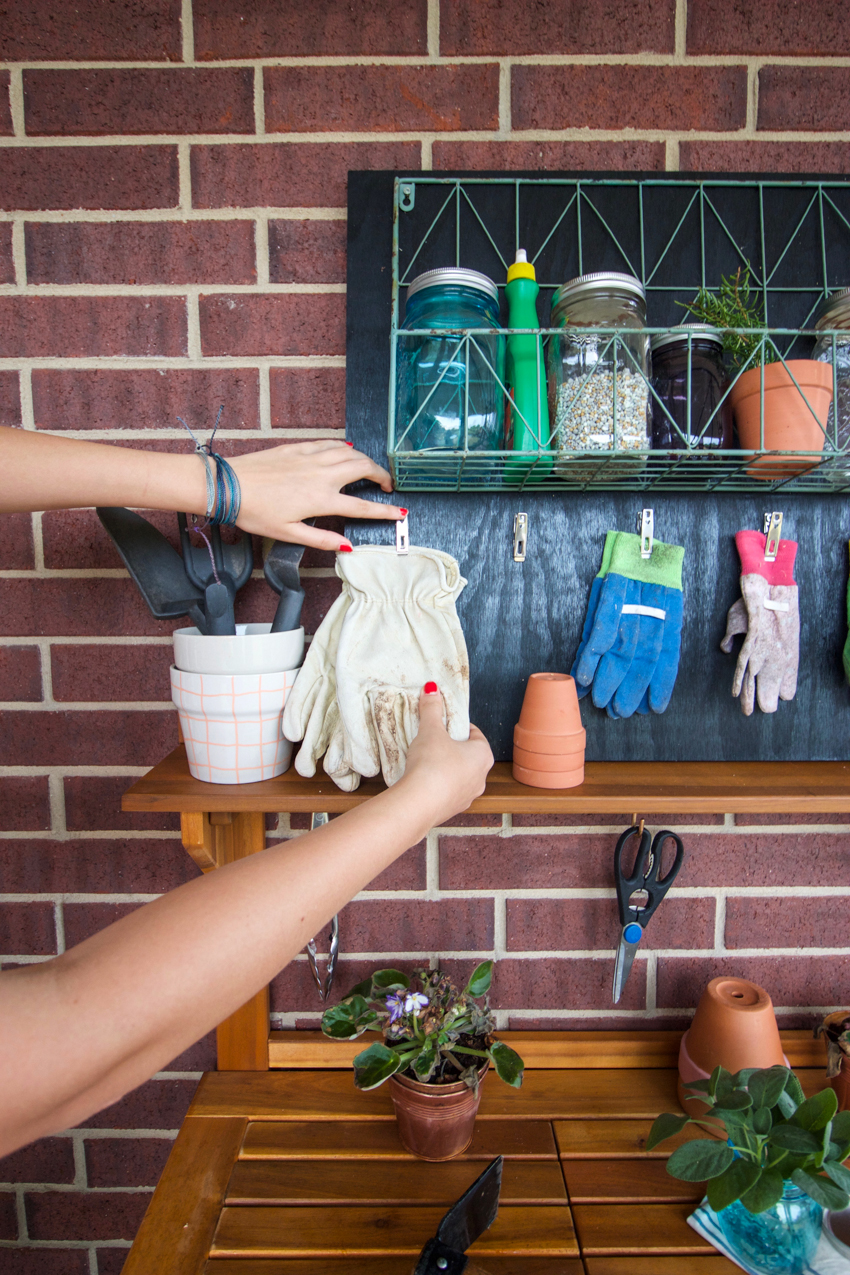
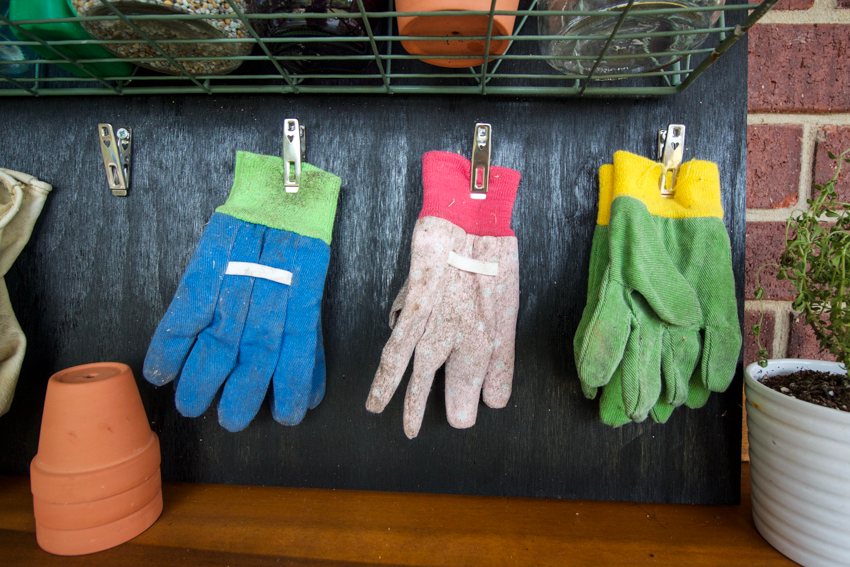
The gloves themselves are simply clipped onto the stainless steel clothespins, keeping them together as pairs. The dirt is able to dry up and shake off in the open air, rather than stuffed into a bucket or bag. I added a clip for each member of our family, so we can all grab our gloves and go on those fun Saturday morning yard work days.
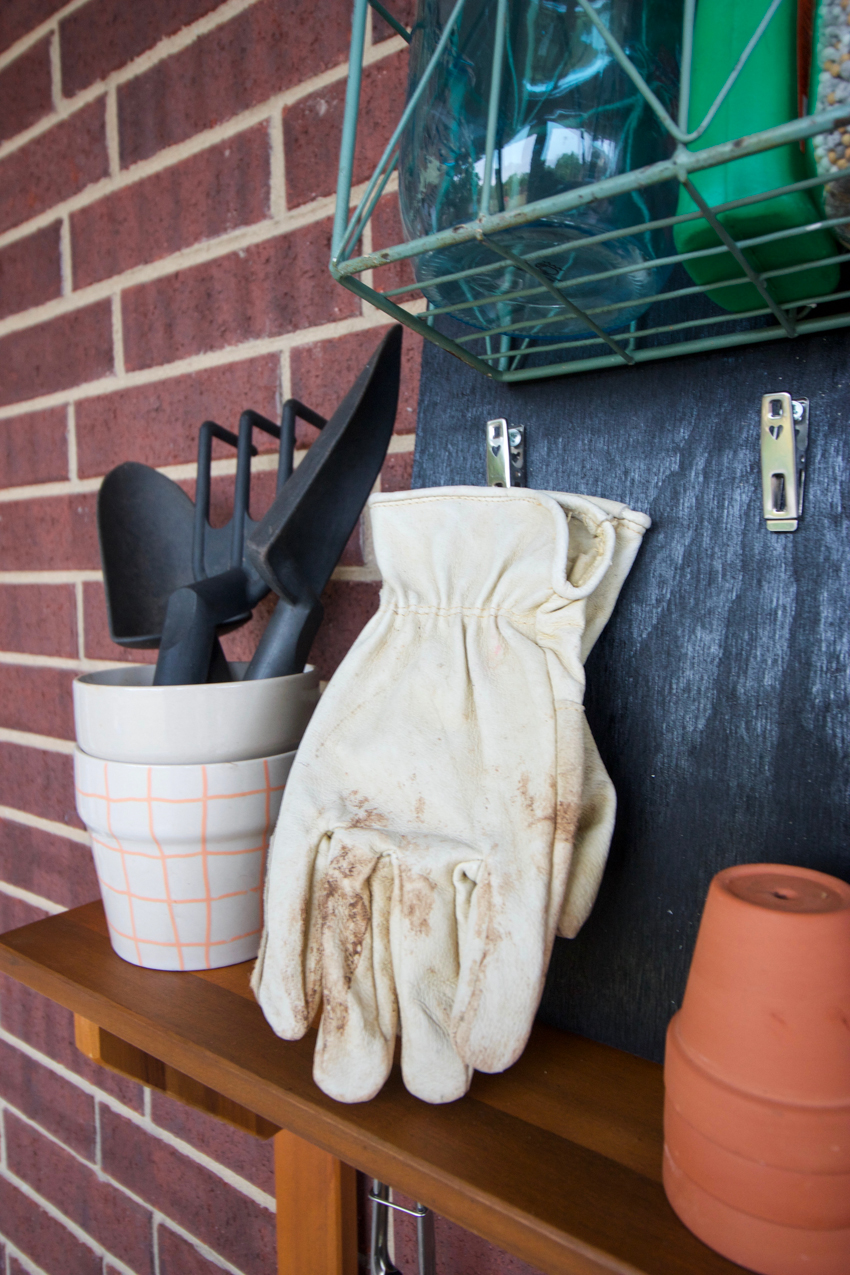
To make your own Garden Glove Storage Rack DIY you’ll need:
24 in x 24 in x 3/4 in plywood square (sold in squares at major hardware stores)
1 wire wall storage basket (optional)
a power drill with phillips head and 1/4 in drill bits
7 construction screws in 3/4″ length
optional* spray paint to paint your board
DIY Instructions
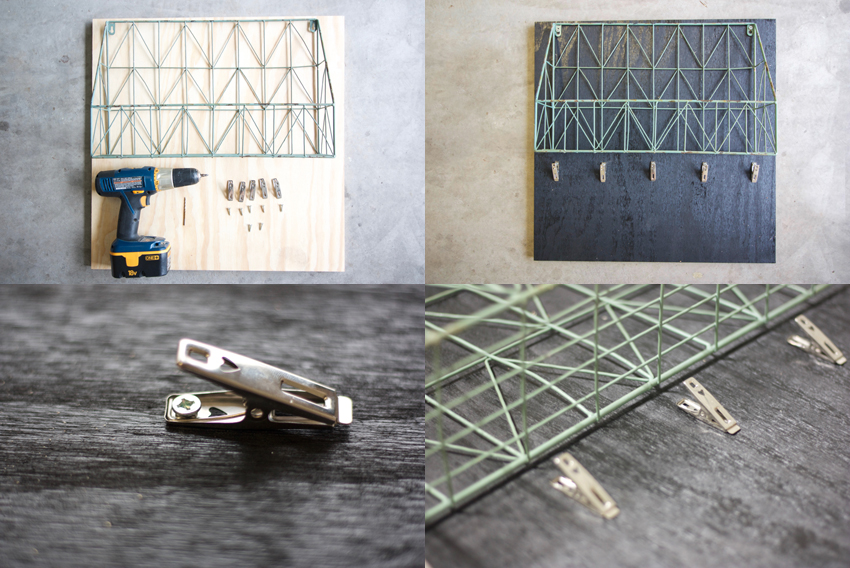
1. Spray paint your board if you’re going to do so. Let dry.
2. Align the storage basket 1/2 in from the top of the board and mark where the screws need to go to hold it in place. Drill in the screws and hang the basket.
3. Line the five metal clips up in the center, and evenly spaced along the bottom of the basket, about 1/2 in from the bottom wire.
4. Mark where to drill the screws in through the back hole of the clothespin and use the drill bit to create pilot holes.
5. Align the clothespins with the pilot hole showing through the back hole and drill the screws through the clip and the board, securing in place.
6. Repeat for each of the 5 clothespins. Easy as that!

