In preparation for an upcoming baby shower (details to come…get excited!) I’ve been looking for an easy felt flower tutorial. Actually, all I really needed was a “how to hand cut a flower out of felt that doesn’t look like an octopus or an alien blob.” Every time I looked for “hand cut” I got links to really great and amazing felt flowers that had maybe been “hand cut” with a Sissix, Cricut or Die Machine…but NOT “cut-by-hand!!” After cutting lot’s of REALLY ugly flowers, I discovered the following steps work pretty well for those of us without mechanical assistance for our flower cutting.
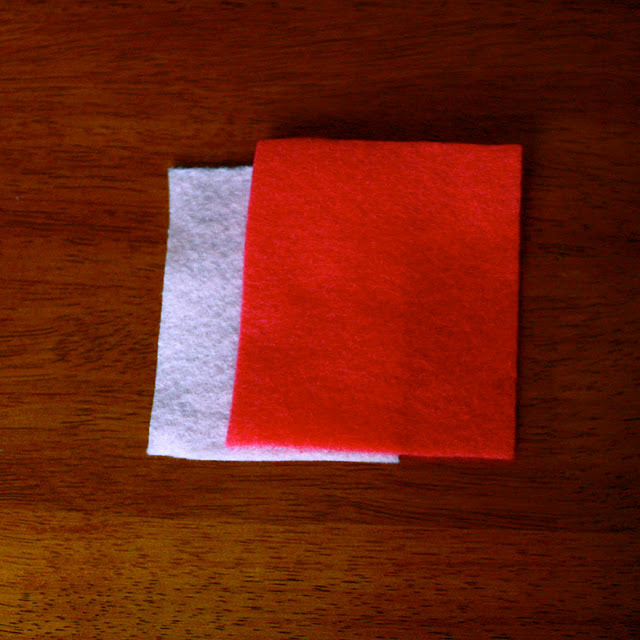
Go and get some felt. I used eco-felt made from recycled bottles. You can get it at pretty much any craft store. Some more specialty stores sell great, thick wool felt. Maybe next time!
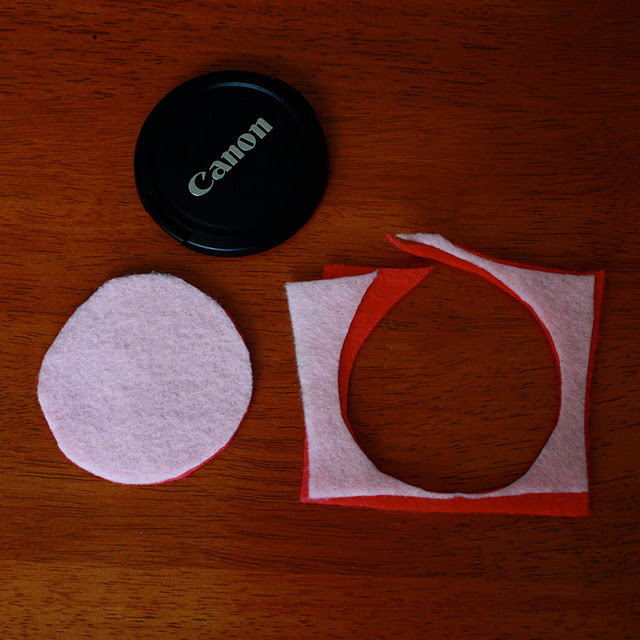
Use a circular object to trace a simple circle, the size of the flower you want, onto the felt in chalk. Cut out the circle. You can do a couple layers at once no problem.
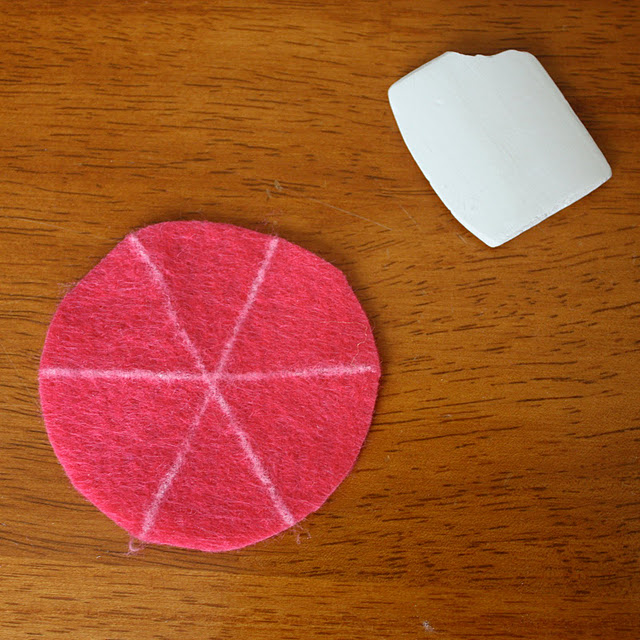
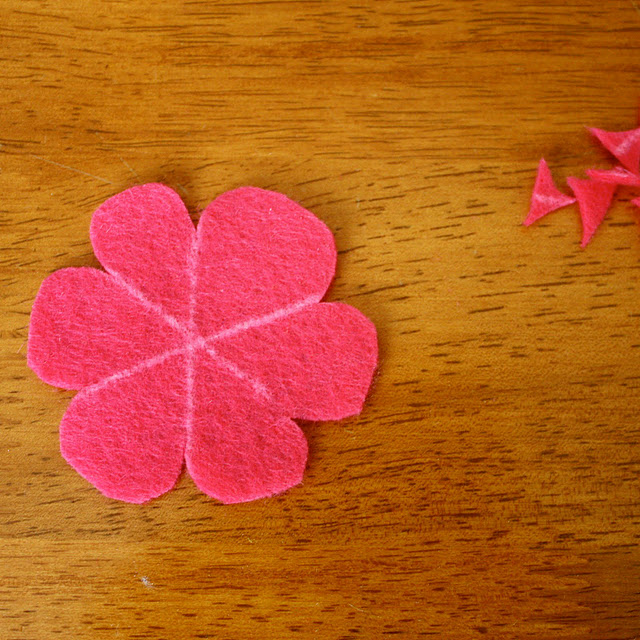
Now, here’s the part where I got creative. In order to get more uniform petals, you need to divide the circle into even sections by drawing chalk lines across the circle. Each section will become an individual flower petal. I did a six-petal flower…you can decide how many you want.
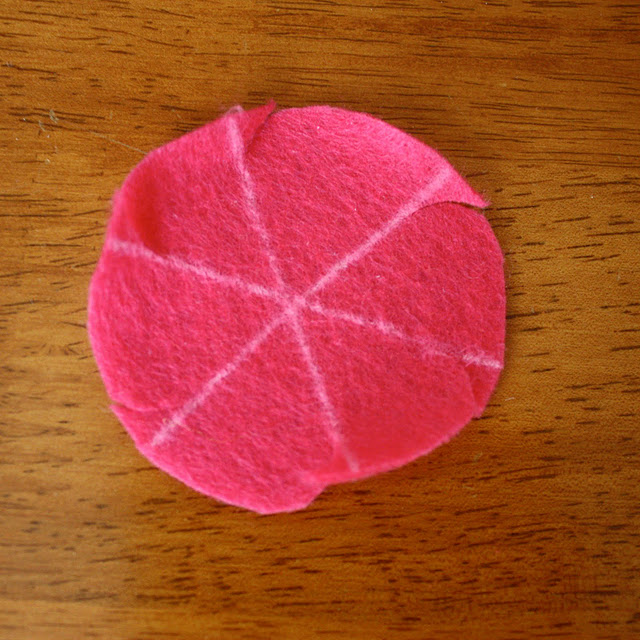
Using scissors, round off one corner of each section, ending the cut right along the line.I found it was easiest to do all one side first, then flip it over and round the opposite corners.
And, there you have a relatively even “cut-by-hand” felt flower. Not perfect, but there is definitely something to each one being a little different. Sort of like real flowers!!
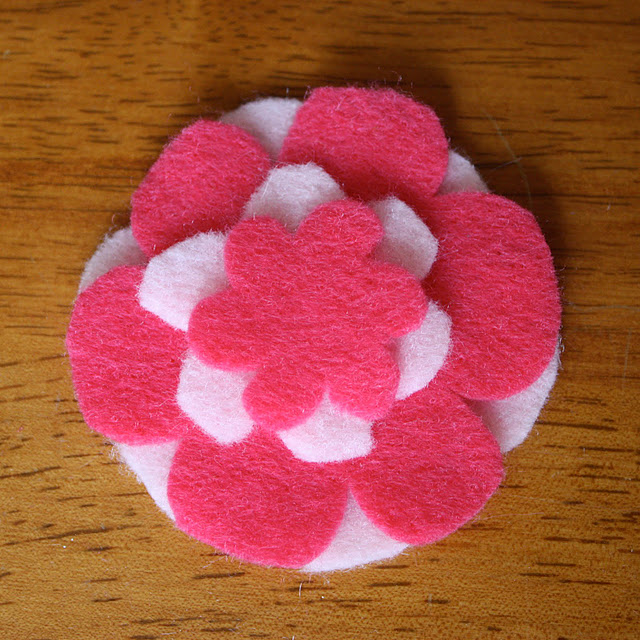
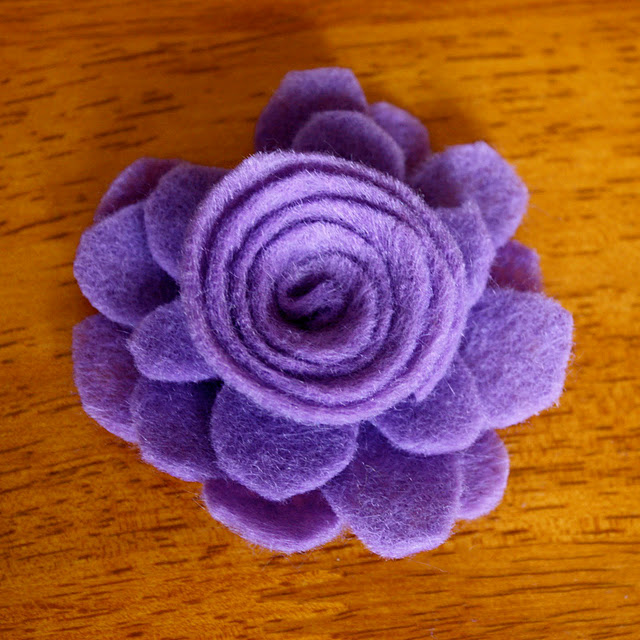
By making smaller circles into smaller flowers you can make a layered bloom…
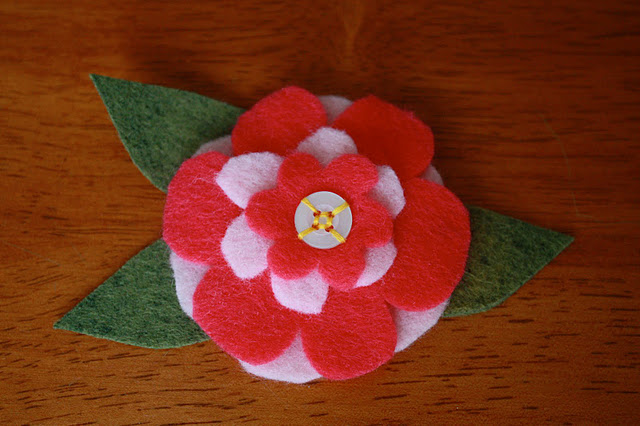
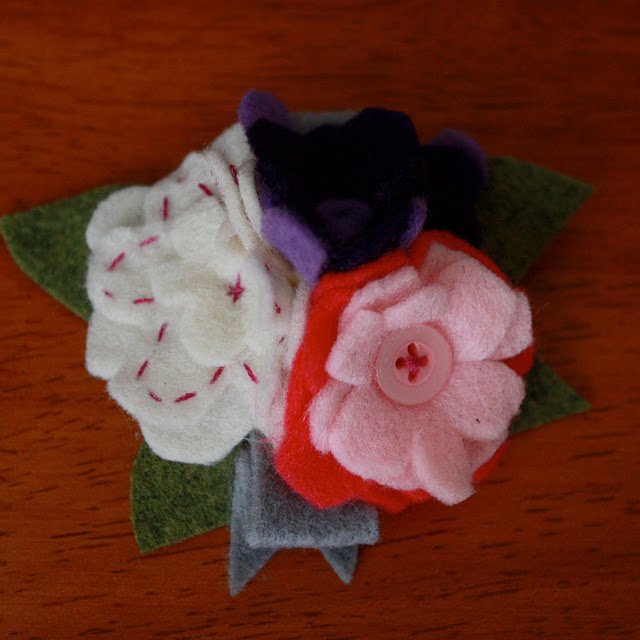
Then add some felt leaves and a button center! If you want a no-sew solution, just hot put a dot of hot glue in between each layer and under the button and you’ve got it!
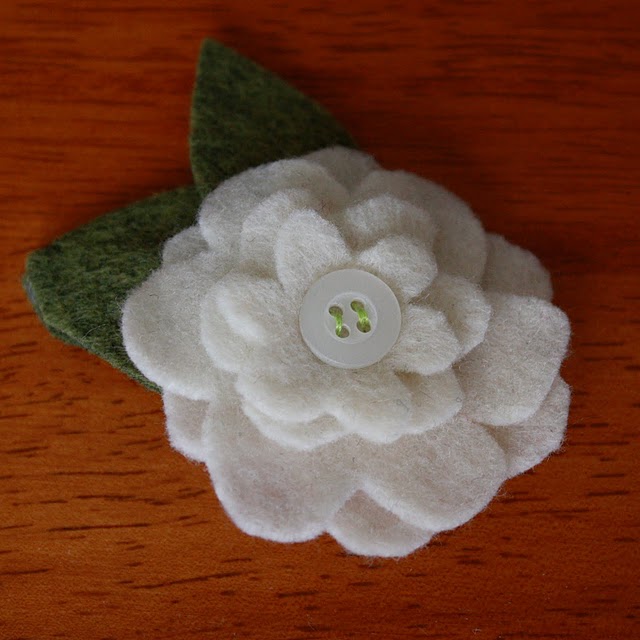
Layers and layers of one color is beautiful, too!!
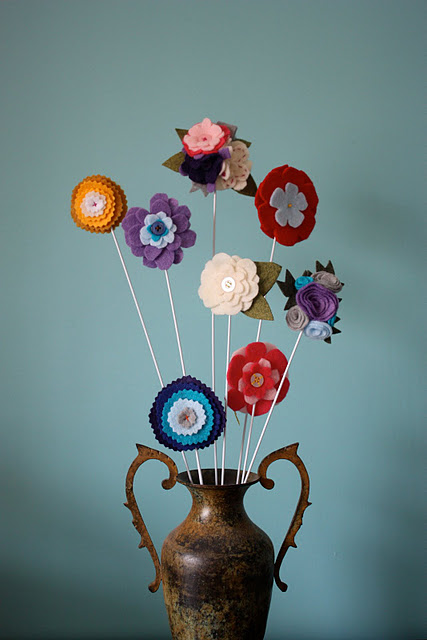
A little hand stitching and some different colors makes a great little bouquet.
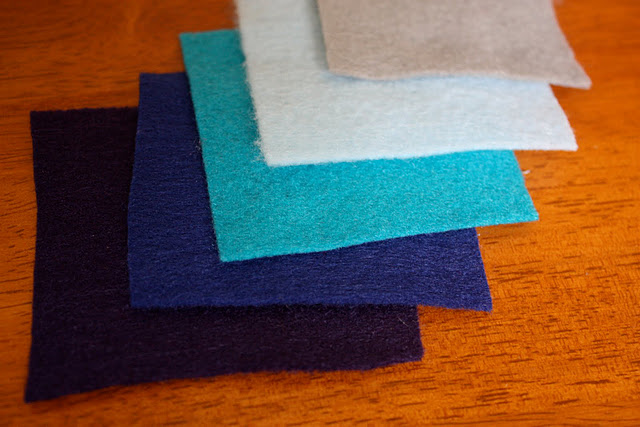
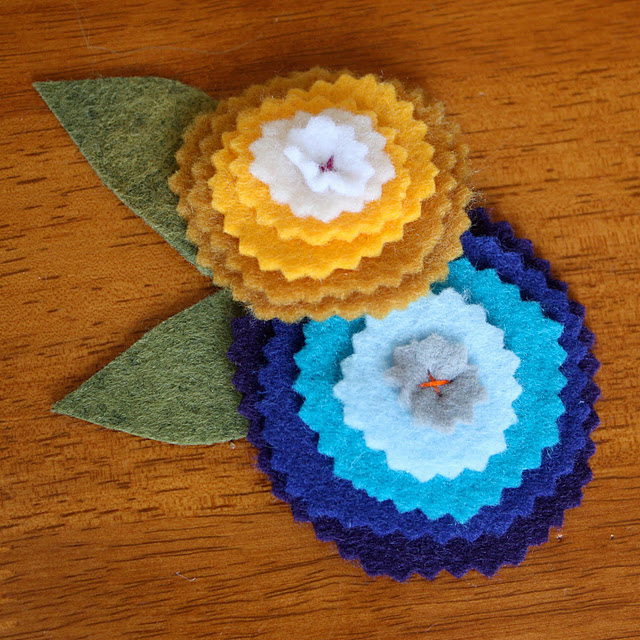
Okay, ready for a different one? Gather a group of monotone shades and order from dark to light.
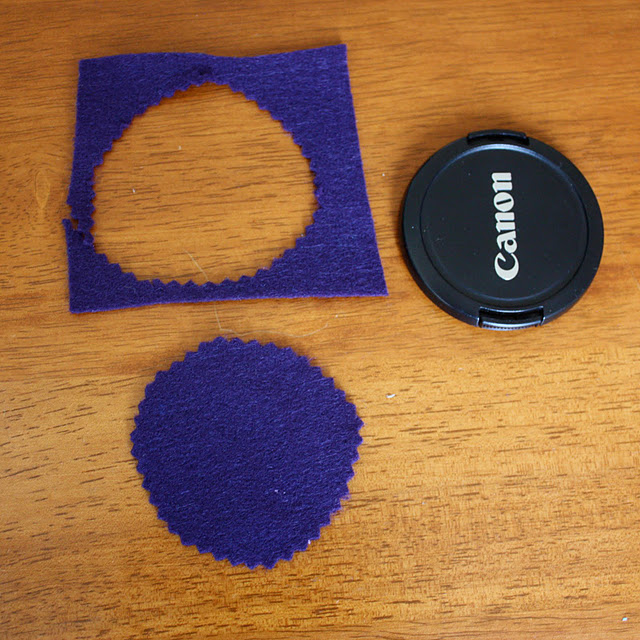
Grab your pinking shears and cut the darkest color into a circle as big as you want the flower to be.
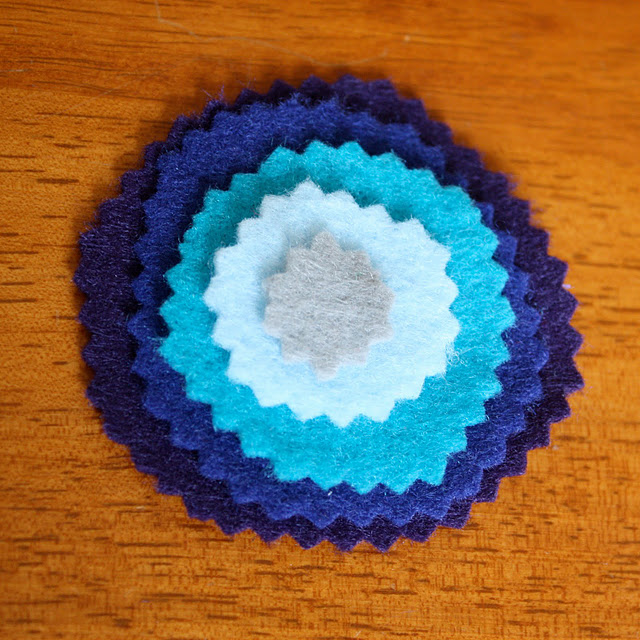
Then, by cutting each color slightly smaller, you get a fabulous blossom!
Stitch or glue the center and add a leaf or two.
Maybe add another in a different shade? Fantastic.
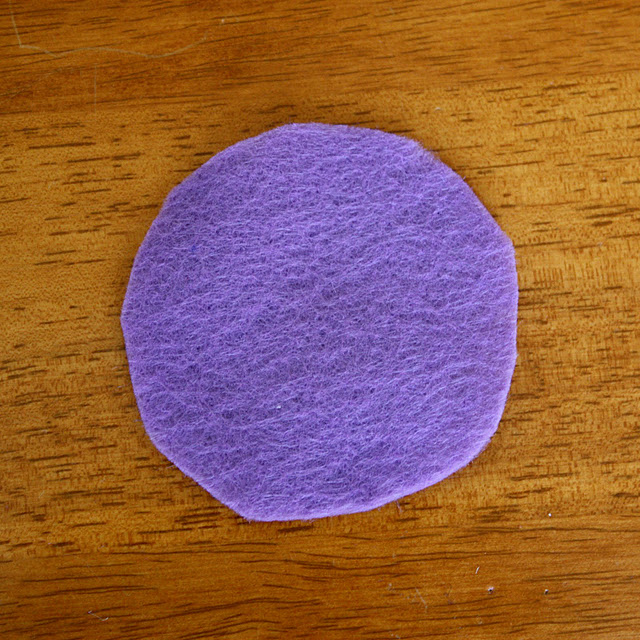
Okay. Last one, ready? Start with a circle (getting the hang of step one?)
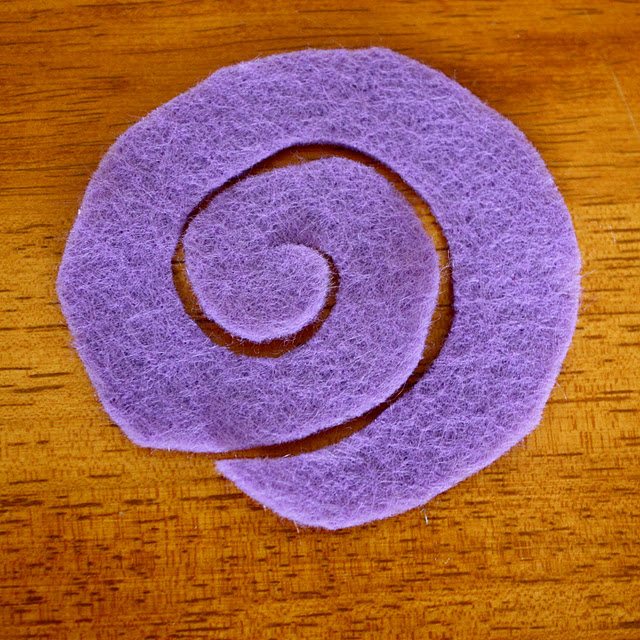
Now, starting along the edge, cut a spiral right into the center of the circle.
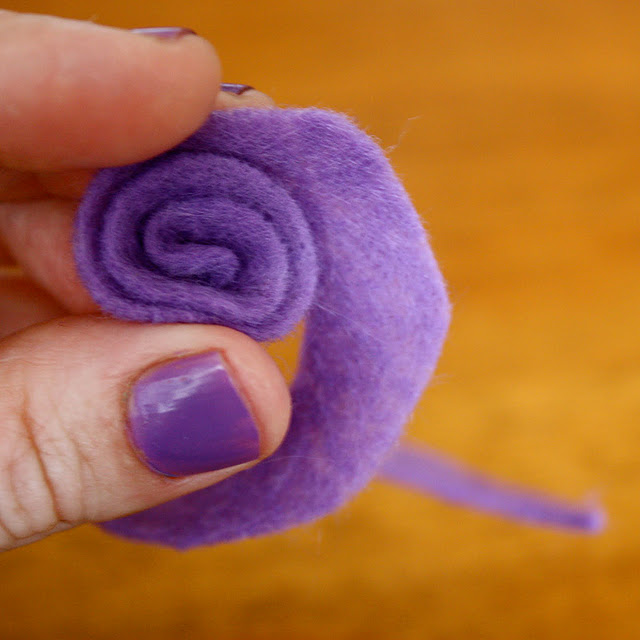
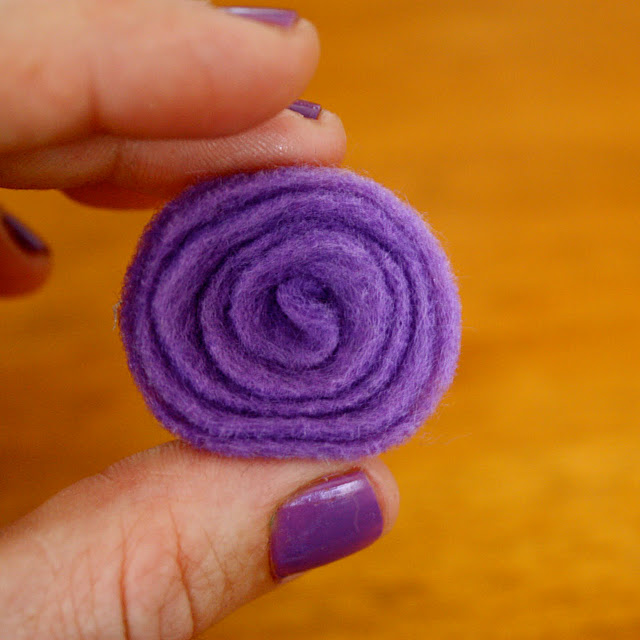
Fold the middle over, and begin winding the felt close to itself.
When it’s wound up, you’ve got a rosette! (and if you’re lucky some spring polish to match!!)
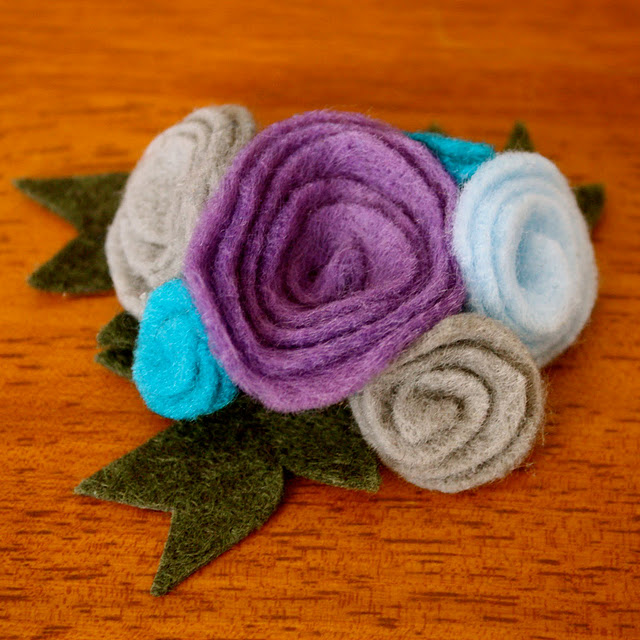
…or make a few more and make a little cluster.
Now, these are just some very basics. Add some cool buttons, funky fabric, or hand embroidery…glue them on a headband…stick on a hair clip…attach a wire and put them in a vase…the possibilities are endless!!

