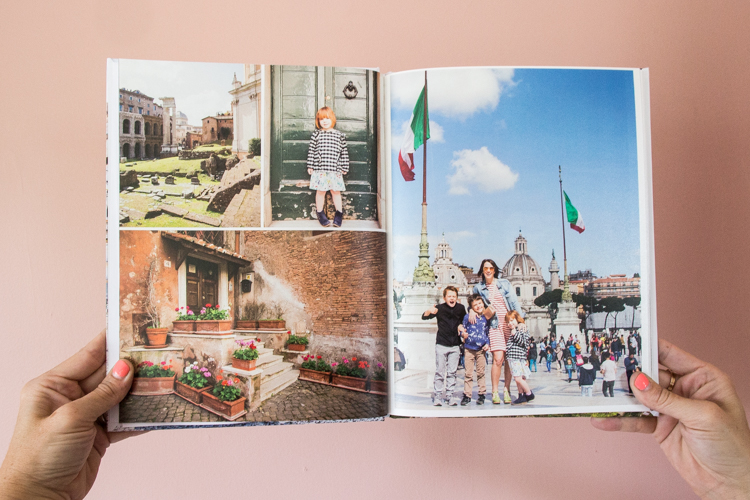
I used to be an avid scrapbooker. It’s true. And it’s also true that around the time my first child was born I slowly stopped saving my photos and memories in a book. I have hard drives full of them, and every year have vowed to “catch up” on our family memories to no avail. Well, after we spent a week in Italy during Spring Break this year, I decided it was finally time to start saving those sweet moments into hard copy and I set to work creating a travel book from our adventure.
I want to share the whole process, in case some of you are wondering where to start and how to create a photo book for your own family. Let’s get started!
How to Create a Photo Book with Mixbook
So many times in the past I have tried to start at the beginning…or at least where I left off with my photo books (circa 2009.) I immediately get so overwhelmed I freeze and do nothing! This is why I recommend beginning with a fun family trip that you took recently. This spring or summer is a perfect place to start!
Because the memories are recent, it will feel easier to put them together in a book and write about the experience. Also, if you choose one trip, or a set set of time, like “Summer 2018” there is a definite starting and stopping point. Having a specific moment to capture really increases the focus and decreases the anxiety.
I decided to create one photo book from our Spring Break in Italy, and the entire process took me about three days. I spent a couple hours the first night working through my photos, choosing my favorites, and editing them. Then, the second and third day I dragged them into the Mixbook formatting program online, moved them around, cropped and adjusted, and I was ready to order!
Let me share a little bit more about the simple process to help you get started creating your own photo book.
Choose Photos
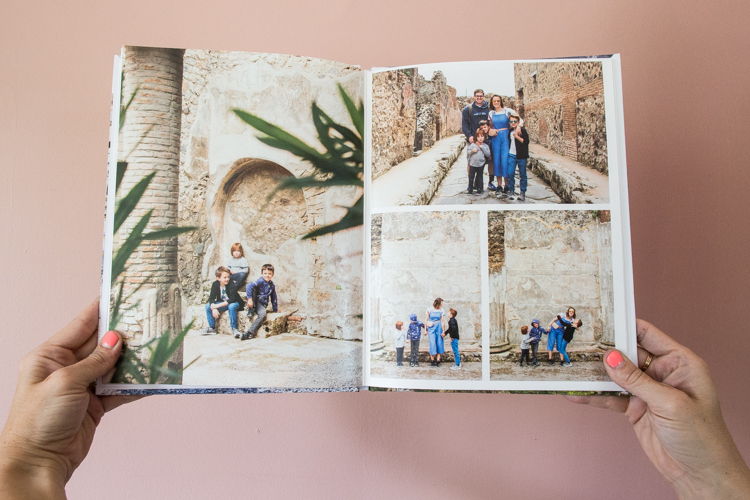
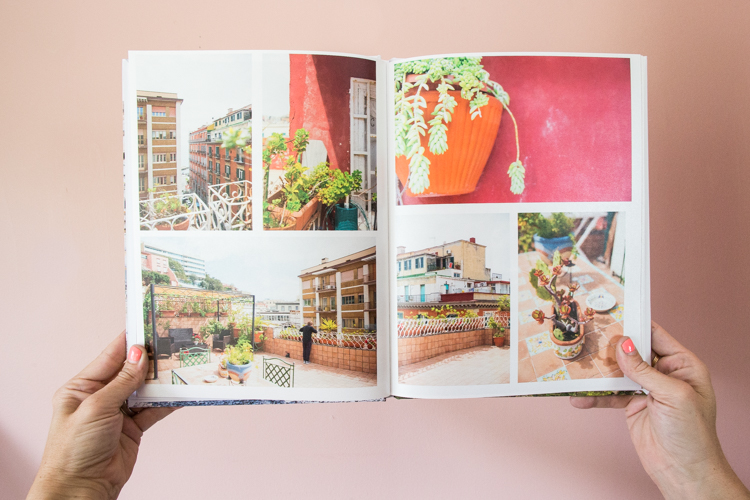
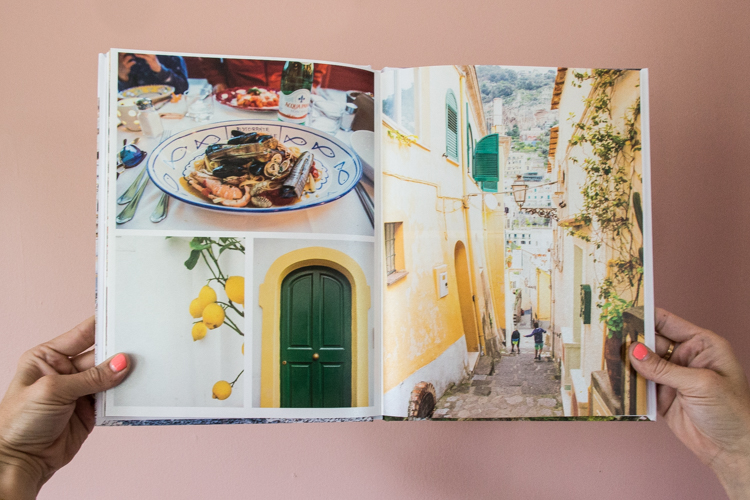
The first step is choosing your photos. This is a PHOTO book after all! I liked choosing a variety of images from our trip. I included the fun family photos and portraits of the kids, and also those beautiful landscapes, detail shots, and lots of pictures of gelato. Ha! On social media we tend to only post one or two photos of a trip: the absolute highlights. Your family photo book is one place to pull out all the stops and create a real, vivid memory of the time, location, and experiences shared.
I also like to include photo sequences in a book like this. That is, two, three, or four photos of the almost the same thing. For example, a bunch of different faces a kid pulls while you’re snapping away. These make really fun series, and add a lot of dimension and realness to the memories. I don’t only chose the very best photos for the book, I choose those that feel the most like our real experience.
Edit Photos
After I chose a bunch of pictures, I pulled them into my favorite editing program to brighten, straighten, and crop. I use Adobe Lightroom for this process, but if you don’t have that most computers and phones have a free, simple to use editing program installed. Small adjustments and edits makes a big difference to the overall quality of your photo book, and you will really appreciate the extra effort it takes to do some basic edits.
If this process feels overwhelming, skip it! Done is better than perfect, after all. However, if you are even the tiniest bit tech savvy I am sure you can figure out how to do some basic editing to make your images all feel little more professional.
My usual edits include: brightening or increasing the exposure (but not so much everything looks white!), adding a tiny bit of saturation, correcting the white balance (if a shot was taken inside I lower the temperature, and if it was taken outside I warm it up), and sharpening the edges.
Choose a Format
At this point you are ready to upload your images into Mixbook and choose a book format! The options for the Mixbook photo books are landscape, portrait, or square.
I chose a portrait book so that it will fit better on my bookshelf (and not stick out too far.) I also considered the square format, but because this wasn’t going to be an Instagram book, I wanted the photos to be included in their full profiles. I really love photography and although I have been conditioned to think in square images for the ‘gram, I do prefer true portrait and landscape images!
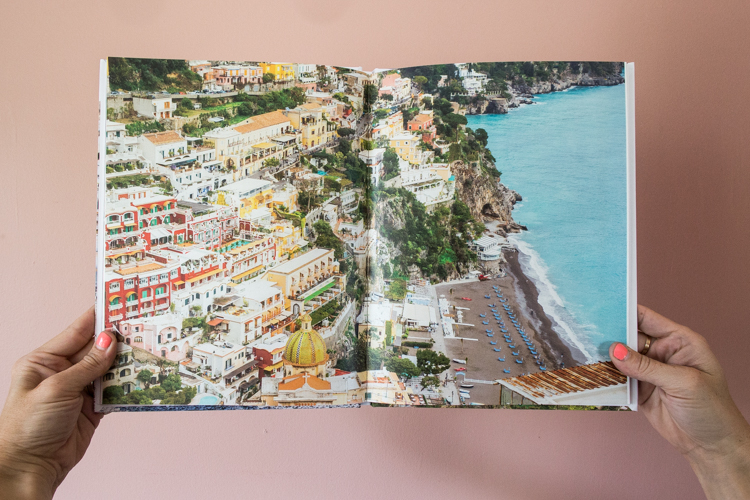
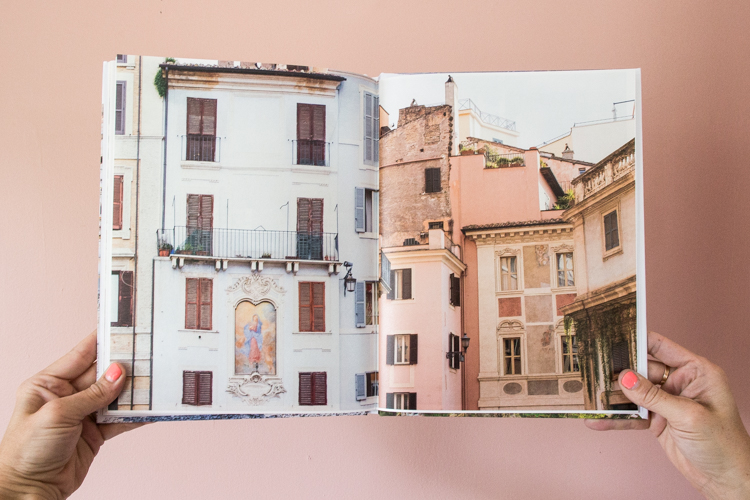
In the portrait format book I was able to include pages with both portrait and landscape images. I also really loved taking advantage of the full-format two-page spread for highlighting some of my very favorite art-style photos from the trip. That double spread creates such a beautiful impact!
Choose the format of book that seems like it will fit your style and storage needs the best.
Drag, Drop, and Modify
Once you choose a format, you can also choose a theme. Mixbook comes with a bunch of travel themes loaded, which basically means you can use the layouts other people have created and drag and drop your own photos. There are some really fun options, including some with original illustrations and details you can include.
I played around with a couple, but in the end I am such a personalizer, I really preferred to create my own theme by using the design tools. I could add photos, then using the corners simple drag and modify the sizes and styles. Once I had the frames in place, I could easily drag and drop the photos into place.
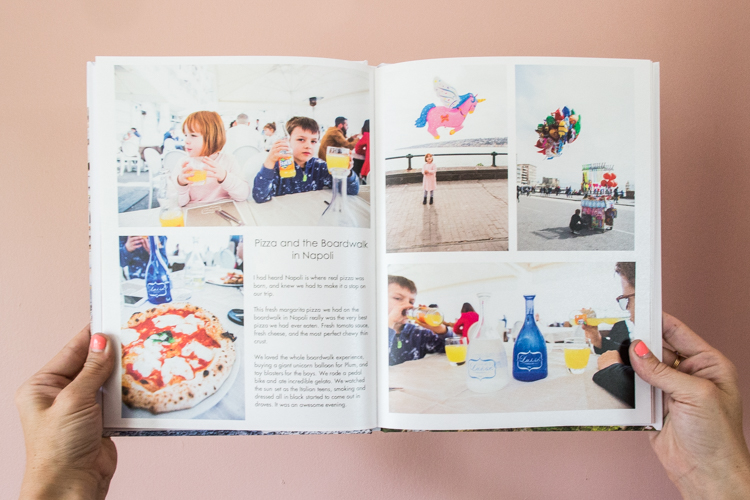
I worked on the book in two-page layout, so I could see how the images on both sides of the fold played off each other. I kept our book chronological, and also made sure to include similar colors, styles, and vibes as I worked on one spread at a time. The process of designing in layouts also helped me narrow down my photos a little but further. I was able to see if I was capturing the experience well, and leave out photos that didn’t add to the memories.
I did include a few small text boxes to include details about where we had traveled and a short line or two about what we thought. For the most part I wanted the photos to tell the story. I also did include a couple pages at the back with the text from this long blog post I wrote about our trip.
This piece of the project was really fun and also took a little while. Stay focused and patient as you build your project, looking forward to how amazing it will be to have and keep!
Choose Paper
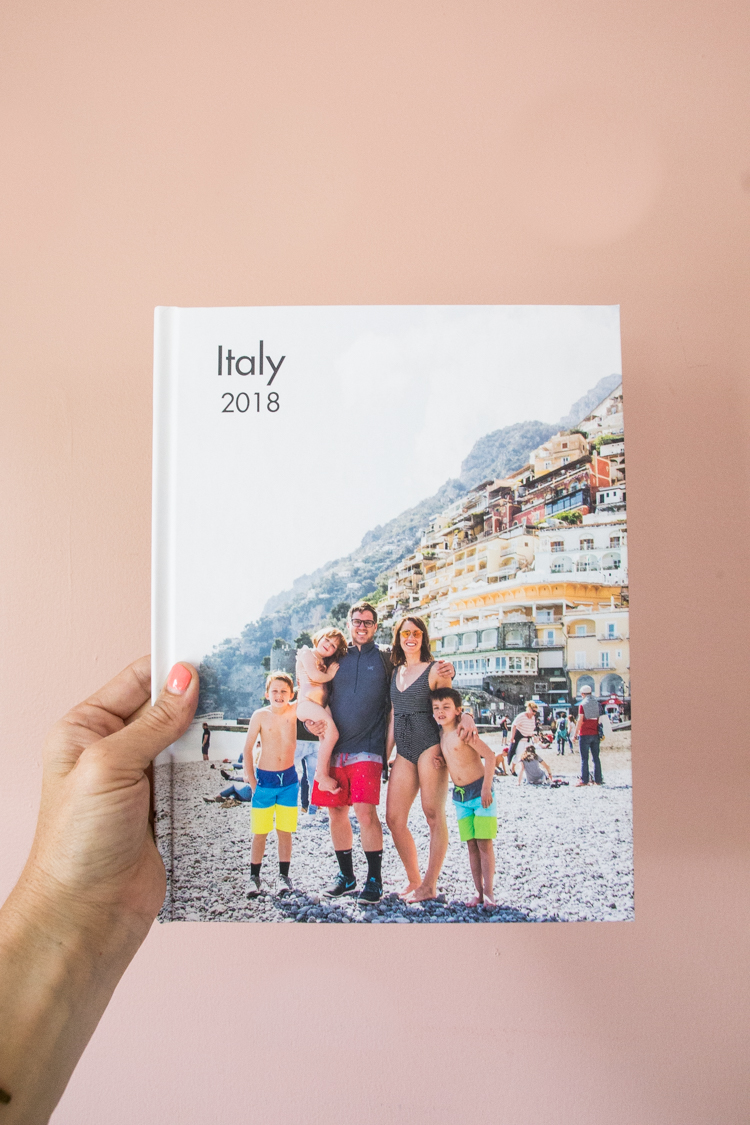
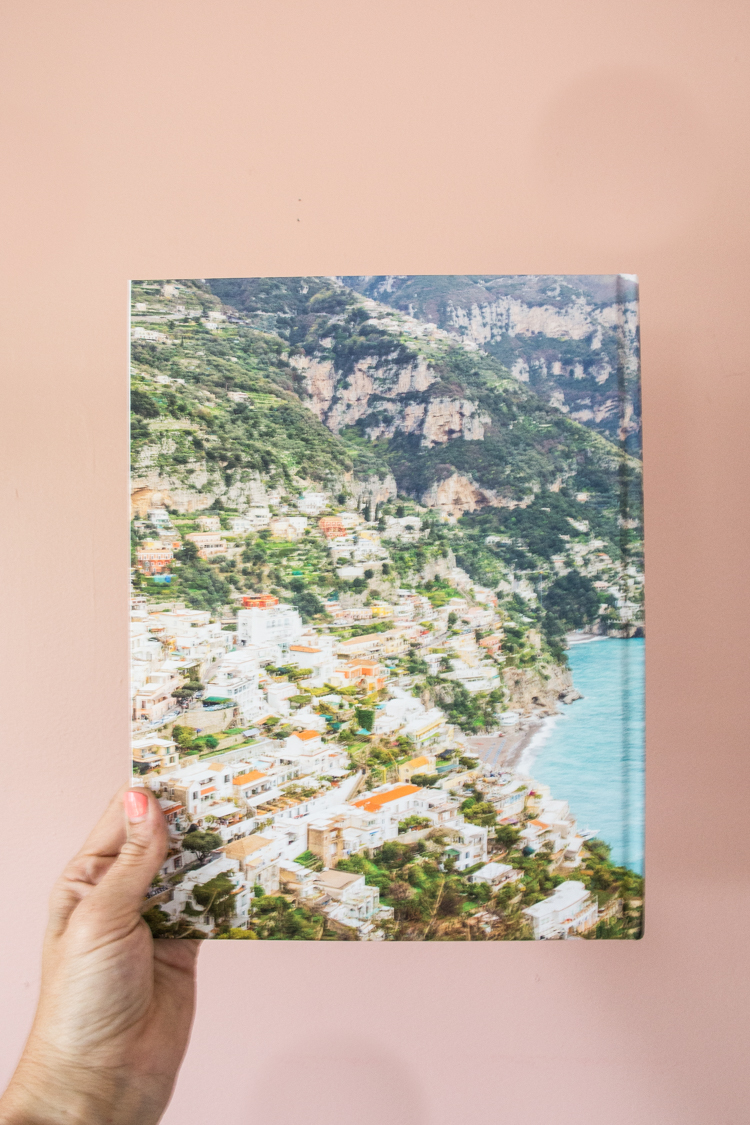
After the photo book was all the way built, all that was left was to choose the final details of cover art and paper type. I knew I wanted this family photo for the cover, and I ended up putting a shot of the mountain behind us for the back of the book. I chose a matte hard cover, and saw Mixbook also offers glossy hard cover, soft cover, and even a leather bound option!
When I came to paper, I was clueless. I noticed that Mixbook offers a couple different varieties of paper, including a new pearl luster that sounded awesome. Well, folks, it IS awesome. The pearl adds a subtle shimmer to the images (and not in a weird, tacky glitter way). I absolutely love the way it highlights the photos of my trip and will definitely chose it for future projects.
Print + Ship
Now that your book is finished, all that you need to do is press order! My 98 page book came out to about $150 before a discount, but I have noticed that there is almost always some sort of promotion running. Check the header banner at the top of the Mixbook website for the currently running promotion!
I received it about a week after ordering, and was honestly bowled over by how gorgeous it turned out! I will plan on including a travel book budget into my travel plans from now on, and just make the memory-saving part of the trip; Unpack, do the laundry, make the photo book.
Enjoy Your Travel Memories Over and Over!
For as much as my family travels and as many adventures as we take, it means a lot to capture and be able to hold onto the memories we create. Photos stored on the computer or phone are simply not the same kind of accessible to re-live the experience.
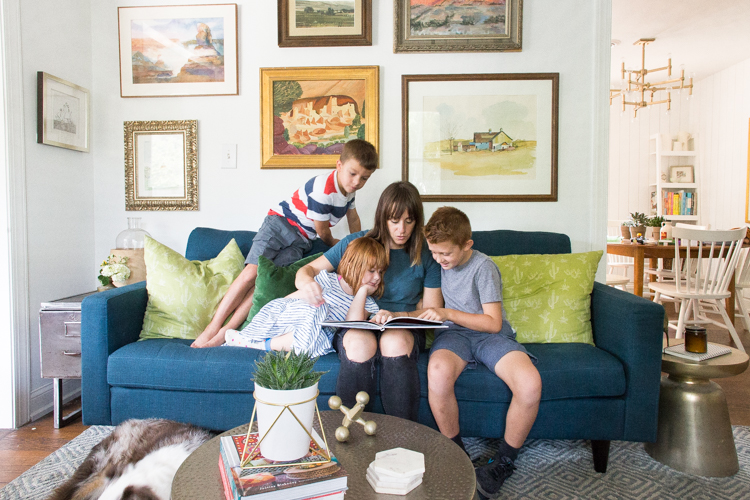
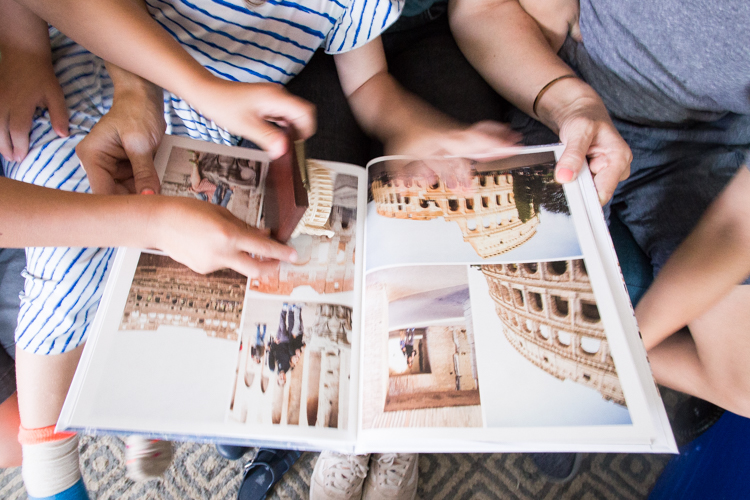
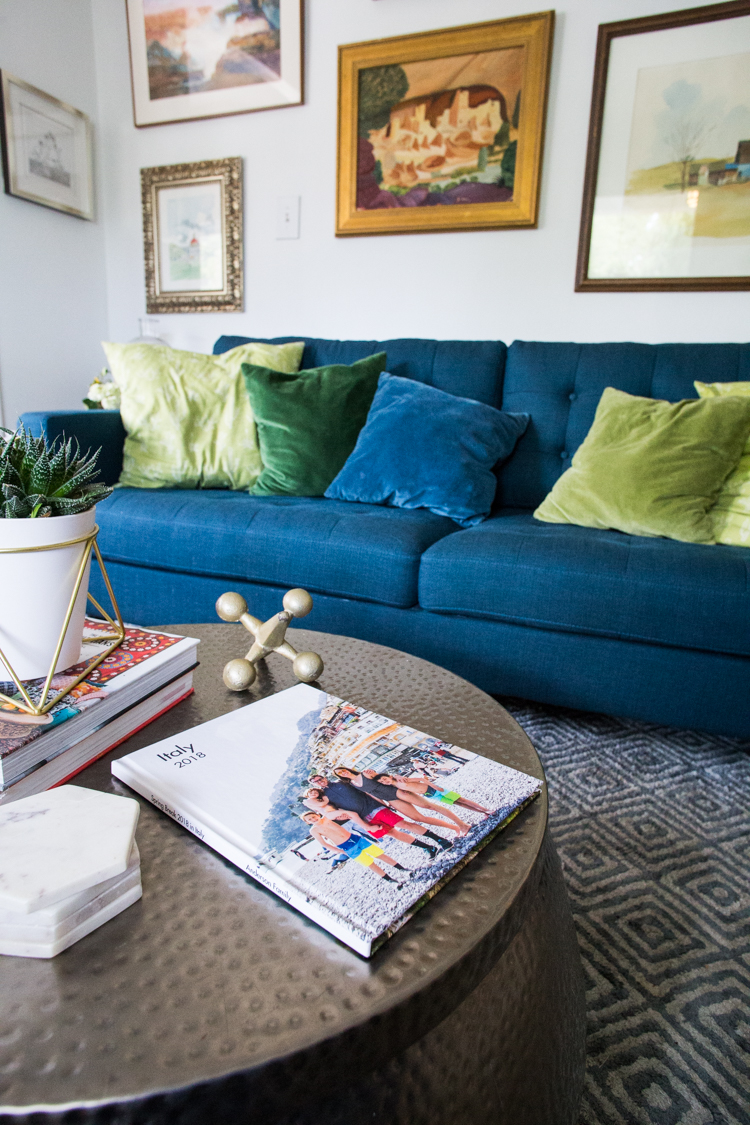
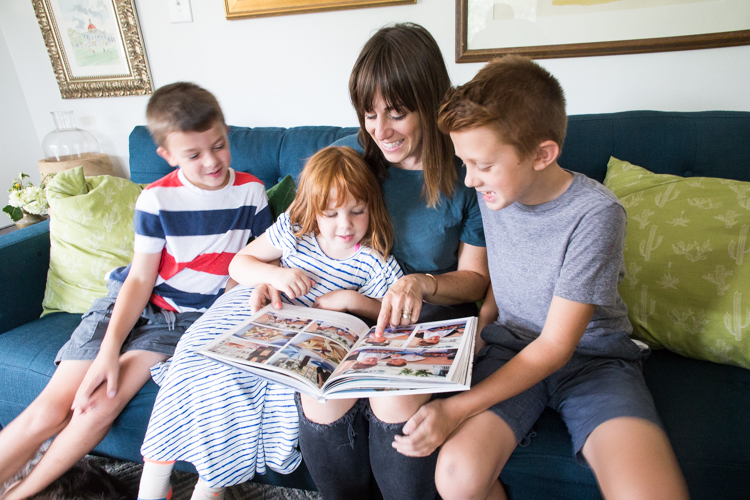
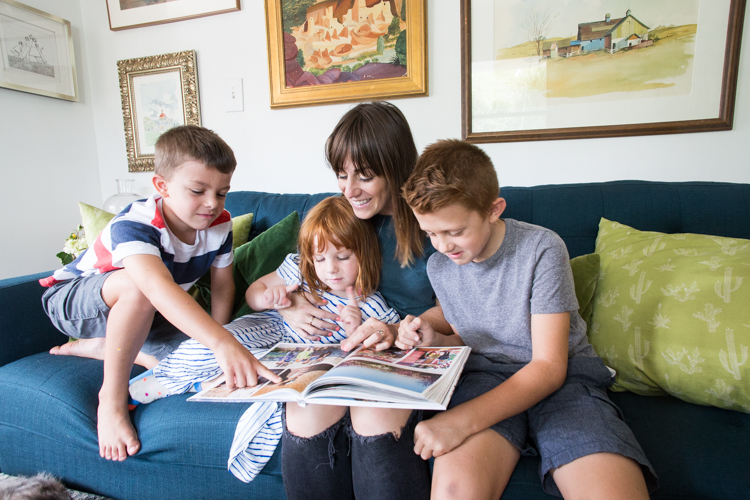
I have flipped through our photo book a hundred times this last week since it arrived. The kids and I all pile on the couch and laugh at the gelato on Plum’s nose, remember walking down those cobblestone streets, and oohing and ahhing at the beauty of the cliffs in Positano and the buildings in Rome. Taking the time to intentionally create memories with my kids feels like a natural part of my life, and I want taking the time to intentionally REMEMBER those memories to also become a habit.
It felt so good to begin with this one, fantastic trip, all laid out and formatted and sitting on my coffee table. And now I will use the momentum to begin the next one. And then the next.
Thank you Mixbook for sponsoring this post. All opinions and experiences are my own!

