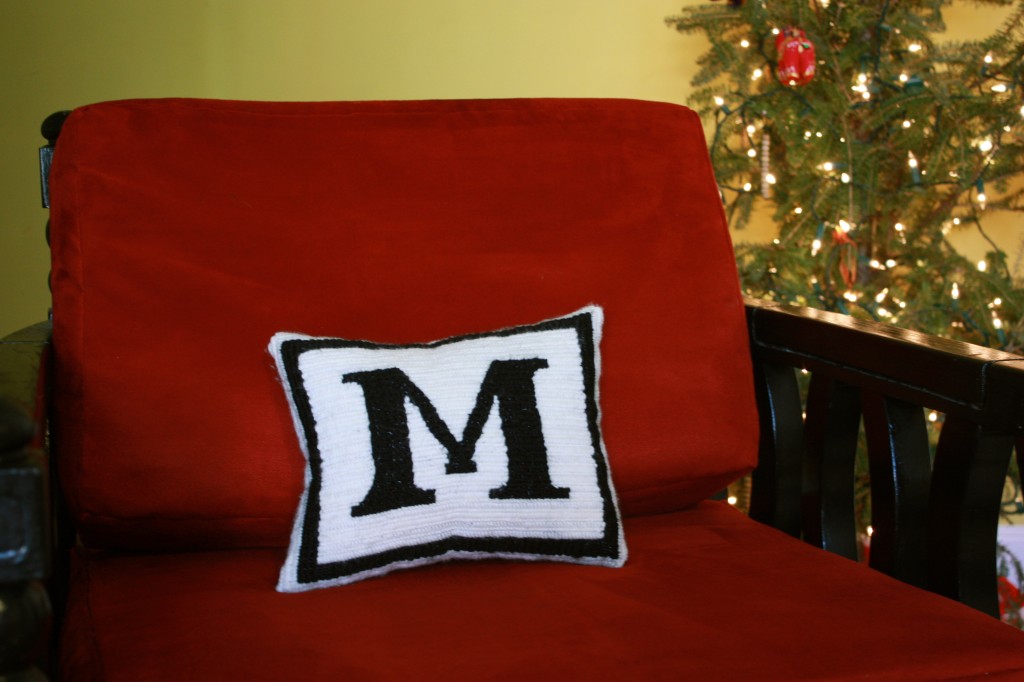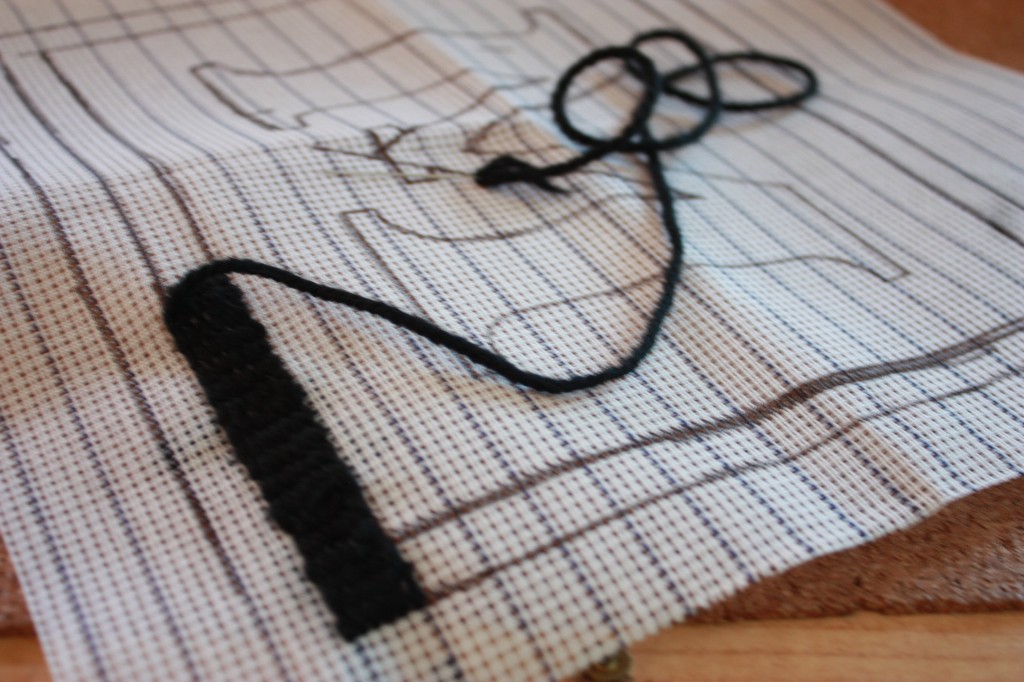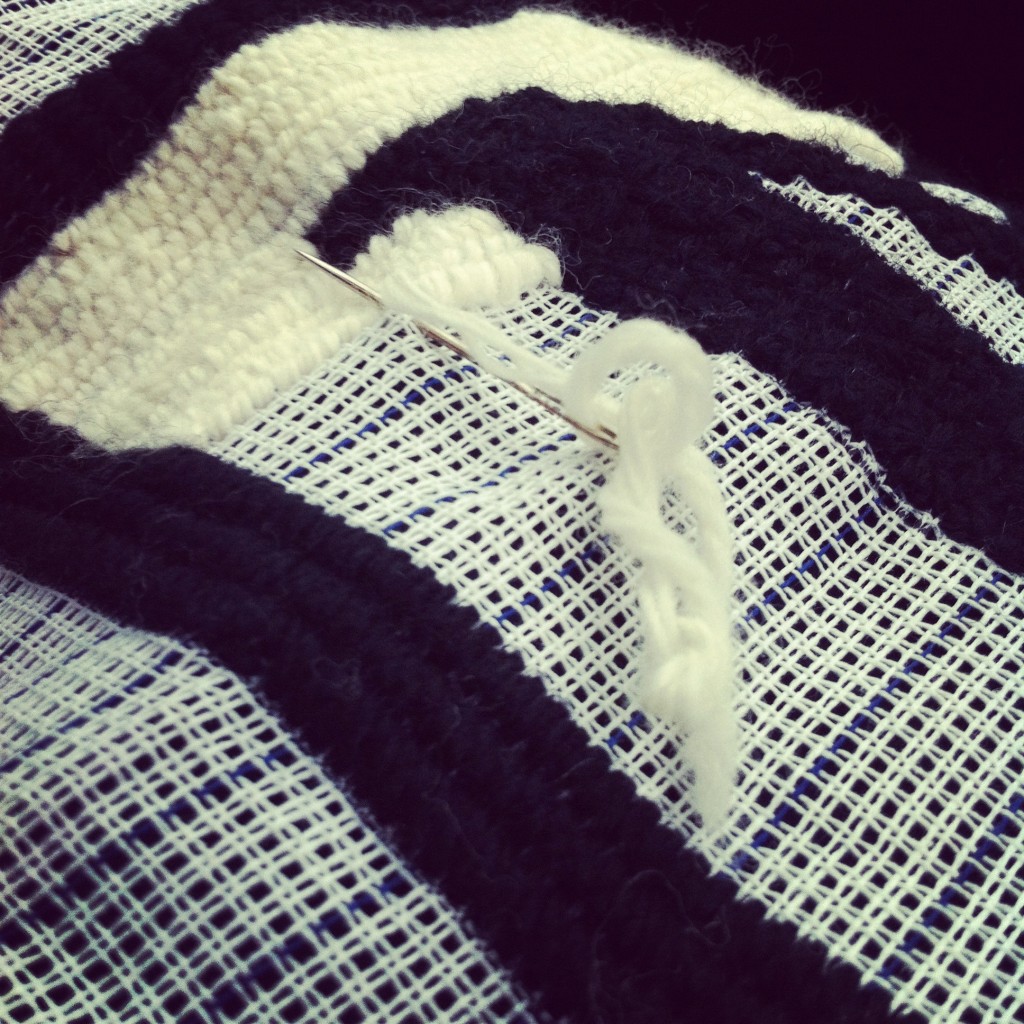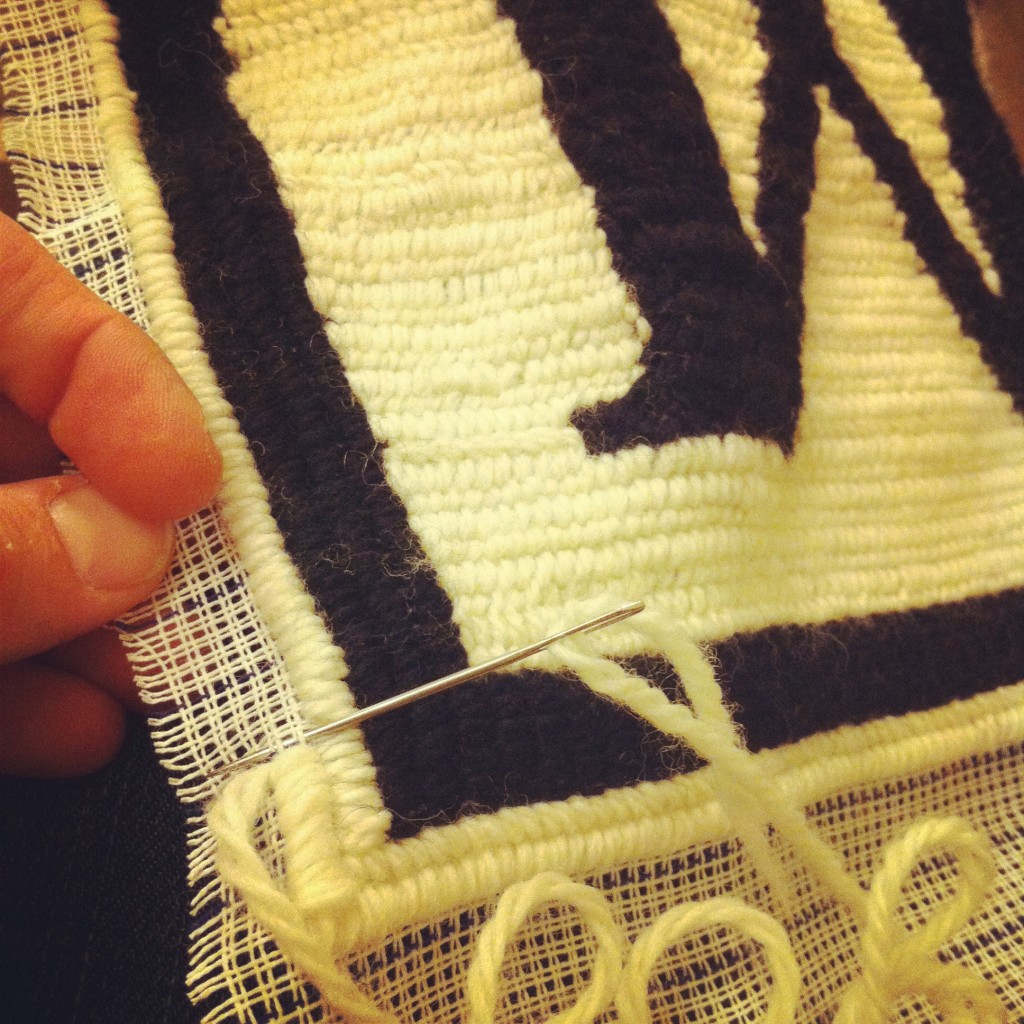
Well, it isn’t hard at all…just time consuming. I began in September (to be well ahead of the game for when we did the exchange over Thanksgiving weekend while the family was all in town) and I finished last night. Granted, I’ve been doing other things along the way but I am much more accustomed to a start-and-finish project than a start-and-work-and-work-and-work-and-work-and-then-finish project. Here’s a look at the process:
Step two: Print a large letter M onto printer paper to use as a stencil, and trace around it in the center of the canvas. I modified the font a bit when tracing to make the legs of the M a little chunkier like I wanted. Also, using a ruler, marker a frame around the initial. 
Step 4: Spend every spare moment in the car and watching reruns of Late Night with Jimmy Fallon stitching.
Step 6: Stitch along the road trip to Richmond for the half-marathon. And along the road trip to Annapolis for Thanksgiving. Give a half-finished needlepoint canvas to Sarah at the gift exchange with an “IOU a finished product:)”
Step 8: Finally finish the background. Take a break from stitching to eat some Chocolate Covered Joe Joes. Then sew the black material onto the back on 3.5 sides. Stuff full of fluff, then hand stitch the pillow closed. Done and finally done.
ps if you’re still looking for a gift for your pregnant or will-someday-be-pregnant friends and family, hop over to Hue and Hum and enter to win a Project Baby Tee!! And remember, if you want one for Christmas, order TODAY and get free shipping and Christmas delivery!


