Hooray for clay!
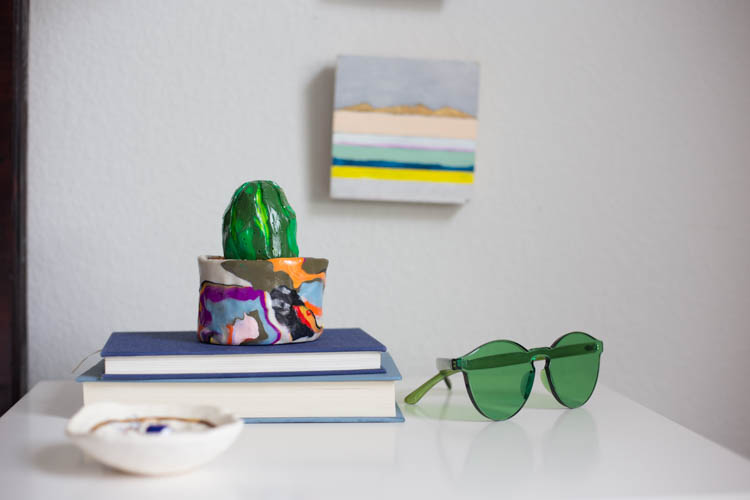
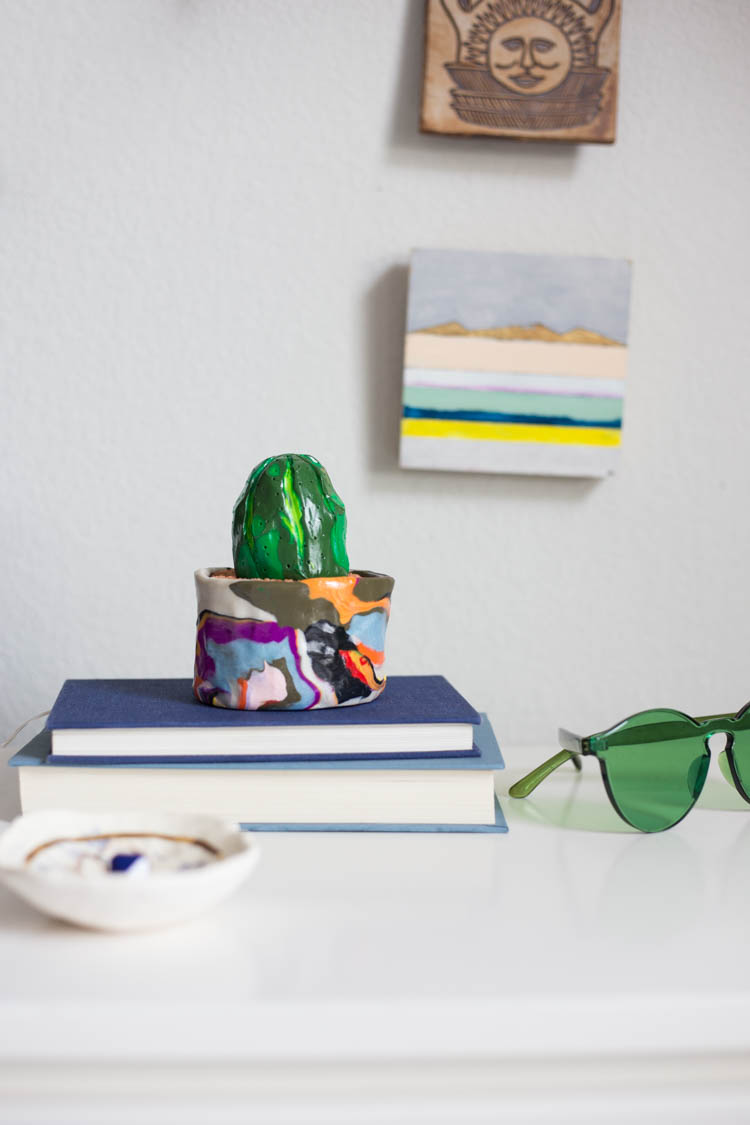
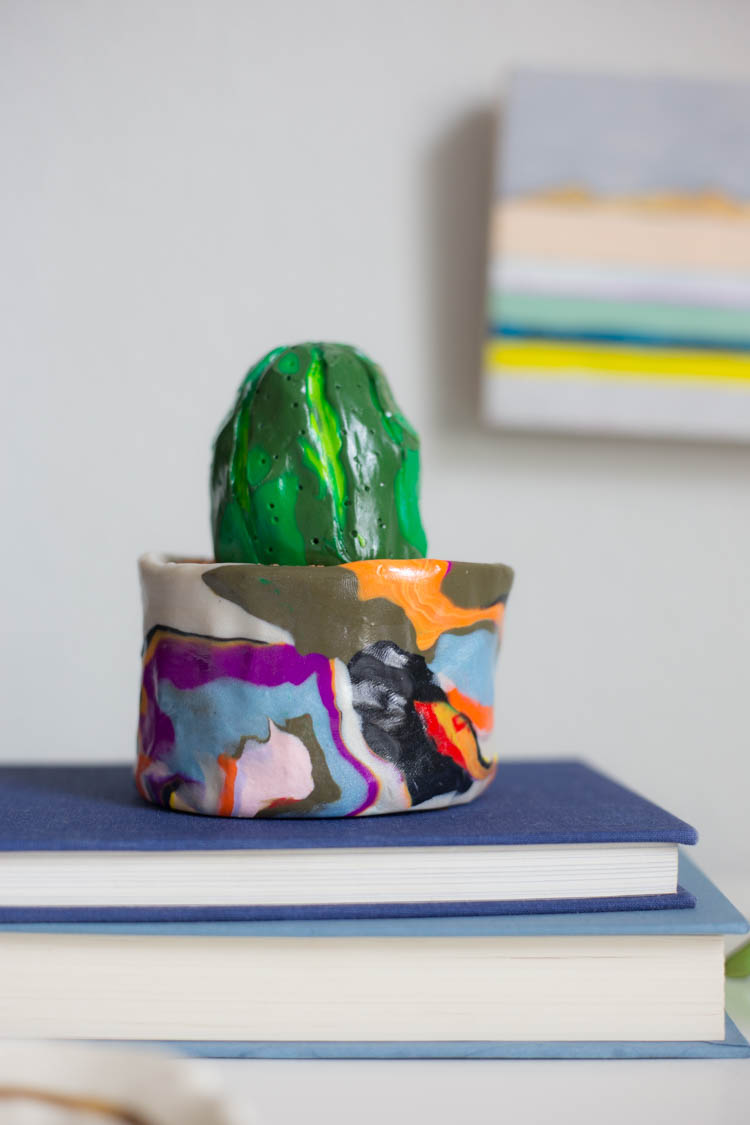
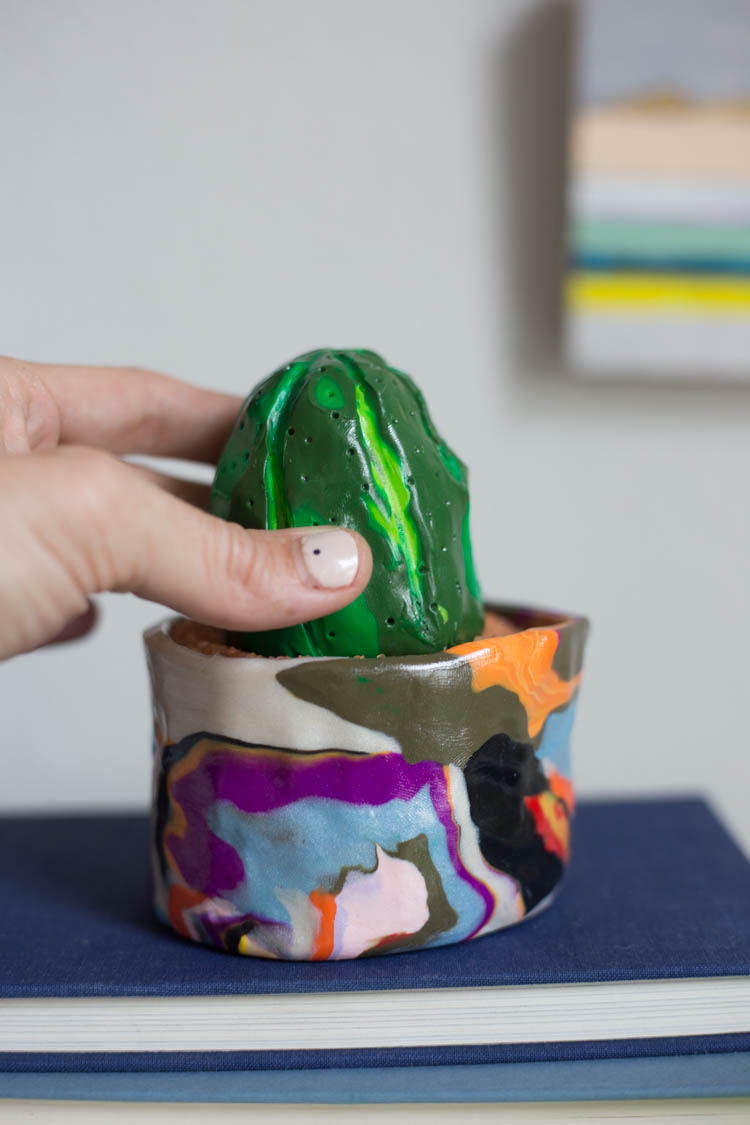
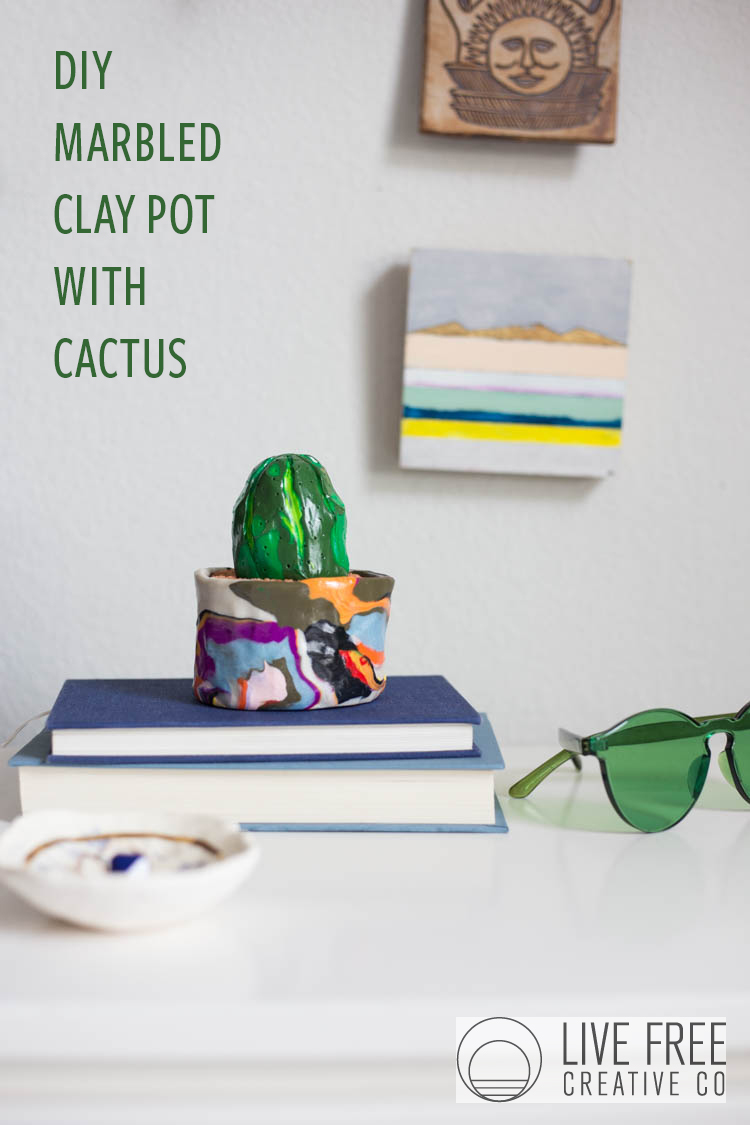
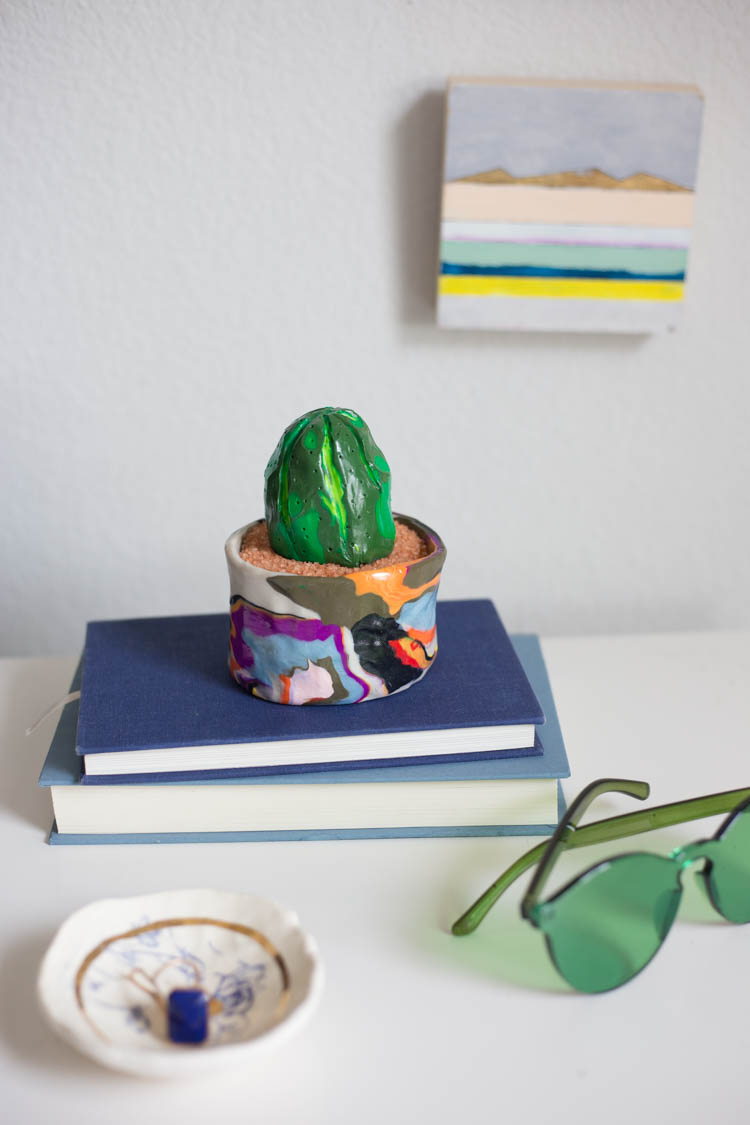
I’ve been having so much fun working with clay this month. Today is the last clay post for the month, and I stuck with a favorite theme: Cactus. This marbled pot was one of the first clay projects I remember experimenting with a couple years ago. Add that cute clay cactus and this round is better than ever!
Also, let me get this out of the way: You can find the amazing green acrylic glasses right here! (They also come in grey and pink.) I bought mine in December at a local boutique and get compliments on them every day!
Okay, onto the project!
Personally, I love live plants. Some of my cactus and succulents have been hanging around my house since we moved in three years ago!
Regardless of whether you like faux or real plants, this little clay cactus is adorable.
The zero-maintenance nature of the project means that this little guy would be happy in an office without windows, or on a bathroom or closet shelf where there isn’t much light. It would be a fun gift for a friend who doesn’t need to care for one more thing in her life (anyone relate?)
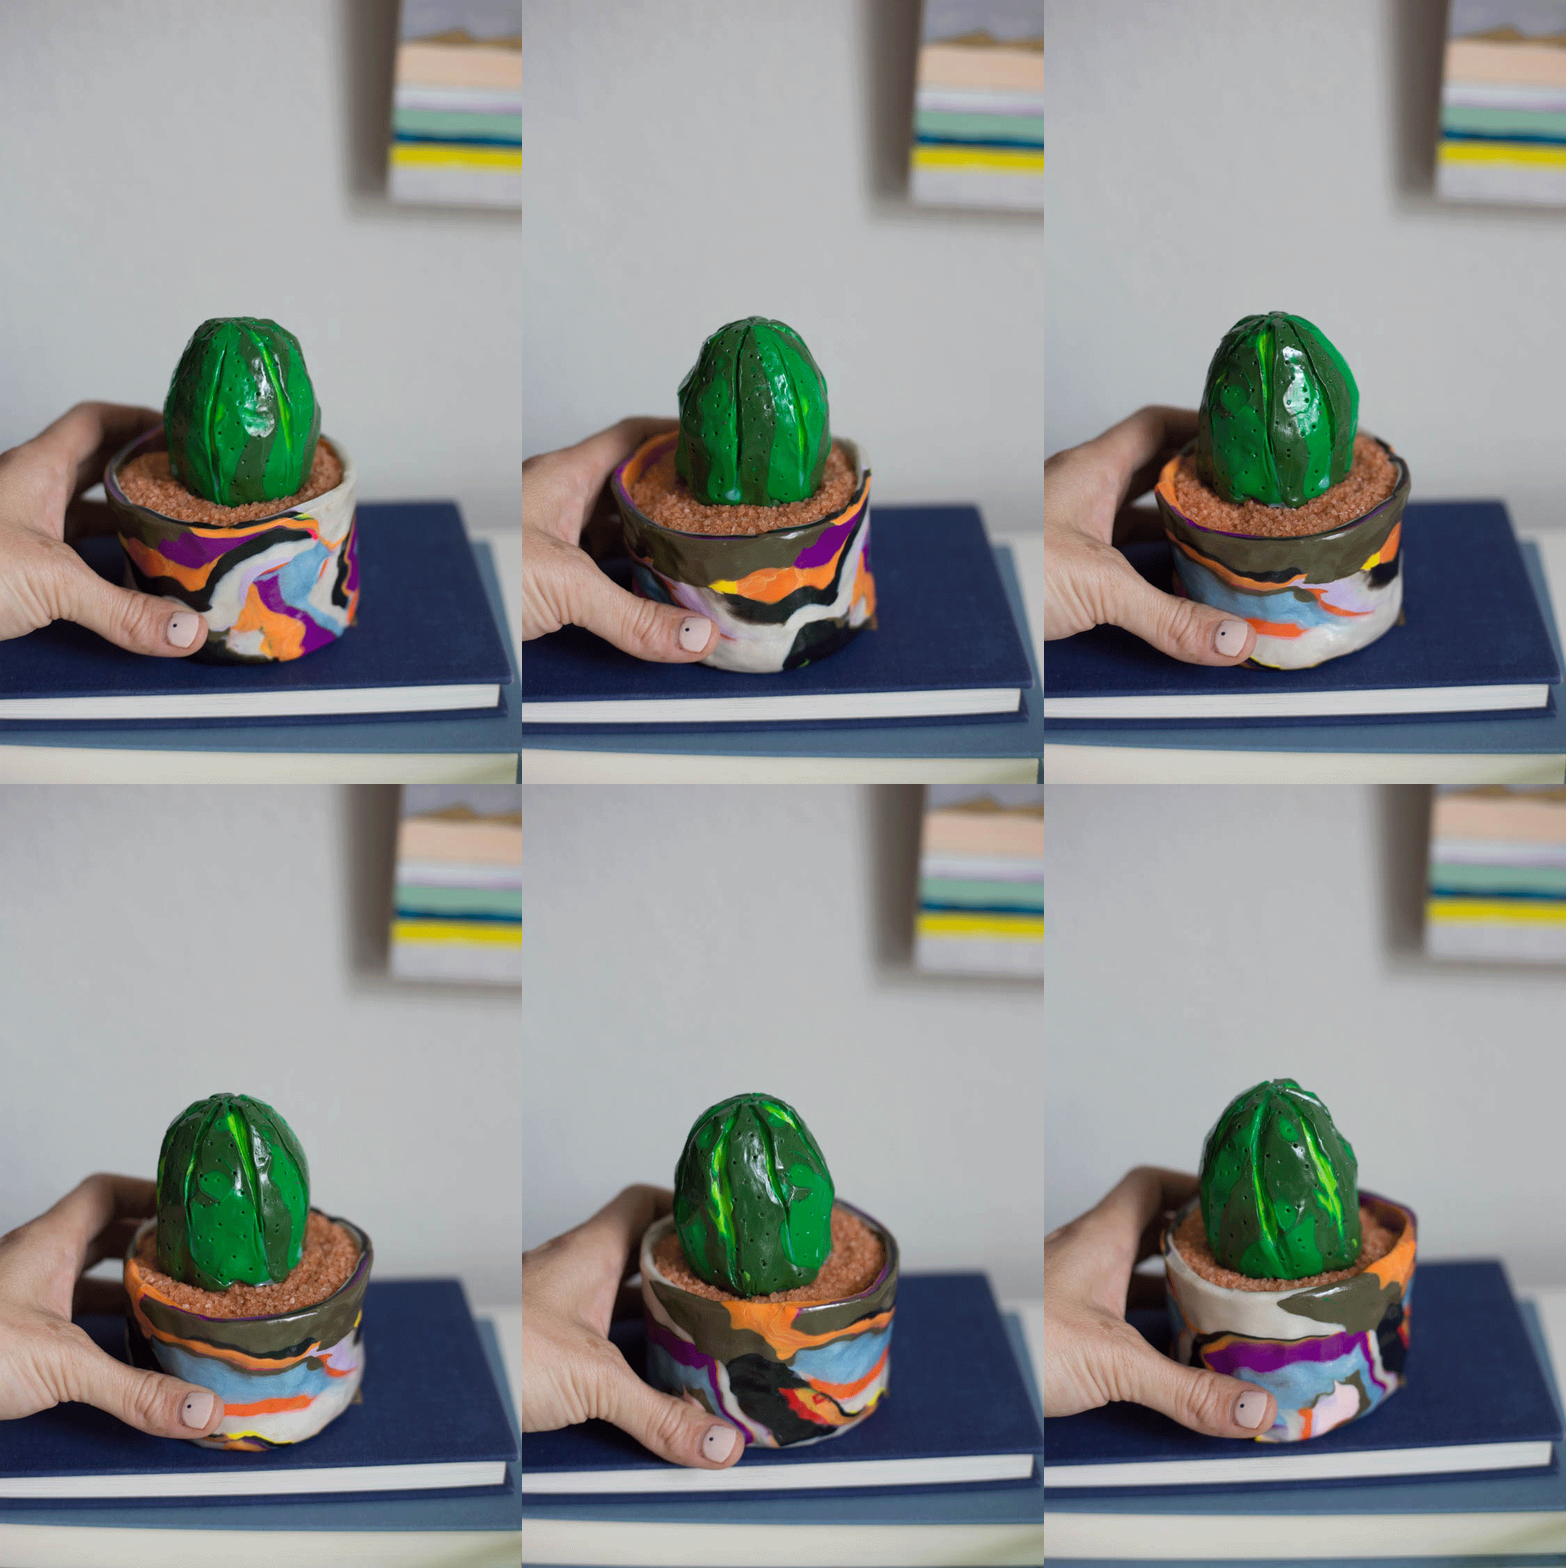
Because the cactus and the pot are made separately, the pot could be used for a live plant as well. Or a pencil holder, a ring dish, or any other use you might have for a decorative vessel. I happen to love the bright mixture of marbled colors. This marbled clay pot makes a quite statement wherever you might put it.
I would say the skill level for this project is enthusiastic beginner. The method of marbling makes it really simple for anyone to do. The first time we made these with a group was at a craft party with friends (who then took them home planted with live succulents) and I’ve seen many happily kicking on windowsills and countertops throughout the neighborhood.
Are you ready to get started on your own marbled clay planter pot and cactus?
Here’s what you need:
multi-color oven bake clay
scissors
x-acto knife
toothpick or push pin
clay glaze
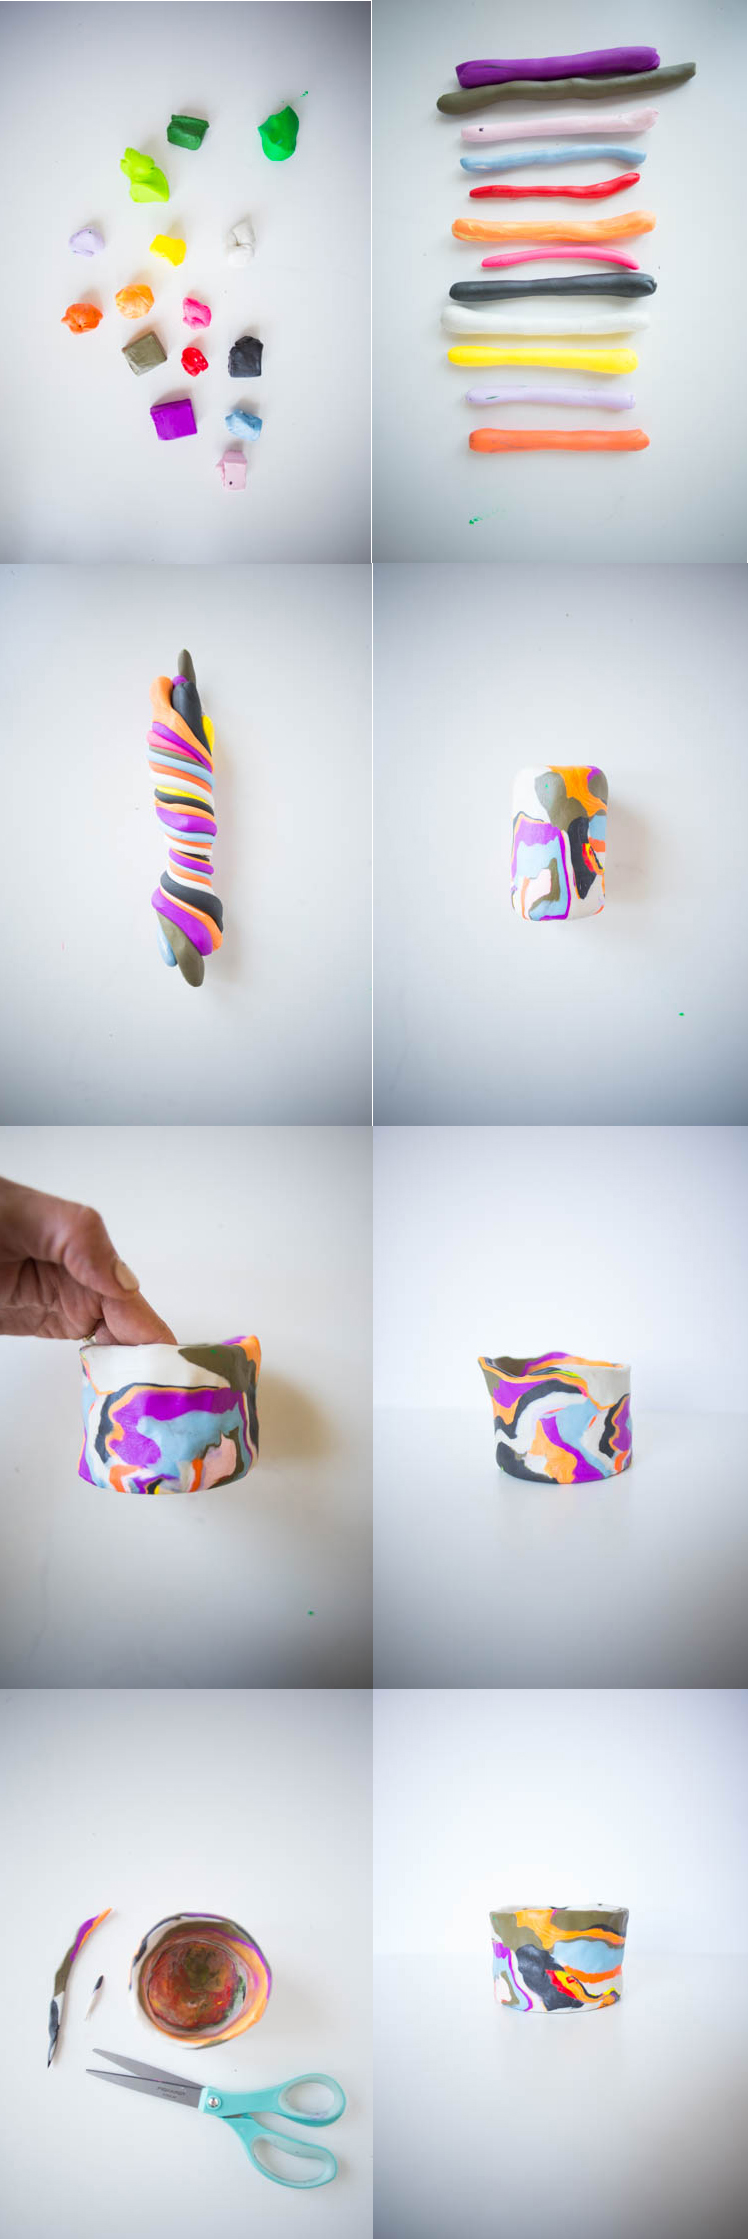
- Choose the colors you’d like to use for your pot and pull off about a marble to golf-ball sized piece of each.
- Roll each color into a snake, about 3-4 inches long.
- Twist the snakes together, making a swirled log of clay.
- Squish the log into a smooth, marbled cylinder.
- Use a thumb to begin an indentation in the top of the cylinder. Slowly pinch the sides of the clay so that you begin to form a pot.
- Continue pinching and smoothing until you have reached the desired shape and size.
- Use the scissors to trim off the top so that it is flat.
- Bake at 250 for 15 minutes, or until hardened.
- Brush on the clay glaze and let it dry.
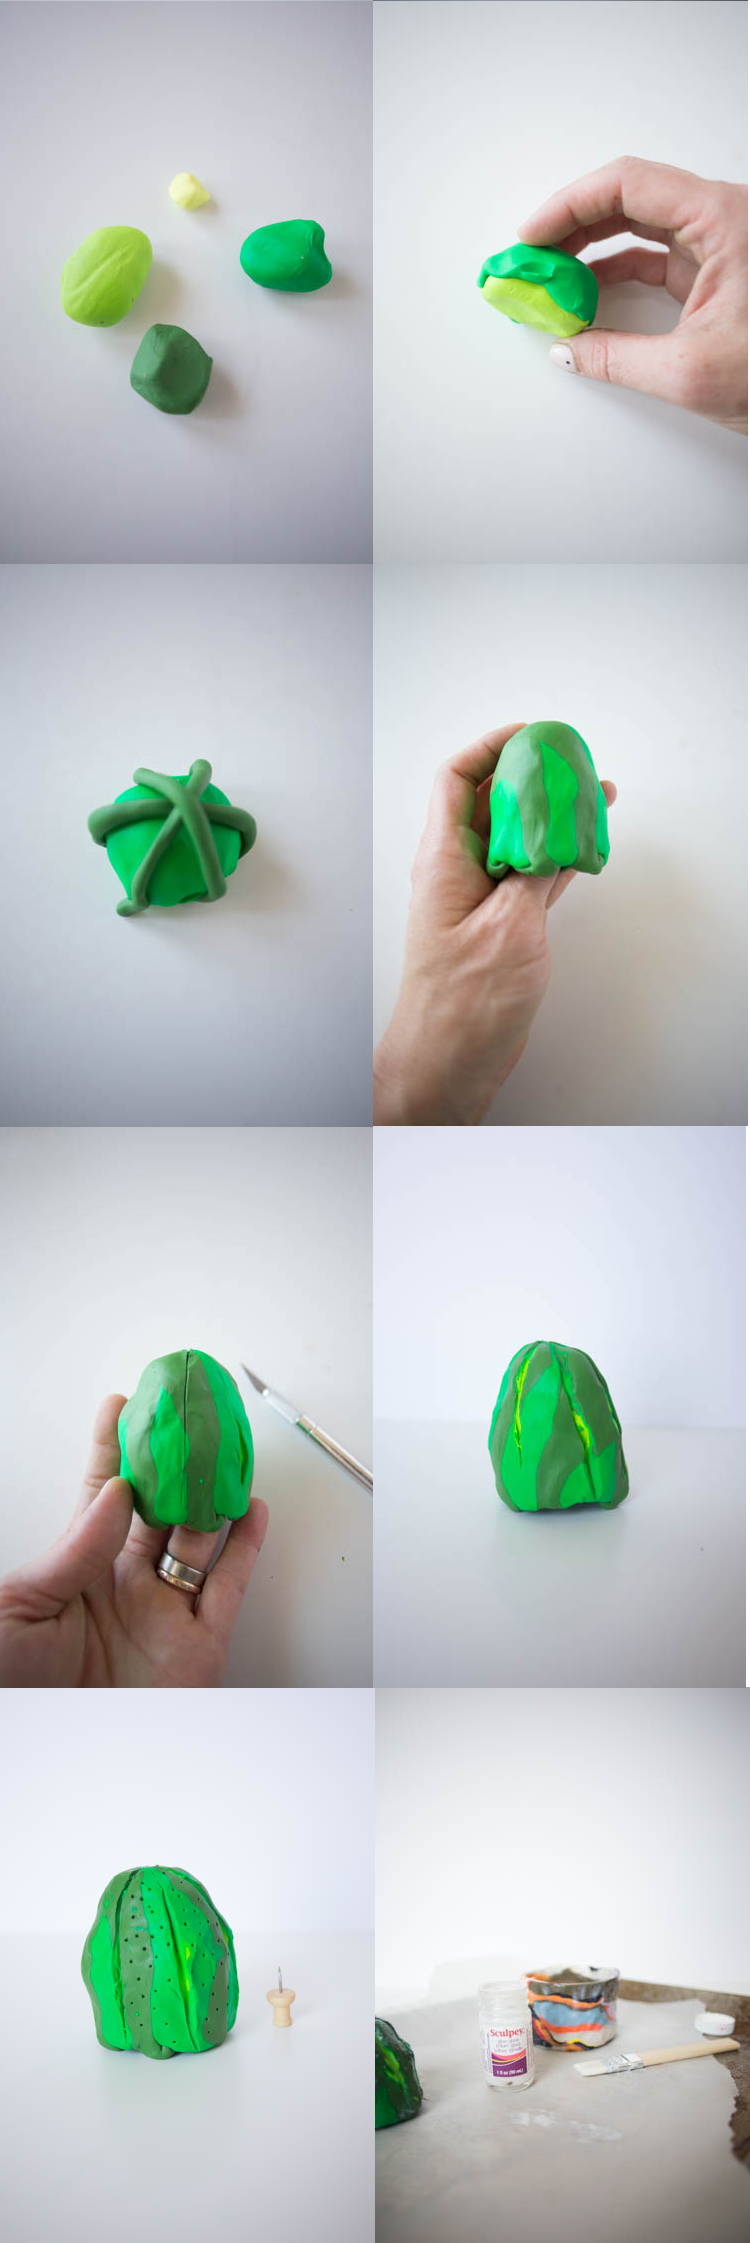
- For the clay cactus, choose 3 colors of green you like and roll each into a small ball.
- Flatten one of the darker colors out on top of the lighter, and cover the edges.
- Add snakes of the third color across the top of the ball, going in all directions.
- Smooth the different layers together.
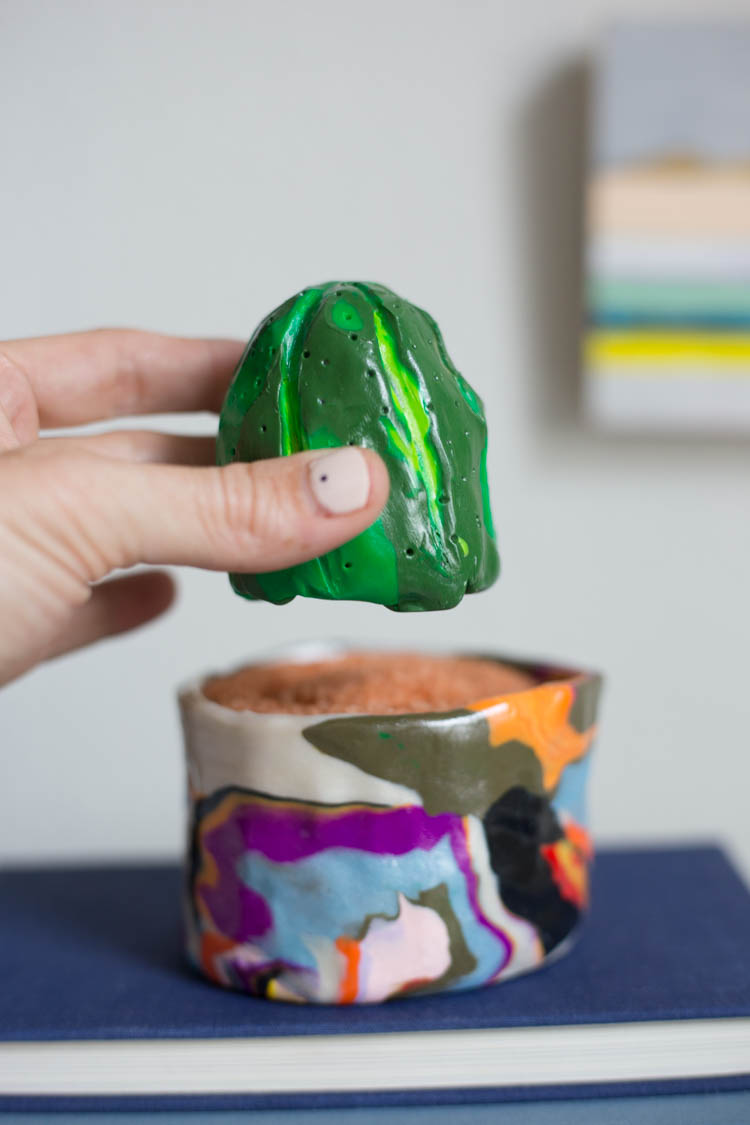
- Stick your thumb into the middle of the bottom, and begin using the same pinching method to form a pot from the bottom. The cactus will be hollow.
- Once you have the shape and size you like, use the x-acto knife to cut some vertical slices out of the side of the clay, revealing the interior color.
- Use the push pin to make small dots all over the cactus, to look like spines.
- Bake at 250 for 15 minutes (with the marbled clay planter pot) or until hard.
- Let cool, then brush with glaze.
- To add the clay cactus to the marbled pot, ball up a sheet of foil or a paper lunch sack and crush it into the bottom of the clay pot. Fill the remaining space with decorative sand (I used himalayan pink sea salt from the pantry!) and top with the clay cactus!
I’ve loved all of the different clay experiments I’ve worked on this month, and hope you get a chance to make some of them!
To find all of the DIY’s in this series, check out the DIY tab! And check back every Friday for a new project!

