 Valentine’s Day Dresses
Last week I was looking through some old photos and came across a couple sweet Valentine’s Day dresses I had made for Plum when she was younger. I don’t remember it being a tradition, but somehow for a couple years in a row, I would whip up a sweet pink or red, love-inspired dress.
On a whim, after preschool on Friday, I decided to swing by the local apparel fabric shop. It was raining and I was trying to figure out what to do with the two hours between preschool pick up and when I get the boys from the elementary school bus stop. Wandering for some fabric inspiration seemed like a good idea.
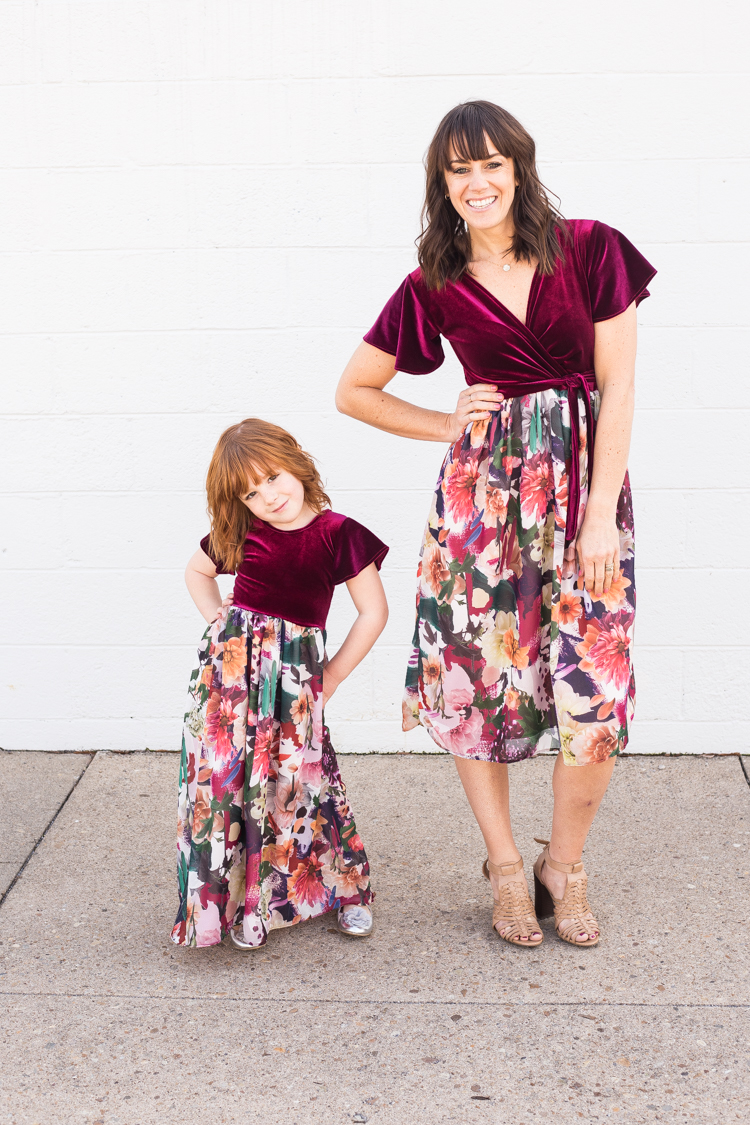
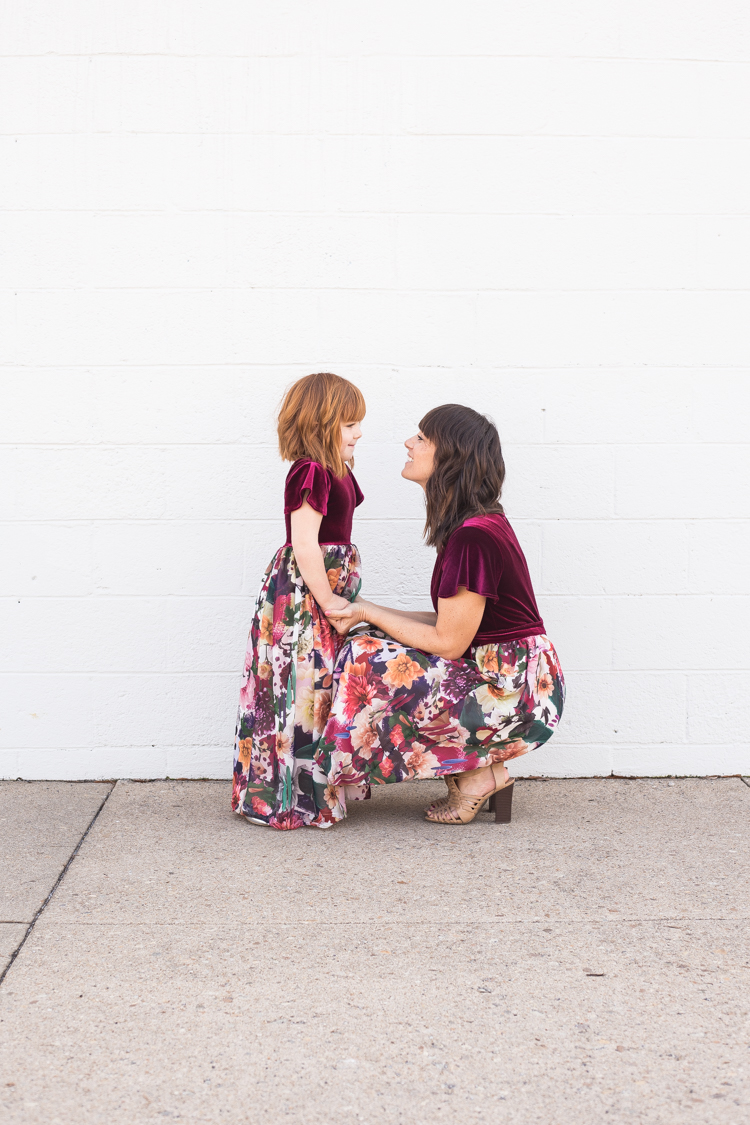
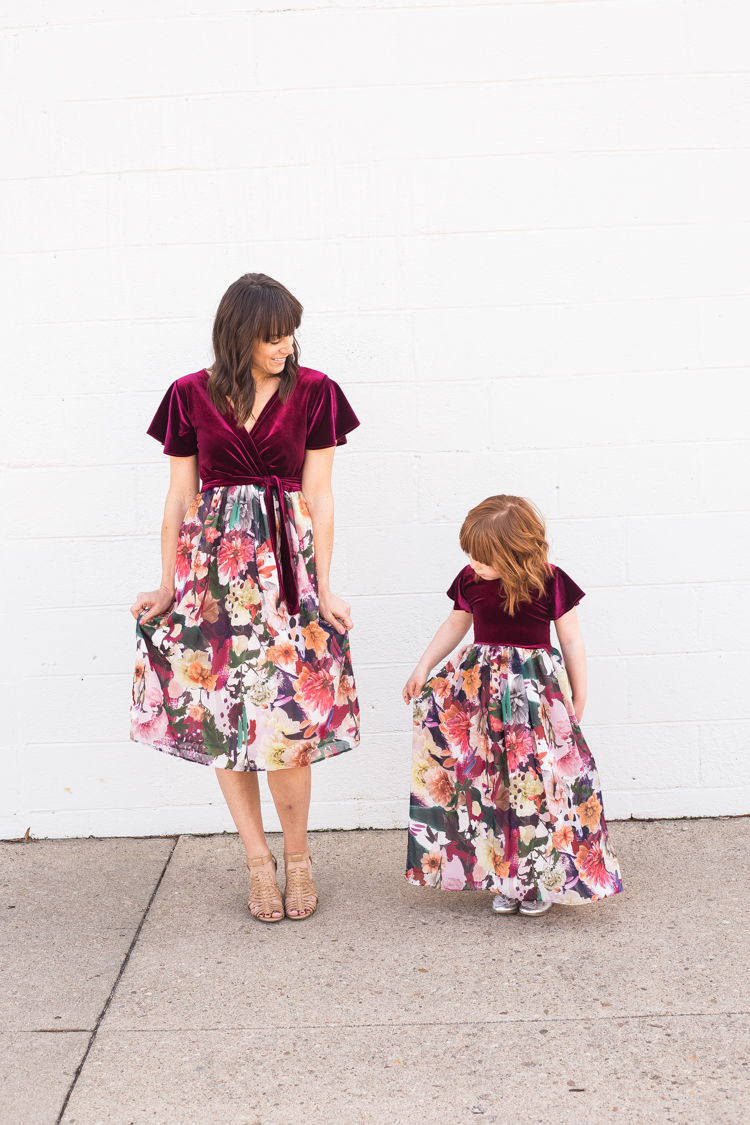
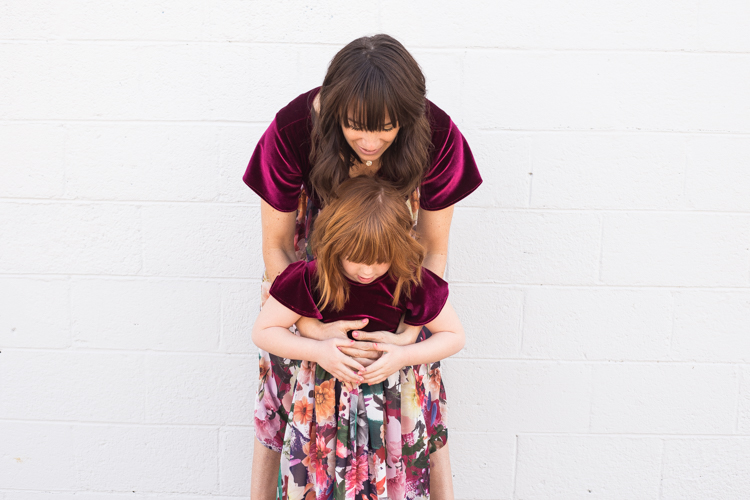
With the Valentine’s Day dresses of years past fresh on my mind, I invited Plum to help me choose out some fabric to make matching mom and me Valentine’s Day dresses for this year!
Choosing Fabric
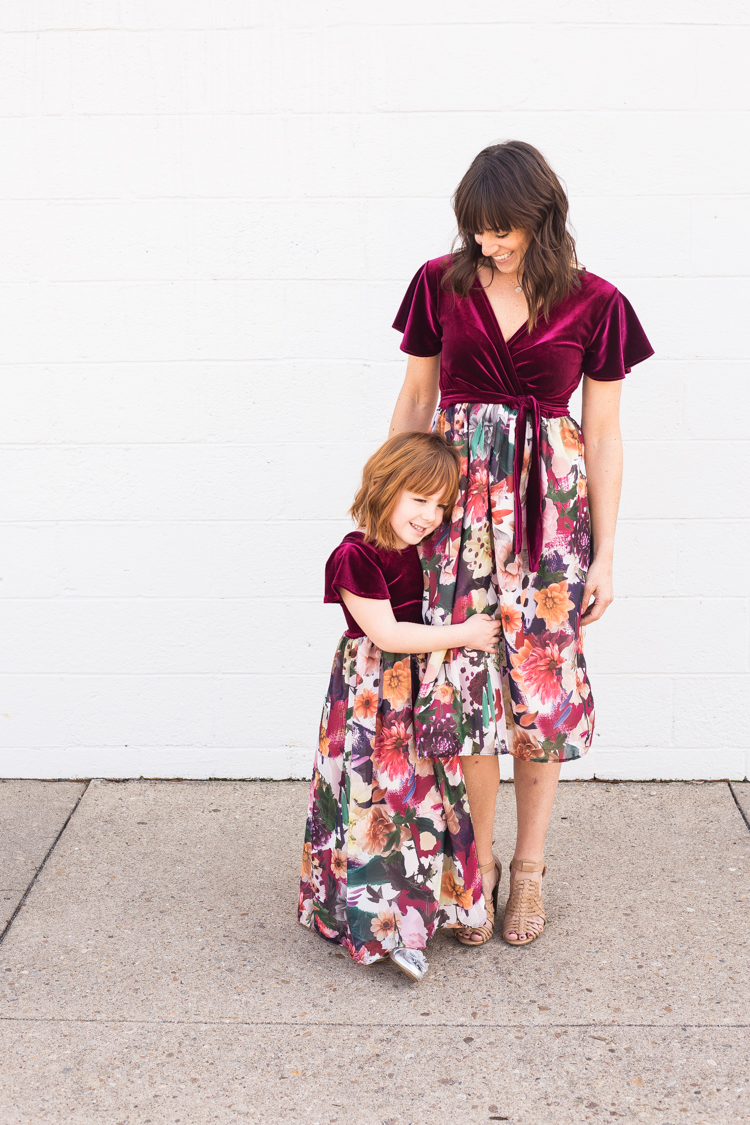
As we looked through the rows of beautiful material, I remembered that Plum recently received a beautiful dress from Pleiades Designs. The stretch velvet bodice and lightweight chiffon skirt was such a fun combination of textures. Plus, being able to pull the stretchy dress over her head eliminated the need for buttons or zippers. That is always a win in my book.
After steering Plum clear of the $100/yd lace section, we found a wall of patterned chiffon and both spotted this incredible floral at the same time. Ooooh it is gorgeous. I love the bright mix of colors, organic feel of the all-over pattern, and the whimsical feel.
The shop owner showed us where to find the stretch velvet, which luckily came in a perfect shade of magenta to match and feel very festive for the holiday of love. 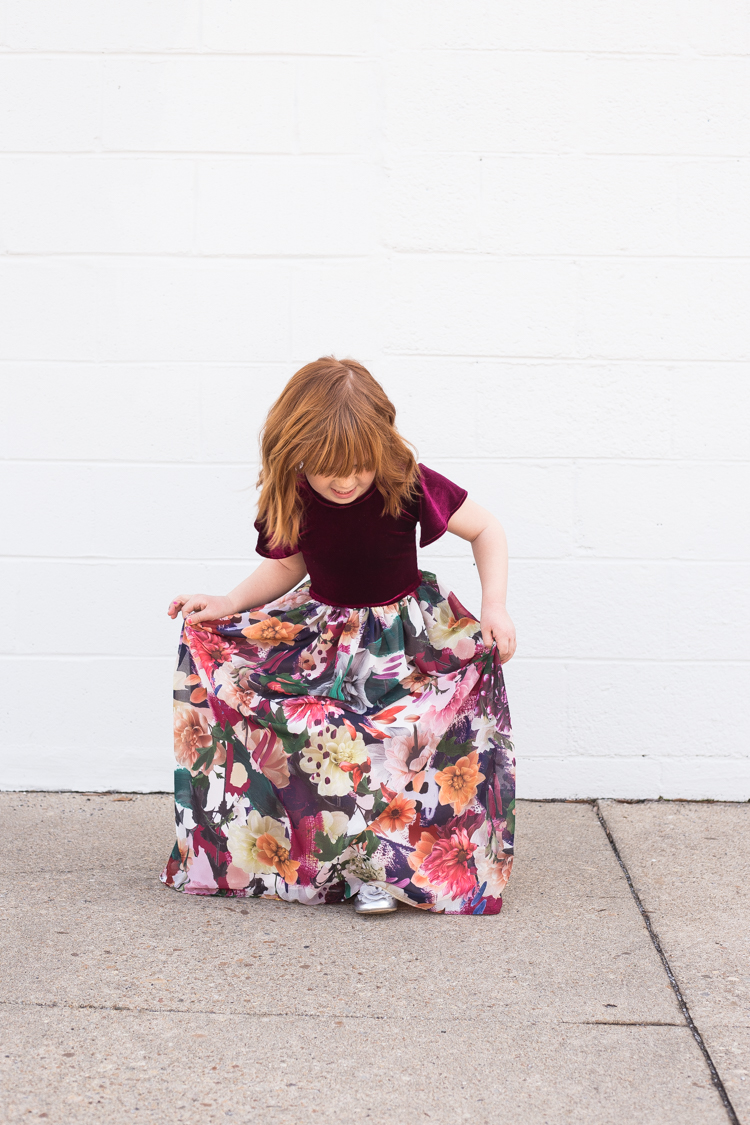
Designing Plum’s Dress
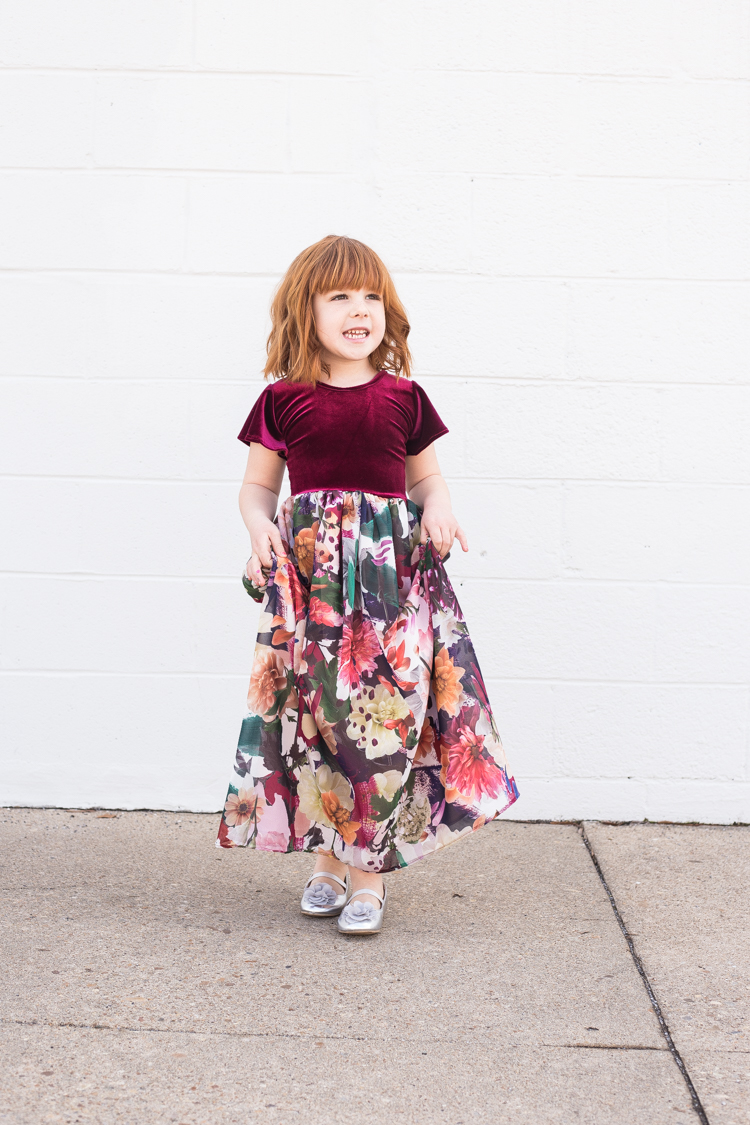
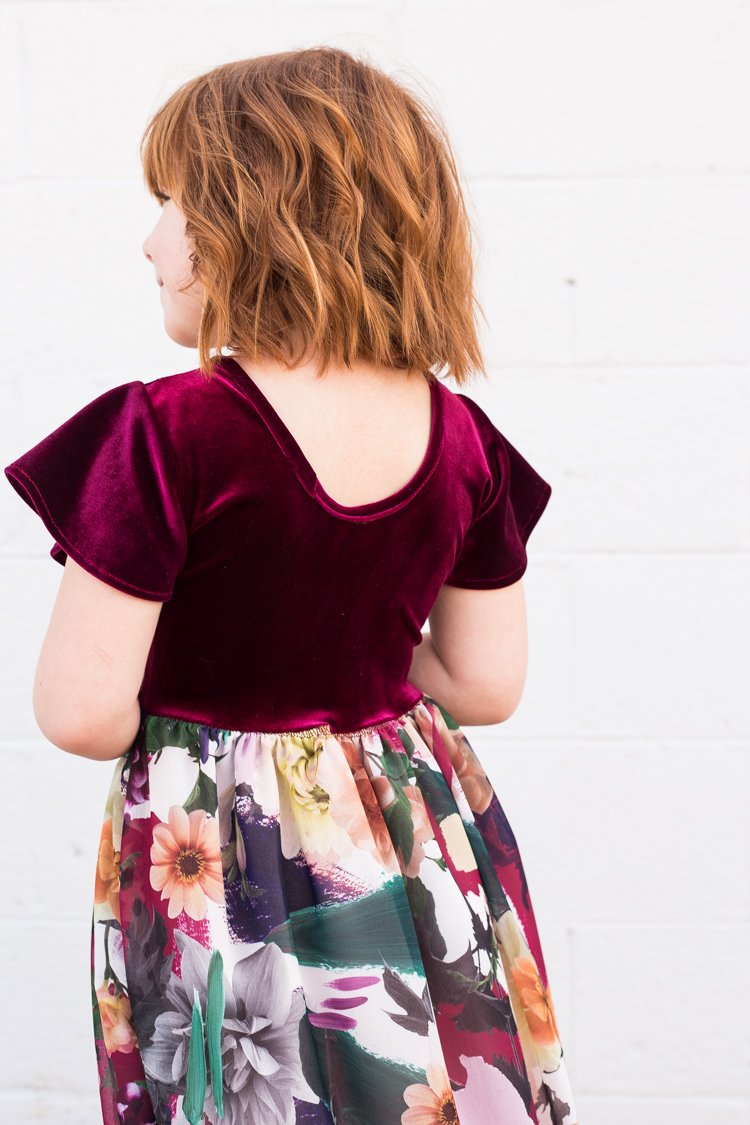
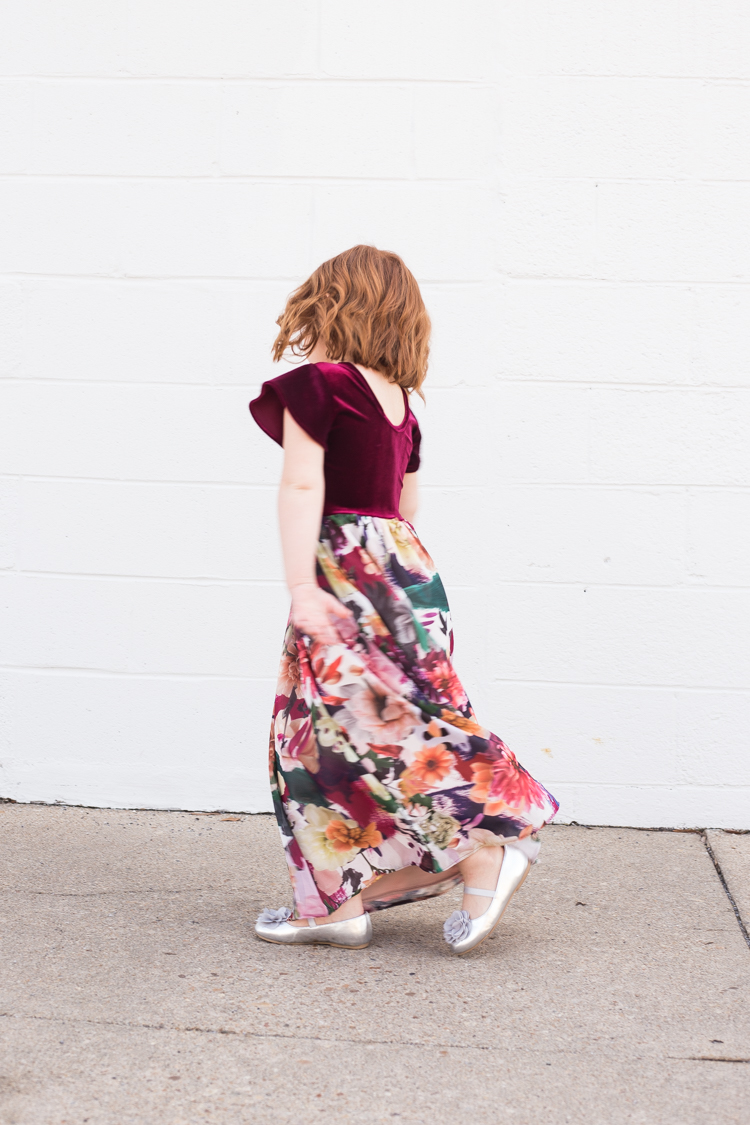
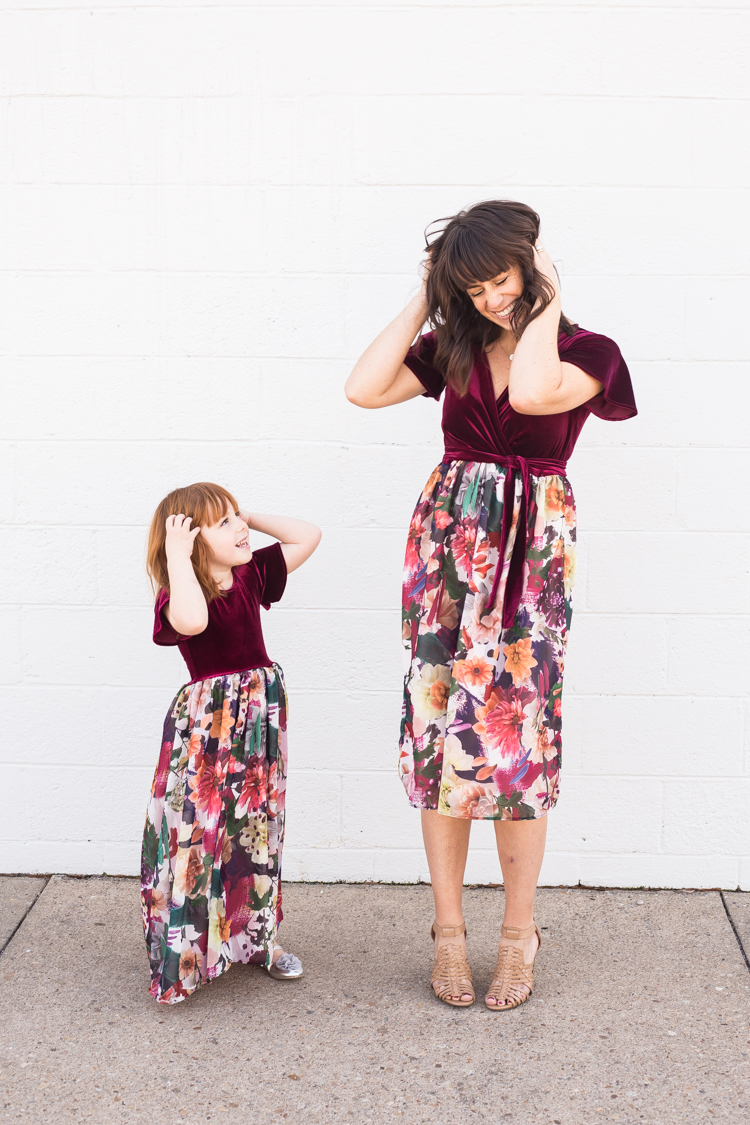
Plum wanted a dress that was long enough to drag on the floor, “Like Princess Sophia!” she said. So, I measured from her waist to the floor and used the natural 54″ width of the fabric to give it a gentle gather. For the bodice, I used her original Pleiades Designs dress as a base and simply traced around the front and back half of the bodice pieces. “Rubbing-Off” is a technique I have used often when sewing apparel, and I shared all about how I do it in this sewing post.
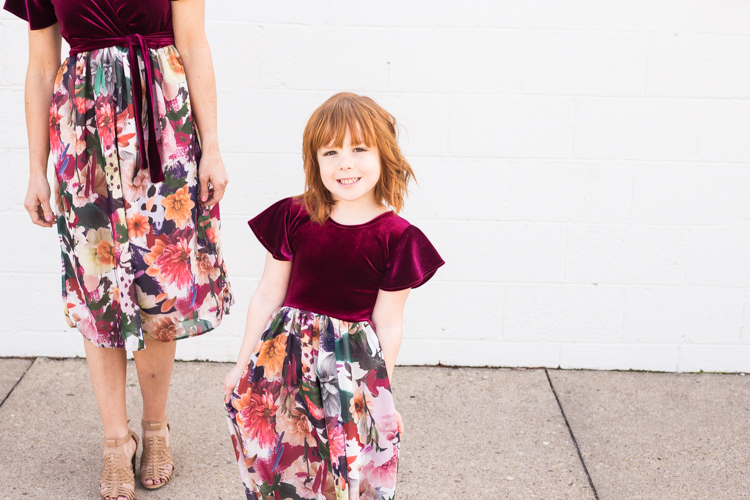
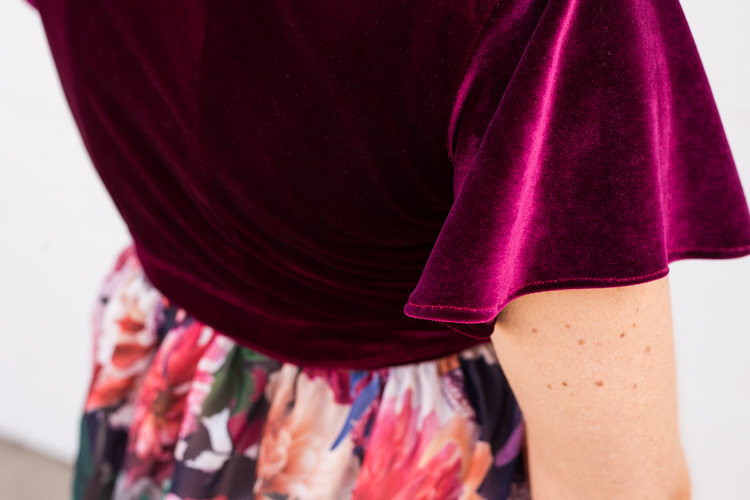
I wanted to change the pattern a bit, so I raised the deep scoop of the back to a more moderate height. Then, instead of basic inset sleeves, I created a fluttery butterfly sleeve by tracing the basic armscye (the shoulder seam) and then slashed and spread it to form a 1/2 circle pattern.
The result is a feminine, beautiful and age-appropriate princess dress. She loves it, it fits her well, and I look forward to seeing her dance around the house in it for months to come.
Designing My Dress
While I wanted to create a matching dress for myself, I didn’t want it to be exactly the same. For one, little girl’s bodies and mom bodies are flattered by very different styles and cuts. I also was not interested in a dress that dragged on the ground. I am much more likely to wear a dress if it is a little shorter and more casual feeling.
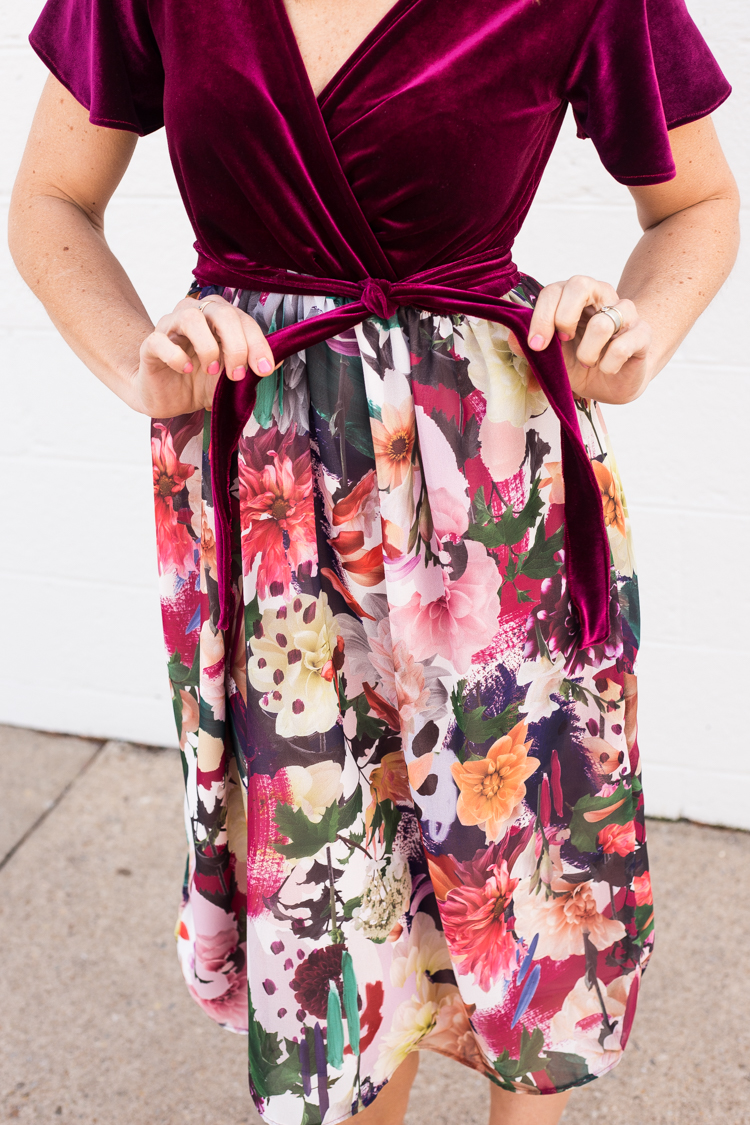
I searched for some inspiration and found a few wrap-style velvet dresses that looked like things I would wear. I remembered a pattern that I had created years ago for a set of custom bridesmaid’s dresses. Luckily, I had saved the pattern (originally traced onto a shipping envelope, haha). I made a quick muslin from some scrap knit fabric to test the fit, then went ahead and cut into the velvet.
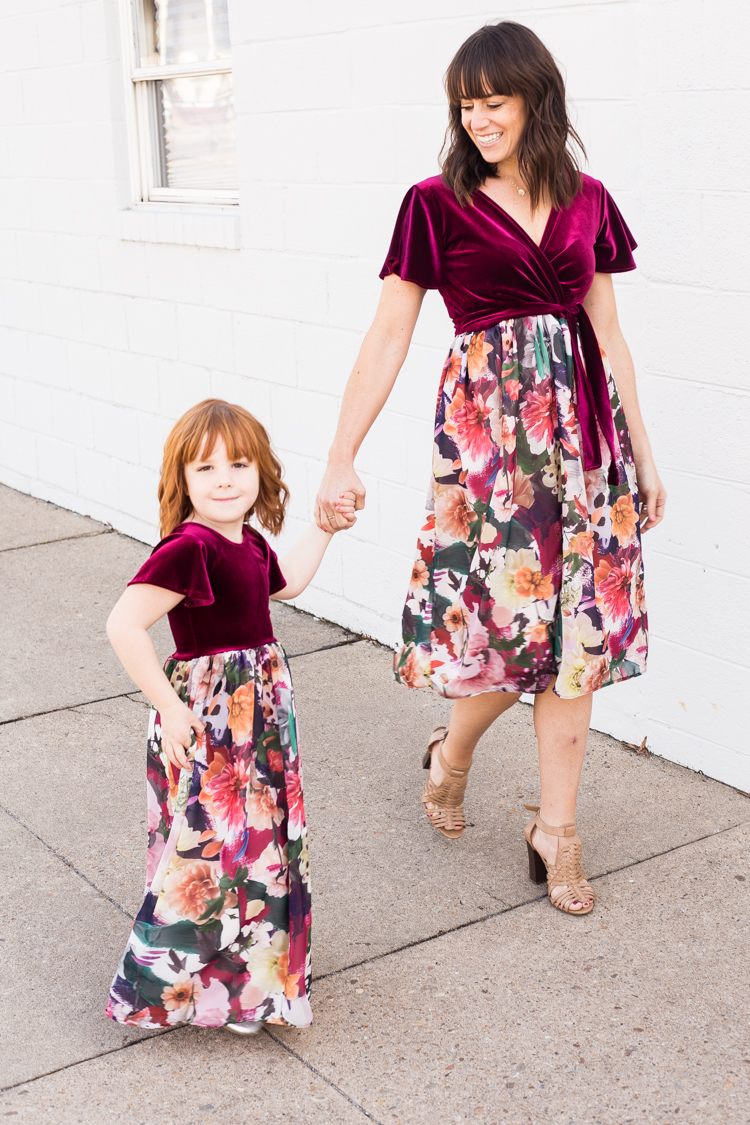
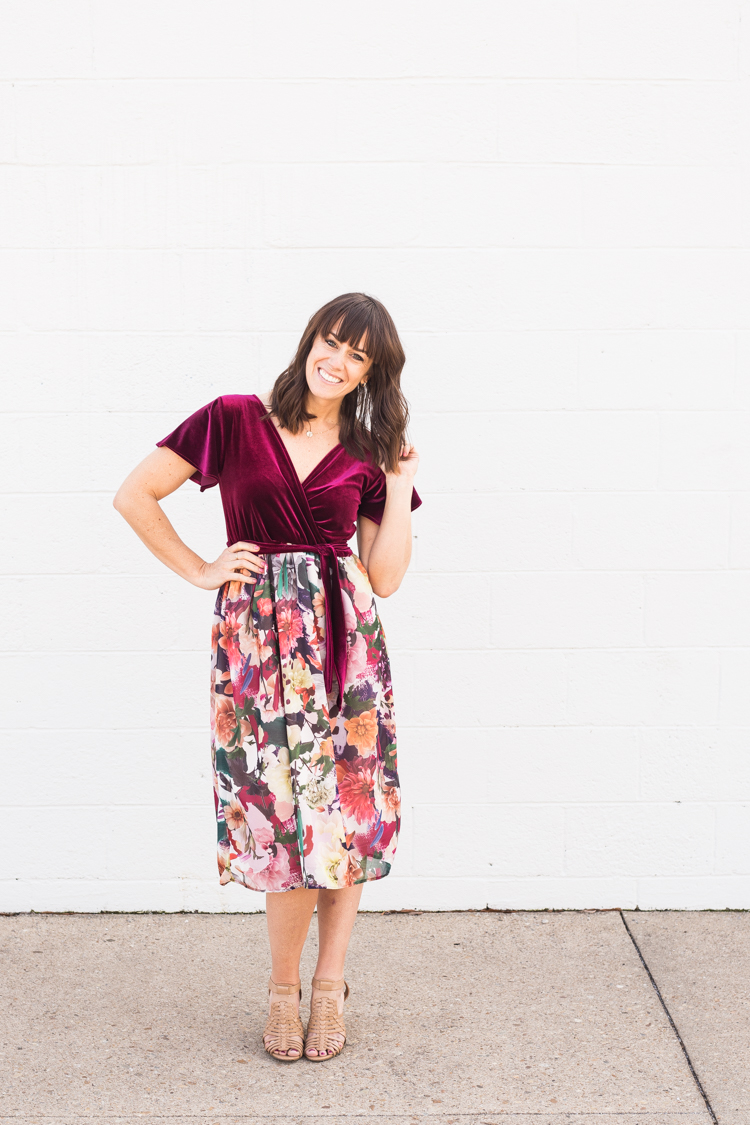
I added a sash to the waist to try and tone down the maternity look, and I think it worked well. I like the way the top turned out, although I may go back and rework it to be about 3 inches longer so that the bodice hits the skirt piece at my natural waist rather than higher. We’ll see how much energy I want to give to this dress now that it is already finished. haha.
Gathering Onto Elastic With A Zig Zag Stitch
Once the bodice was created, I added the skirt piece. Rather than doing traditional gathering, I used a piece of elastic that was the same diameter as the bodice and gathered straight onto the elastic. The benefit of this method was that the gathered skirt maintained the ability to stretch, so both the adult and child versions of the dress could simply be pulled on overhead.
This technique is really simple and much more efficient than gathering with a basting stitch. 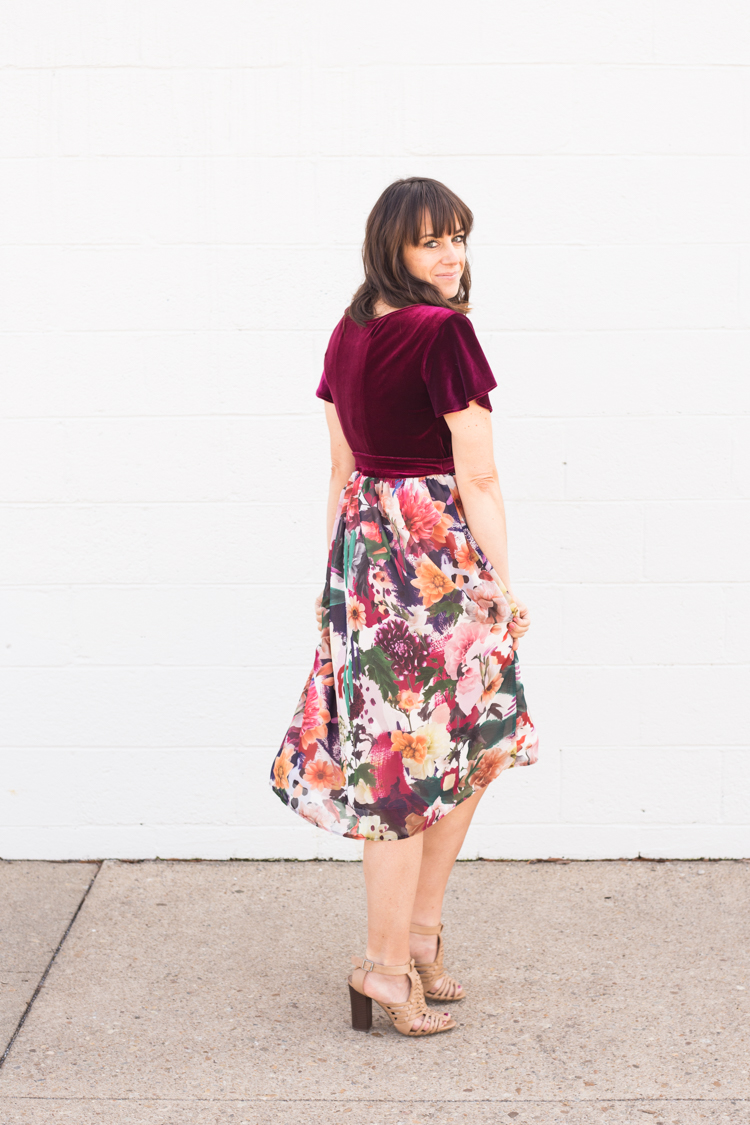
Mom And Me Matching Dresses
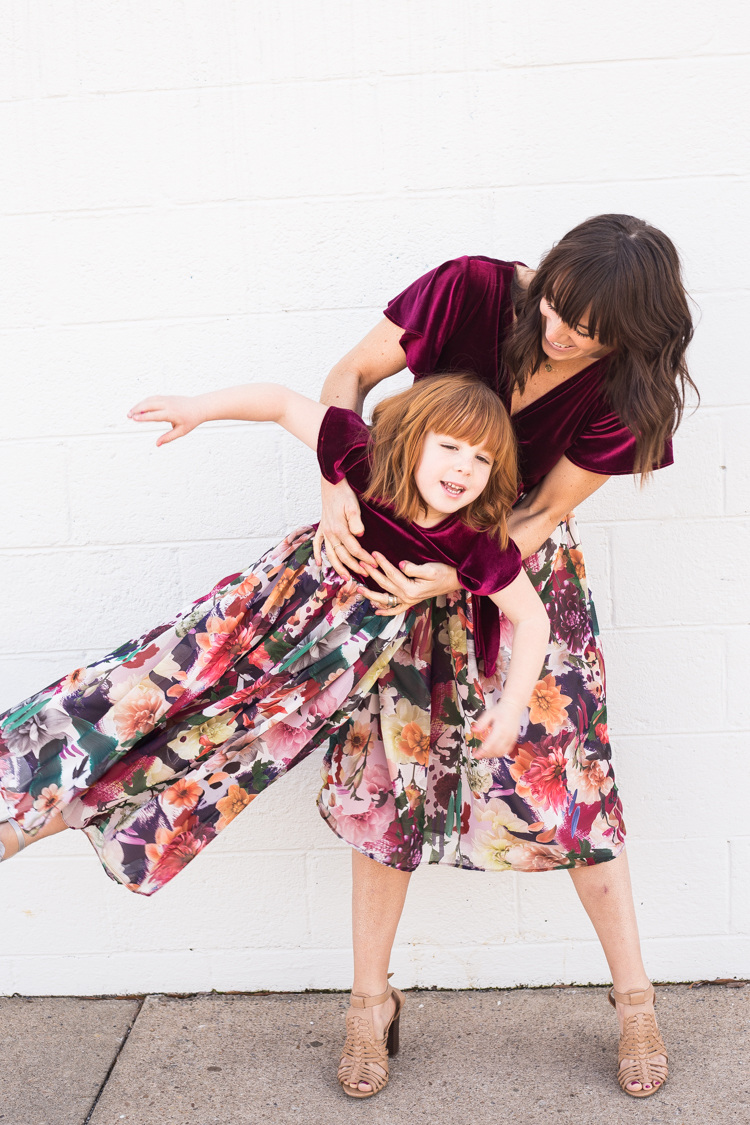
Our mom and me matching Valentine’s Day dresses received a lot of positive feedback on Instagram, and gave me the idea to turn this into a mini series. I have wanted some motivation to sew more this year, and I have now found it!
I haven’t decided exactly how often I’ll be sewing, but I love the idea of creating a Mom And Me set of matching dresses, rompers, or outfits to share with Plum. She still loves dressing as twins, and I really love the creative exercise of making two similar-yet-different outfits that fit us both well.
I have already picked out my fabric for our next dress, and am starting to brainstorm designs. I’m excited to have a little creative project to keep my creative energy flowing.
Related Sewing Posts
If you’ve been around here for awhile, you’re familiar with how much I used to sew, and how many projects I have made and shared on this blog. For a refresher, visit the Sewing category page to browse for inspiration and pick up on sewing tips!

