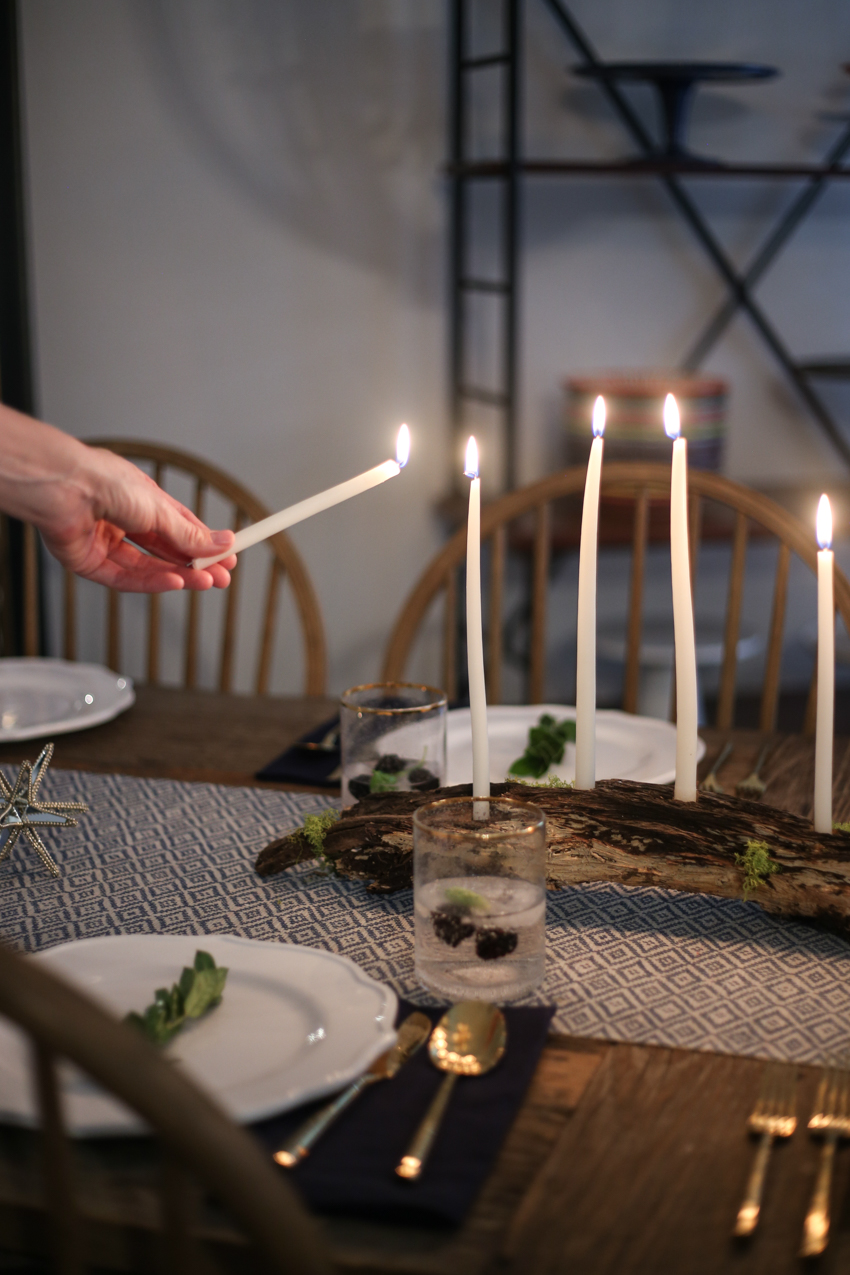
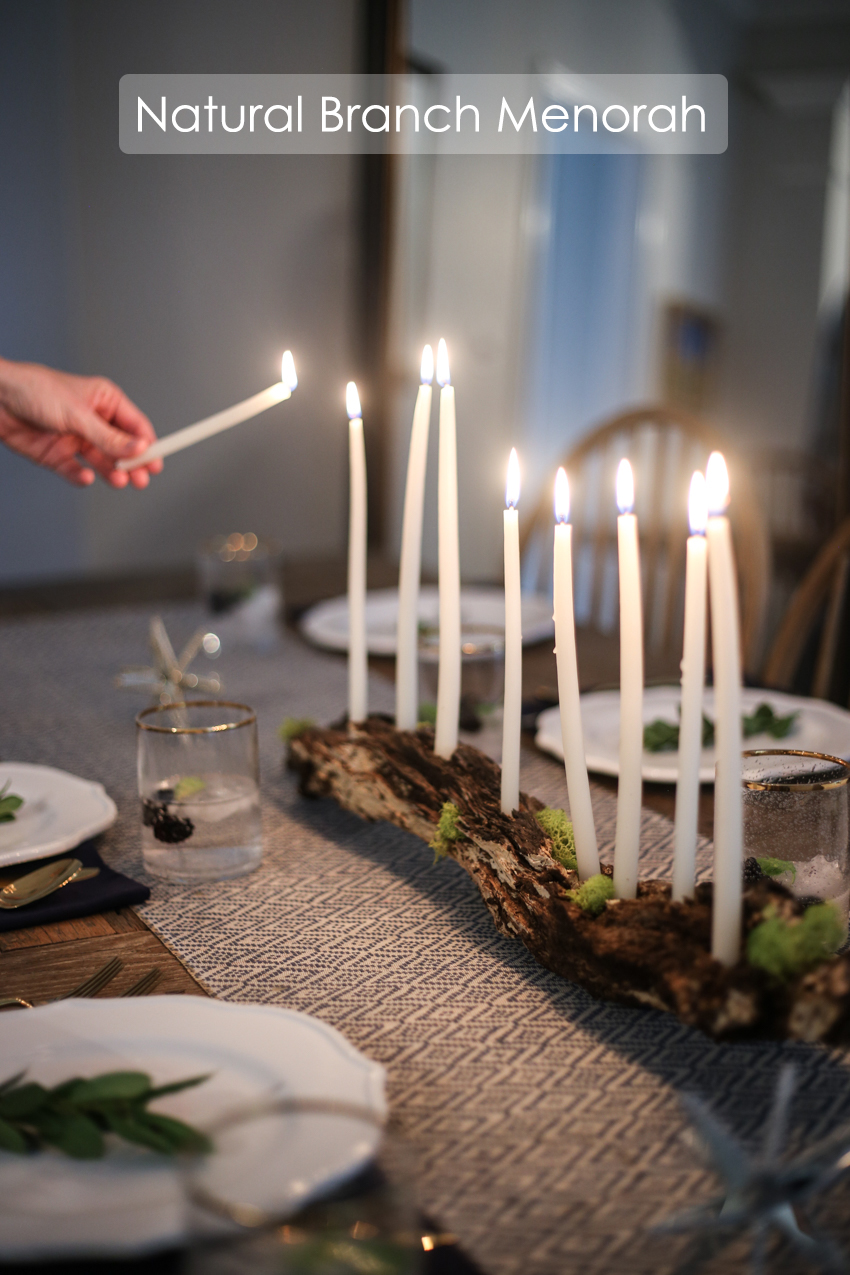
Hanukkah is upon us with it’s beautiful celebration of lights. I have long loved the beauty and symbols of the candles burning as we celebrate a season of miracles.
Natural Branch Menorah DIY
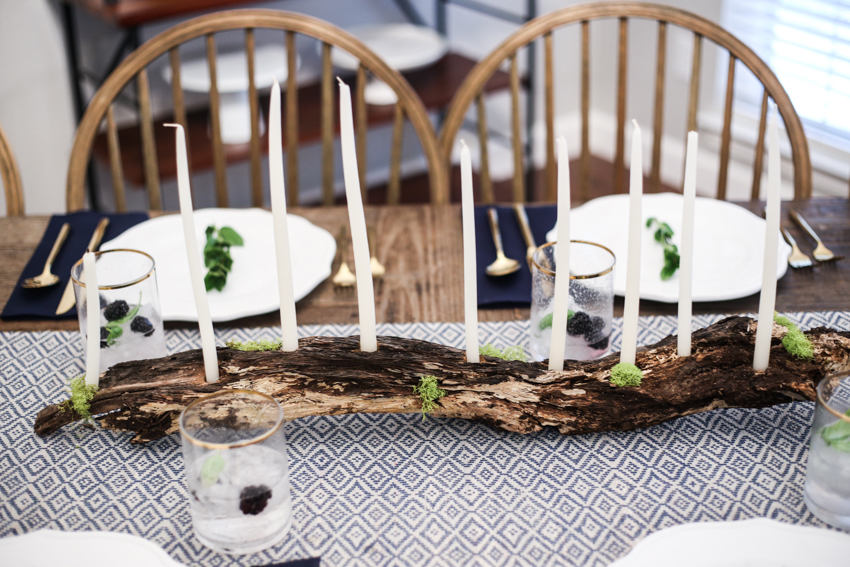
This year I thought it would be fun to create a different take on the traditional menorah, crafting a single long natural branch into the base to hold the eight Hanukkah candles and shamash.
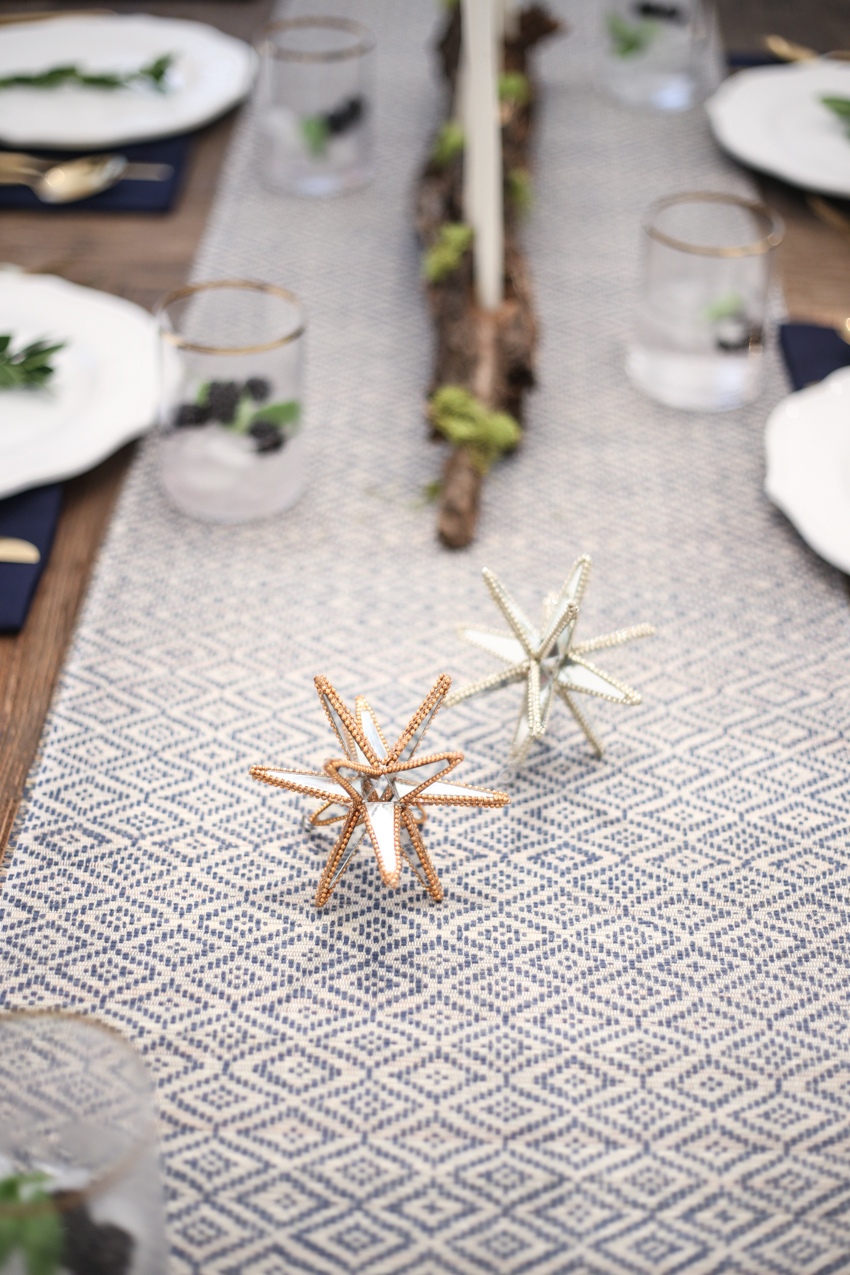
This DIY natural branch menorah is a simple four-step project and can be completed at home for your own table or to be given as a special gift. And for those not celebrating Hanukkah, it also serves beautifully as a candelabra centerpiece for a holiday table.
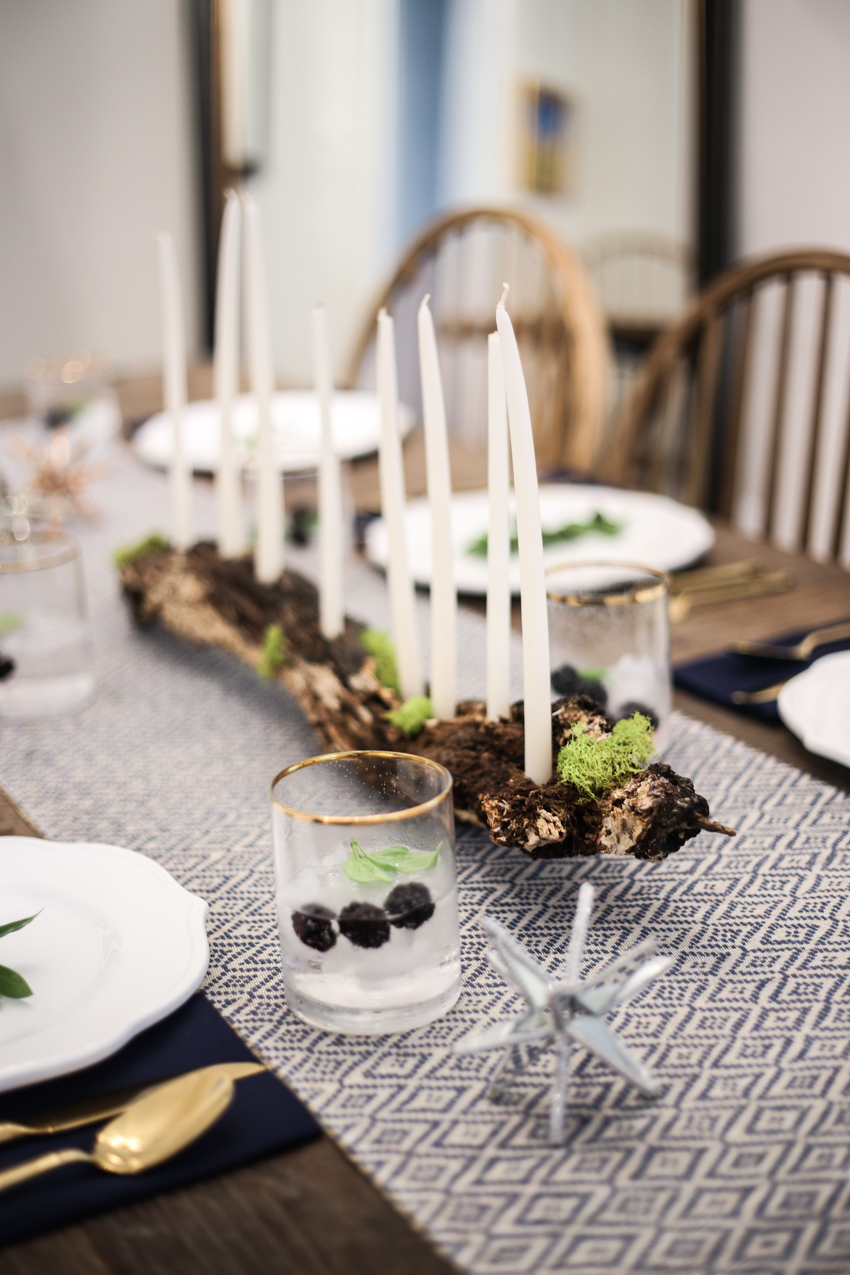
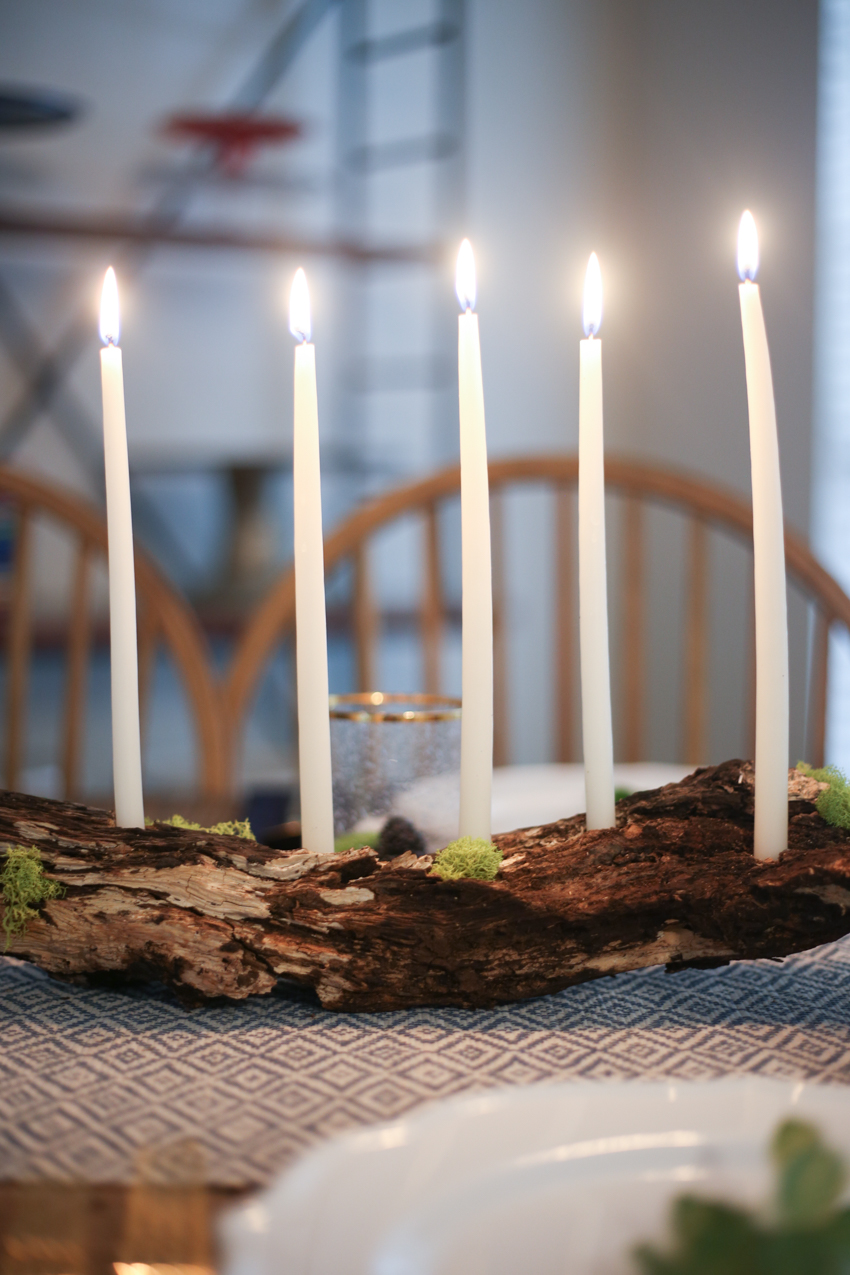
The shamash candle is located just below the other eight candles, and it’s placement is something to consider when choosing your natural branch. You’ll want something long enough to accommodate all eight candles that also has a slightly lower or higher place to add the shamash.
I added some live moss to the branch to add to it’s natural feeling, and it would also be beautiful made from a dry piece of driftwood or some other type of branch you can find nearby where you live. This beautiful piece of wood was foraged in our yard by my two young boys, and it’s shape and size is just right. 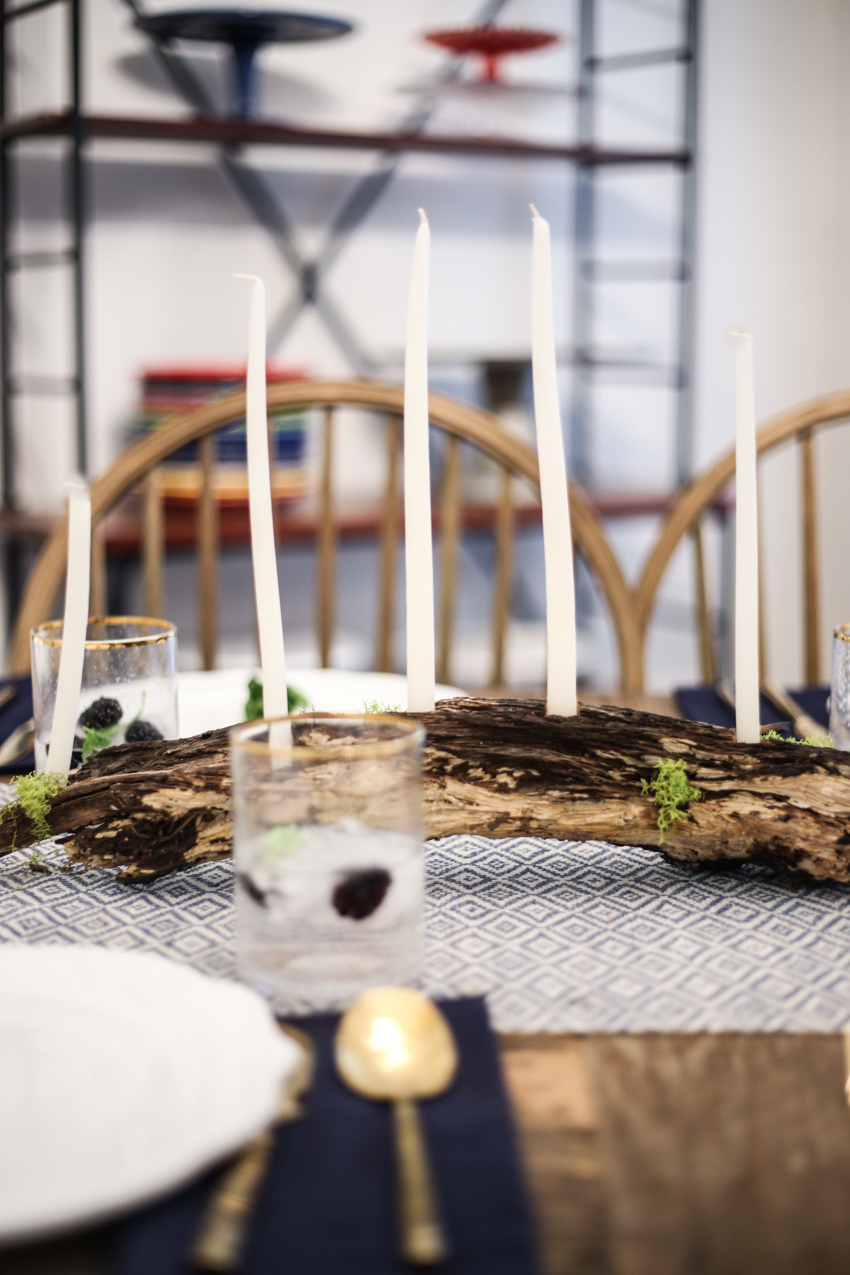
Natural Branch Menorah DIY
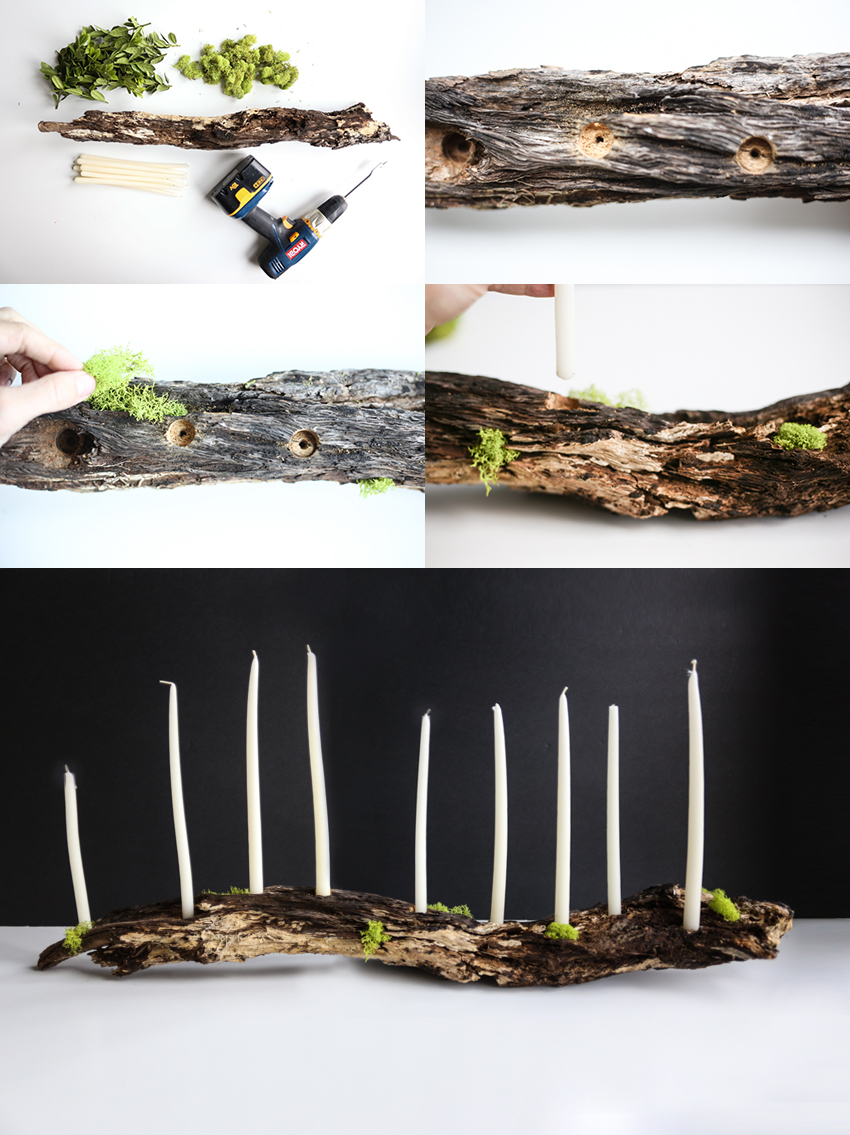
You will need:
1 long natural branch that will stand well on a tabletop. Look for something at least 3″ in diameter and 2′ long.
a handful of moss
9 candles
a power drill with a 3/4″ drill bit (or the same size as your candle bases)
- Determine which will be the top end of the branch by seeing where it naturally sits firm on the table top.
- Determine where the shamash candle will be placed, and drill a hole straight into the wood about 1″ deep.
- Leaving a couple inches between the shamash and the other eight candles, measure and drill 8 additional holes into the wood, all centered on the top of the branch.
- Blow out the sawdust and tuck little bits of moss into the bark in 4 or 5 places.
- Add the 9 candles, using a bit of melted wax if needed to hold them upright.

