
Dave has a good heart. Seriously, he is one of the most genuine people I have ever known, and I am lucky to have him! For Valentine’s Day (I know, it’s over, but I still have a couple chocolates in the box, and until they’re gone…), we stayed pretty low key, but I wanted to do a little something special (if unconventional) for him.

Rather than create it ahead of time, I presented him with this plain tee from H&M, and a coupon for one “Original Freezer Paper Stencil.”
I had thought of several designs for him, and however weird it might be, the one I kept coming back to was to create a true-life, anatomically correct heart. You know? Valentines Day for the Nurse and Chemist in us:) When I told Dave about the idea, he was excited about it! Aren’t we meant to be together?
I had thought of several designs for him, and however weird it might be, the one I kept coming back to was to create a true-life, anatomically correct heart. You know? Valentines Day for the Nurse and Chemist in us:) When I told Dave about the idea, he was excited about it! Aren’t we meant to be together?

I got to work looking for an acceptable image to base the design on. Originally I had planned on one color, but I loved this image, and it convinced me that two would be much more fun.

I’m an extreme photoshop amateur, but was able to turn the image into stencil-able format using the “Photocopy” filter and erasing all of the excess vessels.

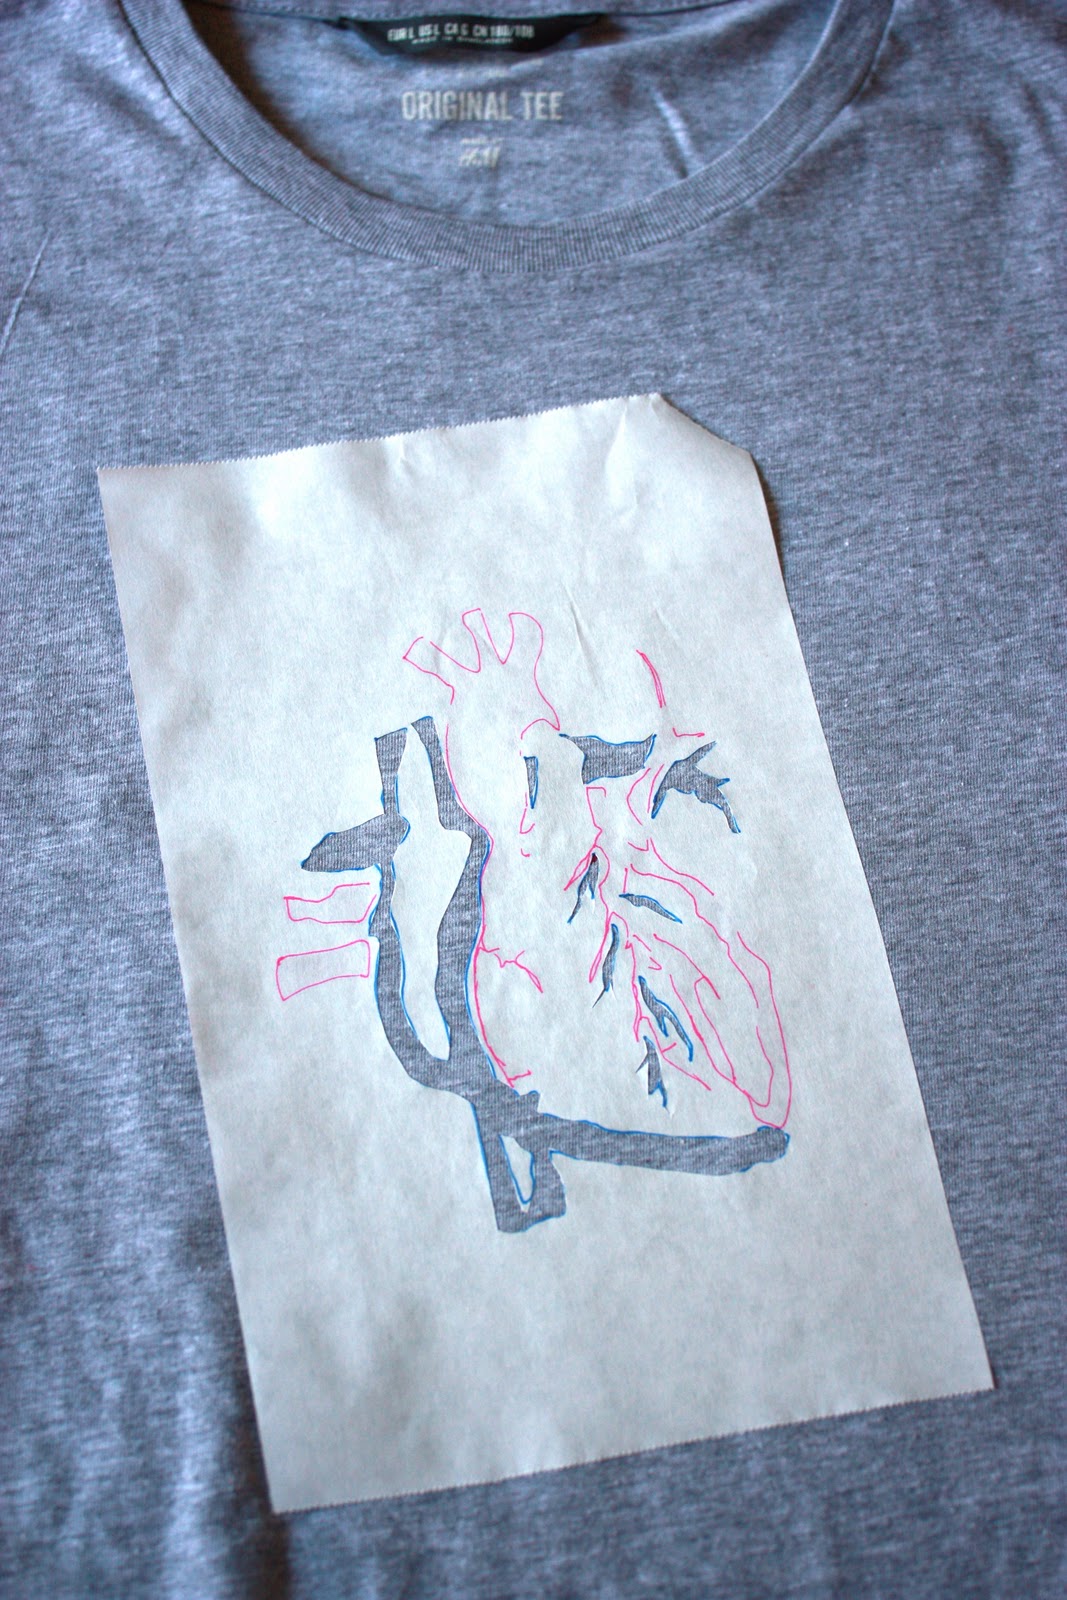
I printed out my photocopy design, then with the color image on the computer, traced the different colors onto the paper side of my freezer paper.

Using my spanking new exacto knife (oh, life’s little pleasures!) I carefully cut out the red part of the design, being sure to save the two little sections that would float in the design.

I arranged and ironed the stencil in the center of the chest, lined up with the bottom of the sleeves, with the heart tilted slightly to the right…which I think is how and where it actually sits in the chest.
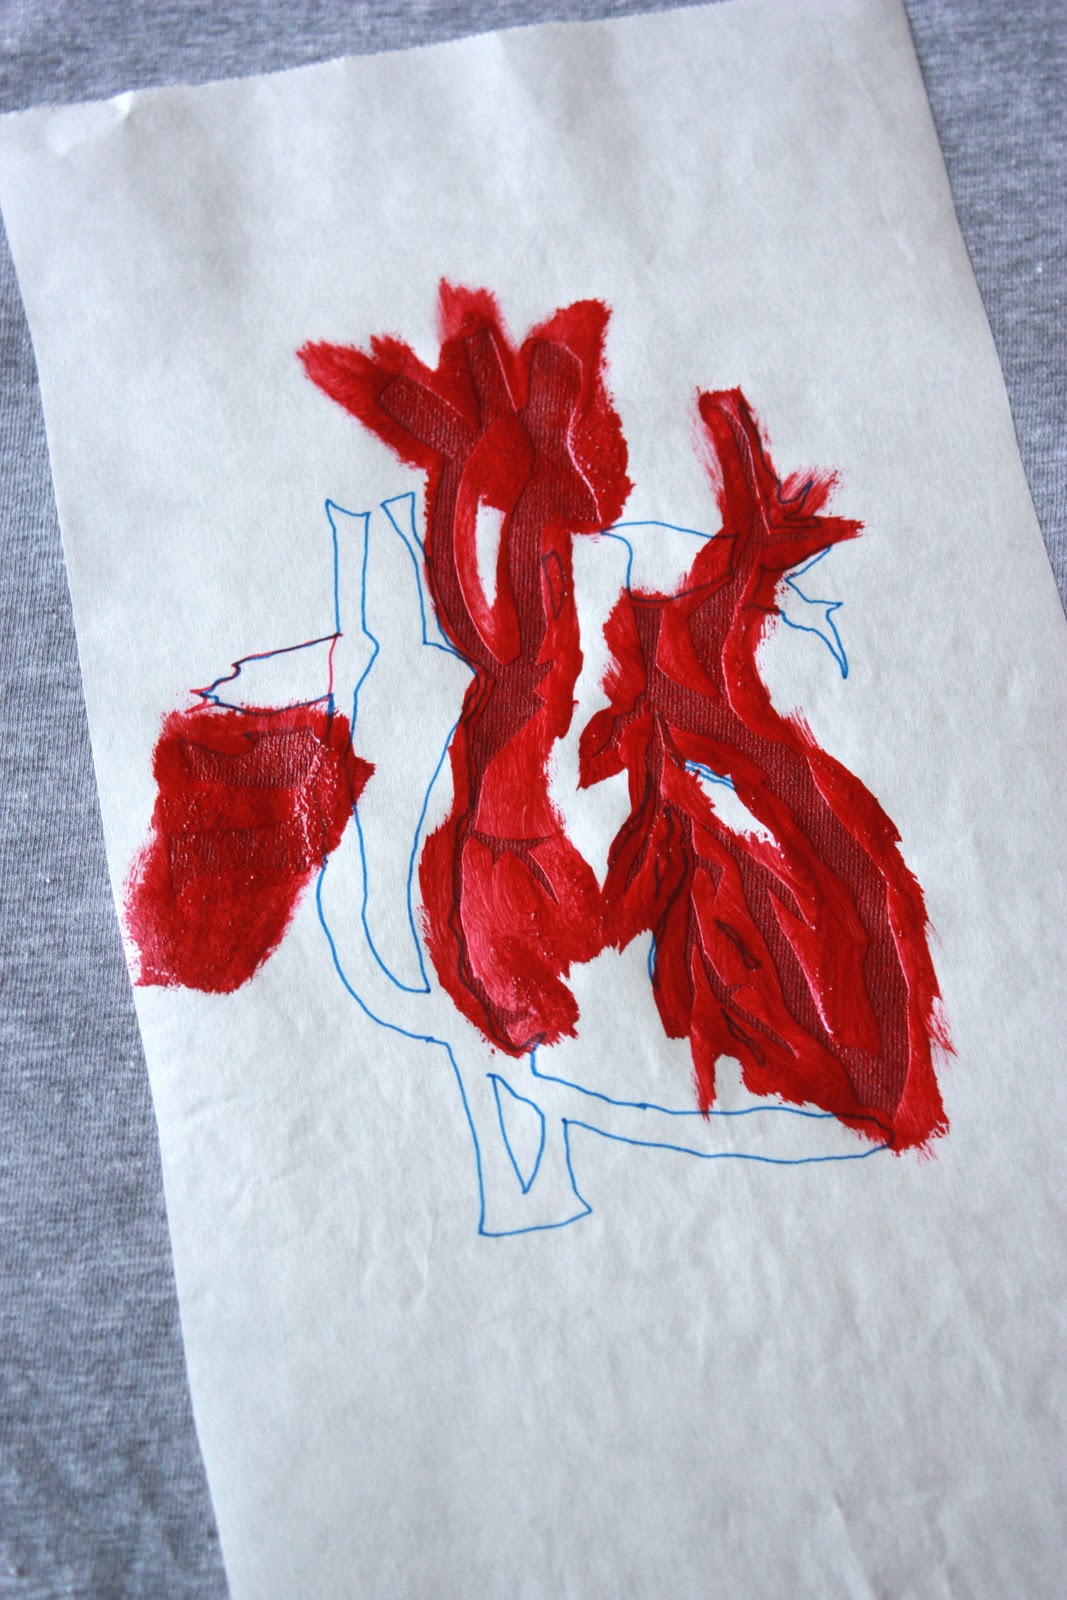
Next came the fabric paint. A nice, oxygenated blood red:)

After waiting for it to dry, I peeled back the stencil and was pleased to see that the design looked pretty true! I almost liked it enough to leave it just like this…but was curious how it would be finished, so I went on.

I had planned on re-using the first stencil, which I realized was a bad idea once I saw it covered in paint! So, I used it to trace roughly the red, then traced the blue again over the original print out.
Once the blue was cut, I positioned and ironed it over the red. I was a little worried that it wouldn’t line up, or wouldn’t stick, but it did both well.
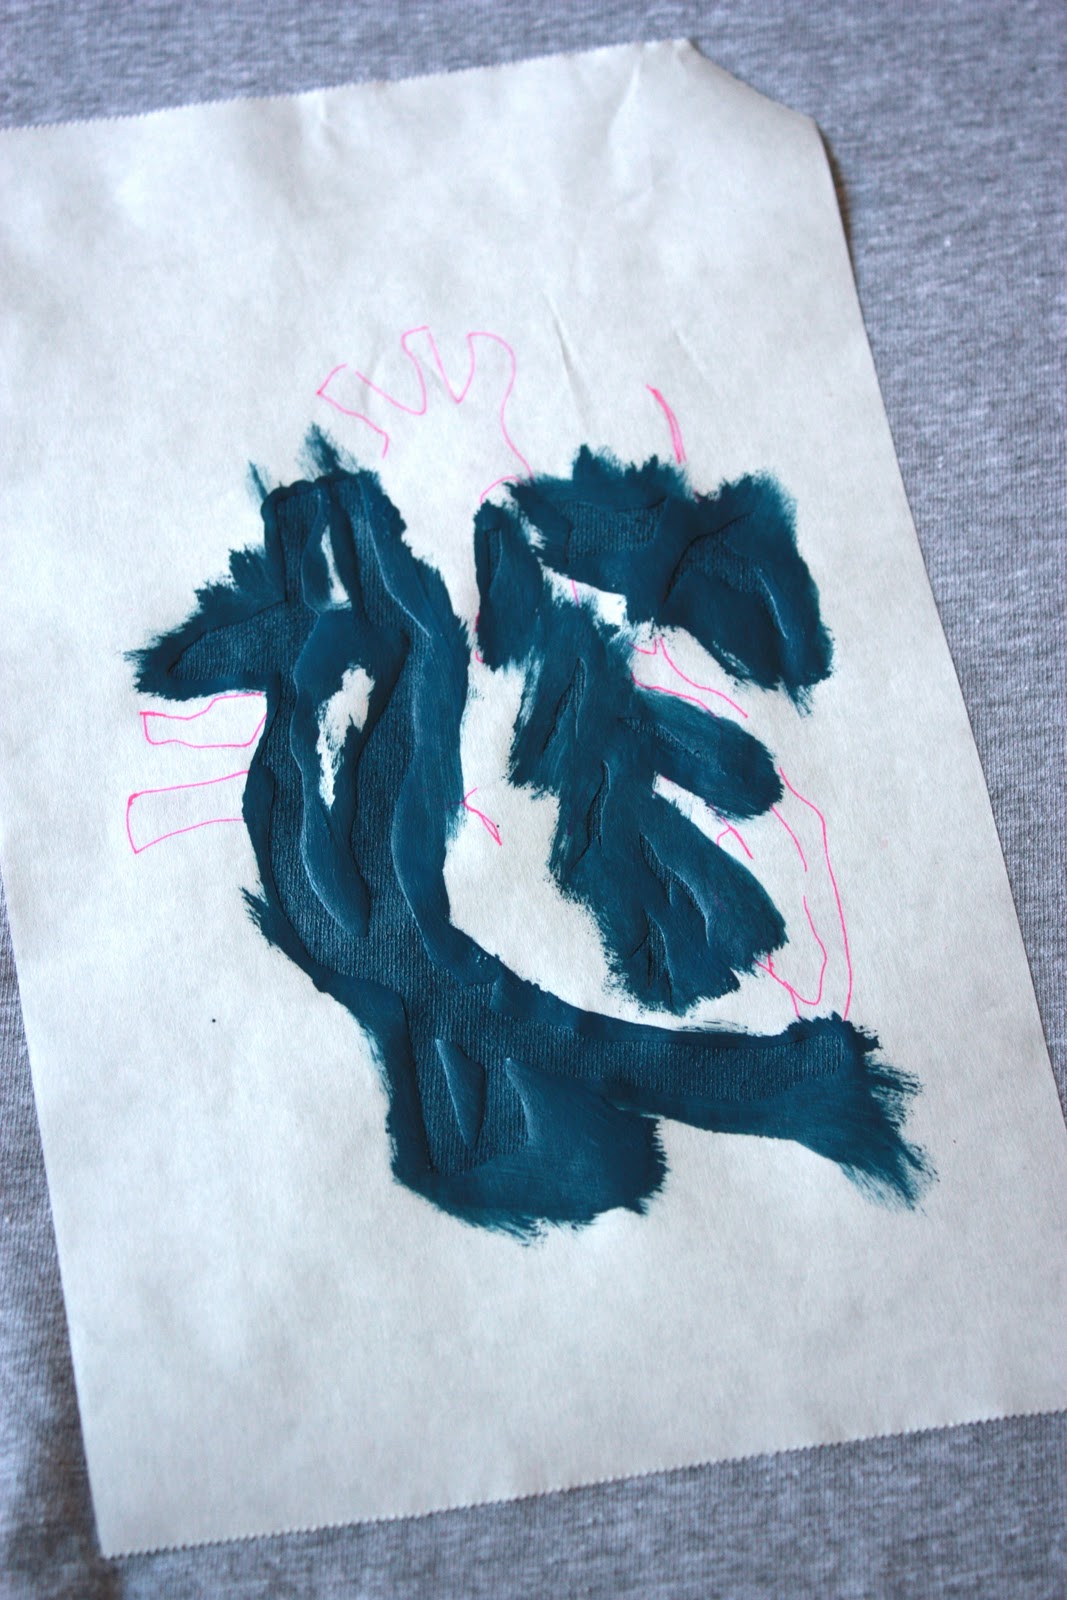
The blue paint went on, dried…
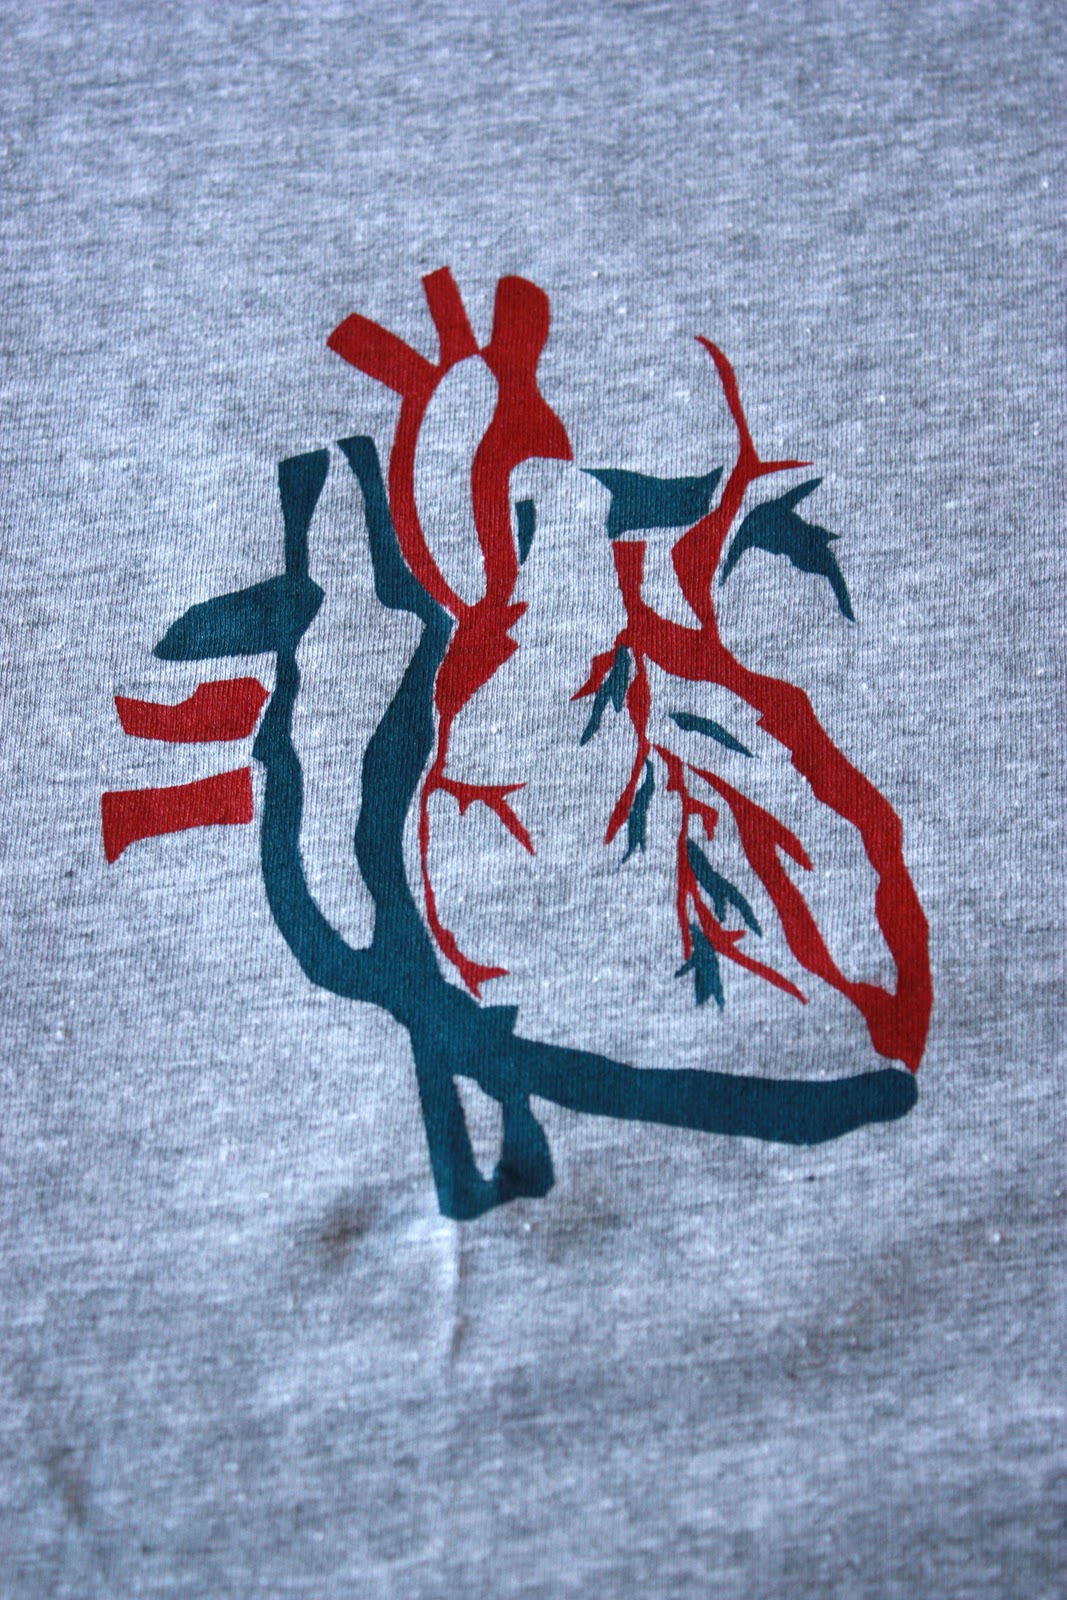
…and my heart was complete!
What do you think?

