I am proud of myself and my rising energy level on two accounts tonight. First, that I helped with this project, and second that I actually took some photos to blog about it. It’s almost like old times!!
Anyway, my mother-in-law just refinished her basement. It looks great. As we moved the big, red, sectional into the room, we realized that there was need for an ottoman. No where better to look than on craigslist, right? Well, we didn’t find one there, so we checked out anthropologie. We both loved this one, and Melanie read the price wrong and was ready to buy two for $128 each!! Then realized there was a nine in there to, making the price $1298…oops. She found one with promise at a local home consignment store. I had mentioned that we could easily reupholster one to look as cool as we wanted, so all she needed to find was one the right shape and size.
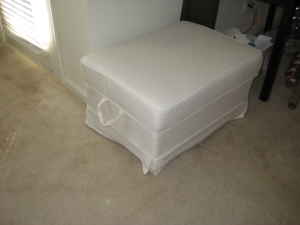
What she found looked something like this:
…only maybe a little more yellowish. Not pretty, but the right shape and size! I think I really surprised her when I dug right in with the scissors and started hacking all of the fabric away. She maybe thought we were going to just top it with some new duds, but I like to dig and find out just what we’re working with! Turns out the frame was solid wood, and great with little button legs.
We decided we liked the wood frame on the bottom, and I suggested stripes. After tearing away fabric, and removing a million staples, Melanie was able to mud, sand, prime and paint these adorable stripes! Blue and beige. Perfect. The feet will be orange, but that will be the last step.
So, what to put on top of this adorable base? We talked thick upholstery material. Maybe some houndstooth, maybe a nice swirl. At one point Melanie called me telling me about this great brown and white dog and cat print she had found…needless to say, choosing the perfect material can be a chore! However, today when I went by to check out some of her favorite swatches, two stuck right out at me: red cheetah print and black and beige chevron. They were the perfect mis-match for this eclectic piece. We decided on an orange welting to bring in the orange of the feet.
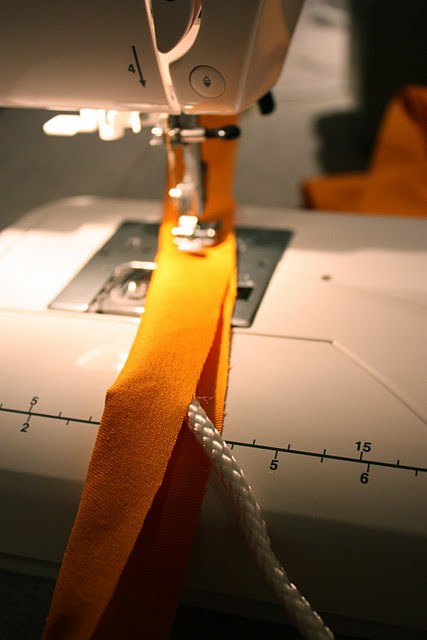
I had taught myself to make welting when making these darling pillows, so when Melanie came home with the fabric, I was ready to go. Welting is basically the round trim often used in upholstery seams, and is made by stitching fabric around a cord, leaving a tail edge that can be sewn into the seam…
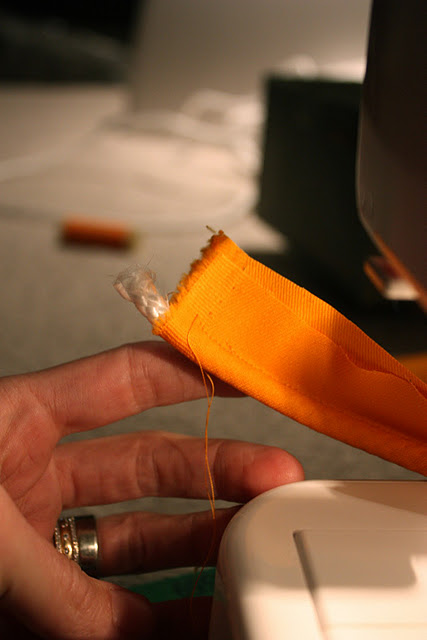
See? Cord, fabric, edge. Easy peasy.
Some say to cut the fabric on the bias (diagonal) for this, but I’ve done it both ways and haven’t found much of a difference. I use my zipper foot and put the needle as far to the left as possible, so I can stitch literally right along the edge of the cord, making a nice tight welting.
After measuring the cheetah print for the top, and the chevron for the sides, I was ready to stitch the whole cover together. I won’t go into detail because it is semi-complicated, and I am already outdoing myself here:) Here you can see how important that tail on the welting is, so when it is sandwiched between the right-faces of the fabric, there is somewhere to sew!
Again, I used the zipper foot to get as close to the edge of the welting as possible, making a nice, tight seam.
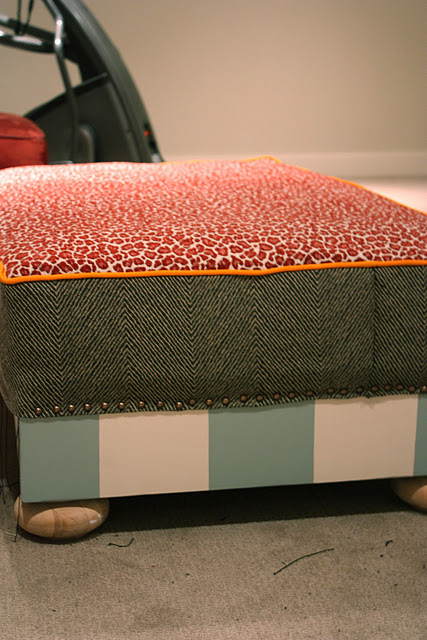
And there you have it. Pull that baby down around the cushion, tuck the raw edge under and slam in a few upholstery tacks. Amazing right? Don’t you just love love the combination of textures, colors and patterns? I do, I do!
I left Melanie to finish tacking the other three sides. Then, she’ll slap some orange paint onto those darling feet. And all for well under $1298!! Isn’t it just darling? A good recovery, I’d say! You can kind of see Milo up there testing it out…he like’s it too!


