Kitchen Remodel Cost
In January we closed on our new house, lovingly referred to as “Our Richmond Fixer Upper.” We bought it with plans to embark on a full kitchen remodel, along with other types of home renovation, all before we moved in. Because we were renting nearby, I monitored the progress, worked on-site, and managed the whole renovation as the self-appointed General Contractor. In this way, I was able to control a good portion of the kitchen remodel cost, and be aware of adjustments as they came up.
I also saved about 20% from what we might have paid if we had hired a general contractor to manage and coordinate the project for us. The time and energy I spent on the project was intense, and I would not recommend it to anyone who is not mentally and emotionally prepared for a full-time construction job during the process. I have a bunch of tips for hiring a great contractor here in this post.
In today’s post I want to break down the full process of our kitchen renovation, including the kitchen remodel cost, the products and sources used, and some of the behind-the-scenes of the journey. For reference, the usable space in our kitchen is roughly 7′ x 16′ or 112 sq ft.
Every kitchen remodel will vary greatly, in size, scope, materials and finishes, and timeline. Keep this in mind as you read through our experience. Factors such as area of the country and season of the year, as well as design and materials, can also have a huge impact on the whole kitchen remodel cost.
Our kitchen remodel cost roughly $35,000 from start to finish.
If we had used a general contractor–and not DIY-ed several projects–the cost likely would have been closer to $50,000-60,000.
With HGTV shows clocking full renovations around $15,000-20,000 on a regular basis, it feels important to mention that we originally planned on between $15-20,000 for this project and encountered unexpected costs, important adjustments to our plan, and discovered that, overall, things cost about double what we assumed before we got started!
If you are thinking about a kitchen remodel, make sure you begin with clear ideas of what you want as well as accurate estimates before you finalize a budget! We were lucky to have some flexibility with our finances to enable us to create the space we wanted even at a higher cost, and next time we will be even better informed.
Our Kitchen Remodel Process
Our home was built in 1948. We could tell when we initially walked through it that there had been some renovations and additions over time, like the screened-in porch having been converted to living space, and the attic having been converted to a master bedroom. We didn’t know where or how much of the house was original until we began tearing things apart.
Several of the cost increases in our renovation budget were due to unexpected adjustments to our estimates that we couldn’t have known about until we began, so it is a good idea to build some cushion into your renovation budget. In fact, I think a good rule of thumb is to DOUBLE your first estimate. That way, you make sure not to overextend yourself, and if you come in a little under you can splurge on final details.
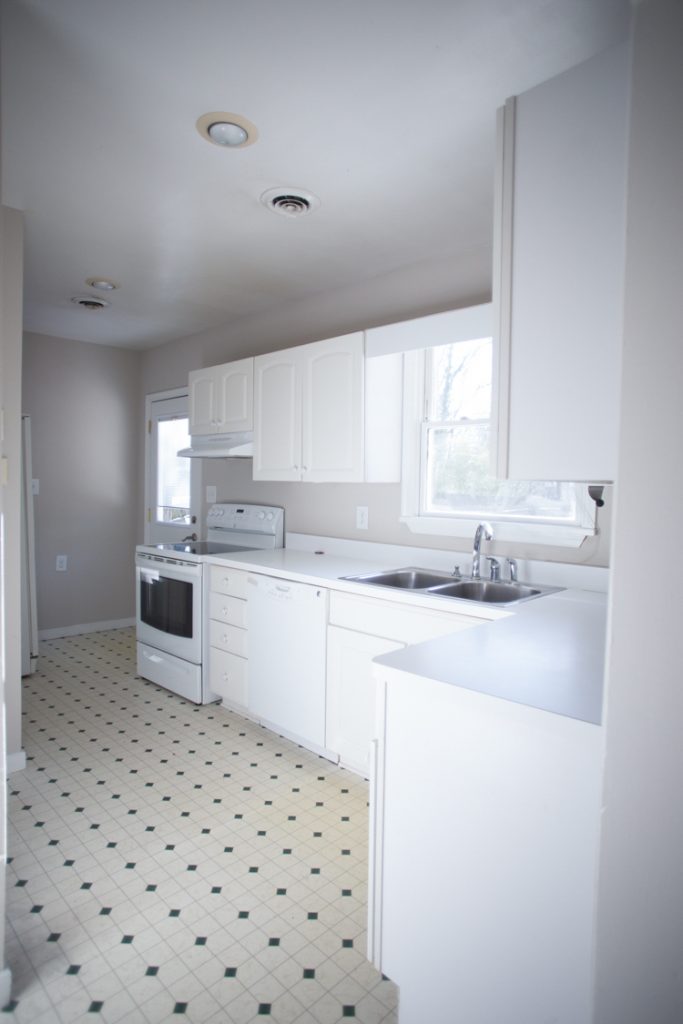
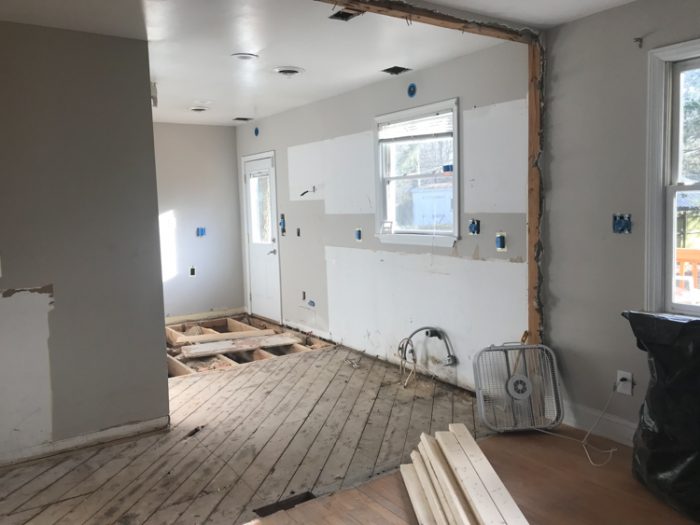
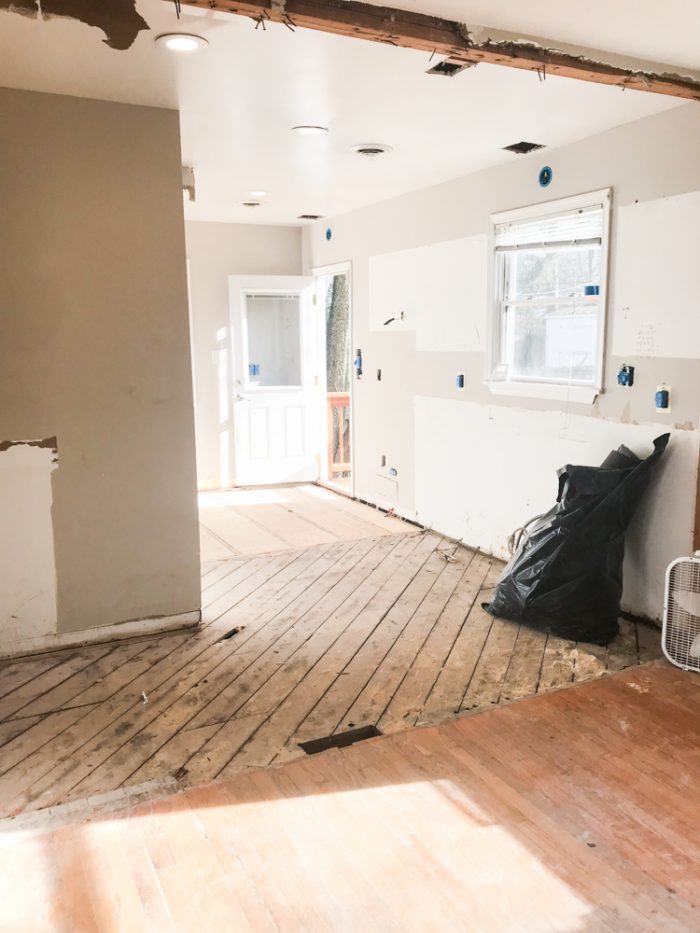
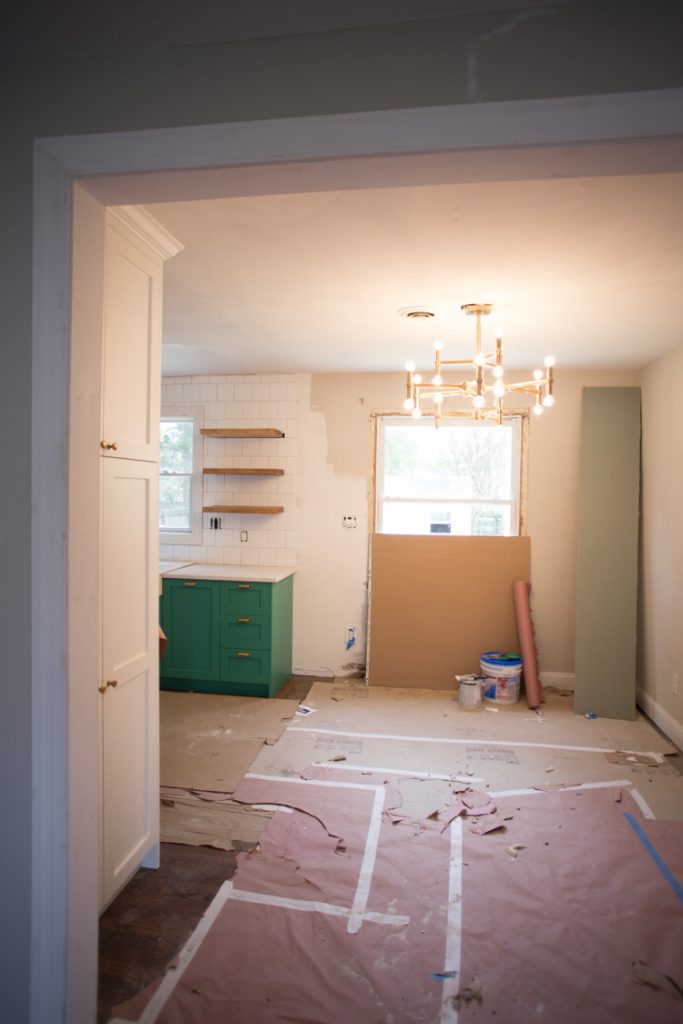
Because nothing had been recently updated in the kitchen, we were excited to gut it completely and begin anew. We tore out all of the existing cabinets, flooring, pantry space, appliances, lighting, and even walls. We turned the back door into a kitchen window and the dining room window into a back door. Everything from the ceiling to the floor was touched in one way or another.
Let me walk you through each step and break down the process and the costs.
Small Kitchen Design
Before we began anything on the kitchen remodel, I designed the space from A to Z. I have a lot of experience with design, working through my own spaces over the last ten years, helping friends and family, and also following closely with a lot of favorite designers as they work. I shared some of my very favorite interior design books here, that I use often for inspiration.
In Texas, I designed our kitchen within the blueprint of our house plan guidelines, and it was built to my design. I learned a lot from that process, and also already had a bunch of preferences and design ideas when we began looking for this house.
The actual design process went fairly quickly for me, both because I had been collecting ideas on Pinterest for years, and because I am very decisive. We also bought this house with the plan to move again in several years, so the decisions didn’t hold the emotional weight of a “forever home” (which, by the way, is an idea I don’t love, generally.)
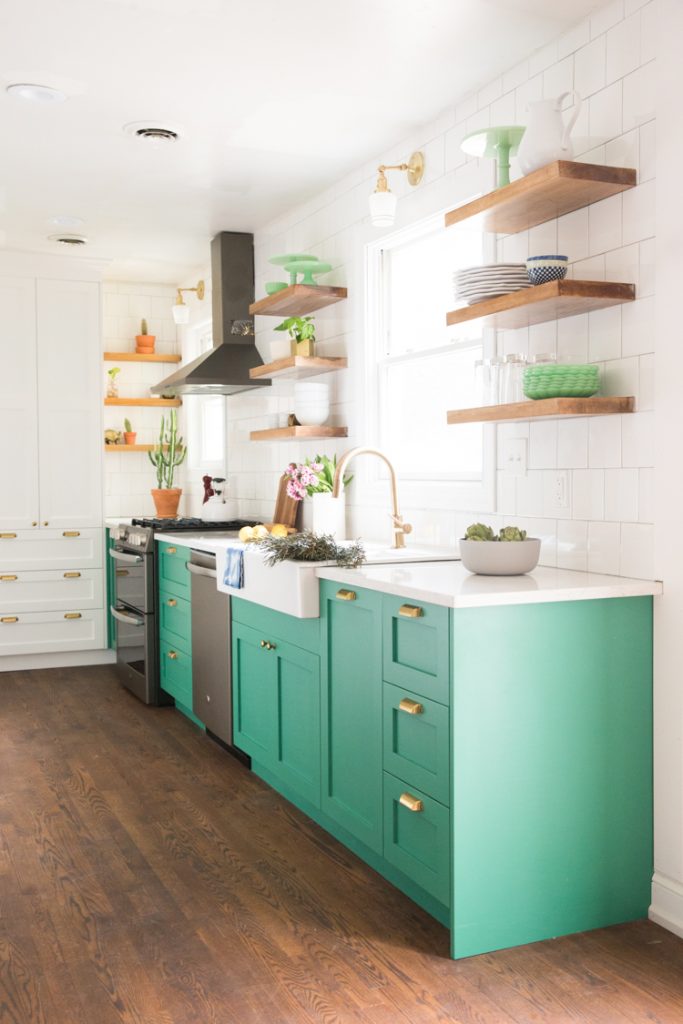
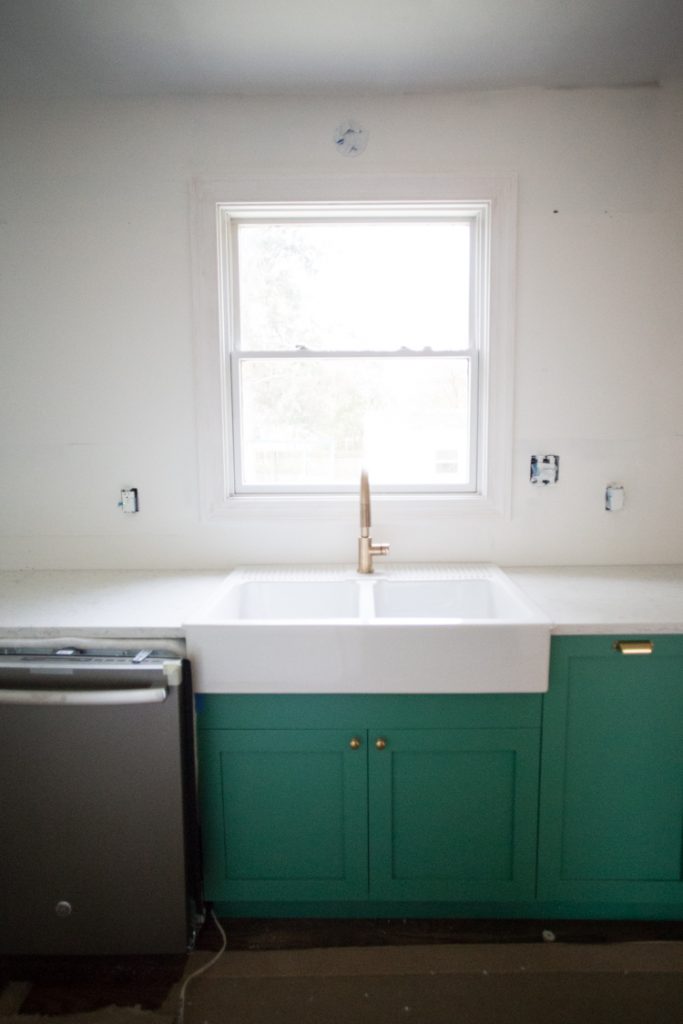
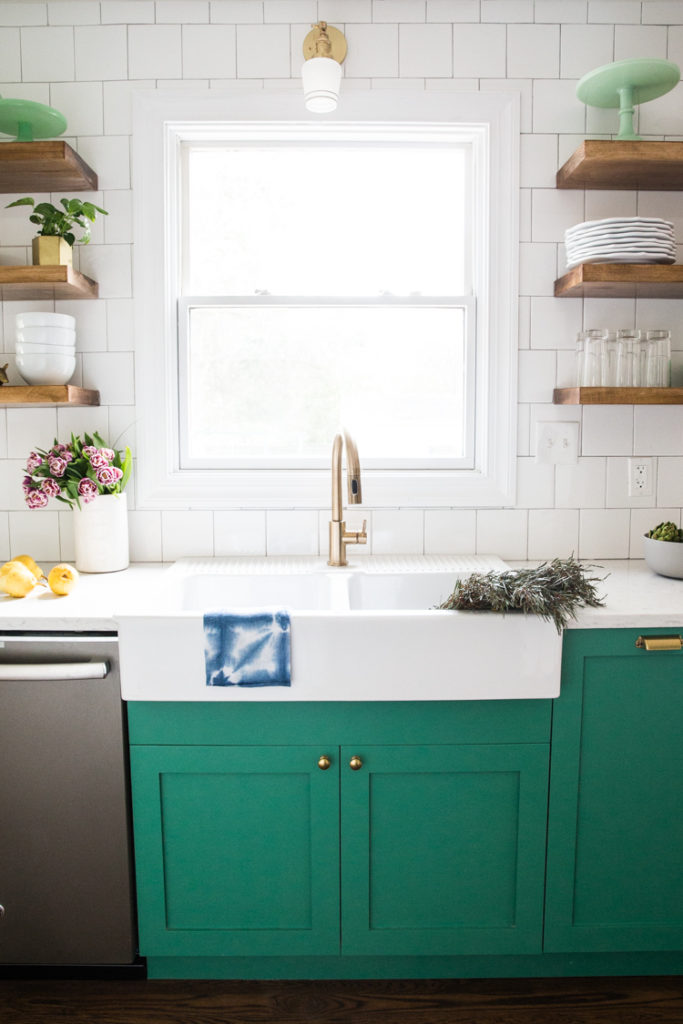
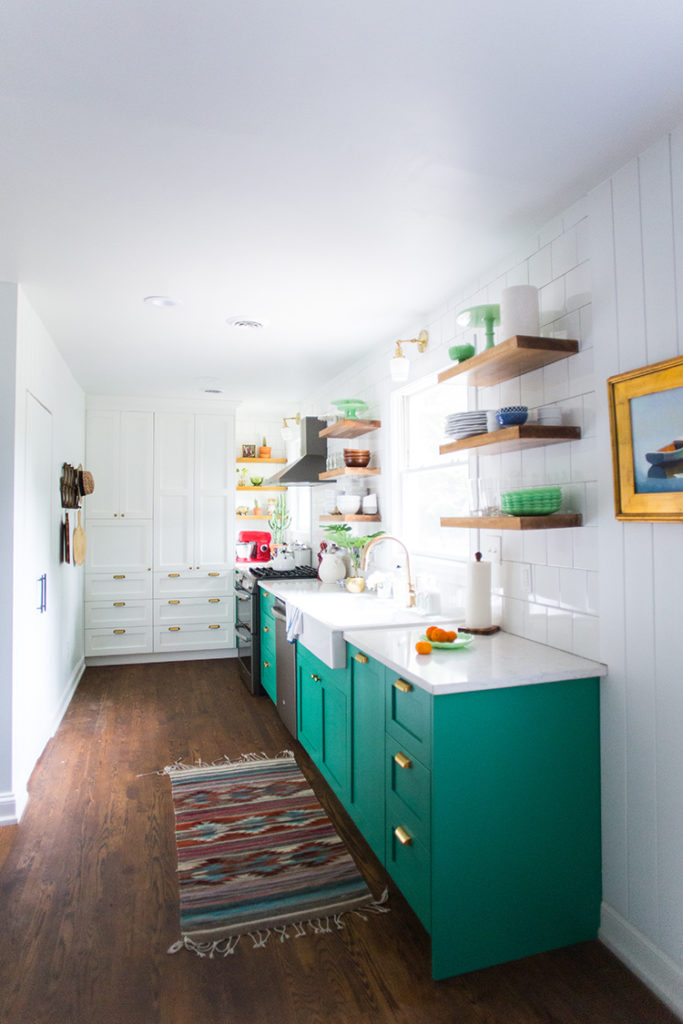
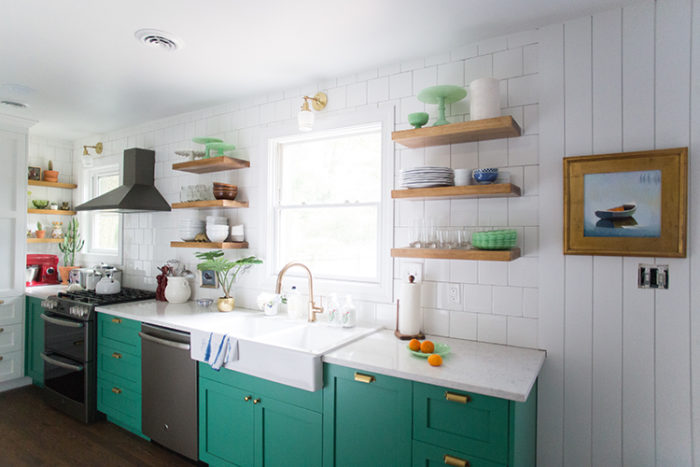
I knew I wanted open shelving, colorful lower cabinets, wood floors, a full wall tile backsplash, a farmhouse sink, brass accents, and white quartz countertops. I worked within the footprint of the existing kitchen, and made the most of the space with intention and creativity. I love how it turned out, and even after living in it for 6 months so far, I wouldn’t change a thing.
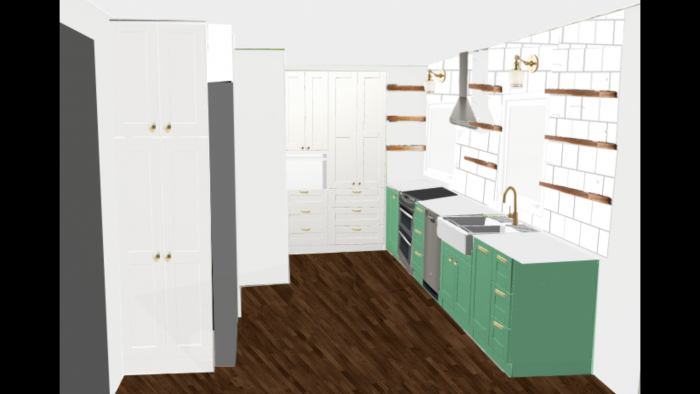
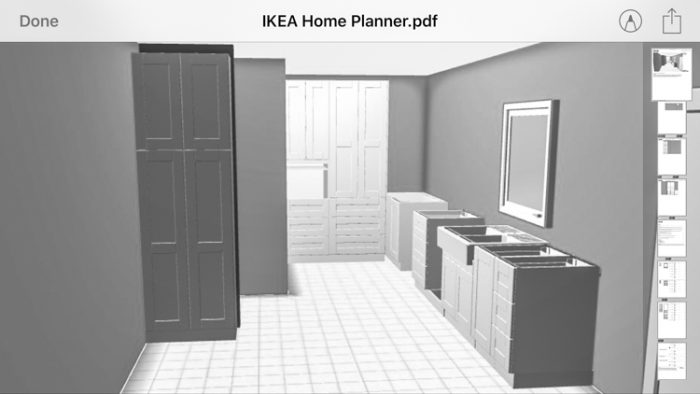
I used my IKEA cabinet plan to create a photoshop rendering of the whole space before I got started, just to be sure I loved it. And I loved it. Plus, having a visual reference of the design made it easier to bring this space to life.
Kitchen Demo
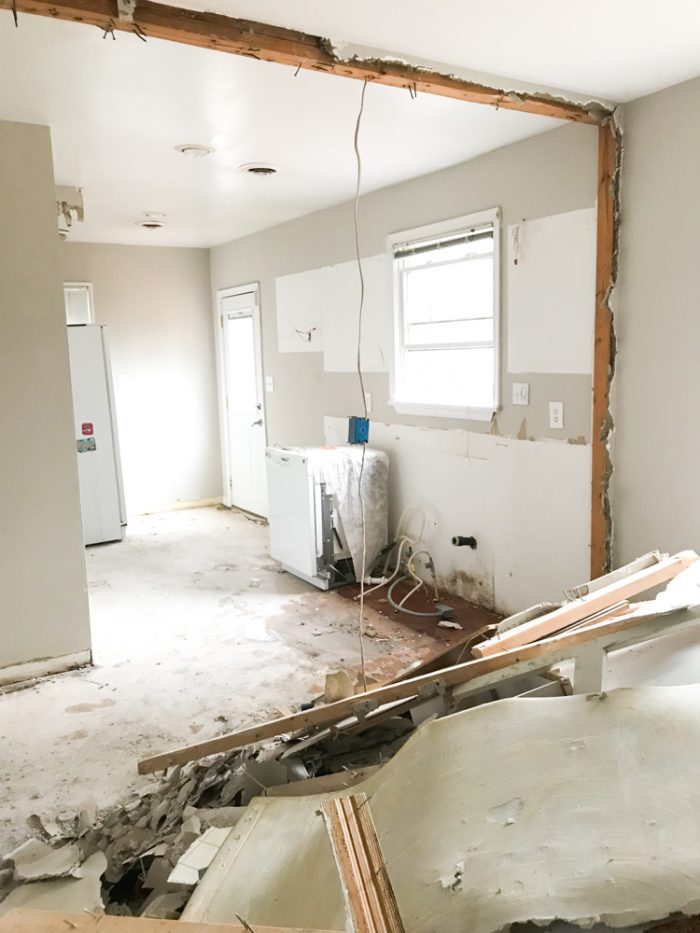
Once we had a semi-firm design, we needed to tear out the previous kitchen. We decided to demo the kitchen ourselves, which was hilarious and so fun. You can see the whole process here in this Demo Day YouTube video. Because we did the work ourselves, we didn’t pay for the labor, except to have the garbage hauled away after we finished. The hauling cost us $500, which was two trailer loads.
We hired a contractor to widen a load-bearing wall between the kitchen and the living room. I didn’t feel comfortable adjusting a structural wall on our own. The team I hired charged $1500, which was the lowest of 4 bids I received. You can see that process in this video.
Total for the Kitchen Demo was $2000.
Wood Floors
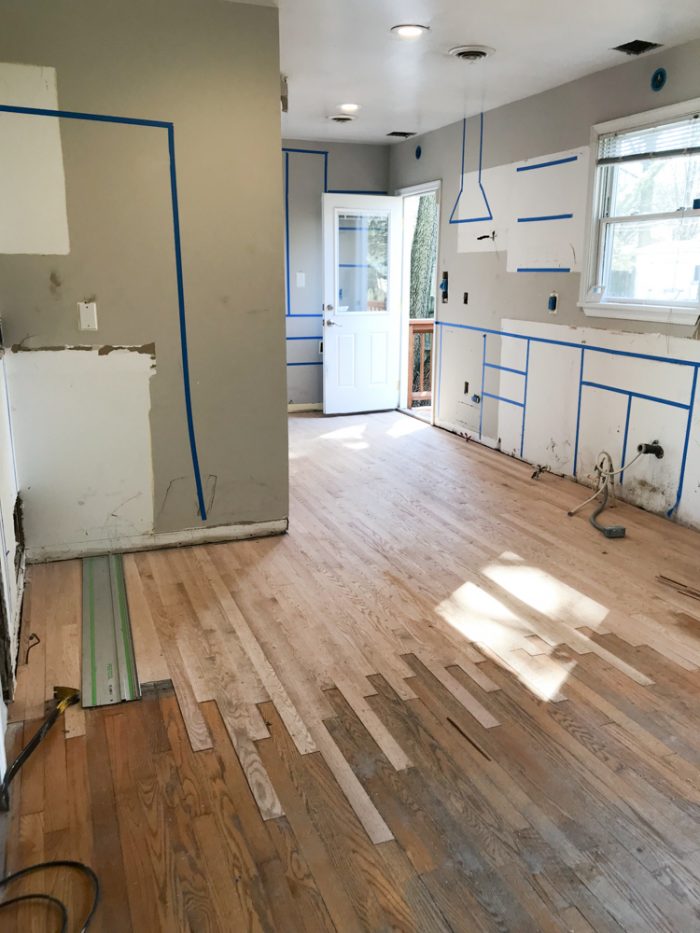
The next step in the process was to install wood flooring to match the original red oak floors in the rest of the main level. I loved the original hardwood floors, and wanted to carry them into the newly opened space.
The highest cost of the new flooring was the tie-in to the old floors so that it looked continuous. The bid we chose was not the least expensive, but was with a great company who specialized in antique flooring and had amazing reviews, which also matter a lot when choosing the right person.
The original bid was $7500 for removal of the plywood, installation of new floors, tie-in, sanding and refinishing the entire first level of the home so the new stain matched perfectly.
We signed on and got going, and a couple hours into the first day of the tear-out, the team called me to say that the kitchen subfloor disappeared about half-way through the room. I came home and, sure enough, there were floor joists and insulation, but no subfloor. Apparently, this section had been an addition, some point in the home’s history, and the remodel had included plywood with vinyl for the kitchen flooring.
We brainstormed a solution, and the best we could come up with was to rebuild the subfloor from beneath, with 2x4s sistered to the joists so the plywood subfloor could countersink to match the elevation of the original subfloor. It worked beautifully, and once the red oak was tied-in, sanded, and finished the floor all looks incredible.
We could have chosen to change the flooring to something different where the subfloor ended, but I knew the continuous wood would look the best for the whole main level of the home, so we absorbed the extra cost as an investment for the overall look of the home. Rather than go with a sealed poly finish, we chose a beautiful dark stain and hard oil wax finish, which will age beautifully and be easy to maintain.
The unexpected additional labor and time increased our flooring cost by $1500, for a grand total of $9000.
Electrical
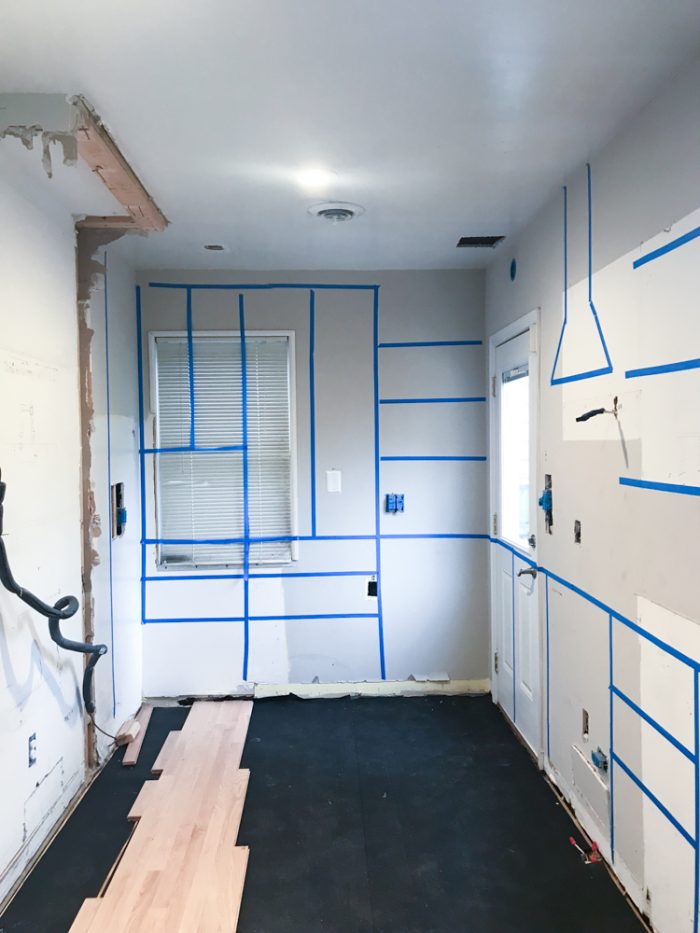
Moving wiring is one of those very unexpected and uncelebrated pieces of a renovation. We moved outlets and added lighting both over the windows and into the ceiling throughout the kitchen, and the electrician worked full-time on the house for about 2 weeks. He added GFI outlets and made sure everything was up to code, as well.
The initial bill was $2000 for hours and hours of work in the kitchen and adjoining dining room.
This post shares all about how we mocked-up the kitchen design before installation to help with electrical layout choices.
Plumbing
Although the house had natural gas for the furnace, the stove was electric. I wanted to replace it with a gas range, so we had the plumbers estimate installing the disposal, sink, and appliances including adding a natural gas line to the stove.
During the inspection for the gas line, the plumbers found a leak in a waste pipe from the kitchen sink that needed to be repaired as well. We were lucky that the house had been vacant for a few months, because the crawl space hadn’t gotten too damp.
The cost of installing the gas line was basically the cost-per-foot of line, because the T-fitting had already been installed and capped at some point. Luckily, the stove wasn’t too far from the gas source, so that project only cost $1000 (when some estimates online talked about $3000-4000).
All in, the plumbing ended up costing around $2500 including the leak fix, gas line installation, and appliance installation.
Window + Door Replacement
When I designed the kitchen, I knew right away I wanted to change the location of the back door. It was tucked so far into the corner of the kitchen, it seemed very impractical for regular use. I wanted it to be easily accessible, so we could feel more connected to the back patio and yard. I also wanted to use the corner where the door had been for useful cabinet and countertop storage.
I found a carpenter on Craigslist with a great portfolio and lots of experience, who I hired on an hourly basis to complete the work while I provided the materials.
He also repaired and prepared all of the sheetrock for the cabinet installation, and added crown molding once the cabinets were installed.
The window and sheetrock repair, including all of the materials, cost $1200.
I splurged on a custom Dutch door for the patio, and absolutely love it. The door itself cost $2000, and the labor for installation was $250.
Total for all of the materials and work was $3450.
Ikea Kitchen Cabinets + Semihandmade Cabinet Doors
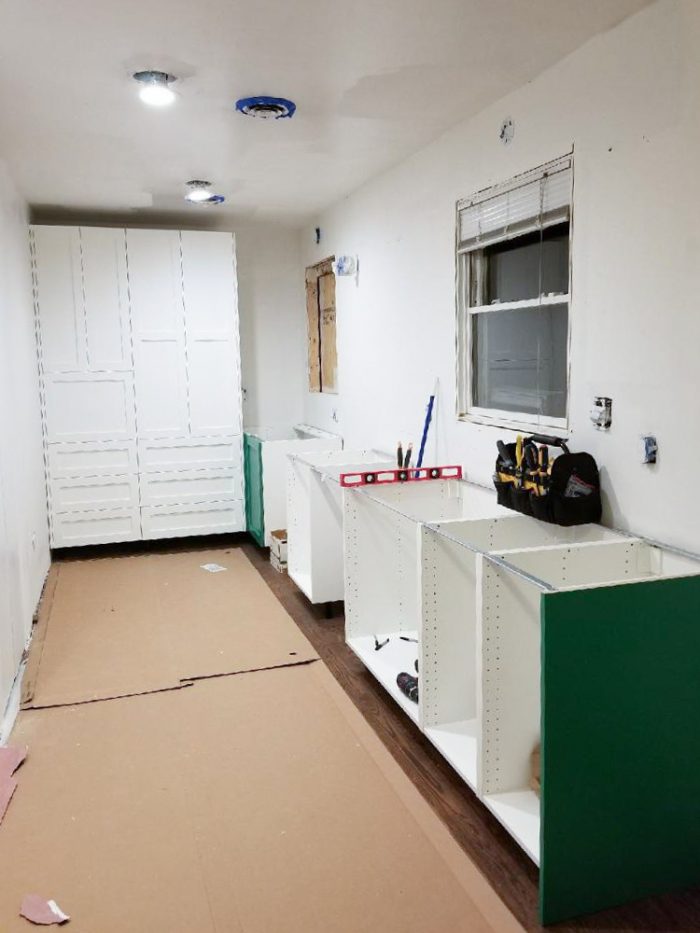
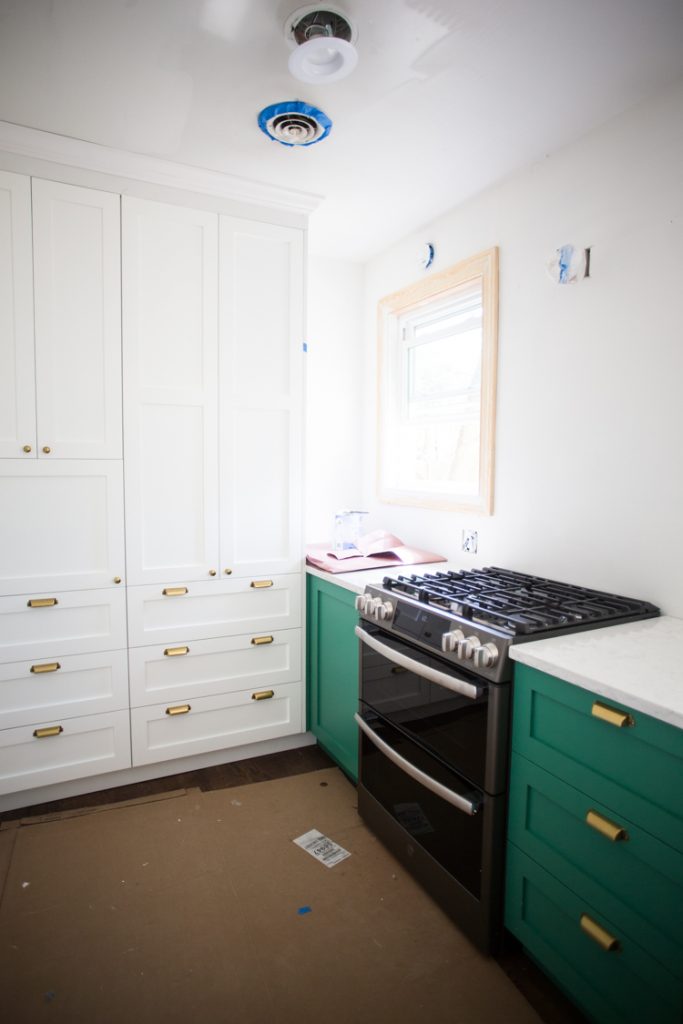
For the cabinets themselves, I wanted to use IKEA bases. I love the versatility, functionality, and features that come standard. Things like soft-close drawers and doors, interior upper drawers, easy addition of drawer separators and organizers, and pull out garbage/corner lazy Susan cabinets, and pantry style systems made the decision easy. Plus, they are super affordable and available worldwide.
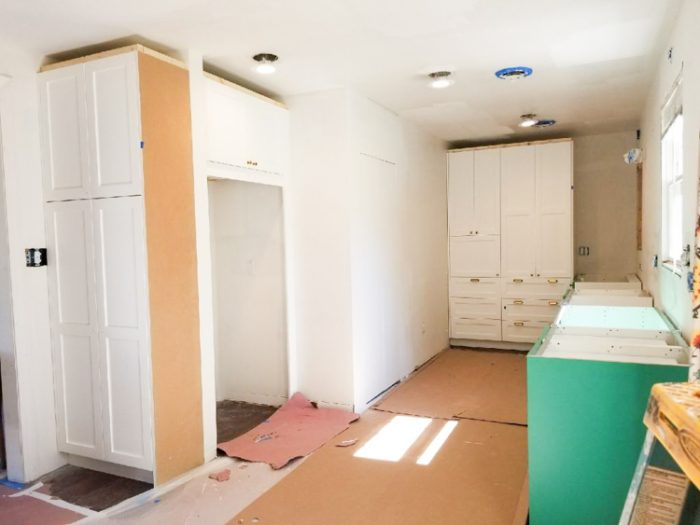
I didn’t love the styles of doors available, and I knew I wanted custom doors and a custom color. I went with Semihandmade for the custom doors. They are made to order for my own kitchen, so we were able to do some fun things, like add a door for the microwave in the pantry, and make custom laundry room doors for the wall.
I hired Virginia Kitchens, a local company who specializes in Ikea Kitchens and is a preferred Semihandmade client, so that they would have a good understanding and some experience with building the flat-stock cabinets. The other general contractors who I had been in contact with for ballpark estimates were unfamiliar with IKEA products, so using someone knowledgable was a good fit.
The cabinet bases from IKEA for our kitchen, plus the farmhouse sink, all only cost $2500! I bought them a month before the annual IKEA Kitchen sale, and was able to recover the 15% discount during the sale as a $350 store credit (which I promptly spent on organizational components for the cabinets themselves!)
The DIY Shaker style from Semihandmade cost $2700. They came as unfinished wood. That was what I wanted, knowing I was going to paint them myself. You can read all about the cabinet painting project here!
I worked with Sherwin-Williams to complete the cabinet painting project, so the cabinet painting didn’t factor into our kitchen remodel cost. The local paint shop where I had it estimated before I chose to DIY it quoted $1600 for the cabinet door painting job.
So, our cabinets and doors ended up costing a total of $5200 for the materials before painting, plus $3000 for cabinet construction and installation. The final invoice was $8200 (and would have been $9800 with painting.)
Countertops
The same company who installed our cabinets offered countertop installation as well, and I loved their options. I chose a marble-like quartz called LG Viatera Minuet. The white was beautiful, with a subtle grey vein and a pencil edge. The surface is honed so it is not super shiny. I love the marble look, without the maintenance of marble.
The Quartz countertops were $2200 for 24 sq ft, including installation.
Tile Backsplash
I have loved square ceramic tile for years, and chose it in a brick pattern for our bathrooms in Texas. When I designed this kitchen in our small Richmond home, I decided to stick with what I know I love, and add a full wall of square ceramic tile to the backsplash, with floating wooden shelving.
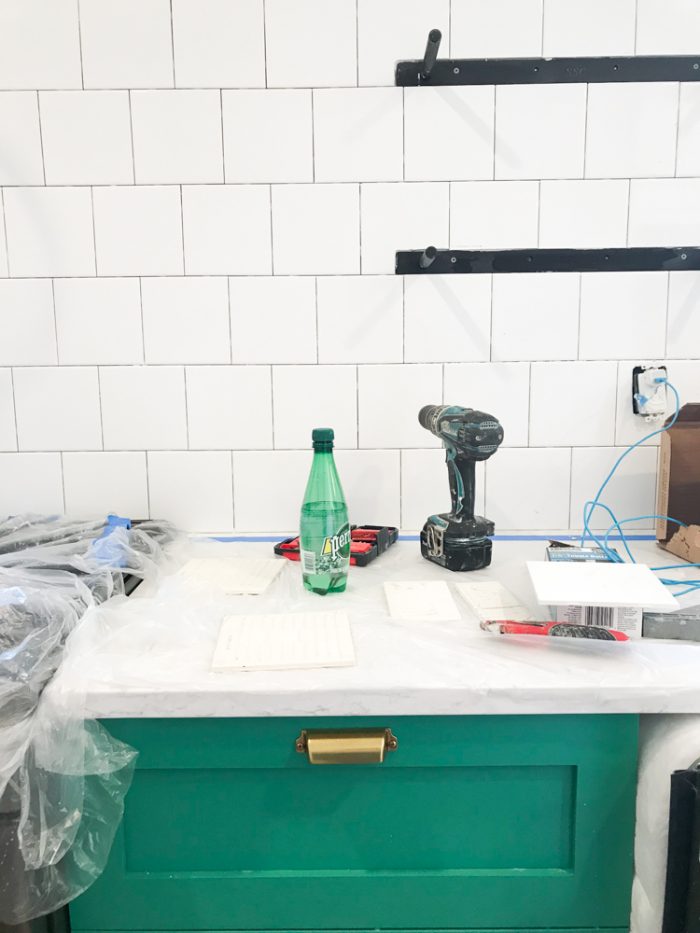
The tile itself is inexpensive because it is such a standard style, so the entire wall only cost $100 for the tile and grout.
I hired a tile team for the installation, because I have’t done tile before and wanted this to look great. I will generally DIY something for the first time in a less conspicuous area than the entire kitchen wall, but I was able to help a little bit with the installation and am considering DIYing our master bathroom tile sometime soon.
The cost for tile labor was $1500, for a total tile cost of $1600.
Open Shelving
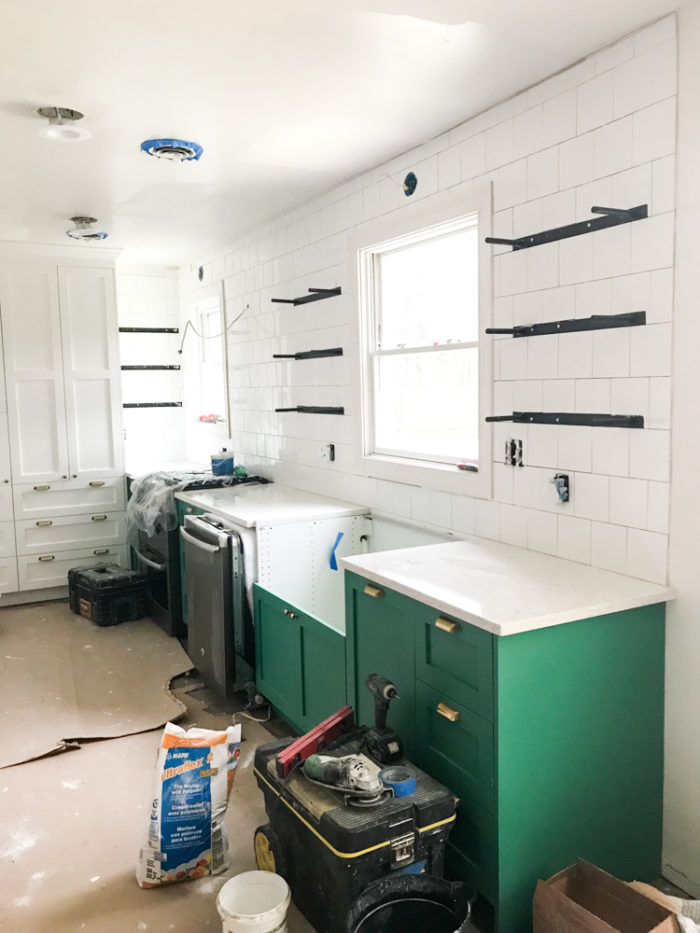
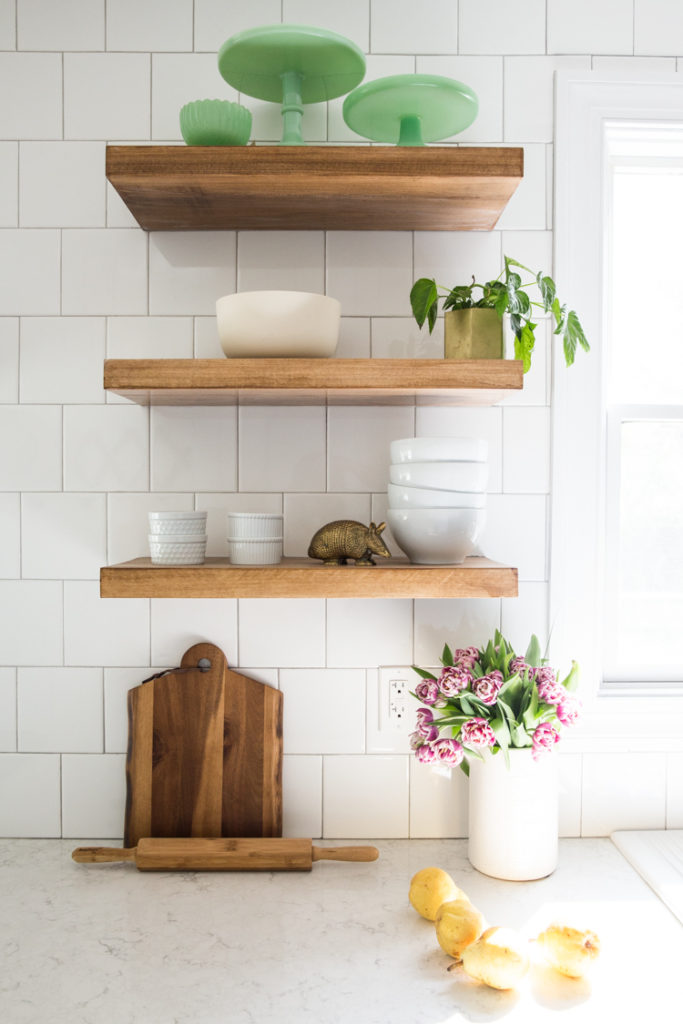
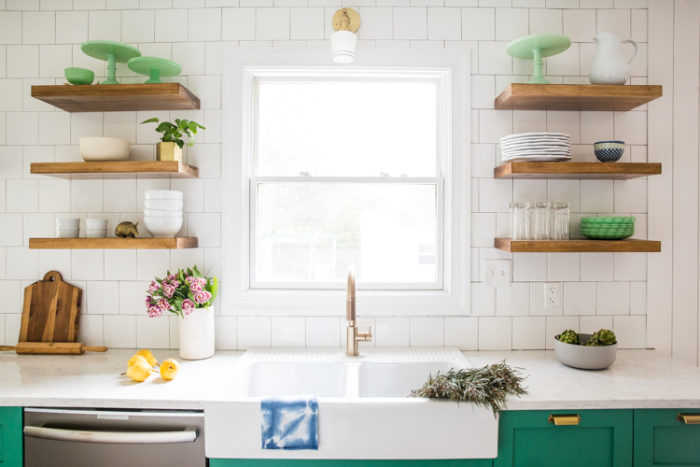
The floating wooden shelves were one of my favorite parts of our renovation, although they took some figuring out! After lots of extensive research, I decided they worked well as a DIY project. I bought lumber at a local specialty lumber shop, found brackets online, and had my carpenter do some initial wood prep for me.
Then, the tile team installed the brackets at the same time as the tile, so the finished shelves would sit flush against the backsplash.
I shared all about this DIY floating shelf project in this post. If you’re not into DIY-ing, these shelves are a great, similar option.
Total cost for the DIY shelves was $450, which is awesome because a single shelf can cost $200-300 online.
Hardware and Lighting
I loved my brass cabinet hardware in Texas, so I stuck with similar knobs and drawer pulls in this kitchen. They are all from the Martha Stewart collection at The Home Depot, and are super affordable! Here are the brass cup pulls, and here are the simple goblet knobs.
Total cost for all of my pulls and knobs was $120.
I fell hard for this brass kitchen faucet, and after so many other high costs projects, spending $400 seemed like a no-brainer for such a beautiful statement fixture that I would see from every angle and use daily.
Updating and adding can lighting in the ceiling with LED fixtures was the electricians idea, and I am so happy we made that happen. Each light kit upgrade was only $20, so $100 total.
I also really really love these gorgeous Schoolhouse Electric Sconces that I chose for over the windows. They are a nod to the vintage feel of the house, with such beautiful, solid brass construction and those striped shades that make me swoon. I was thrilled to receive them as a gift from the company for our renovation, although their retail price is $220 each or $440 total.
Sometimes hardware and lighting are forgotten in the overall budget for a renovation because they feel like the final details. Truly they can be some of the most important decisions and splurges because they contribute so much to the overall feel of the space!
The kitchen remodel cost of hardware and lighting for our space was $1060.
Appliances
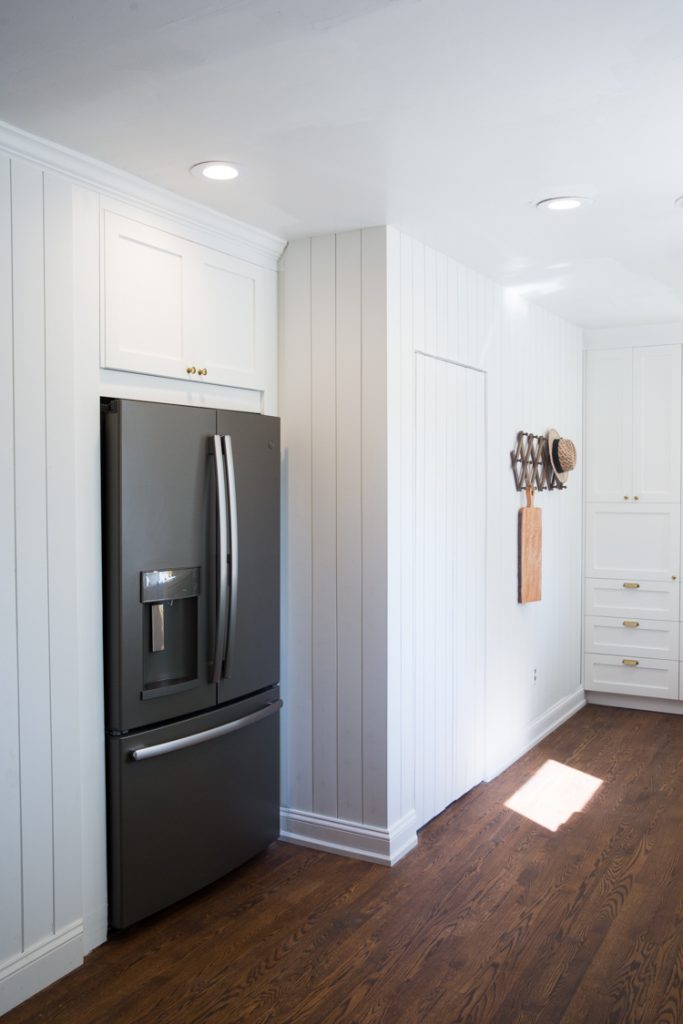
I was so excited to choose all new, beautiful appliances for our kitchen. I had been eyeing a gas range with a double oven for a couple years, loved the idea of a chimney hood, and couldn’t wait to try the slate grey stainless steel.
We hid a small, simple microwave (actually one of my favorite things) in a cabinet, rather than having it on display in the small space of the room. I also added a really incredible garbage disposal, which no one will ever see, but gives me peace of mind as my kids throw who-knows-what down the kitchen sink.
We were over the moon to work with Home Depot to showcase some gorgeous GE appliances in our kitchen, and you can read all about them here! (P.S. … I LOVE the double oven just as much as I imagined, and we use both ovens regularly–think frozen pizza + homemade cookies, dinner rolls and roasted veggies, one pan sheet dinner for tonight + egg muffins for tomorrow morning. I’m a huge fan.)
I chose this door-in-door refrigerator, which we adore for snacks and overall ease of use. This slide-in double oven is seriously my very favorite thing. The dishwasher is wonderful, quiet, and I love adjusting for a short cycle when we need it. And the chimney hood lives up to every expectation.
The total cost for the refrigerator, oven, hood, and dishwasher, and disposal was $8000.
Vertical Shiplap
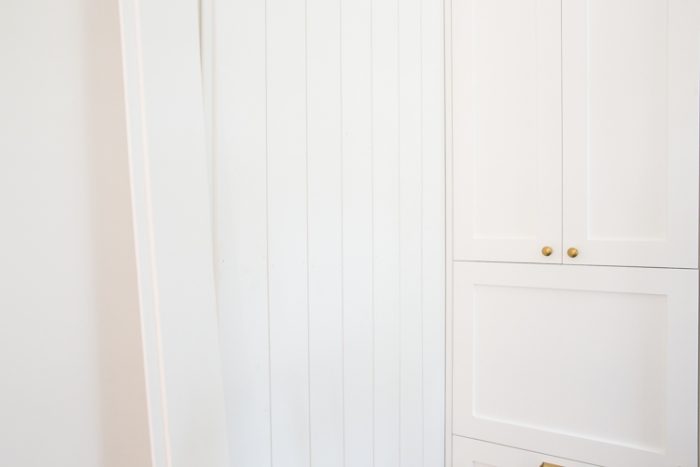
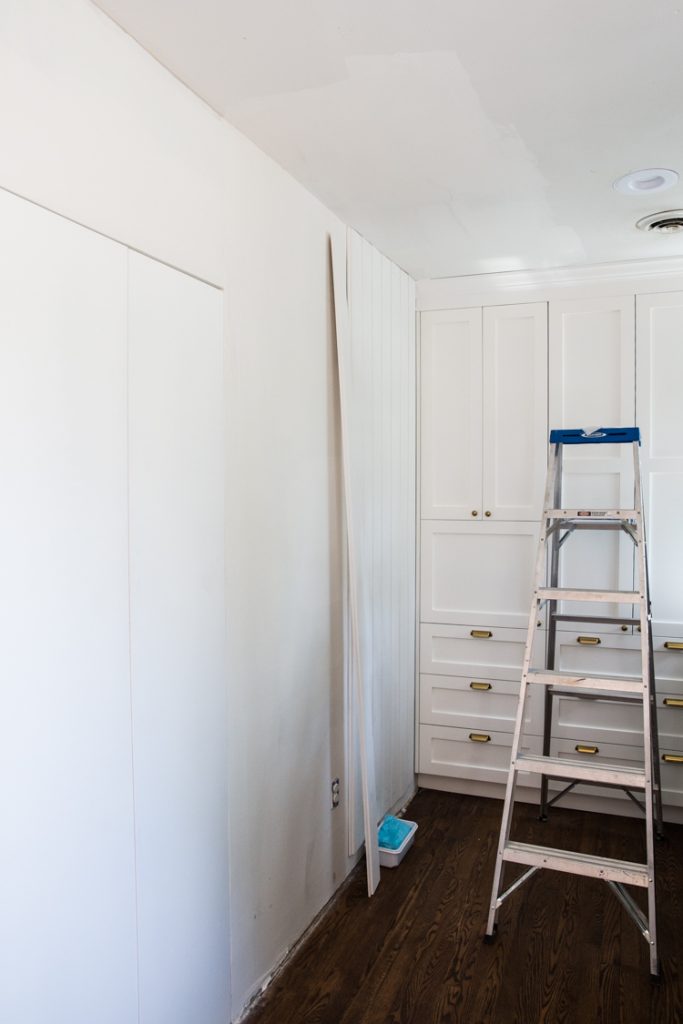
As a finishing touch to the space, I wanted to add vertical shiplap to the walls of the kitchen and adjacent dining room that weren’t tiled or cabinets. There was not a clear stopping point on the tiled wall, until we added shiplap to ease the transition and add architectural detail to the space.
As soon as the shiplap went in, the whole space really felt finished and beautiful. It all turned out better than I could have imagined.
My mom surprised me by flying into town to help me finish the kitchen for a big photoshoot for Home Depot, so we cranked the project out in 2 days. We used nickel gap boards from Home Depot, and spent around $500 for the whole space.
Since we did the labor ourselves, that was free, and I imagine to have hired someone would have been between $1000-2000 for the job.
I have been meaning to write a simple DIY post for the shiplap, and hopefully I will get to it soon.
Total cost for the shiplap wall installation was just materials, at $500.
Conclusion
Heading into a big renovation, it is nice to have an idea of kitchen remodel ballpark figures and cost estimates from real life experience.
We benefitted from making lots of clear decisions about the kitchen design and materials before we began, so we were able to easily make decisions along the way as unexpected circumstances arose, like the missing subfloor and the leaking water pipes. We also thoroughly enjoyed the whole renovation process, and were lucky to not have to live in the mess of the construction since our rental house was nearby.
While our kitchen remodel ended up costing about double what we initially expected, I really love how it turned out and am grateful we were prepared to make adjustments along the way.
The finished kitchen feels fresh, modern, functional, and super intentional. We included features that we felt were perfect for our family, while staying within the existing footprint of our small home, and using design to open up the space for a communal, relaxed feel.
I hope this post and kitchen remodel cost breakdown was helpful for you if you are preparing for your own kitchen renovation or redesign!

