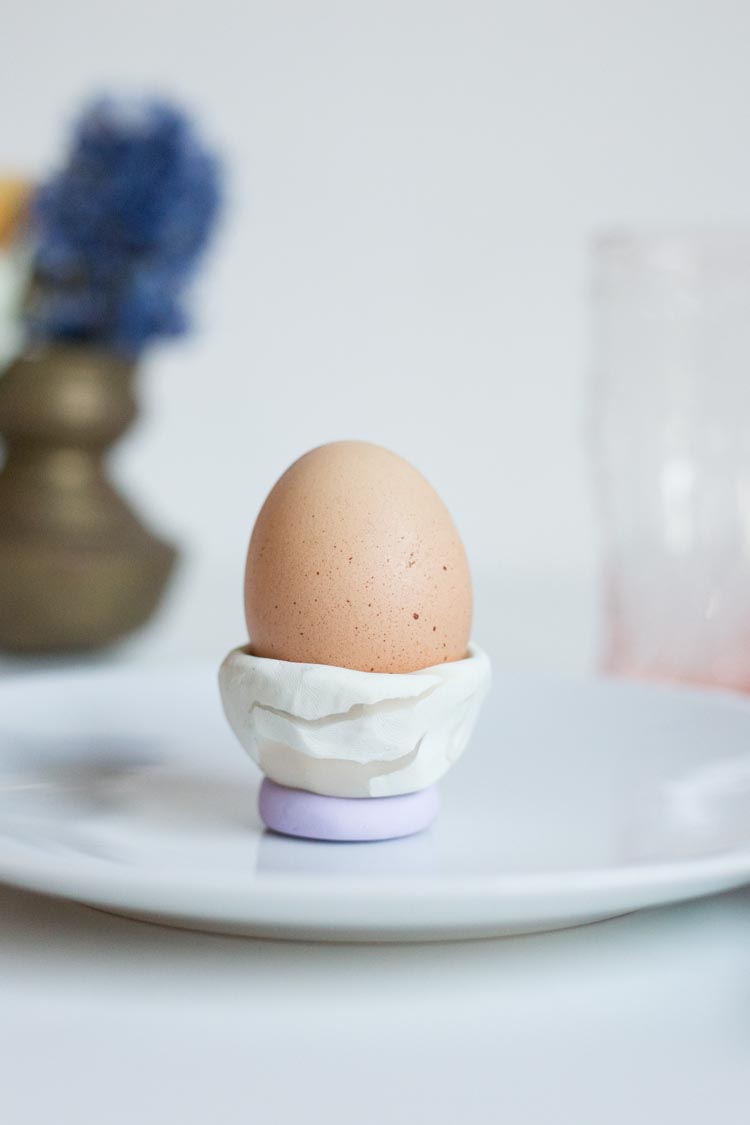
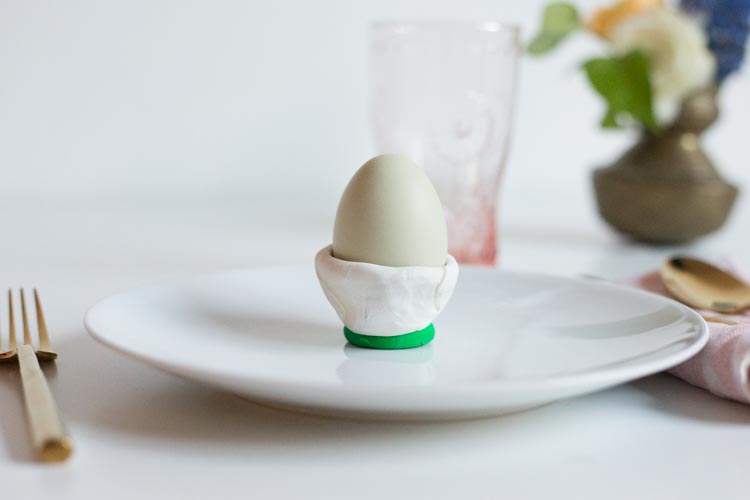
The year seems to fly by when I measure it in months. April already, which means I am on to another medium for my Friday DIYs. This month I settled on working with clay, and I am so excited. I’m kicking off the month with these simple and festive Oven Baked Clay Egg Cups. They’re easy enough for any level of crafter, and would even be a fun project to do with the kids.
With Easter right around the corner, they feel right at home on the brunch table, to hold real boiled eggs for eating. I can see them also being so cute as name cards with filled plastic eggs at each place setting for the springtime Easter dinner. I just got really excited. I love this time of year!
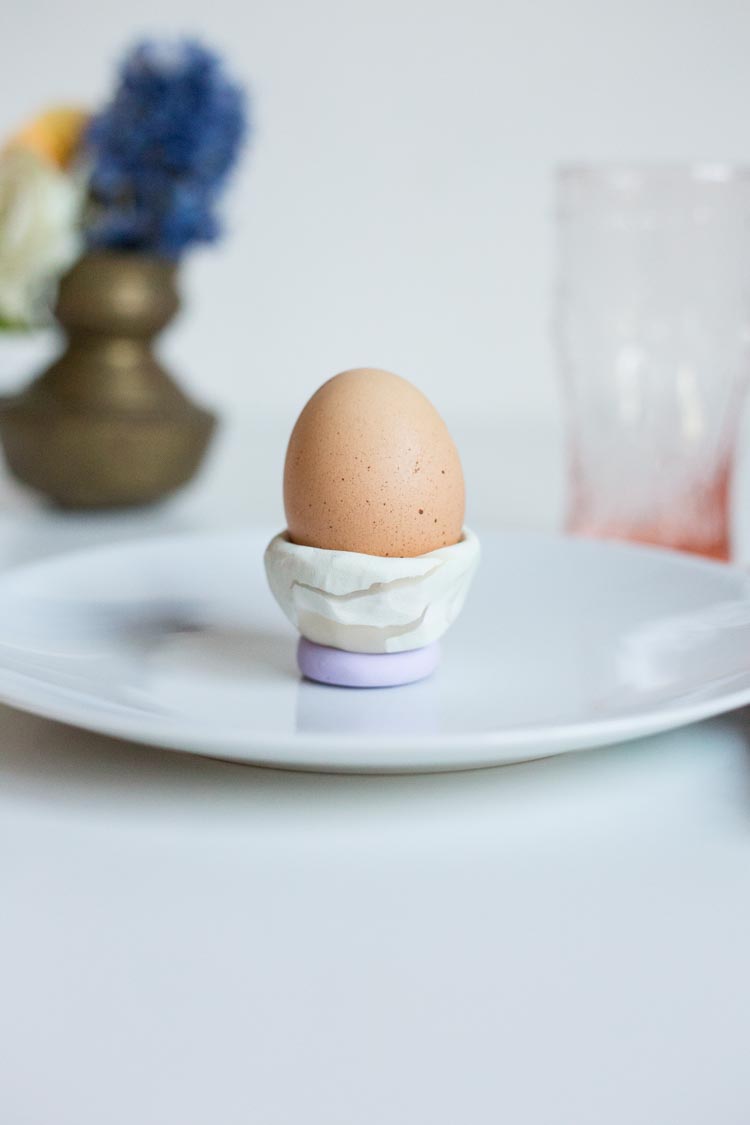
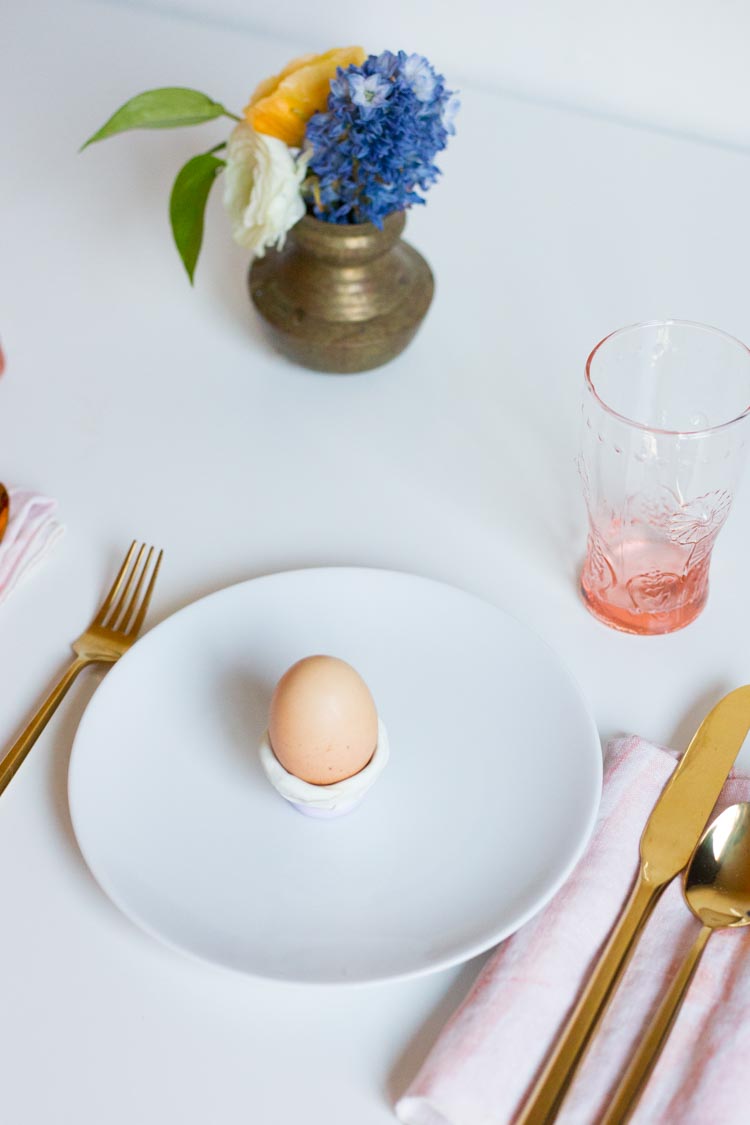
While I’m not confident in my ability to cook a perfectly soft boiled egg for dipping, I knew I could whip together a simple and useful egg cup using oven bake clay.
My stash was full of leftover clay from these marbled planters and these pretty round clay beaded necklaces that I made last year. Despite using a bunch on those different projects, I still had several pretty colors. I opted to marble two different whites for the cups and use simple solids for the colored bases: lilac and grass green for Easter.
Once rolled and molded, these little babies bake for 15 minutes at 275 and then are ready for the table! I love the way they turned out (even though I made them start-to-finish in 30 minutes before dinner last night!)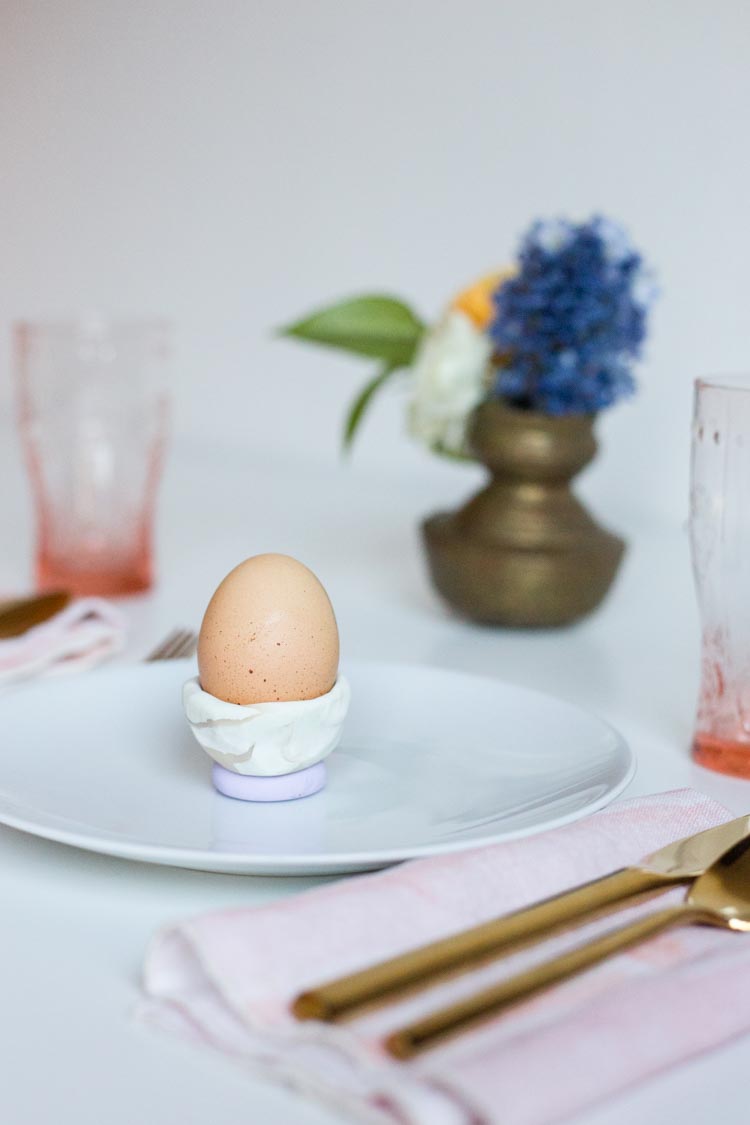
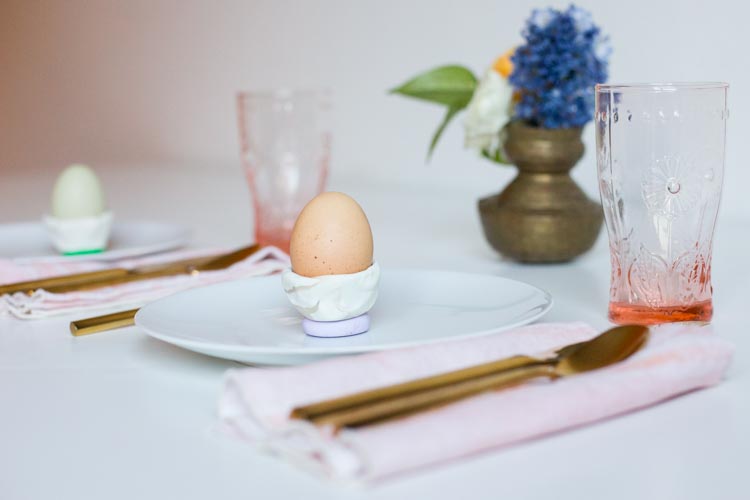
To make your own Oven Baked Clay Egg Cups, you will need:
Oven Bake Clay
Eggs
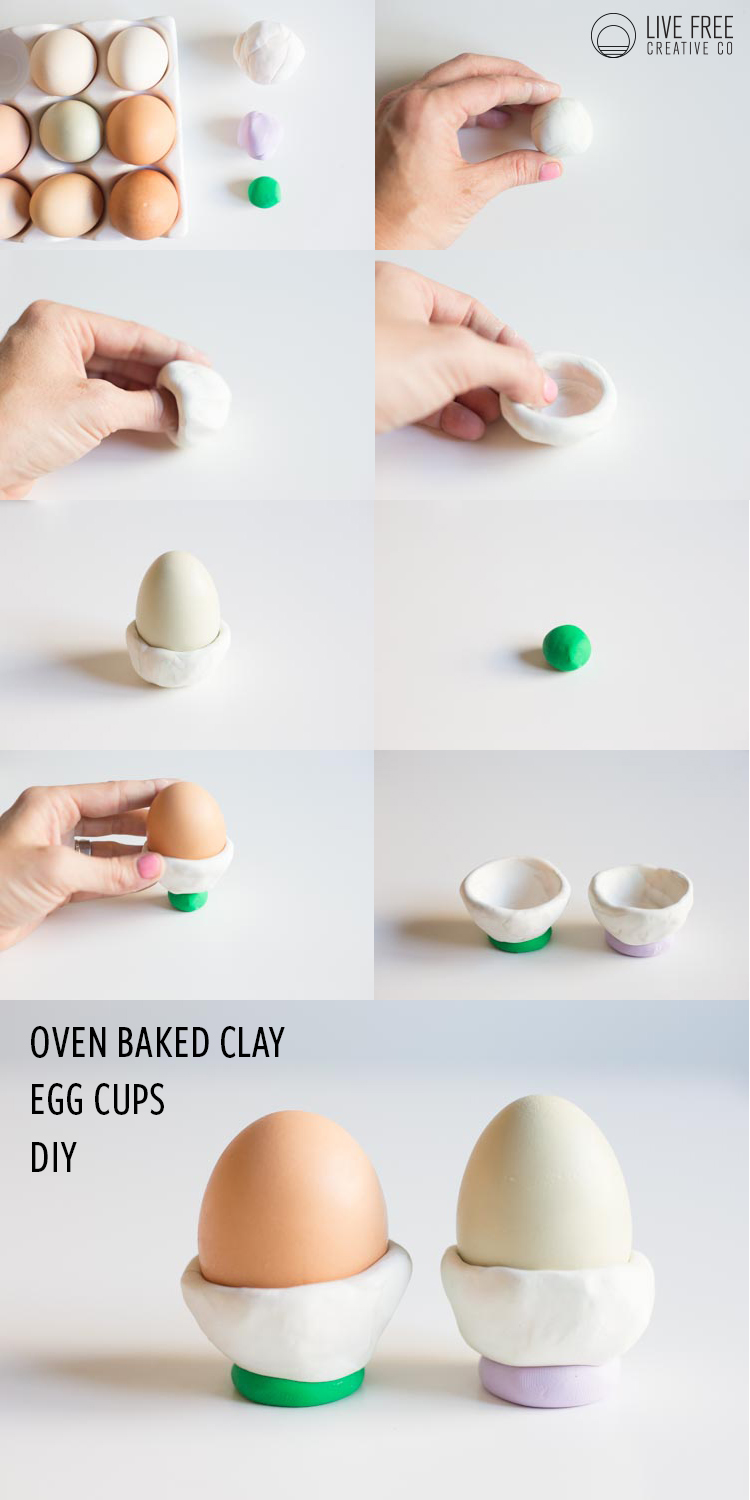
- Choose two or three colors of clay and soften them up by kneading them with your hands.
- Make an egg-sized ball of white clay (I twisted two whites together for the subtle marbled effect), and about a third of that much in whatever base colors you would like.
- Divide the white clay in half, roll one piece into a ball.
- Use one thumb to make a dent in the ball, then continue to pinch the edges until you have a nice bowl shape.
- Place a real egg into the bowl to ensure a good fit, and continue to mold the clay up the egg a bit.
- Roll about a quarter-sized ball of the colored clay into a round ball.
- Using the cup with the egg inside, smash the cup onto the ball, flattening it to about 1/2″ height.
- Remove the egg, and repeat with the second half of the white clay.
- Once the cups are formed with their bases, heat the oven to 275.
- Place the cups onto a piece of parchment paper on a cookie sheet and bake for 15 minutes.
- Let cool completely, then optionally seal with a clay glaze.
- Add boiled eggs and enjoy!
