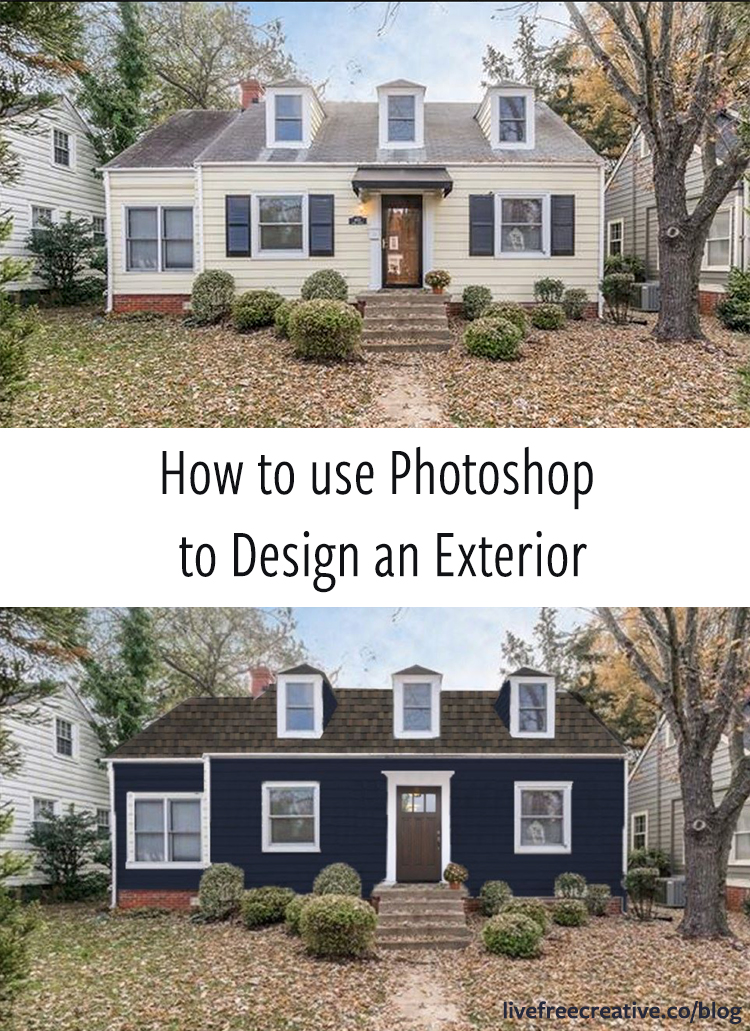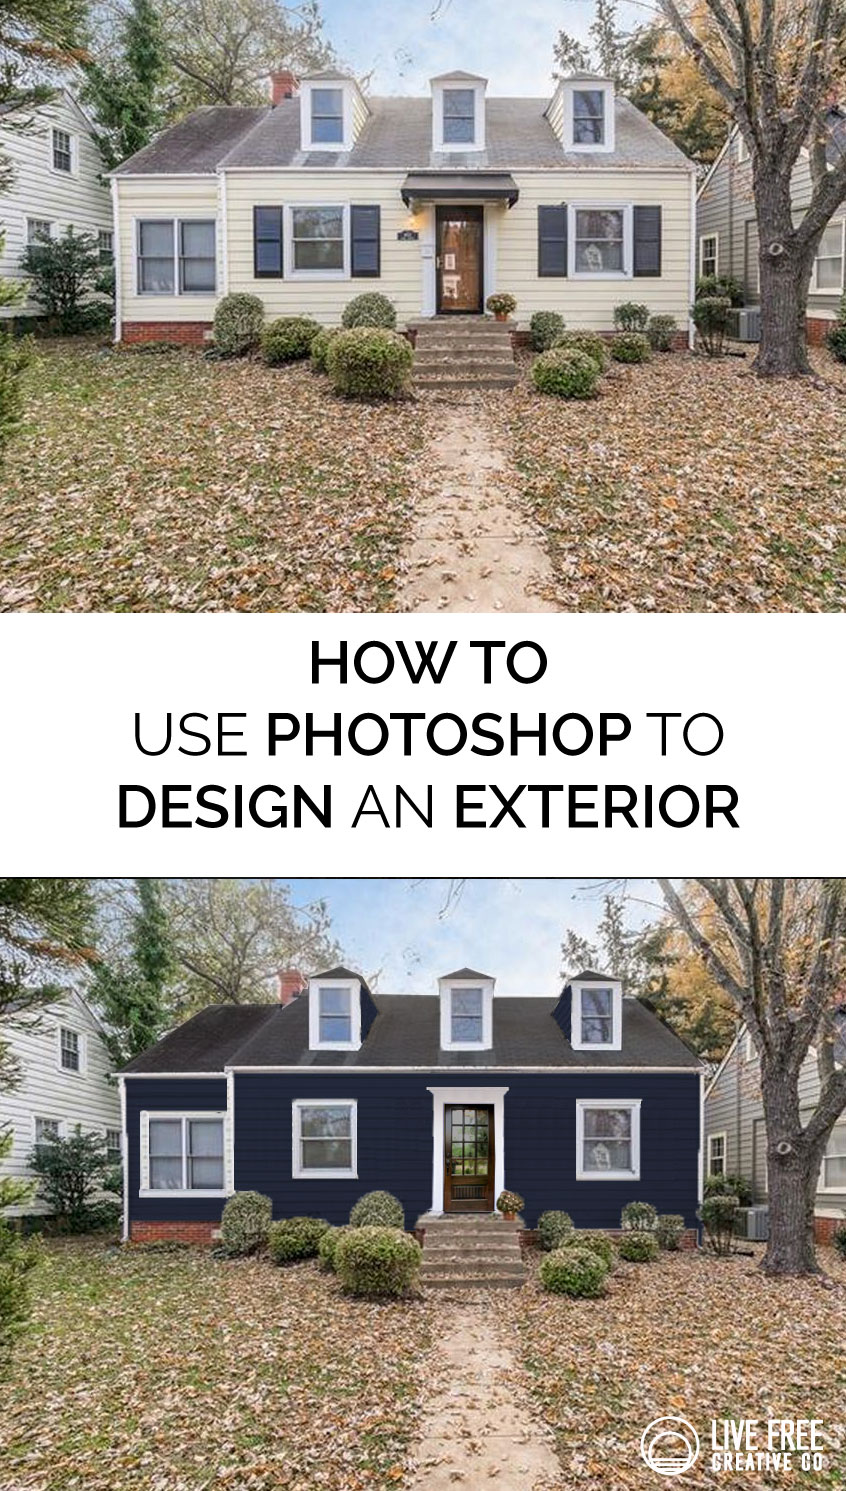
Last week I shared about our new house with lots of photos of the interior (and a video walk-though on YouTube.) This week, I want to give you a glimpse of some of my exterior plans, and how I accomplish the visual design using some simple Photoshop commands.
Right when I found this listing on Zillow, I was excited about the shape, size, and potential of the property. The classic cape cod style is darling, and I love the siding, dormer windows, and the big windows.
I didn’t love the yellow. I have a running joke about Southerners loving painting things yellow because of their affinity for buttery comfort food. From the listing photos it was also evident that the roof had seen better days. 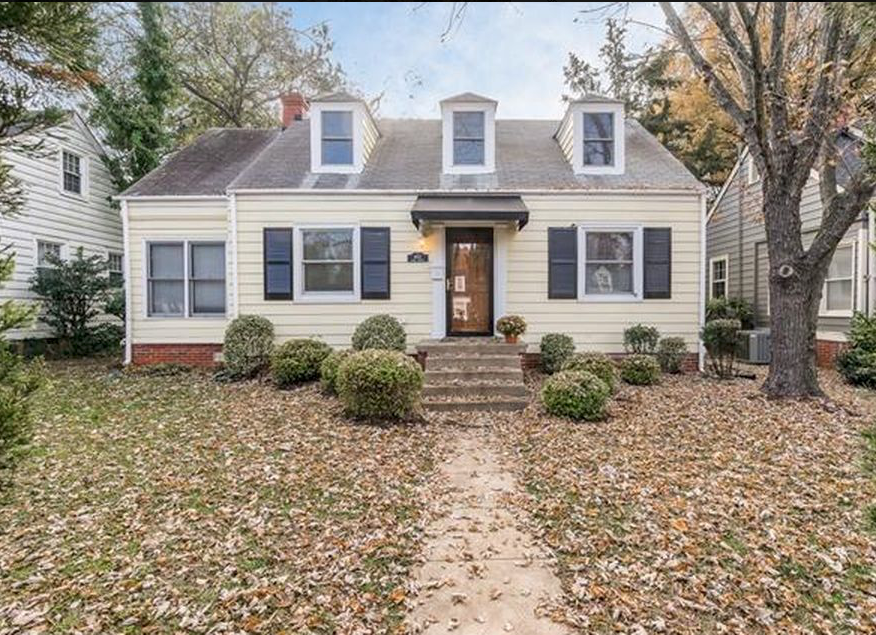 Using the selection tool and hue/saturation adjustments in Photoshop, I was able to easily highlight the roof and darken it to appear new. Then I used the same tools to highlight and darken the siding to a deep, inky blue.
When I was in Amsterdam in the fall I fell in love with all of the dark buildings and houses. I decided back then that I would paint my next house a deep, dark color, and this indigo is my favorite option so far.
I was also able to use simple selection and copy/paste commands to add a new front door and start to get a feel for what the possibilities with this cute house are.
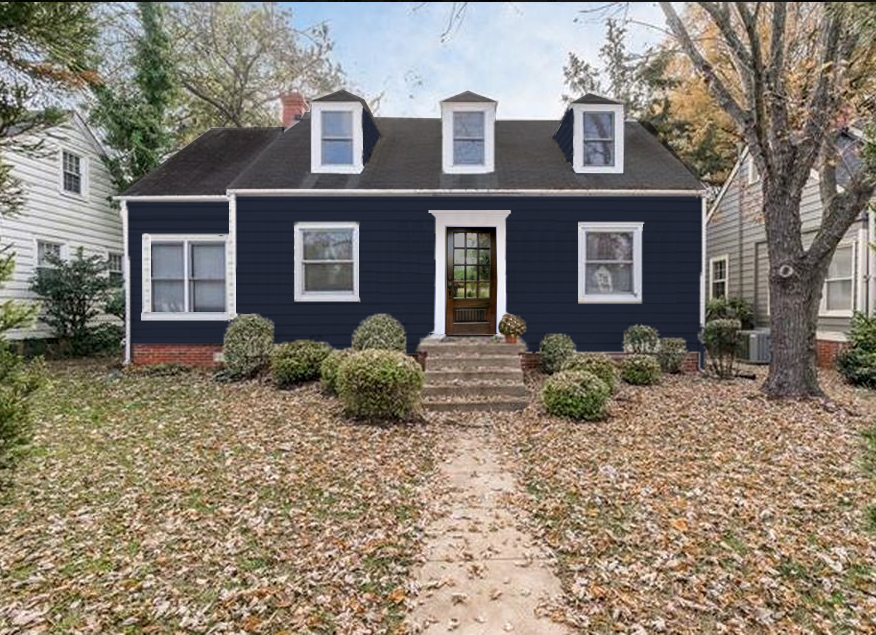
During the negotiation process of the house sale, the seller agreed to add a new roof before closing, and I was given an option of roof shingle color. Using the clone tool in Photoshop, over my indigo colored house, I was able to get a good visual of the different shingle options and choose the one that looked best with the darker color that I hope to paint!
I can’t imagine making some of these bigger decisions without being able to really SEE the options first!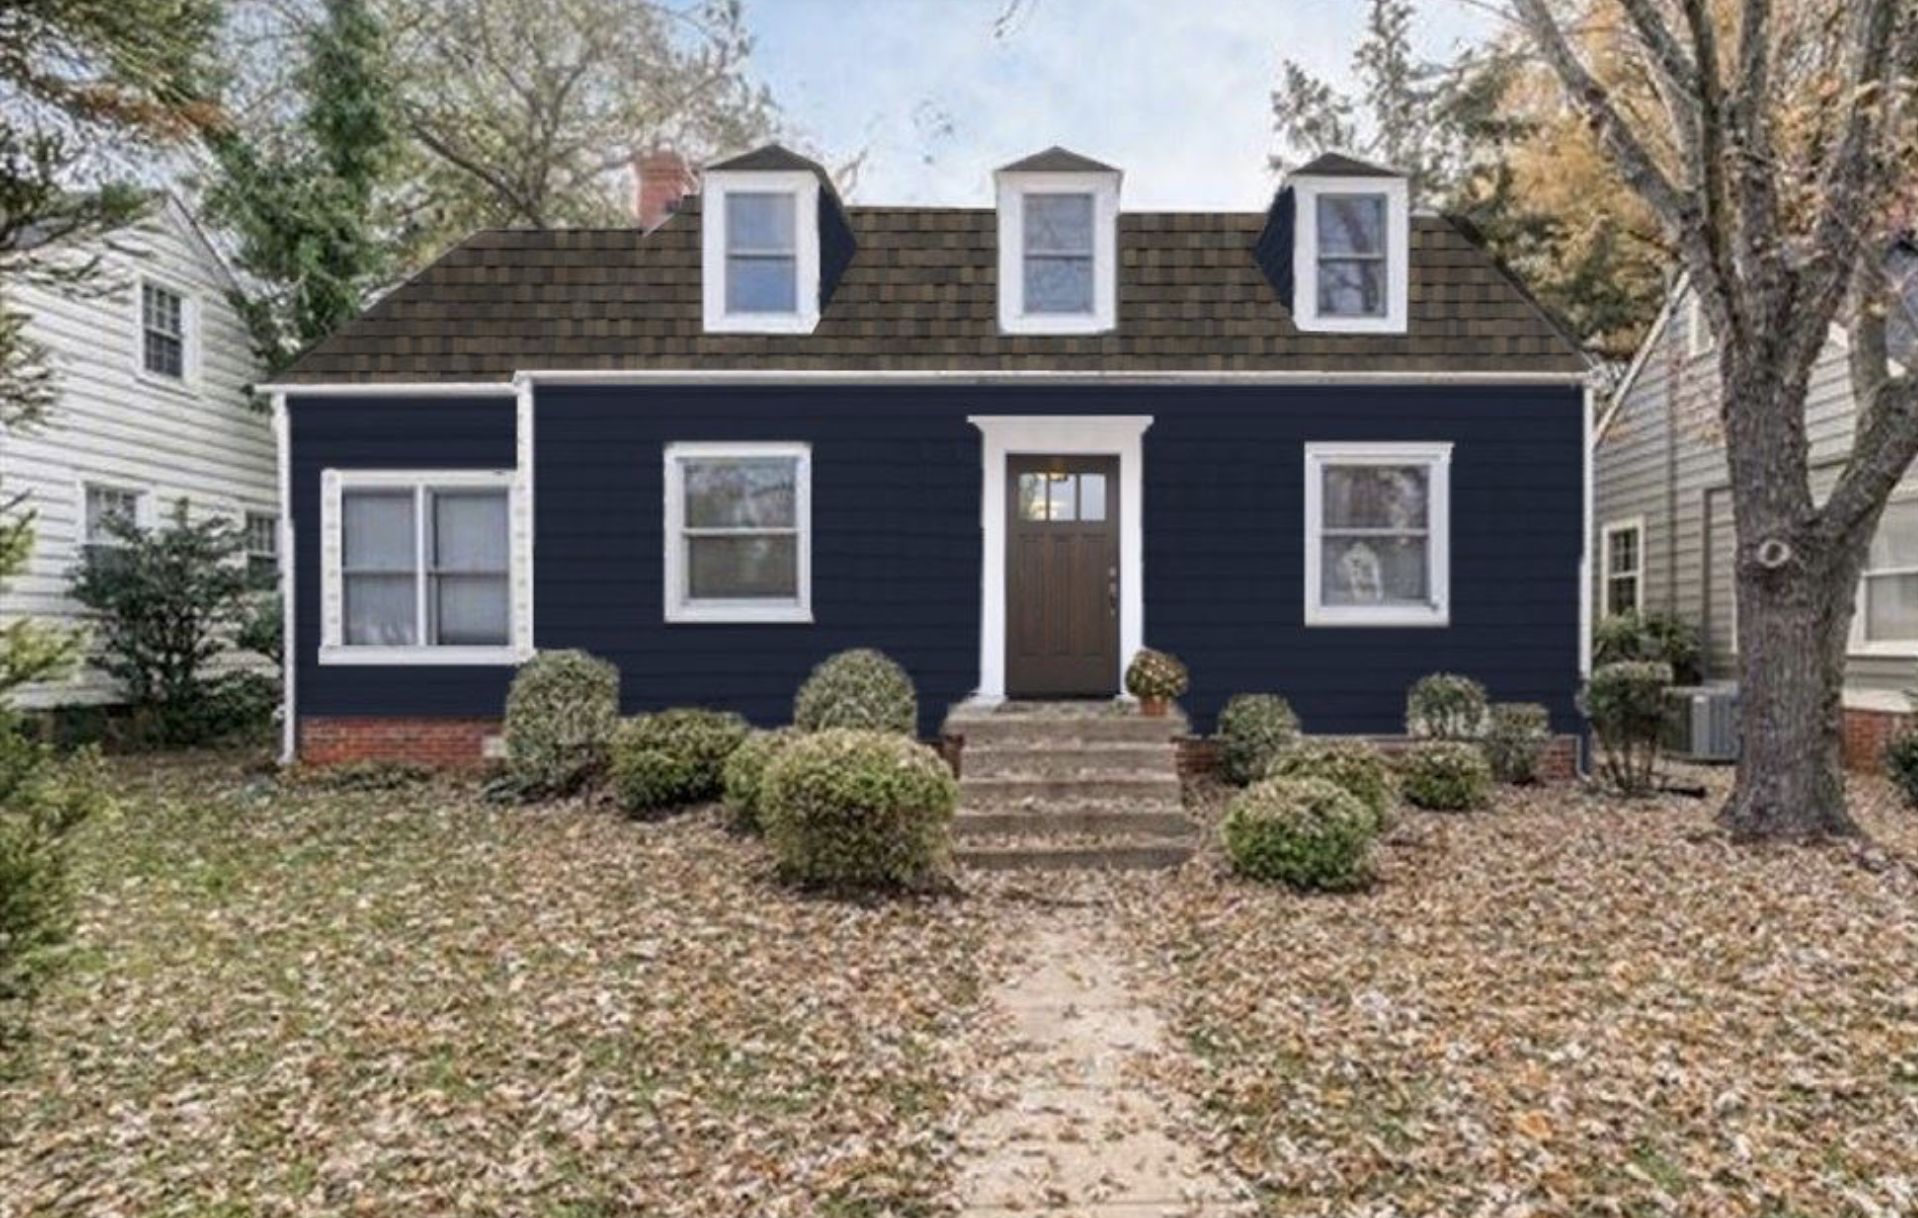 Finally, as I’ve been dreaming and scheming about the future in this new house, I pulled up my list of “dream house” items. It is not super long, and most of the things I want in my “dream house” are possible on almost any property– like a big front porch.
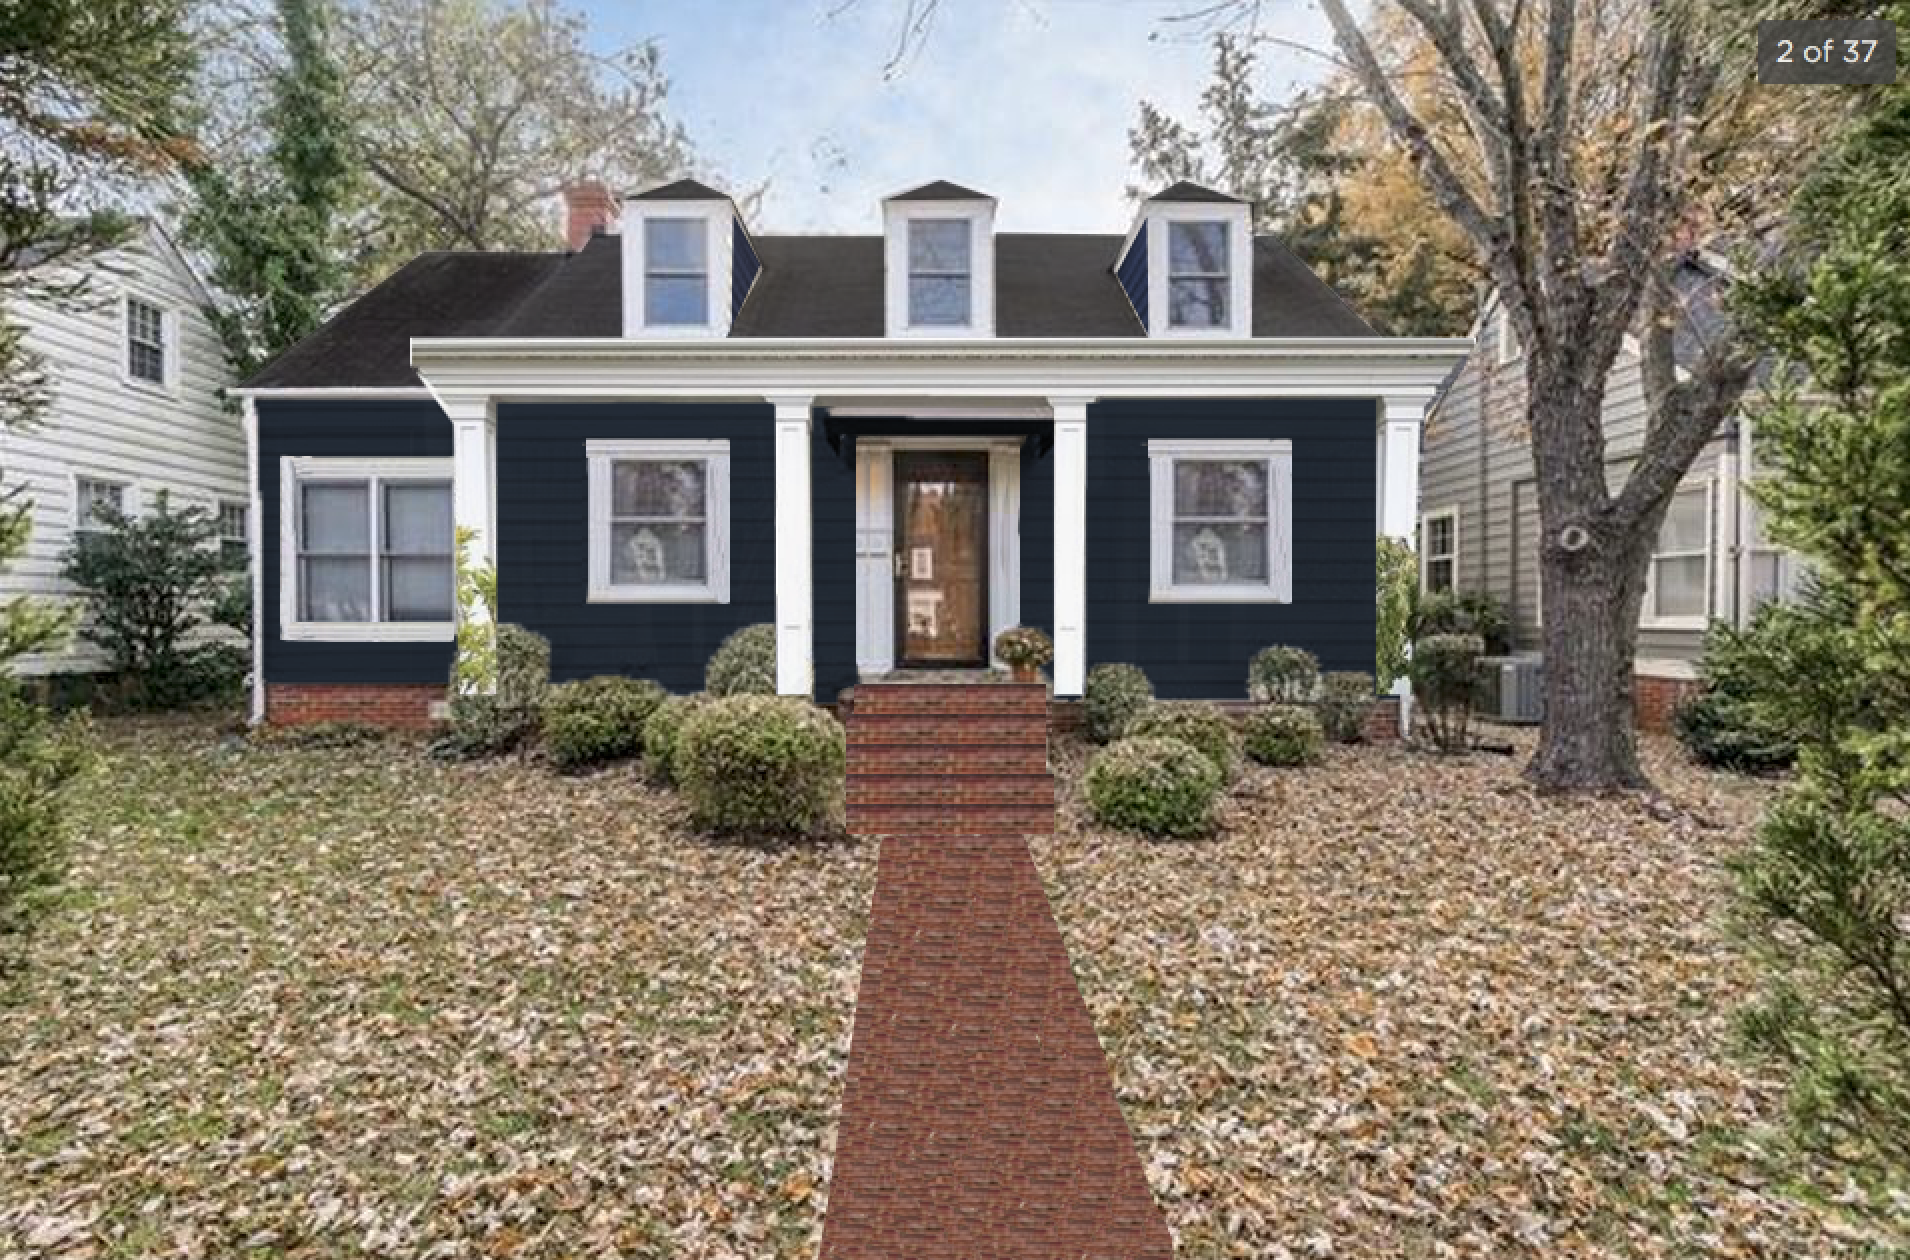
I think life with a big front porch and a porch swing seems pretty dreamy, so I used my handy Photoshop skills to copy, paste, and resize a porch from a house on Pinterest to fit my little fixer upper.
Adding that straight roofline to highlight the cute dormers, basic columns to add visual interest, and a brick pathway for a cozy, complimentary design made such a huge difference to the curb appeal of this little place!
The porch is definitely a couple years away, but I love having a visual of what we may want to do once we’re ready to jump into a future phase of this renovation.
 I’ve had a great time using my basic Photoshop skills to visualize different details of this house. Starting with the exterior and moving onto the kitchen, bathroom, and bedrooms.
Watch the YouTube video for the step-by-step instruction of exactly how I highlight and change the color of different parts of an image. And let me know if you use this trick on your own projects! I would love to see!