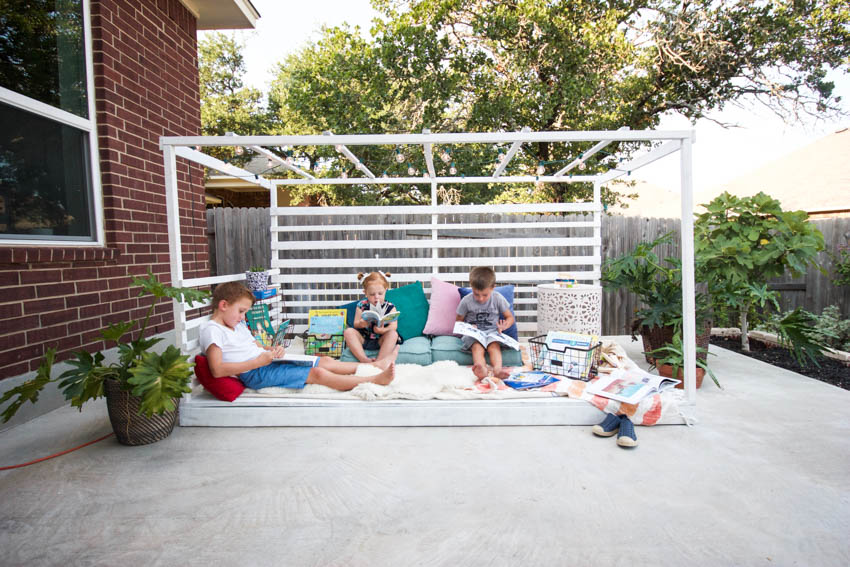
Outdoor Reading Nook
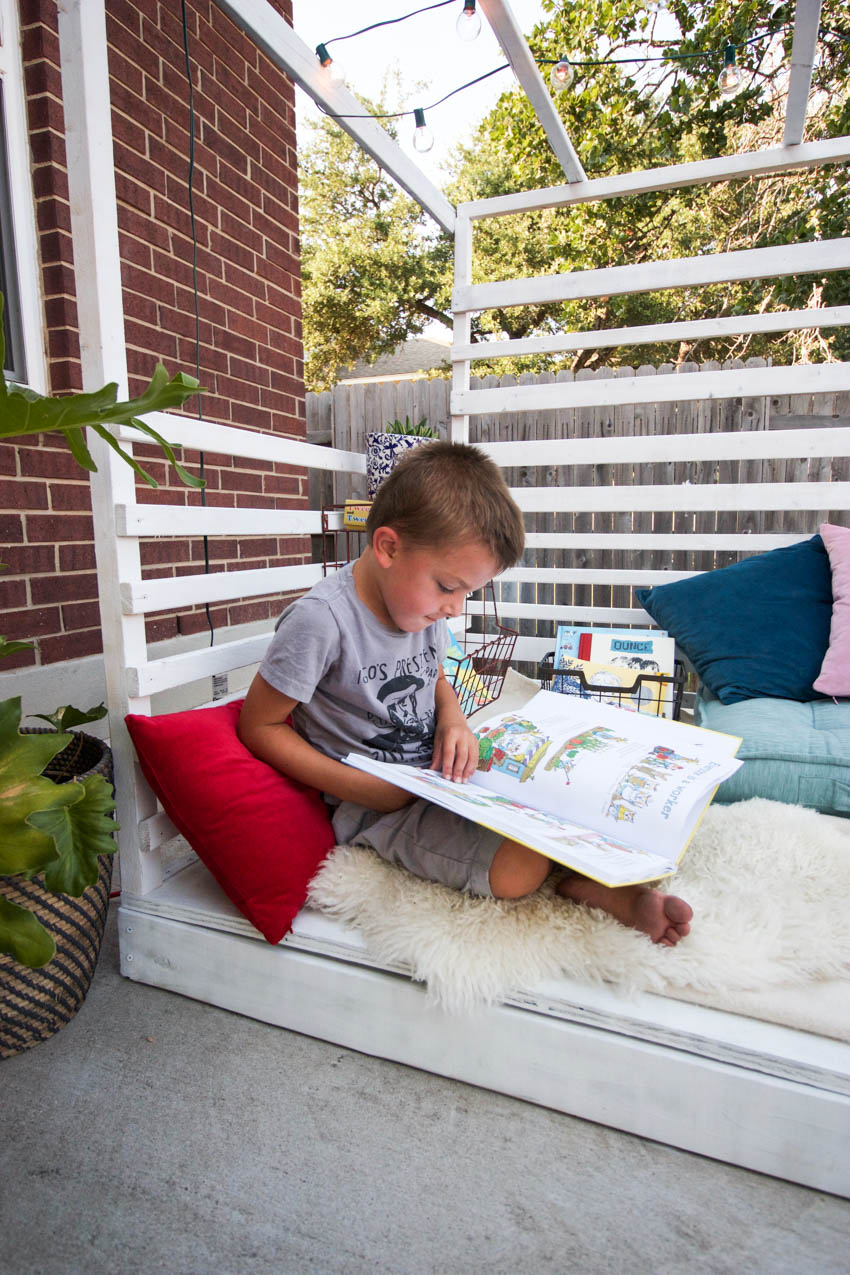
With summer winding down, we’re looking forward to going back to school while also still enjoying the nice weather and outdoor time. My kids are all book-lovers and I try to create as many intentional reading spaces as possible around the house, so it made sense to create an outdoor reading nook as well! My goal was to build a basic, open wood-framed playhouse then add some comfortable pillows, rugs and blankets, and of course some baskets filled with their favorite books. After a couple trips to the hardware store, some cutting and screwing, and a nice coat of outdoor paint, it was ready to be enjoyed!
Although I built this wooden room specifically as a reading and play space, using the same types of accessories you can create an outdoor reading nook almost anywhere! I am also sharing the basic construction for this project below.
Cozy Outdoor Kids’ Space
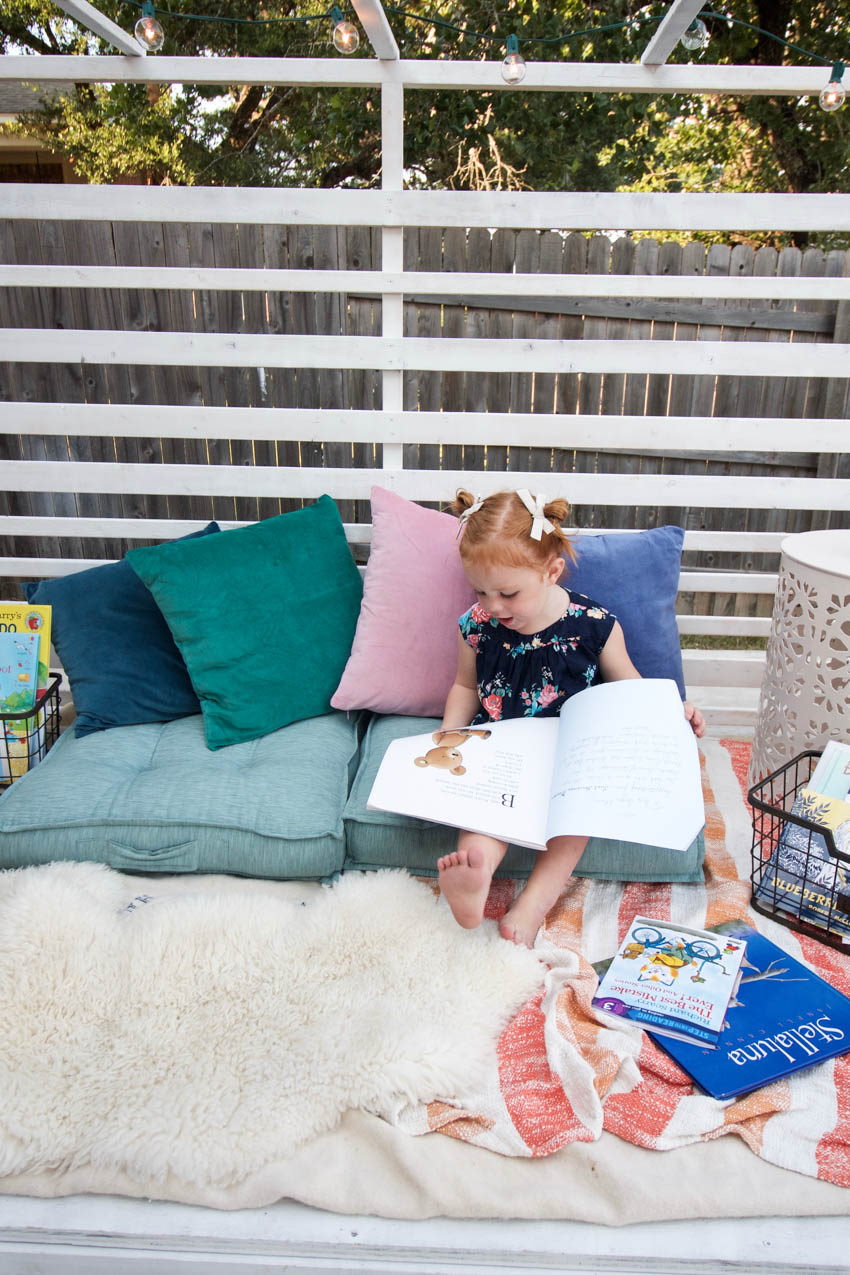
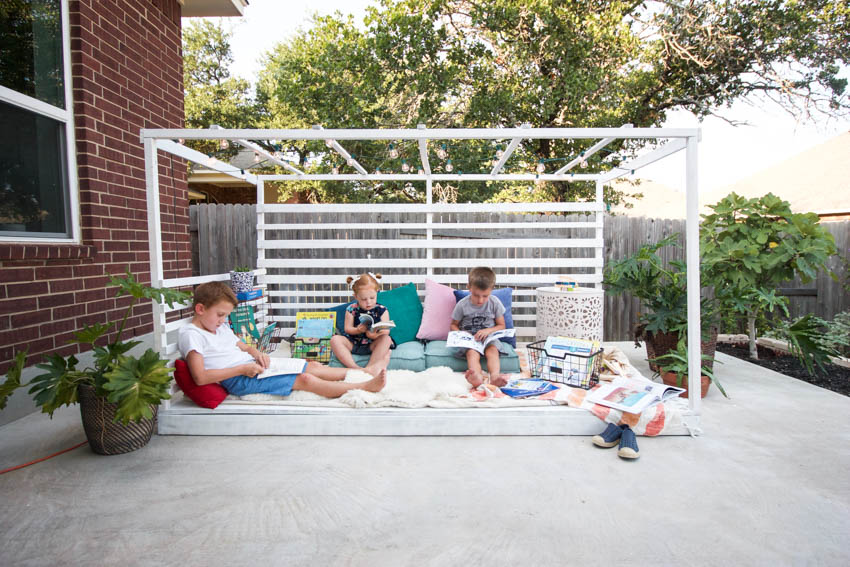
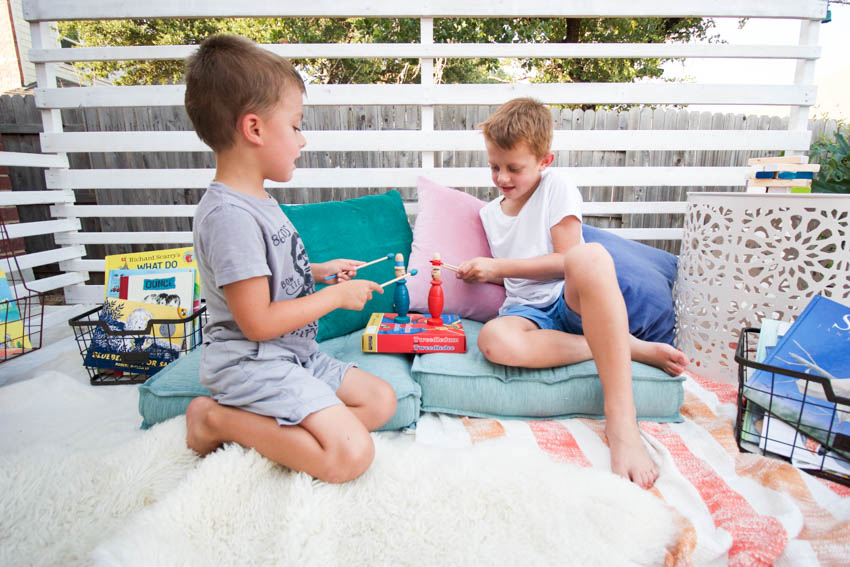
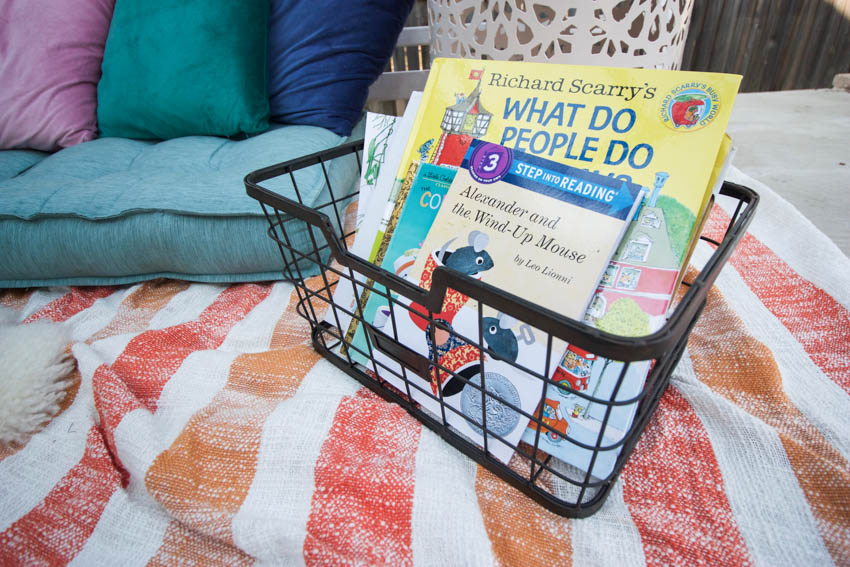
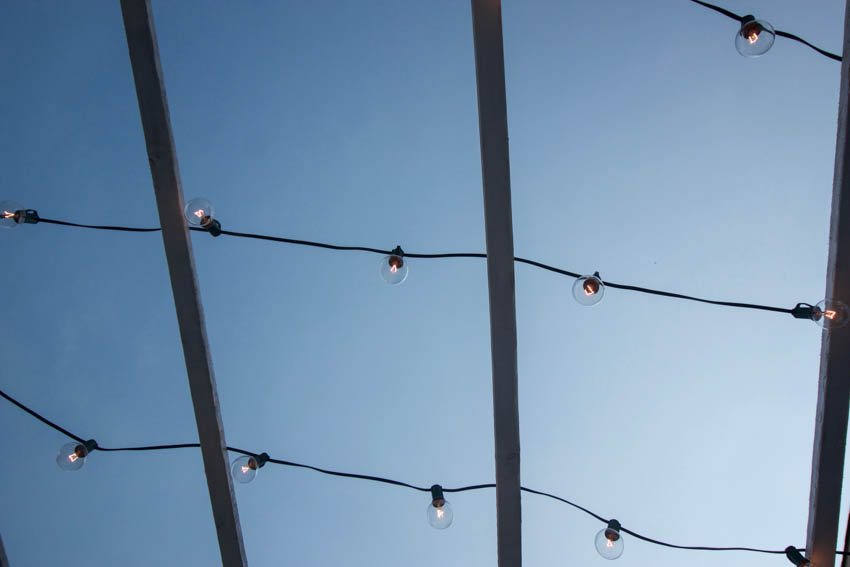
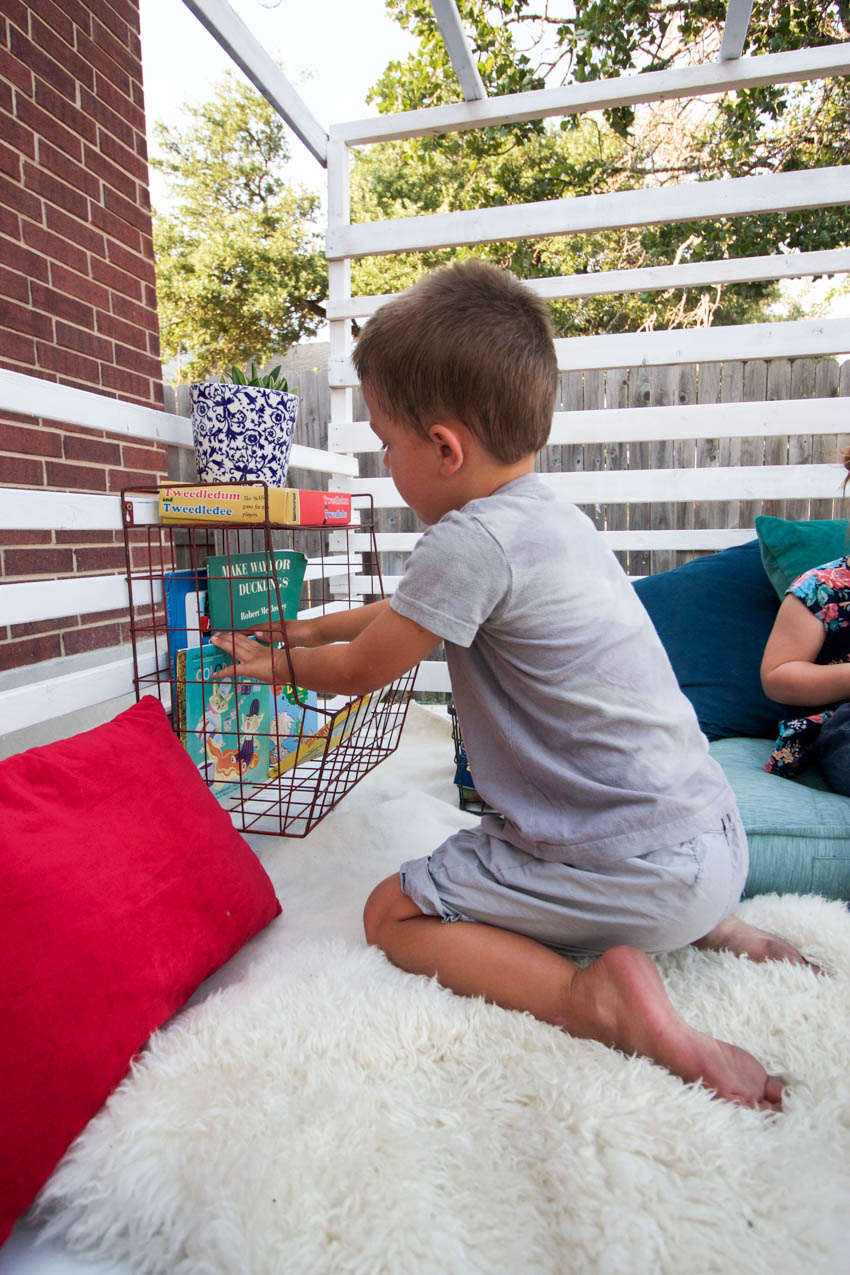
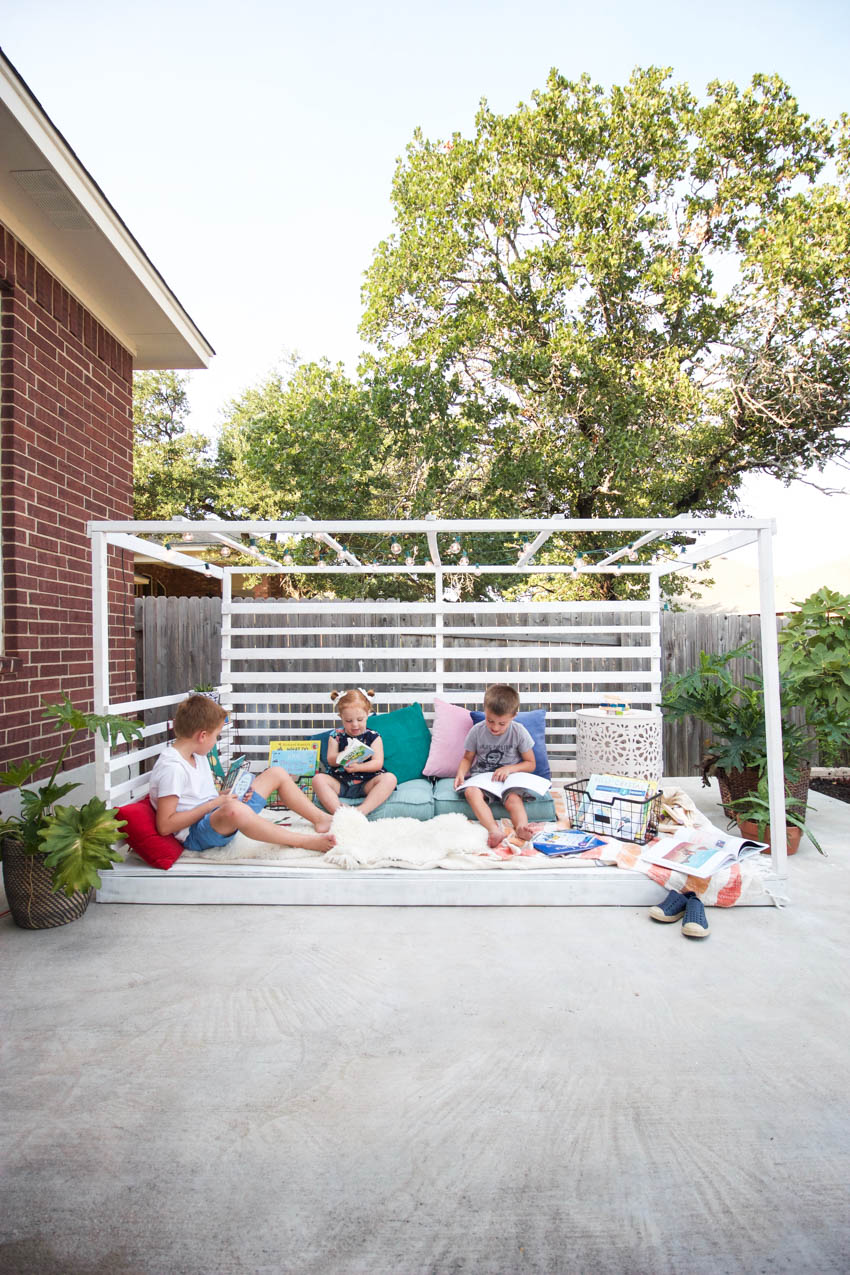
Built right onto a corner section of our back patio, this outdoor reading nook is cozied up with layered rugs, blankets, and some cushions and pillows for comfortable lounging. Then I added a few different baskets to hold books so one is always within reach. I especially love the red hanging basket that also doubles as a small shelf for stashing a game and adding a plant. I also love the metal side table where they can set drinks or legos as they spend time here. The open roof is draped with outdoor bistro lights to keep the reading and playing going into dusk, after dinner on the patio.
The reading nook has only been finished for a few days and already it’s become a natural part of our day. It gives the kids a nice spot to relax and read, or play games while I am working on yard work, or preparing a meal. When school starts next month, I expect we’ll be out here after school finishing up homework, and winding down after their busy school days. In addition to a reading nook, we can throw some blankets over the top to make a fort, add a mini picnic table for an outdoor kid’s cafe, and lay down sleeping bags for a backyard campout.
Are you ready to make your own outdoor reading nook? Here’s how!
You will need:
(1) 3/4″ 4′ x 8′ pressure treated plywood plank
(4) pressure treated 2″ x 4″, 8′ long boards, 2 cut into (4) 45″ lengths
(5) 2″ x 2″, 8′ long pine boards, 3 cut in half into (6) 48″ lengths
(5) 1″ x 3″, 8″ long pine boards, 1 cut in half into (2) 48″ lengths
(11) 1″ x 1″ 8′ long pine boards, 5 cut in half into (10) 48″ lengths
(4) 3″ L shaped brackets
(6) 3″ flat metal brackets
A box of 2″ grabber screws
A box of 1.5″ grabber screws
Sandpaper
Cordless drill
(Optional paint + paint sprayer)
 Step One
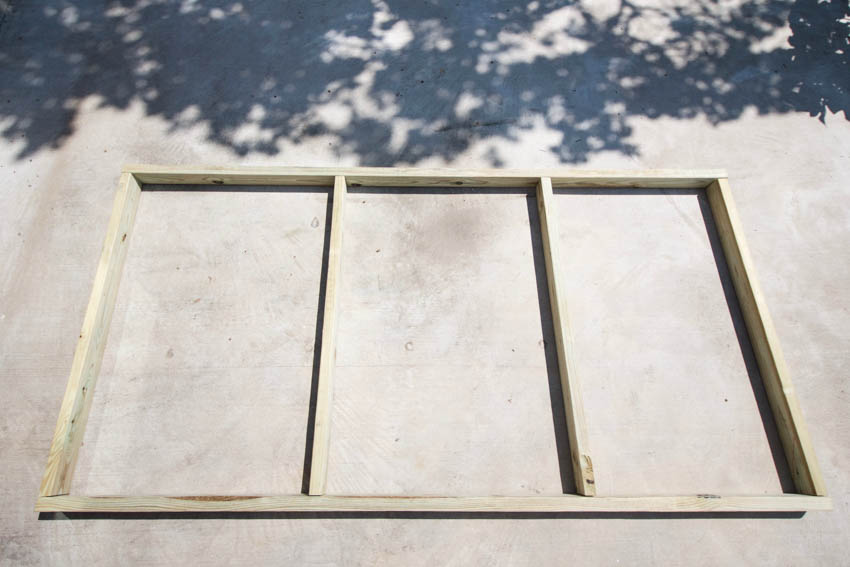
Start by aligning the two 8′ 2x4s on a flat surface, then adding the 45″ 2x4s on either end, squared with the edges, and then at 31″ intervals. Fasten in place with 2″ screws into the end of each board. Step Two
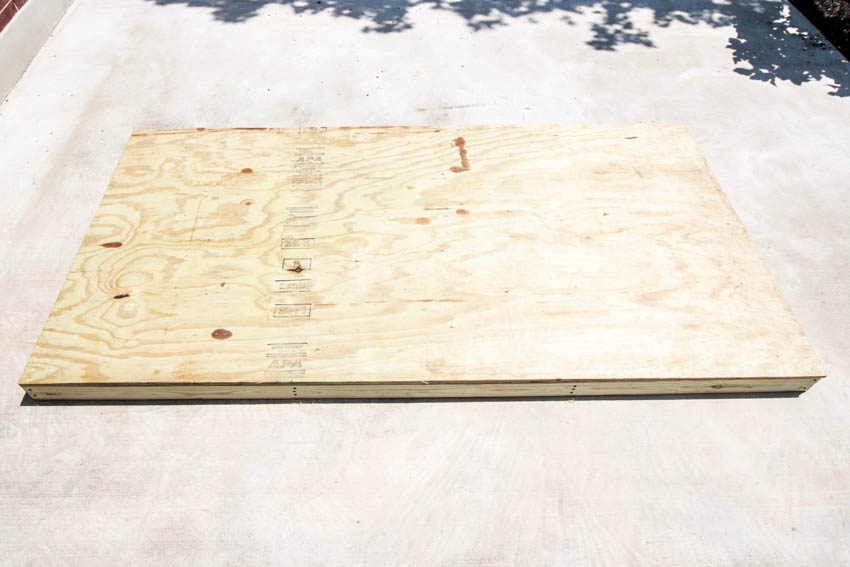
Top the base frame with the 4×8 piece of plywood. It should fit pretty close to exactly. Screw a 2″ screw from the top down through the 2x4s on each corner, center edges, and middle of the center brace boards as well. Step Three
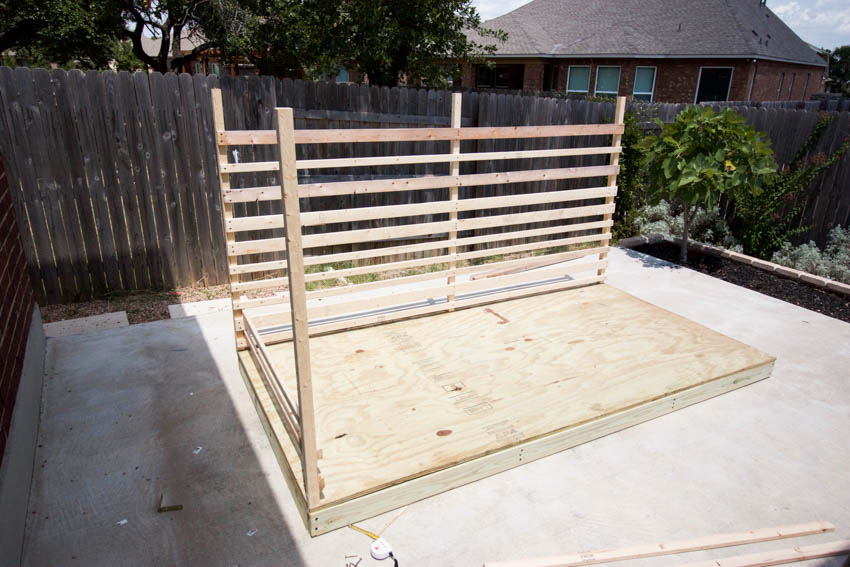
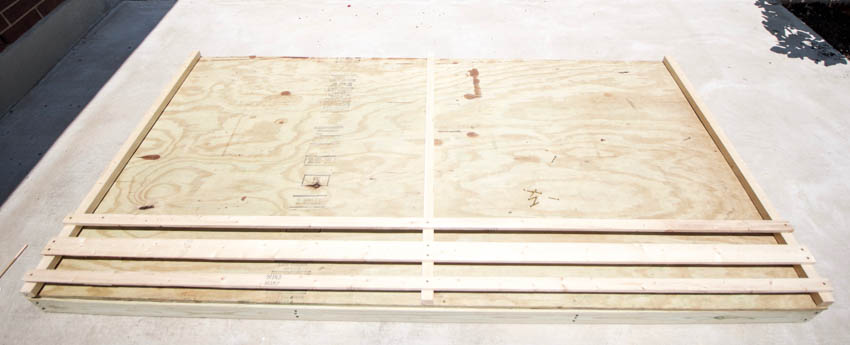
Lay three of the cut 2x2s out on top of the base, one on either end, and the third in the middle. Starting 1″ from the bottom of each, add a 1×2 board across the width, then leave a 2″ space. Add a 1×3 and leave another 2″ space. Add another 1×2, then leave a 2″ space.  Step Four
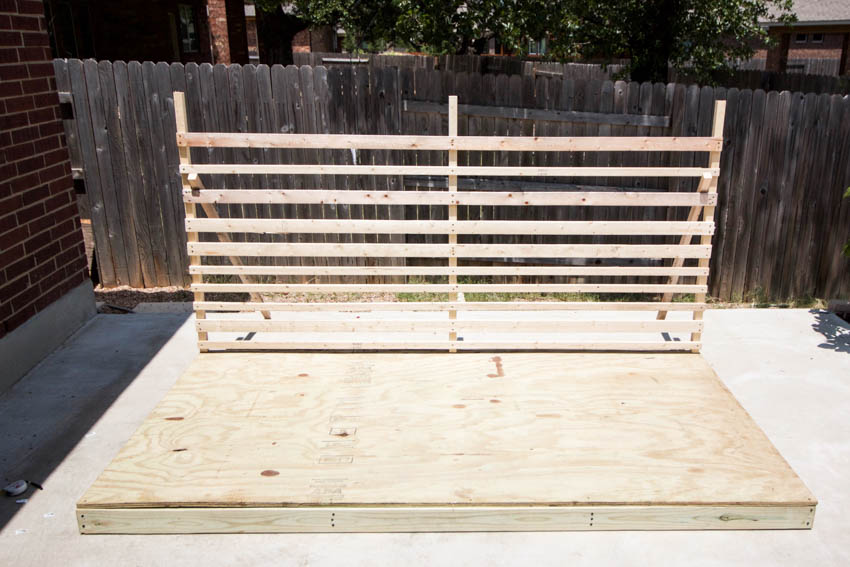
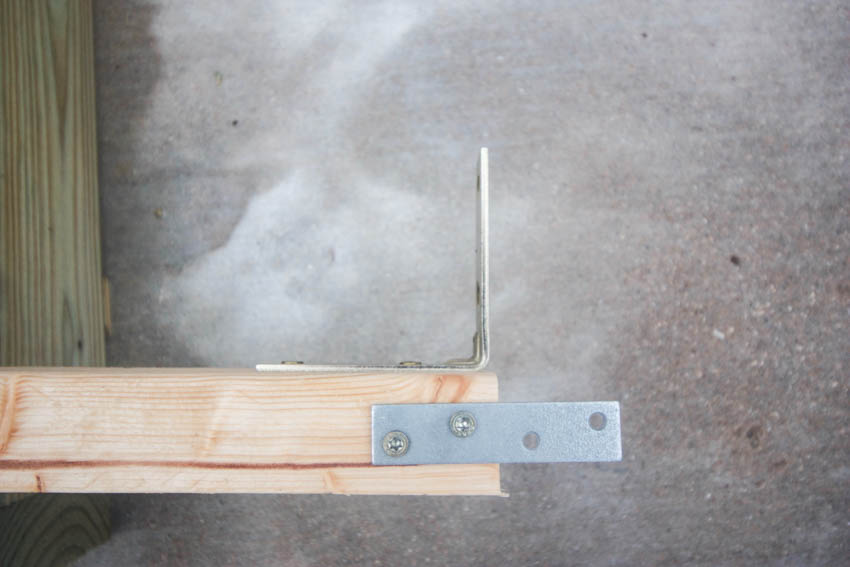
Continue with a 1×2, 1×2, 1×3, and 1×3 each with 2″ spaces, then increase the space to 3″ and add another 1×3, 1×2, and final 1×3. Once the boards are all added, stand the wall up on end, and align the corner boards with the corners of the base. Use an L shaped bracket on both of the edge boards, with the bracket screwed onto the inside edge, facing the center board. Then add flat brackets to the backs of all three boards, with two of the screws into the 2×2 and the other 2 into the plywood and 2×4 base. Step Five
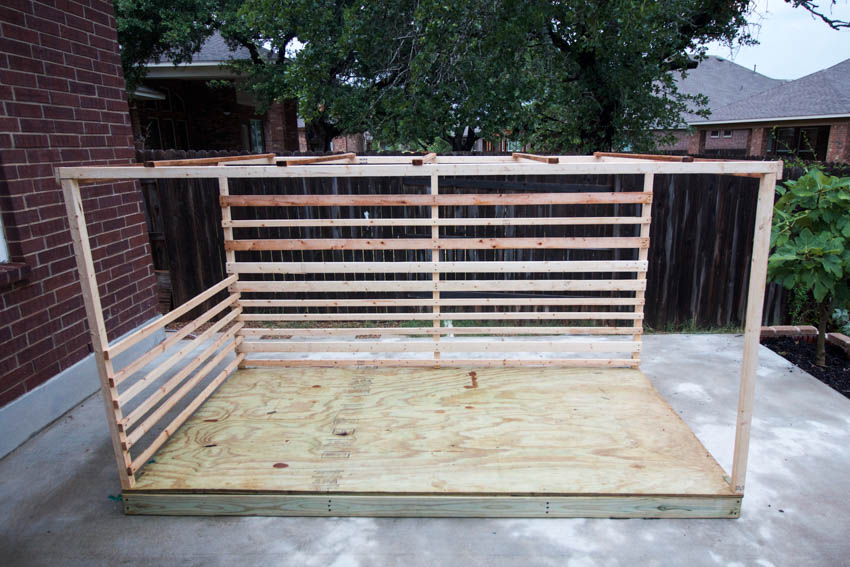
Using the same L shaped and flat brackets, add a board to the front left corner. Step Six
Once this board is secure, measure 3.5″ from the base and add the first 1×2 board between this and the back right corner boards. Step Seven
The 1x2s on this short wall are measured to fit in the 2″ spaces we left in the bottom of the back wall. Add 6 48″ 1x2s to form a short wall on the left, screwing them in with 1.5″ screws.  Step Eight
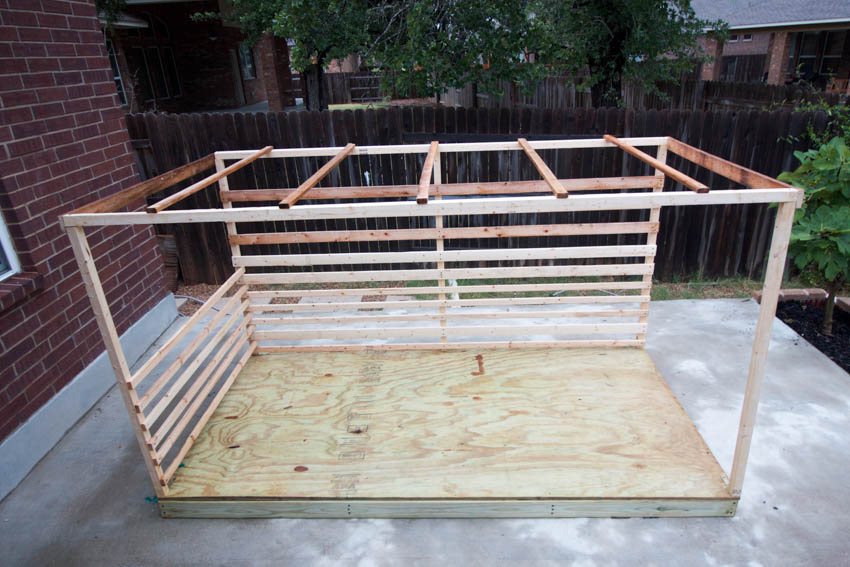
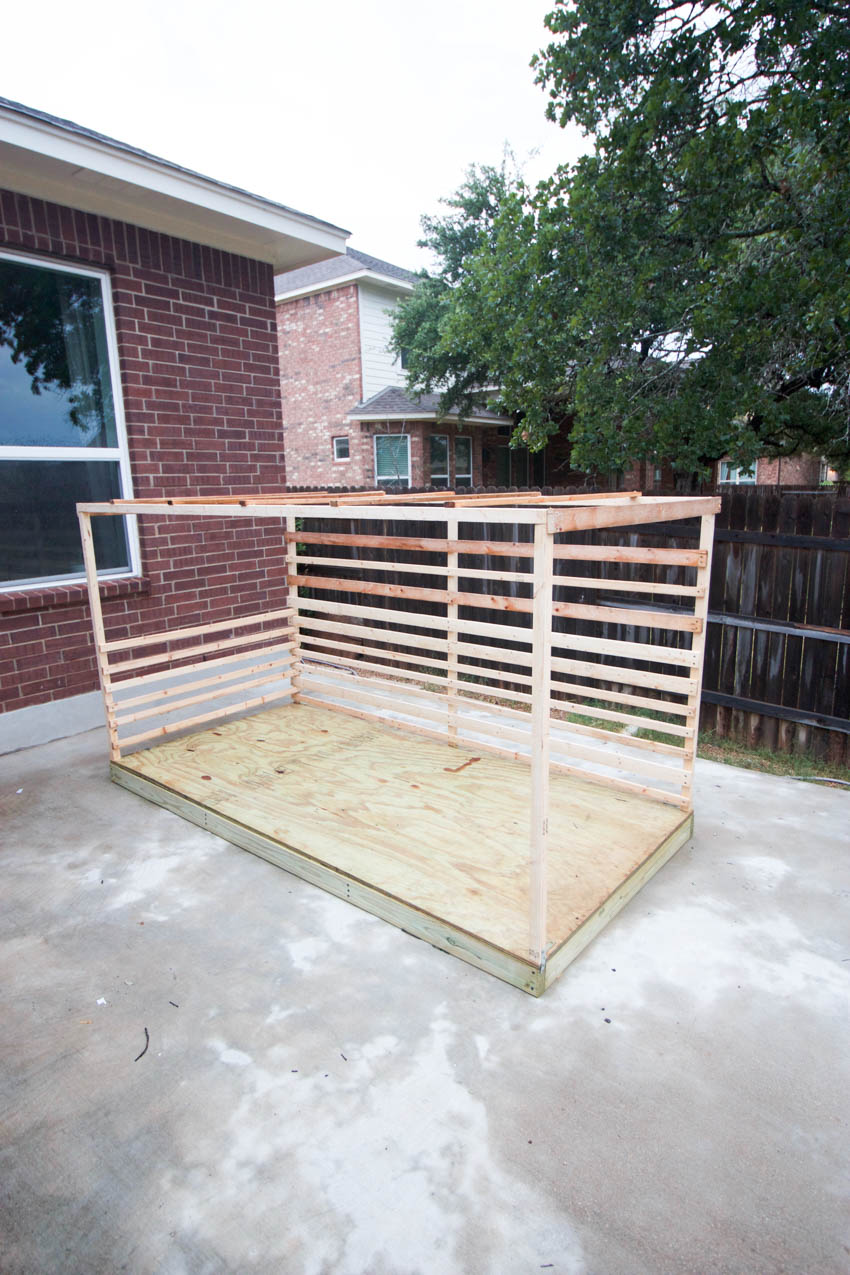
Use the same technique and brackets to add the final corner board on the right. Add an 8′ 2×2 across the top between the two corner boards, screw in from the top. Add the second 8′ 2×2 along the back end and fasten with screws from above.
 Step Nine
Add a 48″ 1×3 to each end at the top, screwing them in from the sides to both the top 2×2 and the vertical 2x2s. Add one 48″ 1×2 to the center of the top, screwing onto the 2x2s from above. Add two more on each side, measuring 15″ from the center board both times. Step Ten
Sand all rough cuts and unfinished edges. Prep for paining. I used a paint sprayer and outdoor, weather resistant paint to help with wear over time. Drape string lights across the ceiling boards, then fill up with pillows, cushions, rugs, baskets, books and children!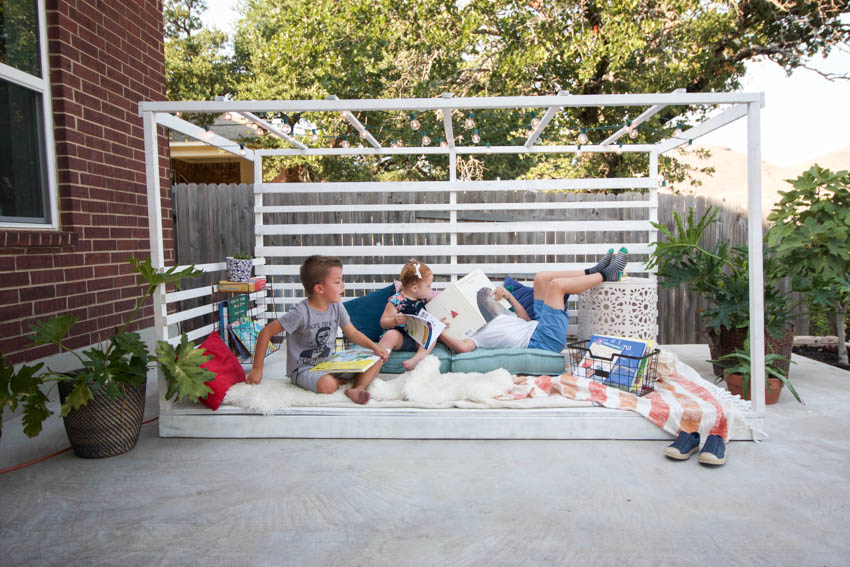


 Step One
 Step Four
 Step Five
 Step Six