I’m in full “Put A Plant On It” mode over here in my life. Since I started with my baby succulents last year, I can’t help but think that everything looks and feels better with a little life. I’m excited to share a super simple Pencil and Air Plant Holder DIY today as part of National Idea Swap Day. A couple other crafty bloggers and I each worked on an inexpensive office accessory to create, share, and also swap with a partner (all the swappers are down below), and this little project is what I came up with! 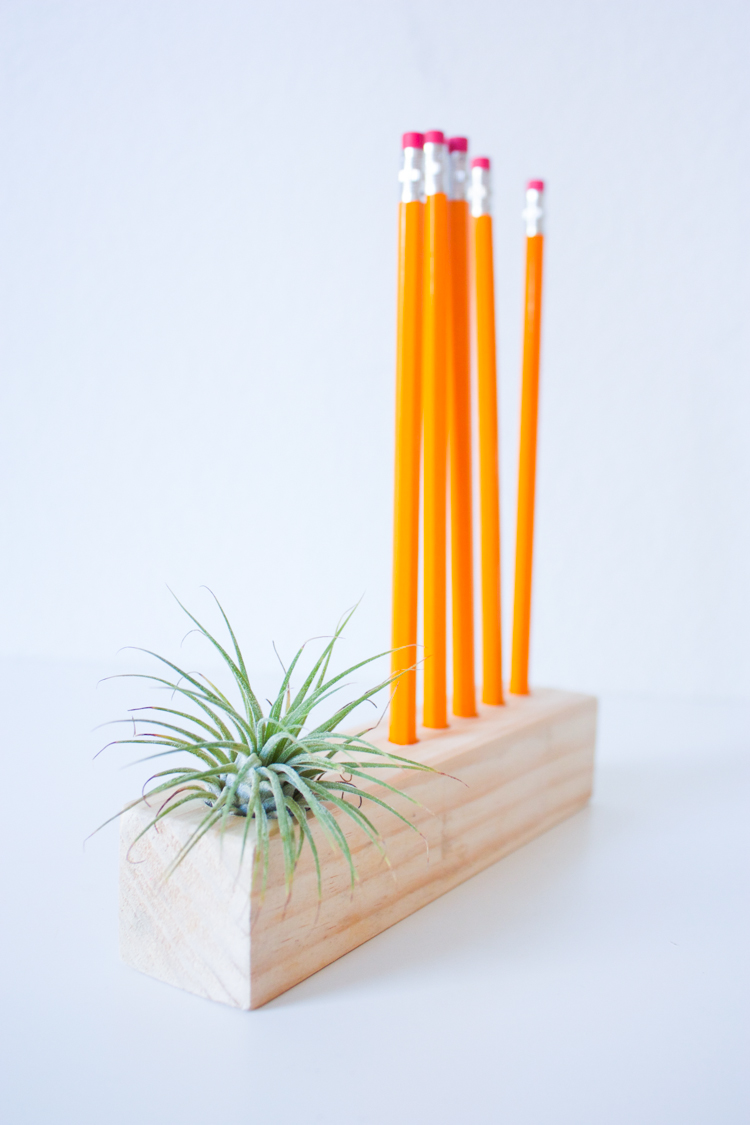
 Doesn’t that little peek of green totally turn a basic wood block into a cool, modern, whimsical accessory? I love it. And the DIY is really easy and involves a power tool. What more could you want? Sand, Drill, Fill. That’s it! I’ll break it down step by step for you, so you’re sure to get it right.
After I made this first one to ship away, I made three more! One for my own desk (that I’ve used ten times today to grab a pencil real quick!) and a couple to have on hand for simple gifts. These would make amazing teacher gifts, christmas gifts for friends, or even place settings at a modern thanksgiving dinner.
 You’ll need:
1.5″ square dowel, about 7″ long (This was cut from a longer piece from Home Depot–they’ll do the cutting for you!)
8mm drill bit
1″ drill bit
Power drill
Sand paper
5 pencils
Air Plant
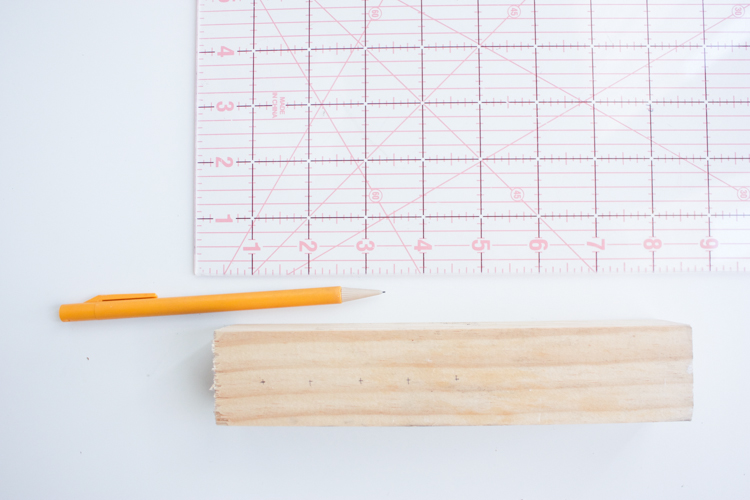 Measure about 3/4″ from one end of the dowel and mark in the center. Continue to measure 3/4″ intervals and mark until you have 5 dots.
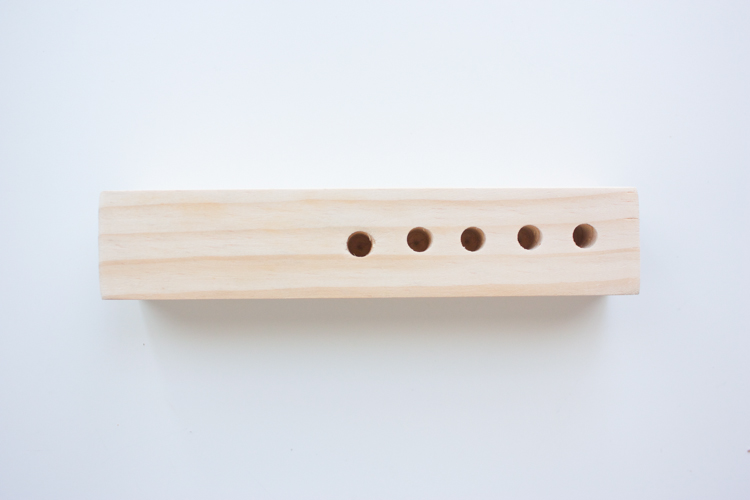 Using the 8mm drill bit, drill into the dots about 3/4″ deep.
 On the opposite end of the dowel, mark 1″ from the end and mark in the center. Use the 1″ drill bit to create a 1″ hole, about 3/4″ deep.
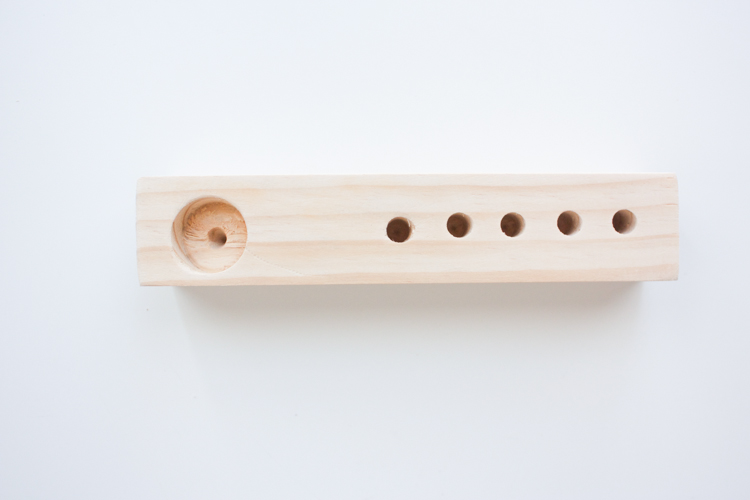 Sand the whole dowel, making sure to get all of the corners and ends to avoid splinters.
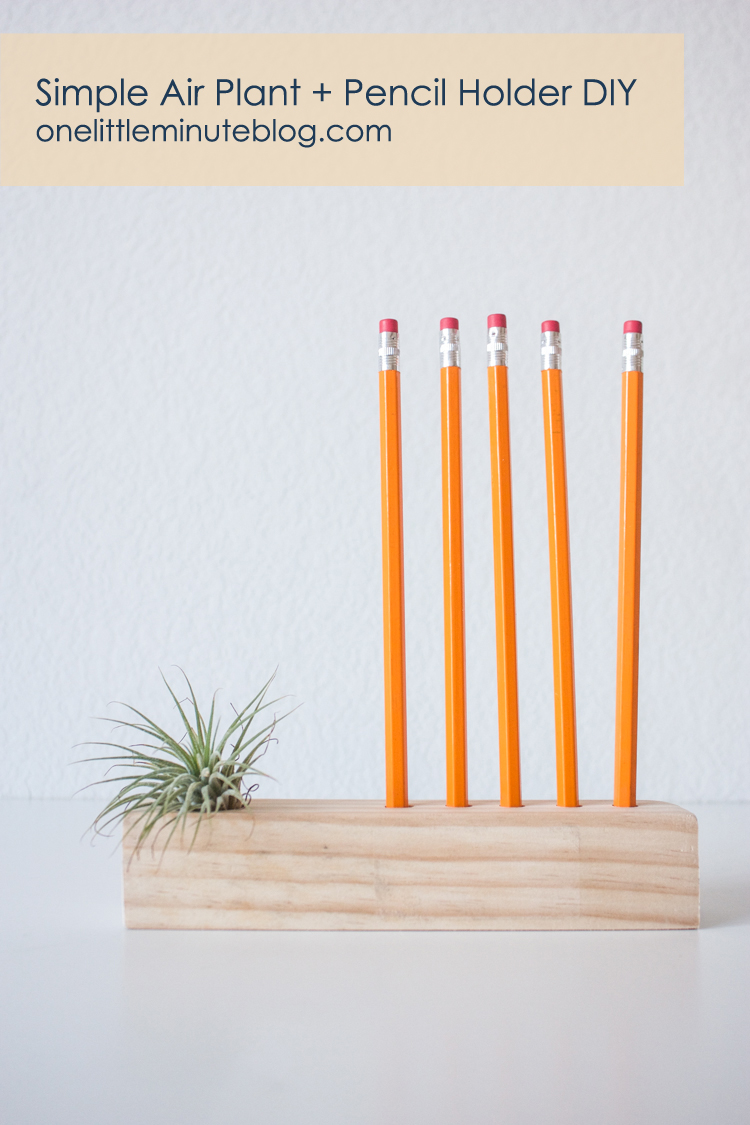 Fill with pencils and your air plant and admire your handiwork!
 Simple as that! Now your workspace will be so much more alive and lovely.
The air plant needs some bright light and about 5 minutes in water once a week to stay happy.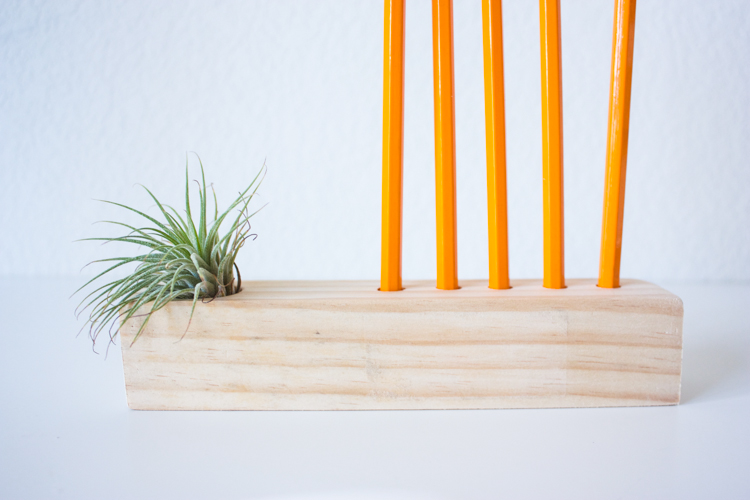
 Along with my DIY today, these four other bloggers are all sharing their own office supply DIYs.
I love the Flamingo Push Pins that Tell Love and Party (@tellloveparty) sent over. They’re festive and perfect for pinning up some summer memories.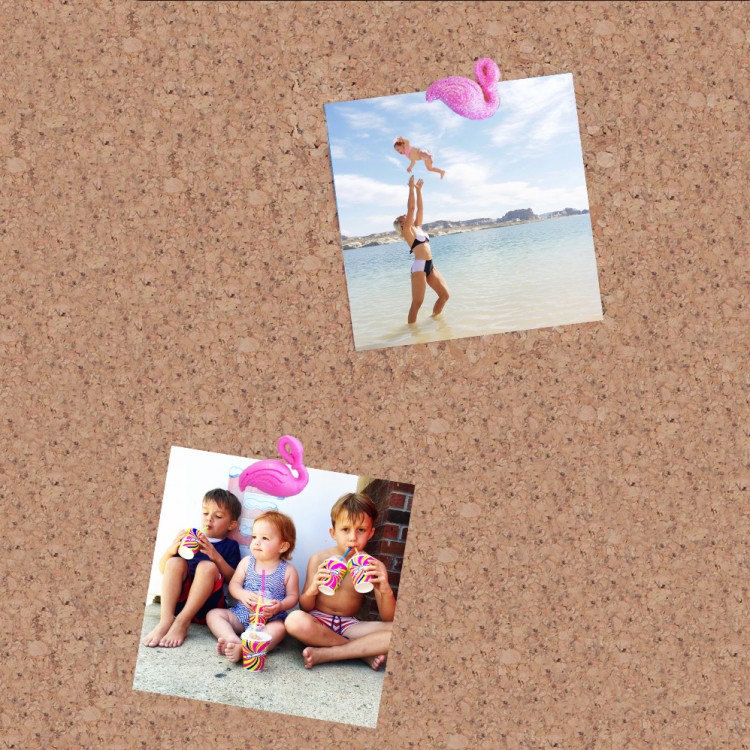 Also check out:
Black and White Coasters by J.Sorrell Blog, @jsorrell3
Colorful Desk Caddy by Christina Williams Blog, @christinawilliamsblog

