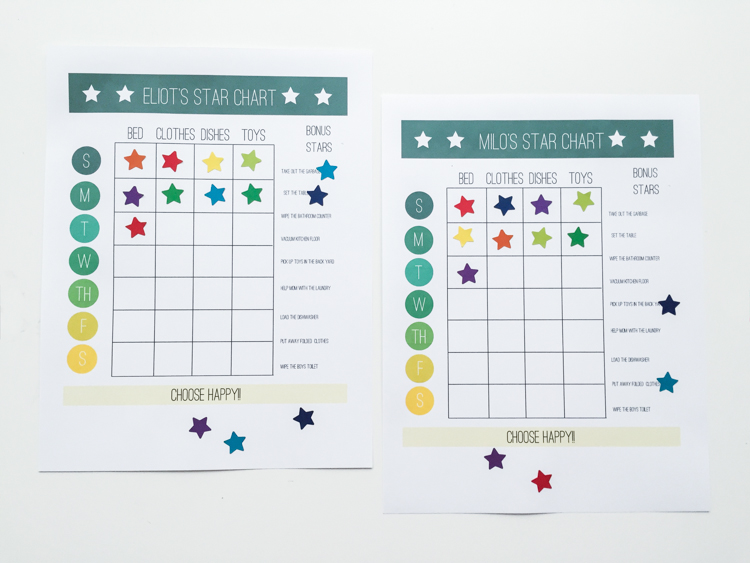
Dave and I decided that when Milo entered Kindergarten would be a good time to begin having him learn how to manage a little bit of money. We initially planned to just give him a small weekly allowance and teach him about taking care of it, saving some, and spending wisely. Around when he started school this year I also realized that both Milo and Eliot were old enough to do some regular chores around the house. They had been keeping up with some routines: bedtime stuff, picking up the playroom, etc. but none of the expected chores were written down, and I hadn’t yet branched out into letting them help with some of the bigger household duties, like cleaning the floors and bathrooms. With these two progress milestones on the horizon, I thought combining the chores and the money into one simple system would be the easiest way for us all to keep track of these new little responsibilities. What I came up with after looking a bunch online and talking to some good friends is The Star Chart, a simple chore and earning system for young kids. If after reading you think this will work for you too, click HERE to download the free star chart (without names, of course).
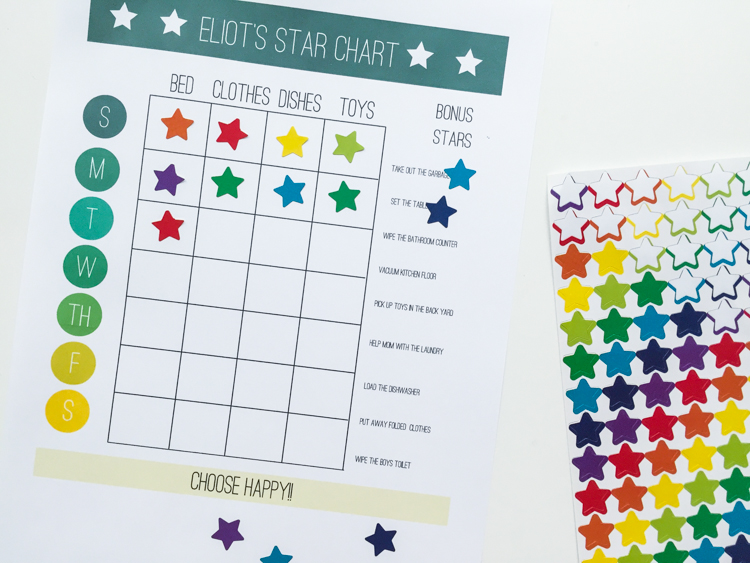
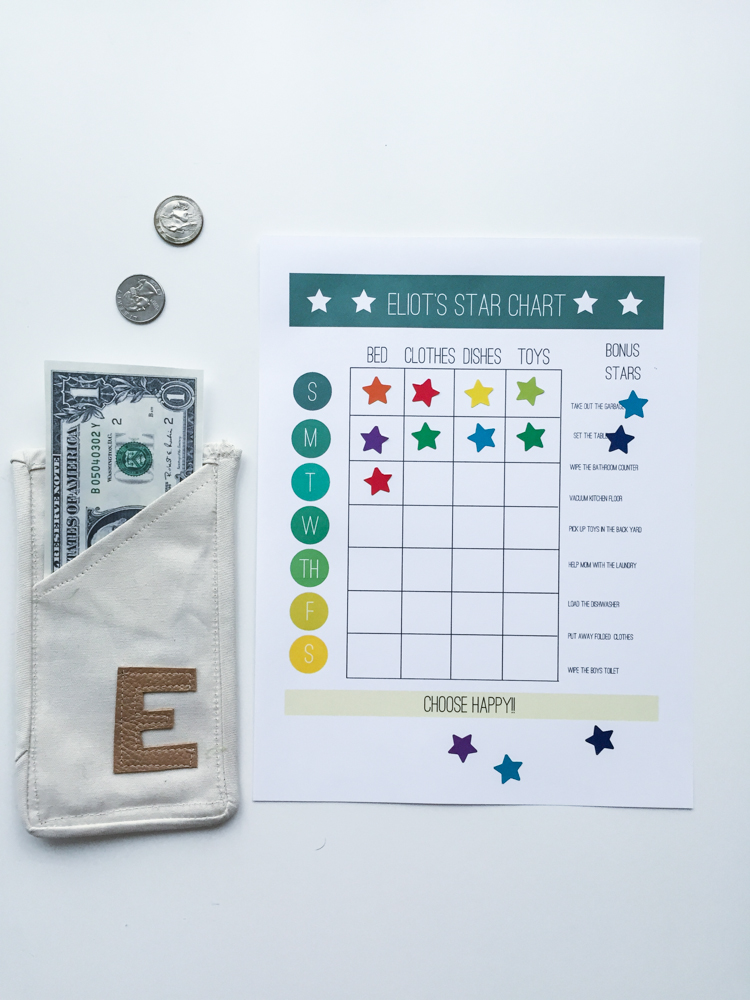
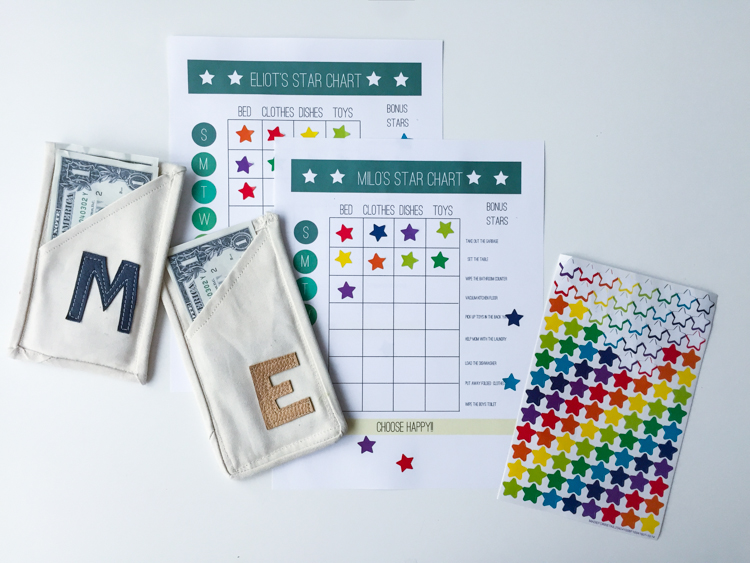
The system is simple, and has some features that I couldn’t find in any of the other charts and systems I found. There are four expected chores each day in our house: The boys must stay in their beds all night every night and make them in the morning, put all of their dirty clothes into the laundry hamper in their room, clear all of their used dishes into the sink after snacks and meals, and pick up all of the toys in the play room every night before bed. For each day that each of those tasks is completed consistently, they get a star. Additionally, there are two other ways to earn bonus stars. They can complete any or all of the extra chores listed down the right, like vacuuming the floor, wiping a bathroom counter, or loading the dishwasher. And, they also get extra stars for having a good attitude, and being kind and happy, listed on their charts as “choose happy!” which is our family theme for this school year. I’ve noticed that since we’ve put the star chart into practice, the boys are more likely to remember their daily chores, and more eager to help with additional ones, as well as to choose happy. They’ll often do something nice for each other then tell me and ask if that mean’s they’ll get an extra star!Now for the translating of stars stickers (which I choose specifically because they’re always available and inexpensive in office supply) into money. Each complete column of daily chores is worth a quarter. That means if they complete every task every day in the week, those chores are worth $1. If they miss a task one day in the week, that column doesn’t earn money that week. In addition to that, each bonus star on the page is worth a quarter. If the daily chores seem minimally funded, the bonus stars definitely make up for it because they can add up fast! Our chart has nine bonus chores and the happy stars are unlimited. Milo has averaged around $4-5 per week so far and Eliot just less than that. I purposely kept the daily chores at low earnings value, because those are expected daily tasks. They are the minimum necessary to contribute to the family’s household maintenance. The extras teach real work ethic because they can really start to earn by taking extra opportunities to help. On occasion I mention that one of the extra chores needs doing and offer it to them before I take care of it myself, but they, Milo especially, is hyper aware of when he can gain some extra stars. It’s been really cool to watch.
Read on to learn how to make the simple star wallets with an illustrated tutorial.
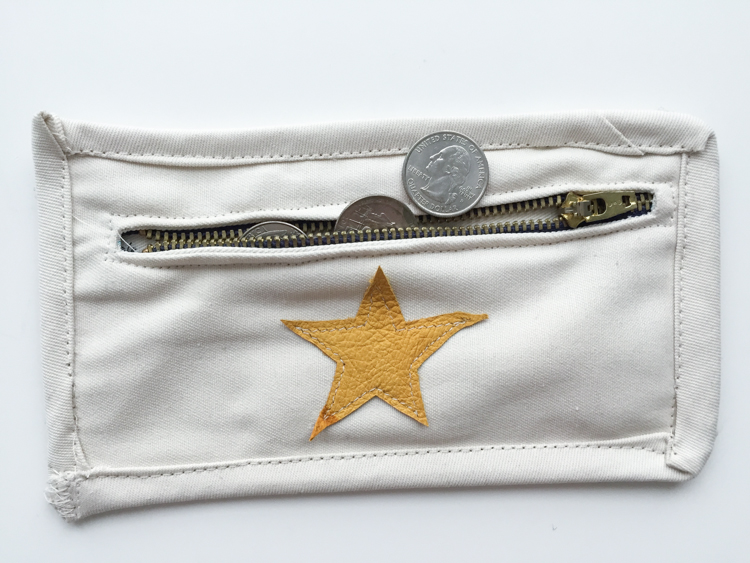
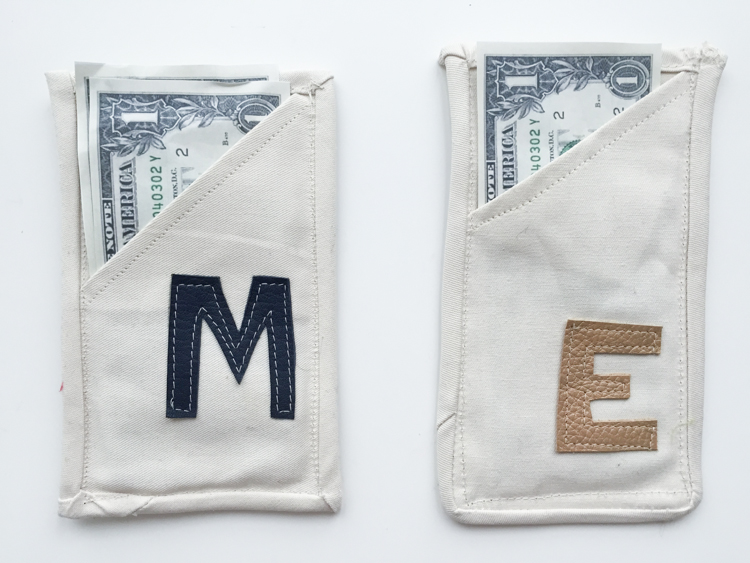
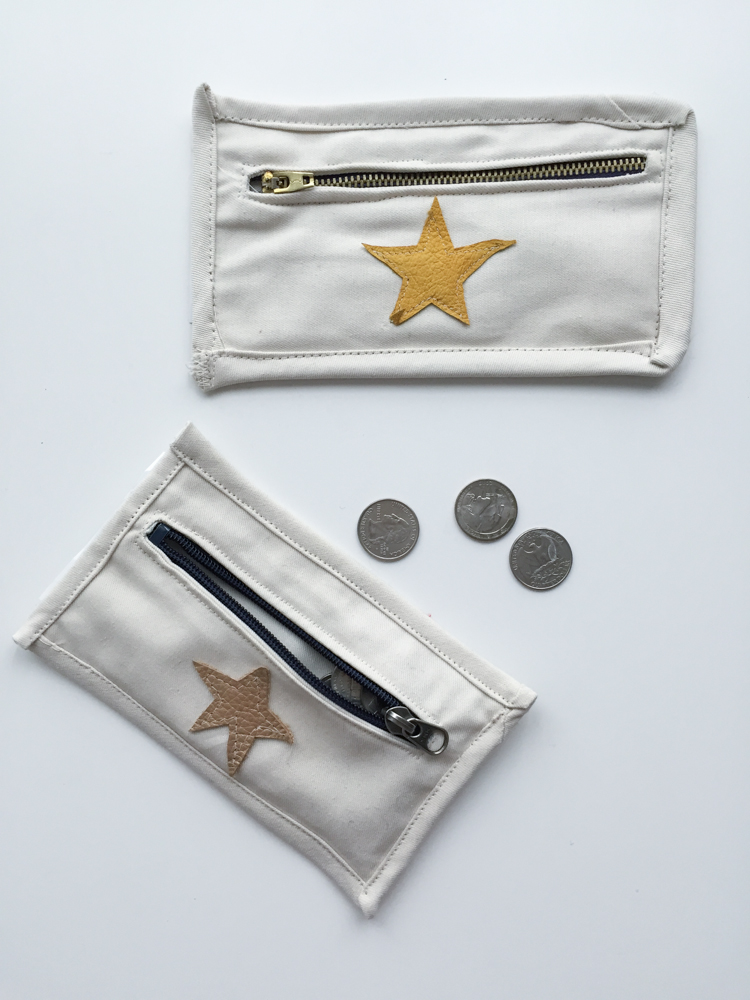
Of course, once they started collecting money, I knew they would need somewhere to put it! The first week I delivered their money to them in paper envelopes, and within days int was obvious that wasn’t going to work. The bills alone were fine, but they both had several quarters as well. So, I whipped together some super simple (and clearly imperfect!) wallets that fit their needs. A little zip pocket on one side for the coins, and a simple fold over bill holder on the other. They loved that I personalized them with their initials in leather, and added stars to go along with our new system.(If your child is young enough you think they’d be better off with some play money until you get to the store, I found some cool printable play money from here.)
As usual, I was totally winging the first wallet as I went, and happened to make it the just-right size for the bills to fit in the back. Add it to my long list of happy accidents!
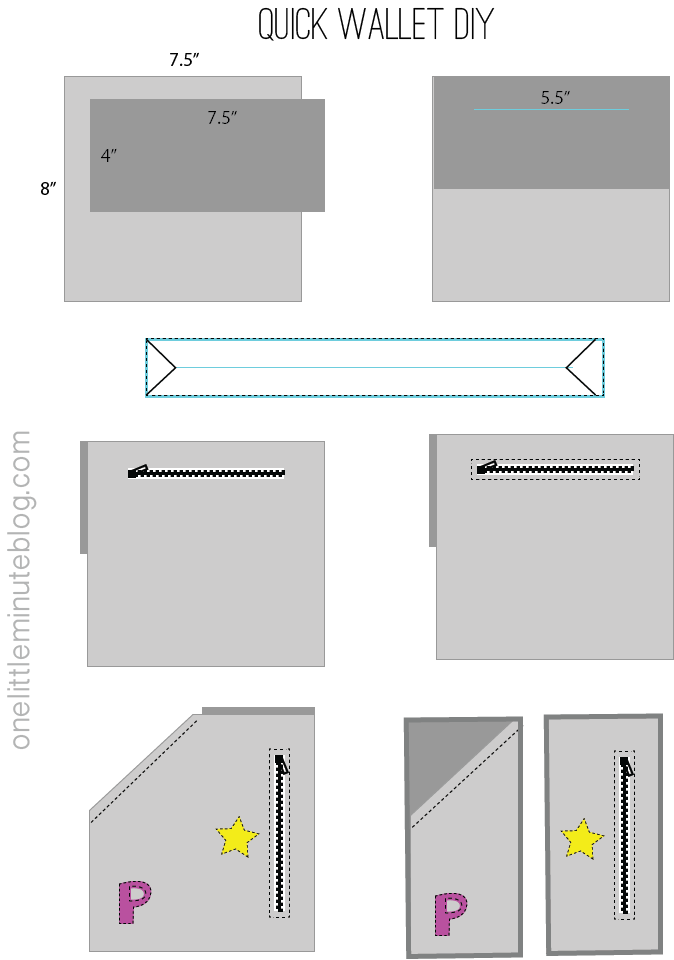
Each wallet requires 12″ x 7.5″ of fabric, the 12″ cut into one 8″ and one 4″ section. I used a medium weight canvas so they have a little body. You could use a simple cotton if you added a layer of 4″ x 7.5″ interfacing during the welt stage. You’ll also need a 5.5″ zipper, and one yard of double fold bias tape.
1) Lay the smaller piece of fabric right side down on the larger. The fabrics should be right sides together (if using interfacing, add it to the top).
2) Draw a 5.5″ line about one inch from the upper line of fabric. You’re going to create an open welt here to put the zipper behind. This is a good video tutorial if you’ve never done one, but basically you draw a rectangle around the line, about 1/4″ on each side. Stitch along this rectangle, then cut along the middle line, and on the diagonal into the corners, taking care not to snip your threads. When you fold all of the upper fabric through the hole and press, you have a great little open welt pocket.
3) Place the zipper behind the opening, with the teeth exposed through the hole, and clamp or pin in place.
4) Topstitch around the rectangle pocket, securing the zipper in place.
5) Add personalized applique details to the top fabric at this point, if you’d like. Measure 4″ from the edge and fold the top fabric down behind on a diagonal as shown. Topstitch in place. When you fold the wallet in half, this fold will create the bill holding side.
6) Fold the wallet in half and trim any weird edges to make adding the bias tape easier. If you’ve never added bias binding, this is a great tutorial for sewing on a bias binding. I made my own matching bias tape with the same canvas, but most sewing and craft stores will sell some pre-made that works great. Start with the bias tape open and pin along the four sides of the wallet. Stitch in place. Trim the edges close to the stitch line, then fold the bias over to the other side and pin in place. Topstitch and you’re done!
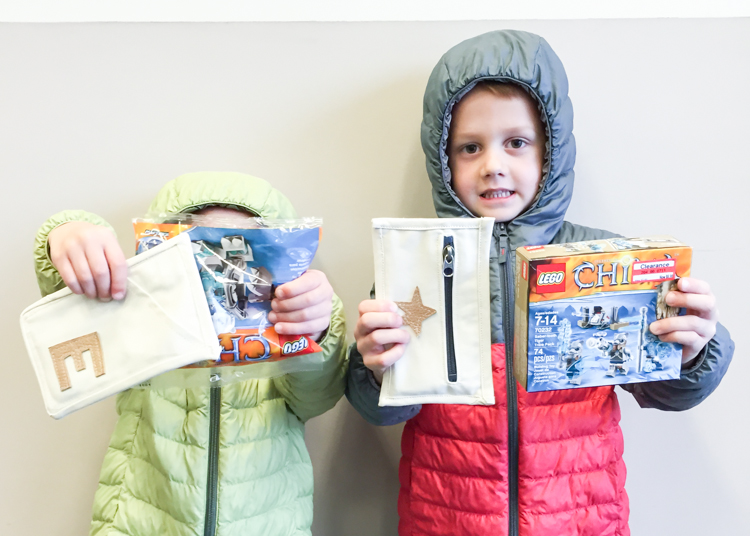
After two weeks of saving, the boys begged to go to the toy store to buy something with some of their earnings. They learned a lot in that visit about prices, and how much things cost. It took a lot of will power for me to not just add to their earnings and help them buy something bigger, but I truly want them to learn the value of money, and have a more realistic understanding of how it works! We came home with some new Chima Legos, Milo’s a little bigger than Eliot’s and only affordable because it was on clearance! They were so proud! They each counted out their money at the register (maybe to the chagrin of those in line behind us) and put their change back into their wallets. On the way home, I heard all about what they would save up for next, “One of those driving cars!” “A skateboard!” I’m pleased with the success of the star chart system so far, and think it’s a perfect jumping off point for them to have even more responsibility and earning capacity in the future!