Tall Raised Garden Beds
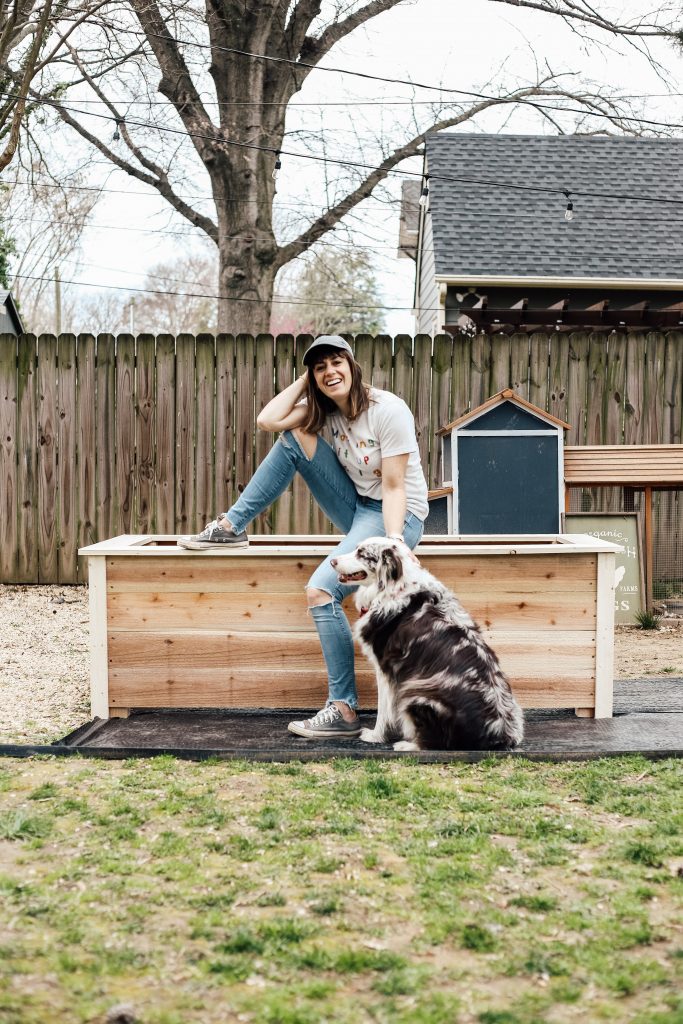
It’s garden season! Despite the wild state of the world, or maybe partly in the face of it, I am so excited to begin planting my first edible backyard garden. I designed these tall raised garden beds to be beautiful, sturdy, and easy to maintain. After searching for plans for something similar online (and not finding anything I loved) I decided to create my own!
GRAB THE DETAILED PLANS + INSTRUCTIONS HERE FOR $5
 $97 Total For Materials!
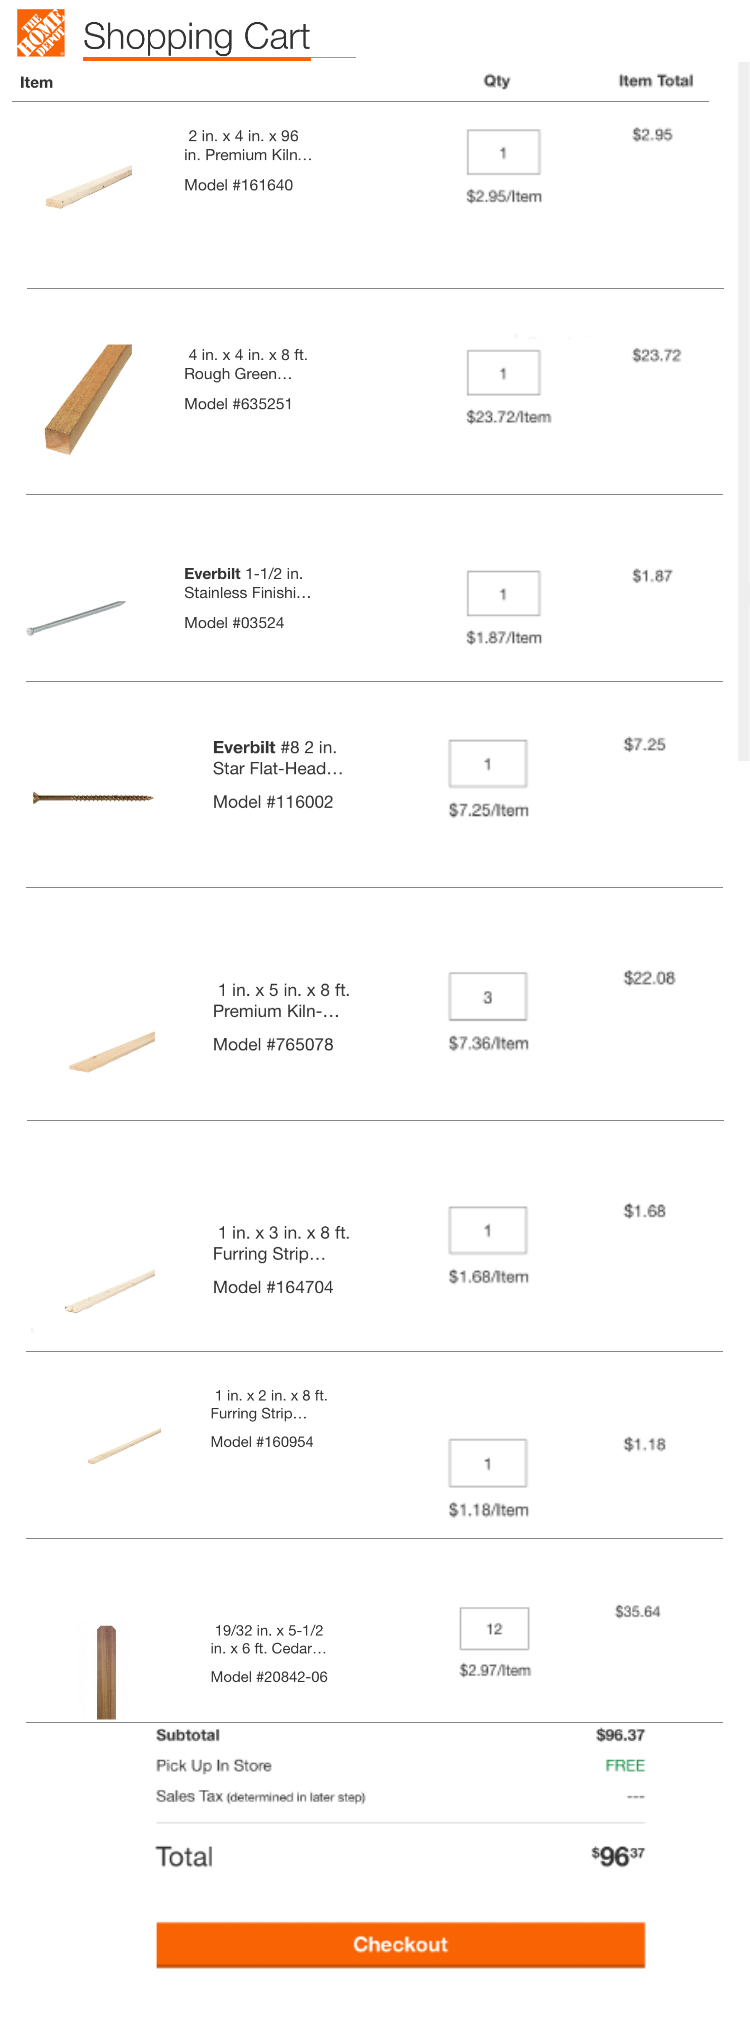
Each tall raised garden bed costs around $97 in materials (my receipt was $86, but I had screws and nails at home) and is SUPER SIMPLE to put together. (check out the Home Depot shopping cart at the end of the page!)
I used a chop saw, electric drill and nail gun for the cuts and finishes, but the bed could also be cut entirely at the hardware store, and screwed and nailed by hand. I wouldn’t recommend constructing entirely by hand, though. At the very least an electric drill for the screw construction would be very helpful.
Inspiration
I was first inspired by the beautiful raised garden beds I had seen on Instagram, primarily at @gardenaryco. So many of the raised beds have pretty and simple trim, and many are extra high, like my version, which will make weeding, harvesting, and maintaining so much easier.
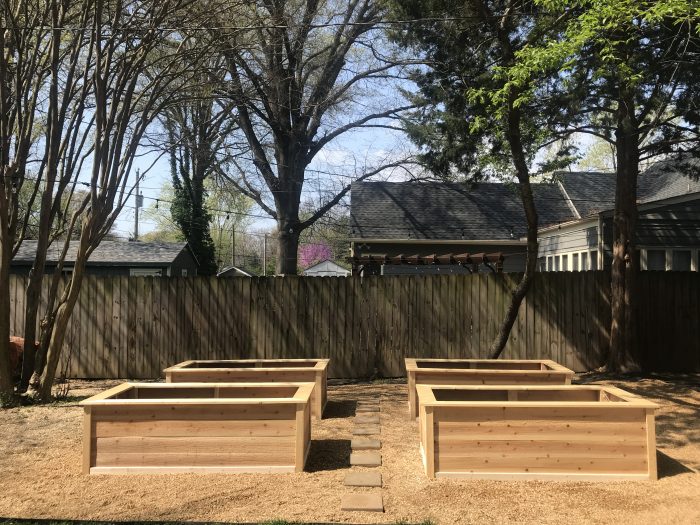
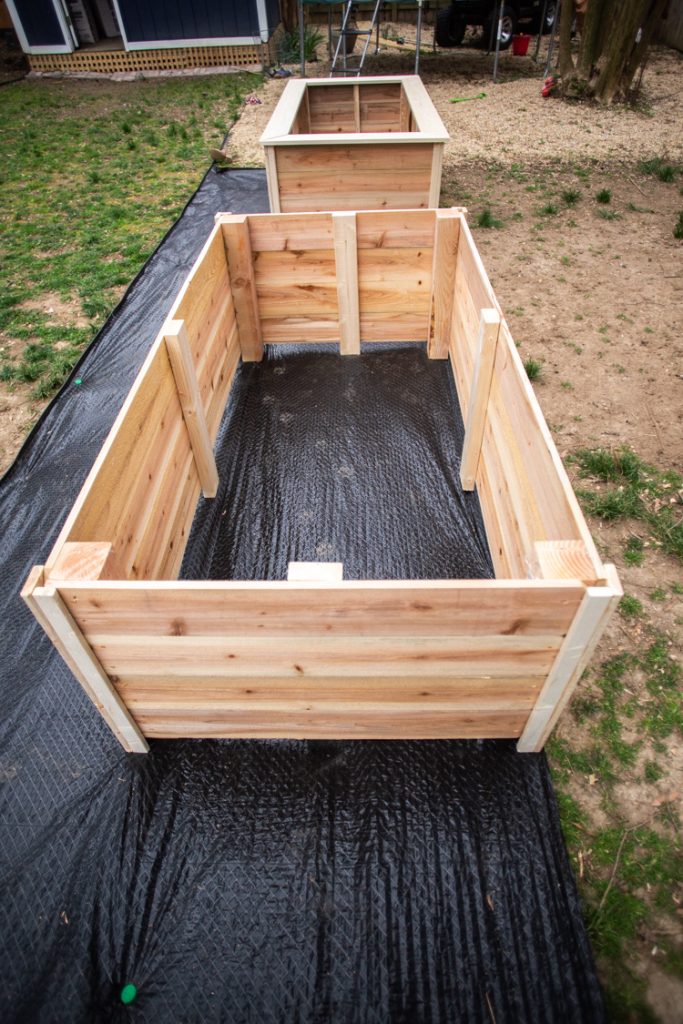
These extra tall beds also make a real statement in the yard. We decided to clear off about a third of our backyard to convert into an edible kitchen garden. Having some beautiful, tall beds makes this area now feel like a very intentional garden space.
Creatively Using Cedar
I priced out completing the boxes entirely of cedar, and the price was about triple what I ended up spending. The key to keeping the cost lower was recognizing that I could replace the 1x6x8 cedar boards with 1x6x6 kiln dried cedar fence planks, which are about a third the cost.
Most cedar fencing is pressure treated with either salt or chemicals, and I didn’t want either for fear of it leeching into the vegetables. These cedar fence planks are 100% raw cedar, kiln dried, which offer the weather benefits of cedar without the chemicals or cost.
Simple Cuts, In Store or At Home
I used simple pine trim for the corners and top edge, which will wear out faster than the cedar sides. It will still should hold up for at least 4-5 years. If at any point pieces start to wear out, they are all easy to swap out for new trim, as needed.
I designed the beds to each be 3x6x2 because with those measurements I could use every inch of every piece of wood without waste, except for the top trim pieces that are cut on the diagonal.
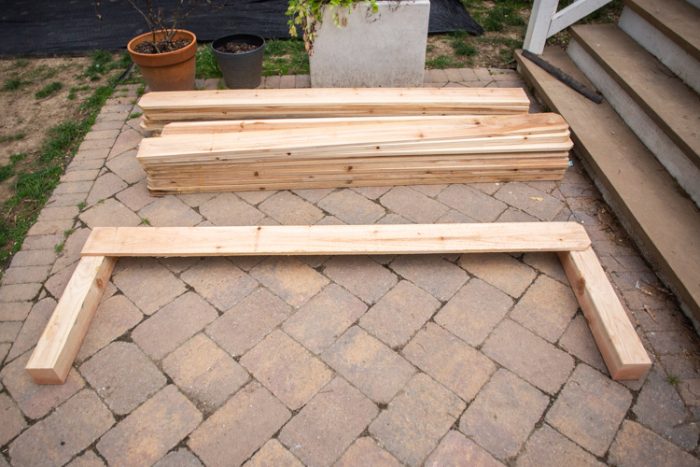
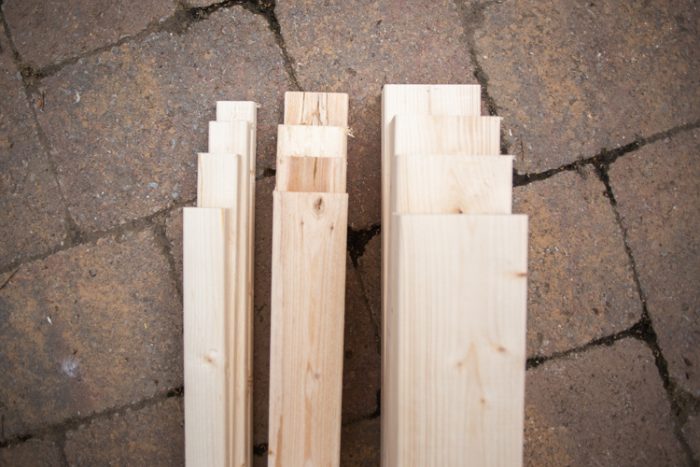
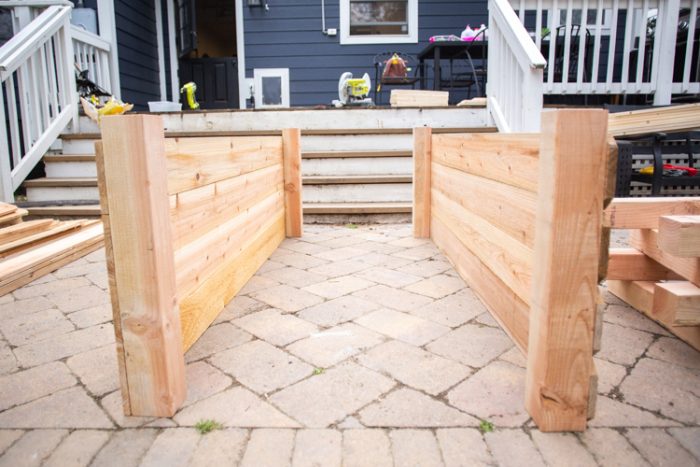
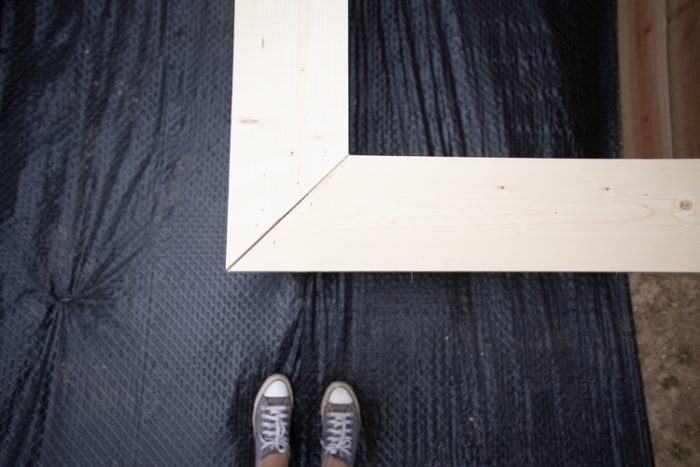
The cedar posts are 4x4x8 cut into 4x4x2, cedar fencing is 1x6x6 cut into 1x6x3 or left whole for the long ends. Trim boards are 1x2x8 cut to 1x2x2 and 1x3x8 cut to 1x3x2. Stabilizers are 2x4x8 cut to 2x4x2. Everything is either cut in half or quarters until you get to the final top trim pieces, which could be cut straight, but I preferred to create a mitered butt joint on each corner.
Quick Construction
I finished the first raised bed in about 2 hours, figuring out the best order of construction as I went. The other three Dave and I made start-to-finish in about 2 hours. We worked together, one cutting the other constructing, as we went. The simple construction makes these beds really fun and easy to manage building.
Next Steps
Now that the beds are finished and set in place, I am working on hooking up a drip watering system on a timer. I also ordered custom steel arches (similar to these) to connect each set of two raised beds over the center path. The arch will be a fun design element, but also perfect for climbing plants like tomatoes, peas, zucchini, and even watermelon!
Beautiful, tall raised garden beds might be a gateway drug into becoming a full-fledged gardener, and I am here for it!
If you’re interested in recreating these beautiful, inexpensive, tall + trimmed out raised beds at home, grab your

