I know the internet is all aflutter with hearts right now, but I’ve got birthdays on the brain (mine is Thursday!)
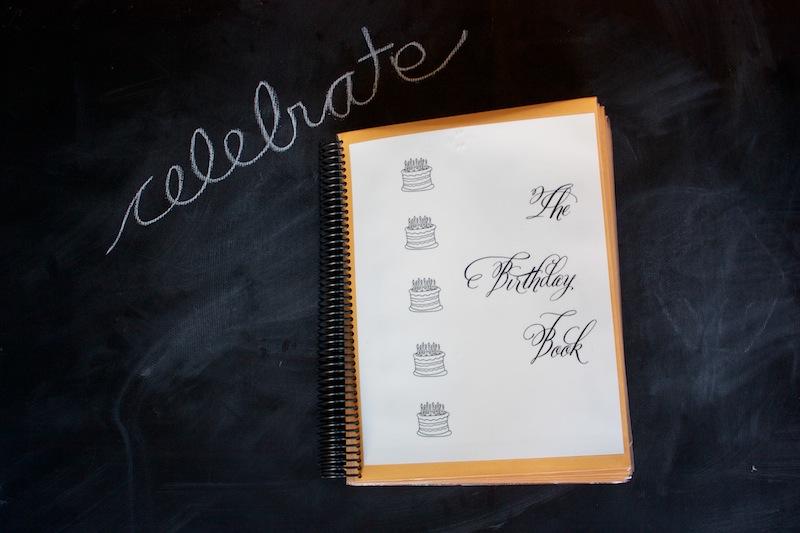
At the New Year one of my goals was to send birthday cards to all of our family members on time. In order to make this feat a little easier on myself, I decided to finally create a Birthday Book. Have you ever heard of a Birthday Book? It’s a book with a place to write down the birthdays for each month and- get this- it also has a place to store birthday cards to have on hand so you can send them on time! My sister made one a few years back, and I have been thinking about it since then. This was my year to pound it out.
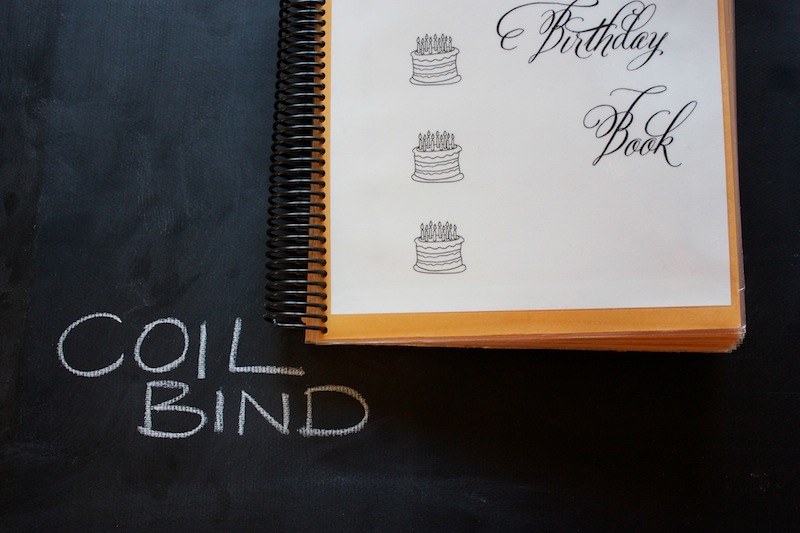
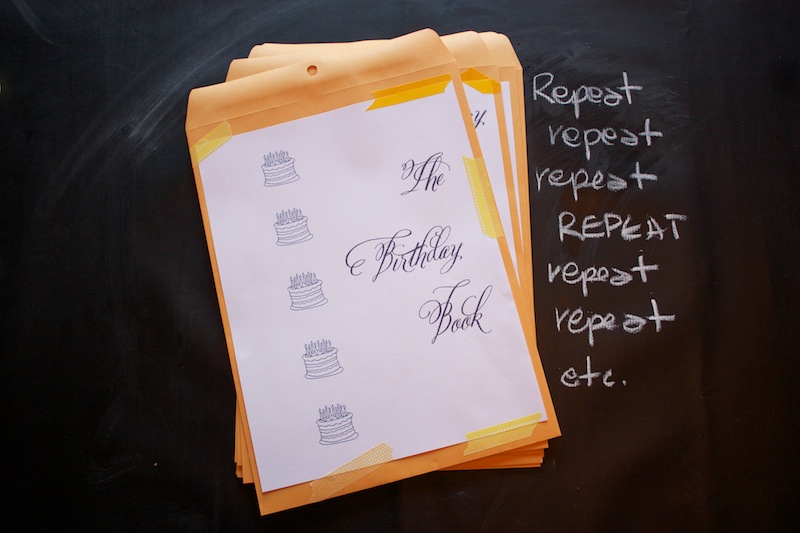
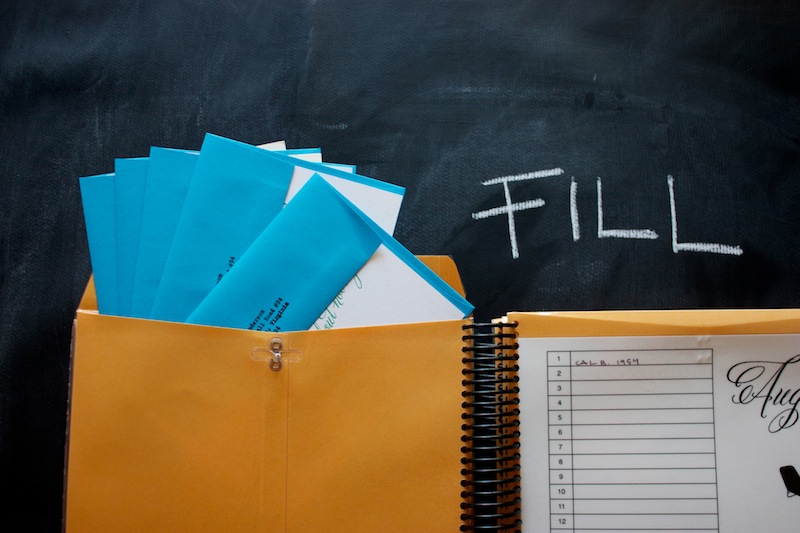
Maybe stewing over it for a few years allowed me to create a clear vision of how I wanted to make mine: simple, durable, easy to use, and lasting. I created a month-by-month perpetual calendar where I can write in the birthdays. Once attached to the front of manila envelopes and bound, I have a place to see each month’s birthday and I can slide the cards for that month right inside!
I’ve included instructions for how to make two different versions. The first is the one I chose, which requires a trip to a copy center and $20-30 to complete. The second can be made entirely at home and may not cost a thing if you’ve got some craft supplies on hand.
As a little birthday gift to you from me, I’ve included a free PDF of The Birthday Book Pages that I designed for this project.
You can download it (for personal use only) HERE.
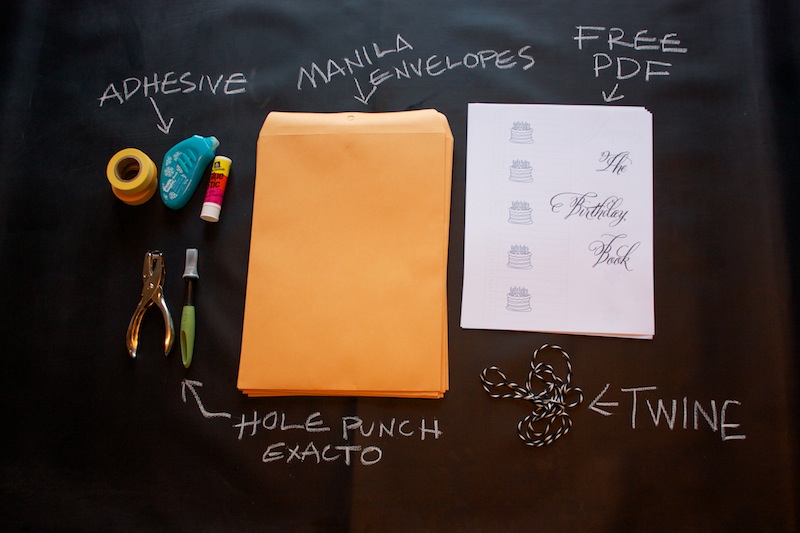
Gather up your supplies:
some adhesive (glue or tape are fine)
the PDF
14 manila folders (“The Birthday Book” cover sheet, 12 months, and an “Addresses and Stamps” sheet for the final envelope)
a hole punch and xacto knife
some ribbon or twine (if you are going with the at-home binding method)
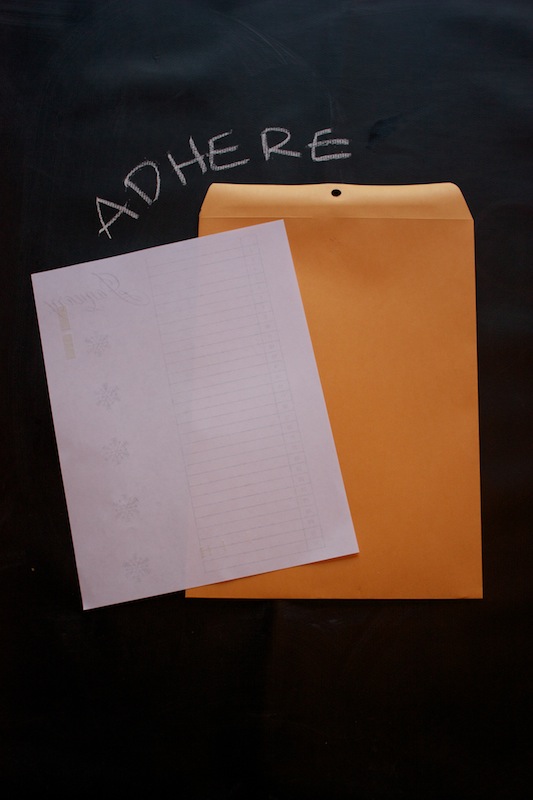
Glue or tape each of the 14 PDF pages onto the front of the manila envelopes.
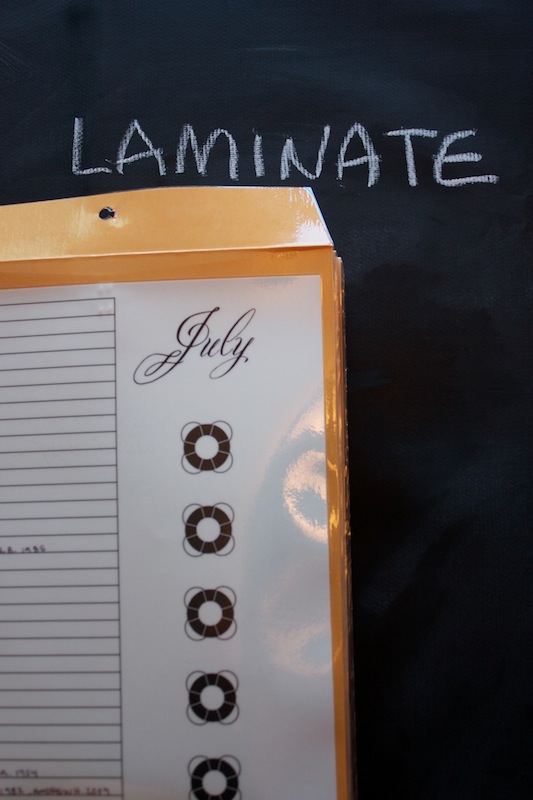
Take the envelopes to your local copy center and have them laminated with the envelope top open. You’ll have to trim around the edges of each envelope yourself (unless your local copy center is as awesome as mine, in which case Carla will trim them all down for you before binding them.)
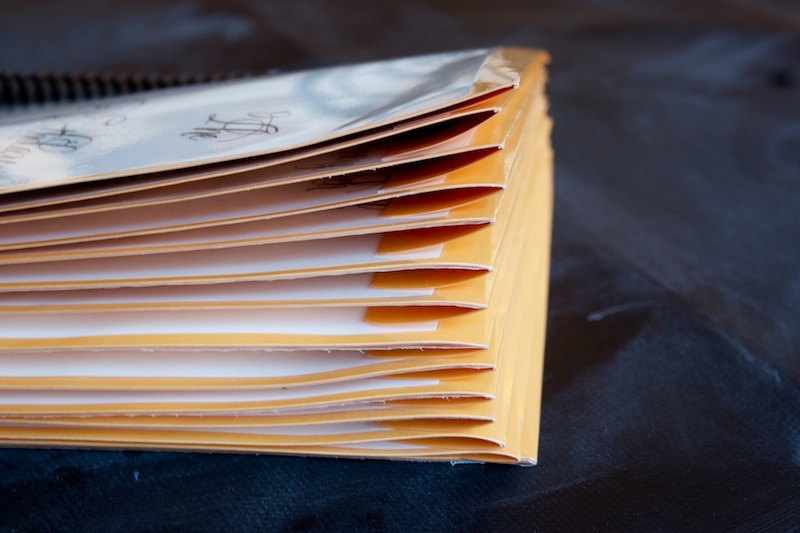
The basic coil binding is perfect, but ask for a 1.5-2″ coil rather than the 1″ that it looks like it needs. Once the envelope tabs are folded and there are birthday cards inside, the stack gets significantly larger.
If the envelopes are laminated while open, you need to re-open them by sliding your xacto right along the slit. Push just hard enough to slice through the plastic, not the paper, too!
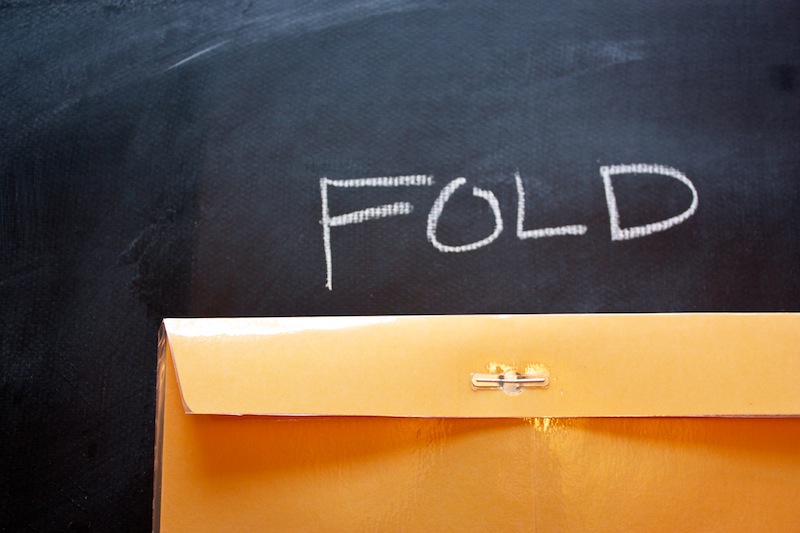
Hole punch out the plastic, so that you can fold and close the envelopes with the bracket.
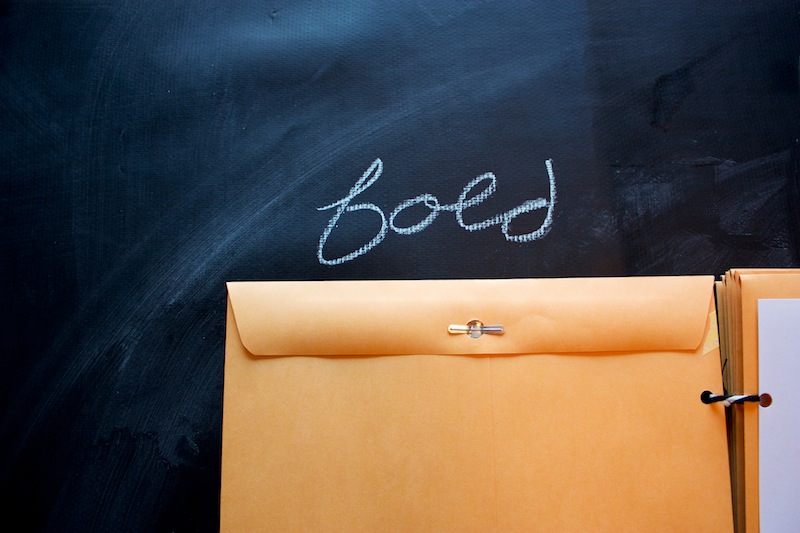
Fold each envelope over and use something stiff (I used the handle of my hole punch) to run back and forth across the fold to help it bend nicely. It may be a good idea to laminate the envelopes closed, and then slit around the edge to open them up. That way they would maintain the folded shape better. I liked both sides of the flap being laminated for durability.
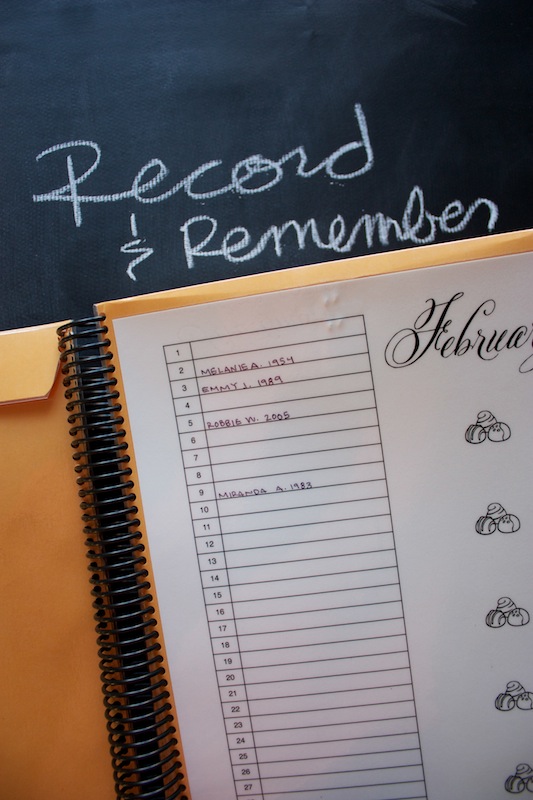
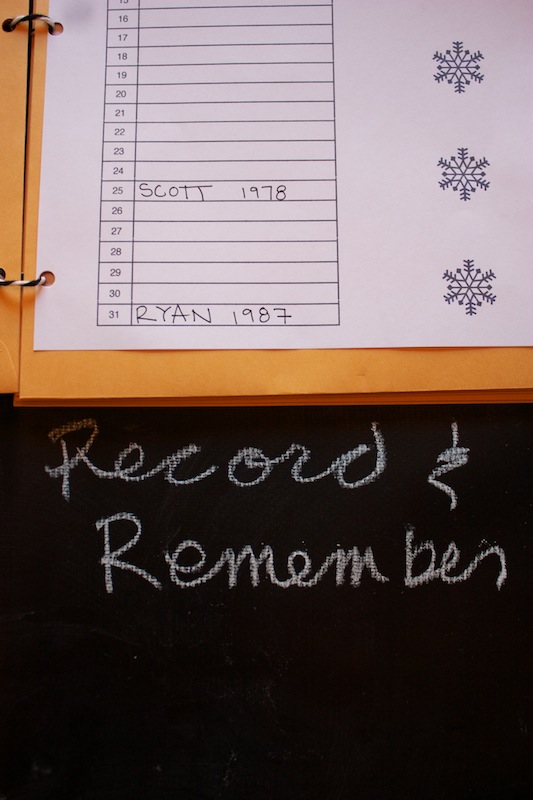
Using a permanent marker, fill in the birthdays of your friends and family on each month. Let the ink dry for a minute or so before touching it or turning the page. Then it should be set. I also included the year they were born so that I can remember how old everyone is turning each year! (That’s me on the 9th- born in 1983. I’m about to enter the last year of my 20’s. Yikes!)
If you want to keep it even simpler, and save yourself a trip, go ahead and stick with the following version:
Adhere the PDF pages to the front of the envelopes.
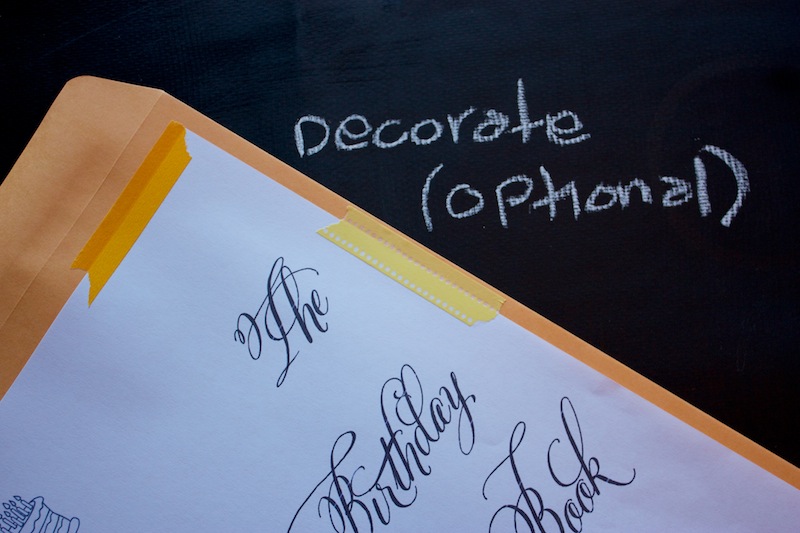
After I made mine I thought it might have been cute to add some washi tape to the pages to decorate a little, but I do like the simple graphics on the PDF, so it’s a toss up.
Keep sticking and decorating until all 14 sheets are finished.
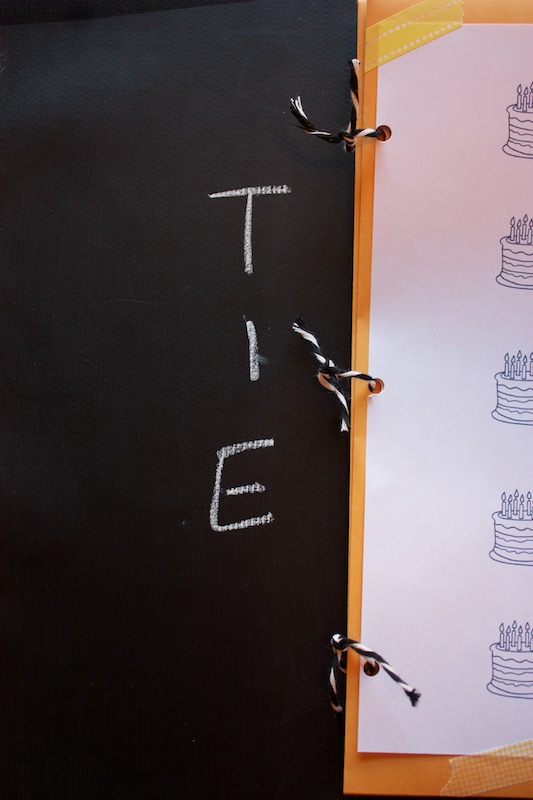
Use your hole punch to create 3 holes in the side of each envelope. If you are using a single hole punch, make sure you line the holes up on each envelope so the book is square. A traditional office 3-hole punch would work perfectly for this, as well.
Loop your twine or ribbon through the holes, leaving a little room to turn the pages, and tie.
Fold and secure each envelope.
Using any type of pen or pencil, write in the names of family and friends on their special day.
Regardless of the method you choose, the next step is a fun one:
For each birthday written on the front the envelope, insert a birthday card inside it! You could even address and stamp them as well to get good and ahead!
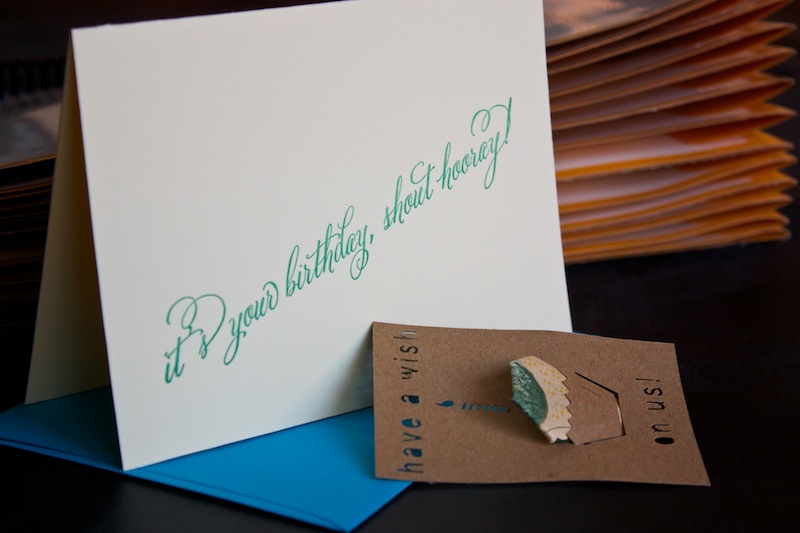
To make it easy on myself, I went ahead and letterpressed all of my 2012 birthday cards. Yep, everyone in my Birthday Book is getting the same card this year. Impersonal? Not when I write a thoughtful little birthday message inside (which I’ll now have time to do, since I won’t be trying to get a card sent last-minute…or two days late!) Everyone is getting a Have a Wish cupcake gift card, too.
My birthday book is now filled with cards for all of 2012. I didn’t yet address them all, but I did stamp them with my return address, and I printed out my excel address list and slid it into the final envelope which is for “Addresses & Stamps”. At the beginning of each month, I can grab the book, pull out the birthday cards for that month’s special people, write a greeting, slip it in the mail and be ahead of the game. Pretty slick, right? And I think the few hours of work and $30 that I invested into this book will be well worth it as I am able to re-use it every year.
Do you send birthday cards? How do you keep track of them?

