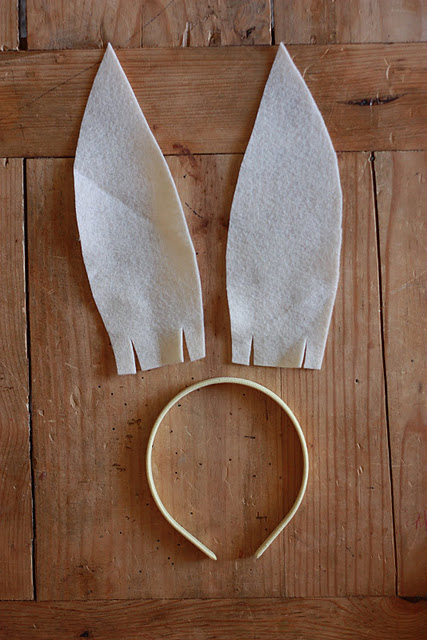
I’ve had the Easter Craft itch this week , and am excited to share a very easy Felt Bunny Ear headband that requires no sewing! (I think all of my sewing of late has caused some hot-glue withdrawals.) So, without delay, here’s a fun project, for you or the kiddos, that can be finished in 30 minutes flat.
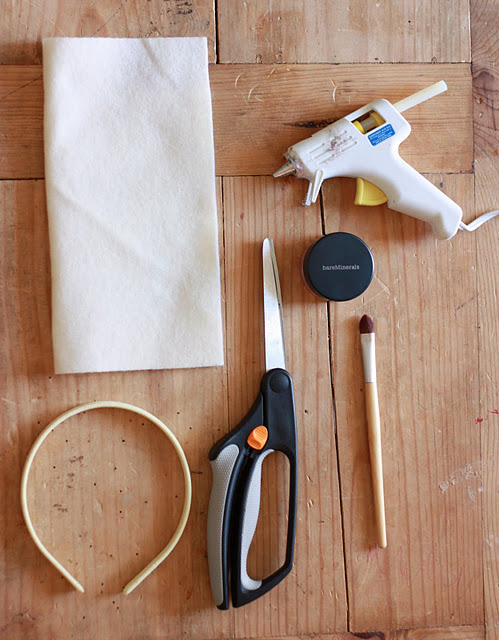
What you’ll need:
Some felt scraps (at least about 7″ x 8″)
A headband (mine is from Wal-Mart)
A Hot Glue Gun
Scissors
Pink Blush
An eyeshadow brush or paintbrush
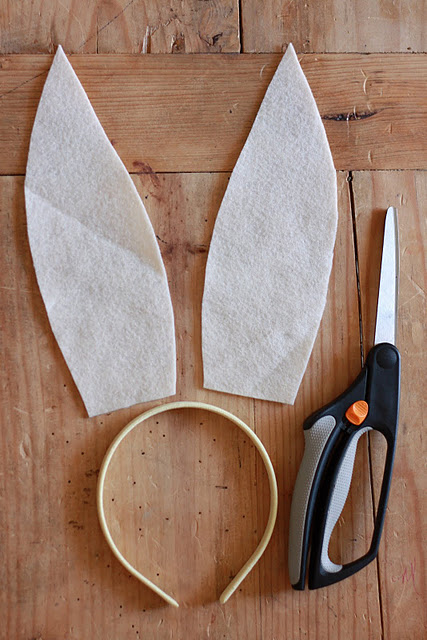
1. Fold the felt in half and cut out two bunny shaped ears with flat bottoms. I didn’t even draw them first…just go for it. The quirkier the better:)
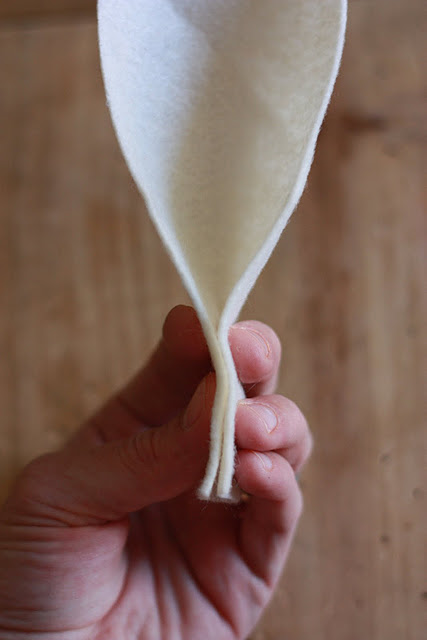
2. Fold each ear in half at the bottom to create the three-dimensional shape
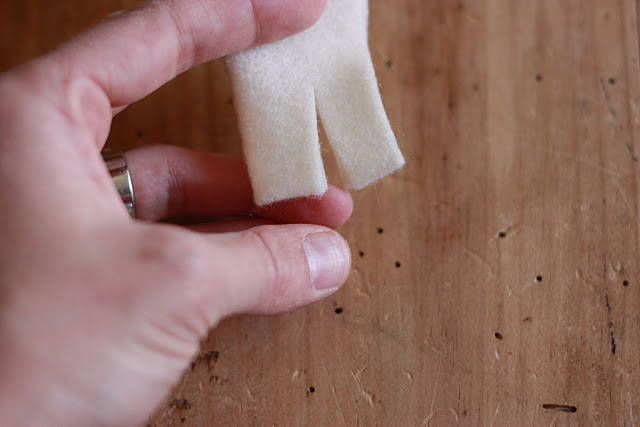
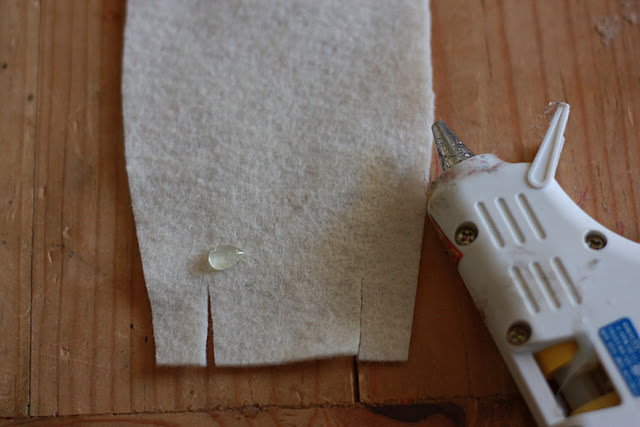
3. Cut about an inch slit through both layers about 1/2 inch from the front (this will make sense in the next photo)
4. Do the same to the other ear. You should have two felt bunny ears looking something like this.
5. Now, get that glue nice and hot, and dab a spot just above one of the slits, then fold again so the fronts now stick together.
6. Do the same on the other ear. They should look like this now. Make sure not to glue those flaps together!!
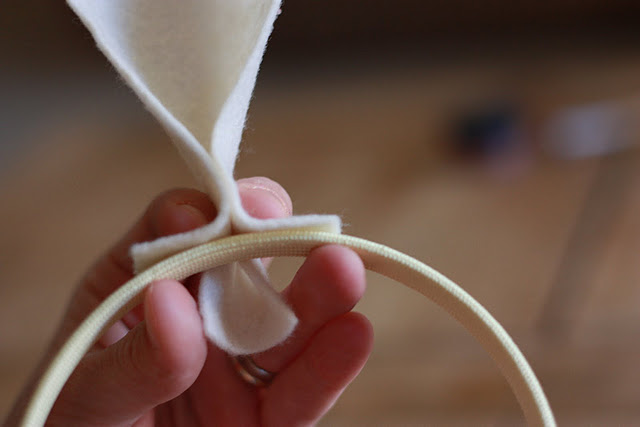
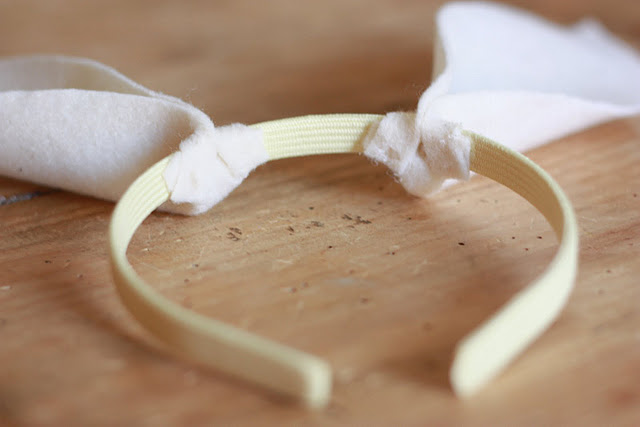
7. Open the front flaps and place the fold of the ear onto the headband. Check to make sure it’s just where you want it, then put a dab of hot glue on the INSIDE of the headband…
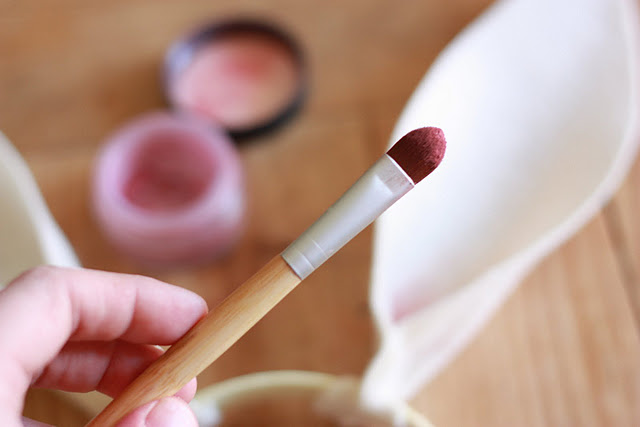
8. Fold that BACK flap up onto the glue dot you put on the INSIDE of the headband. See? Like this. The top flaps aren’t yet glued…that’s the next step:)
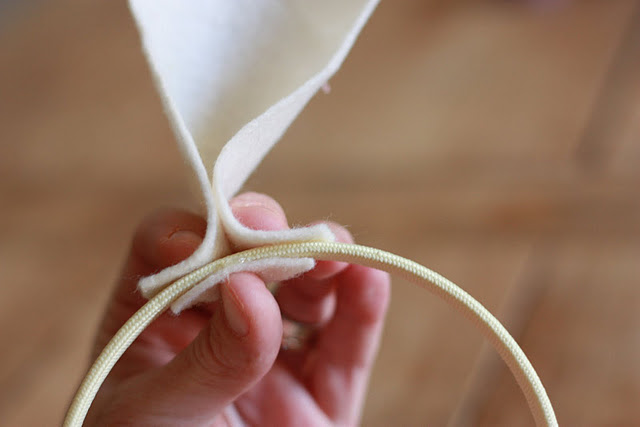
9. Now, these front flaps are what is going to hold the ears onto the headband securely. Place a dab of glue onto the inside of the felt flap and fold each DOWN AROUND the front of the headband, securing on the INSIDE, OVER the back flap.
10. The inside of the headband should look like this.
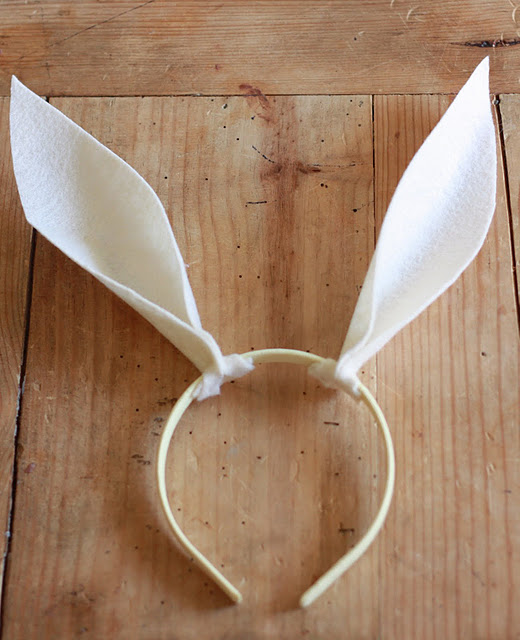
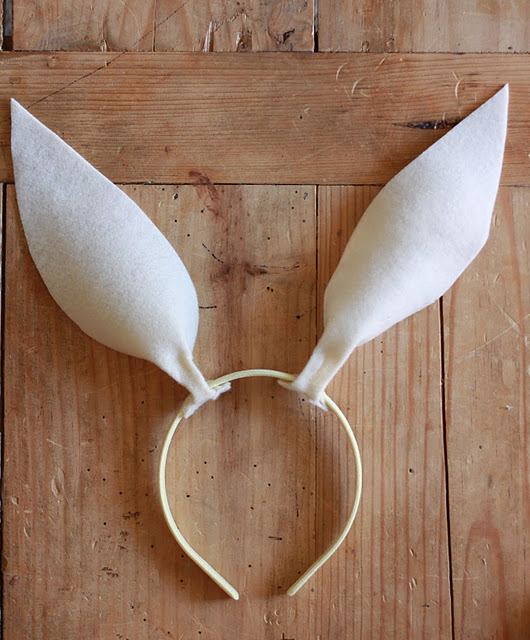
11. And, a view from the top:) Cute how they stick up, right? Now, depending on the flop factor of your felt, you may need to do a little extra securing so that they don’t fall completely over when upright. We’ll do that next.
12. To add some security, simply fill the “ear canal” with hot glue and pinch the felt together, front to back (opposite of the pinch that makes the three-dimensions).
13. When that little glue pot hardens, you’ll have nicely stiffened ear bottoms (the tops are still kinda floppy, which is perfect!)
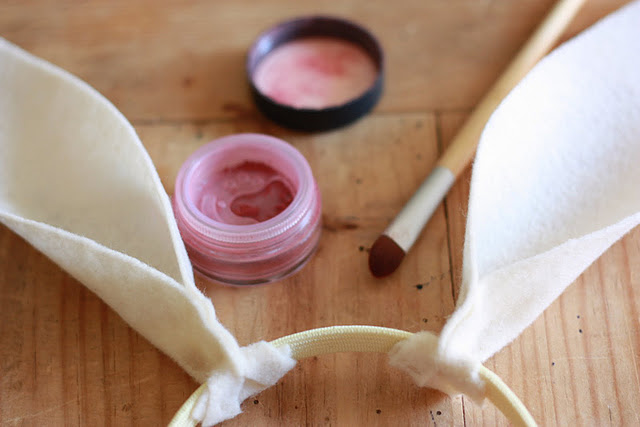
14. Now, we’re going to add some life to those felt bunny ears with your blush.
15. Dab your brush into the blush, and blow gently so that there are no clumps.
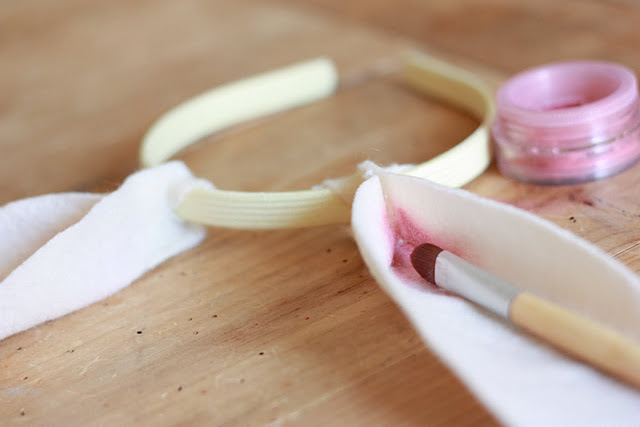
16. Begin brushing gently at the base of the ear, as if you were applying eyeshadow. I like it a little darker here at the bottom.
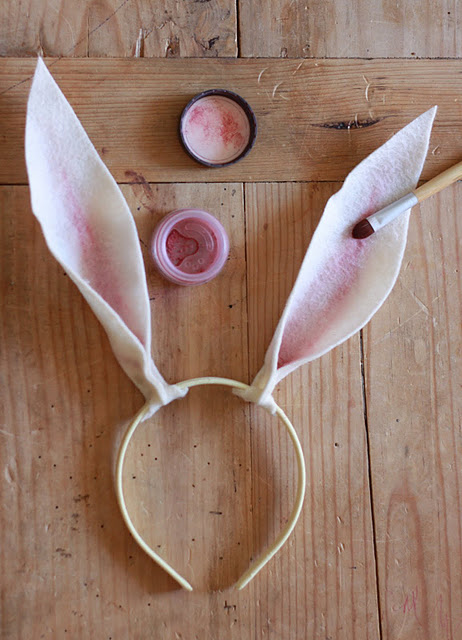
17. Slowly work your way up the ear about 3/4 of the way, staying about 1″ from the edges. Don’t be paranoid, but try to avoid sharp lines and streaks (mine have a couple…). If you do end up with some really dark spots, just use a paper towel to rub around the blush and even it out.
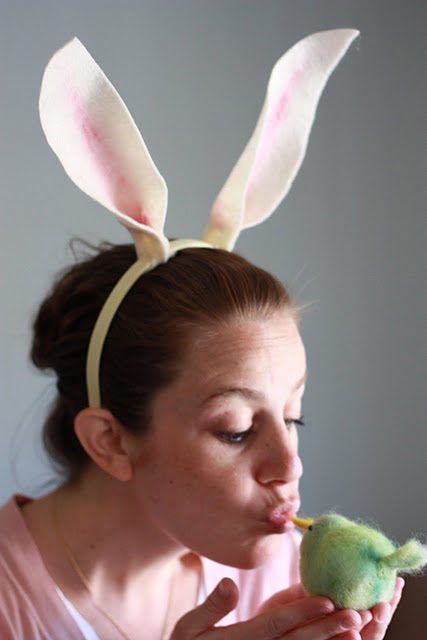
Now don your bunny ears and kiss a spring chick.
Have a fantastic weekend!

