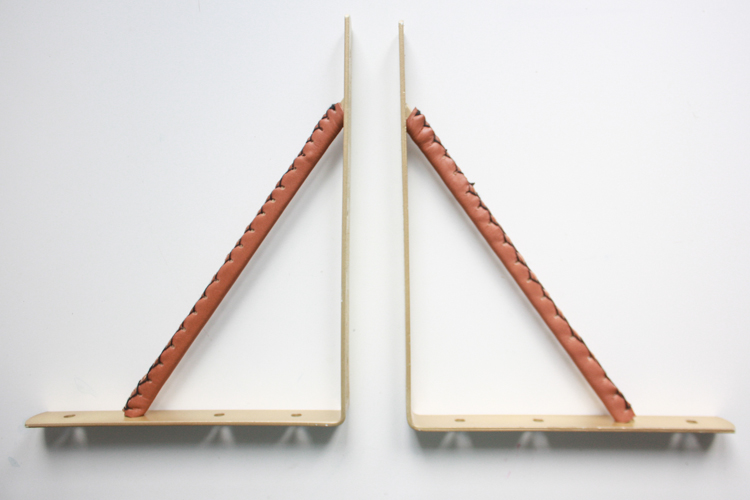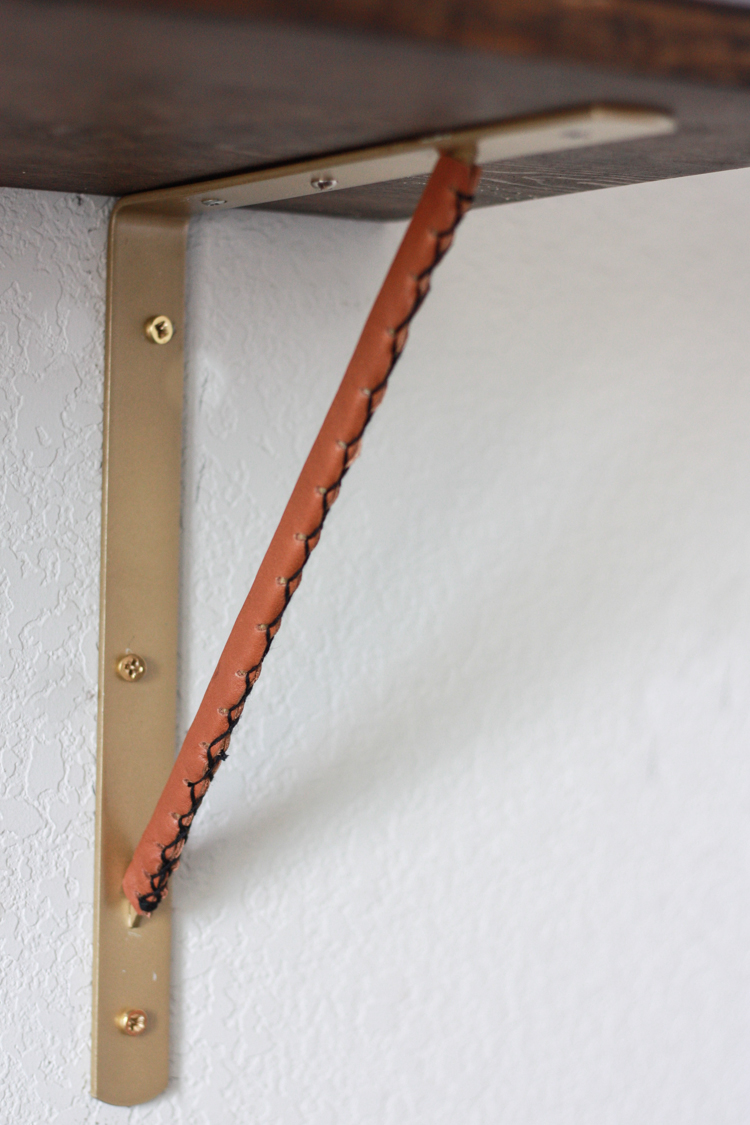
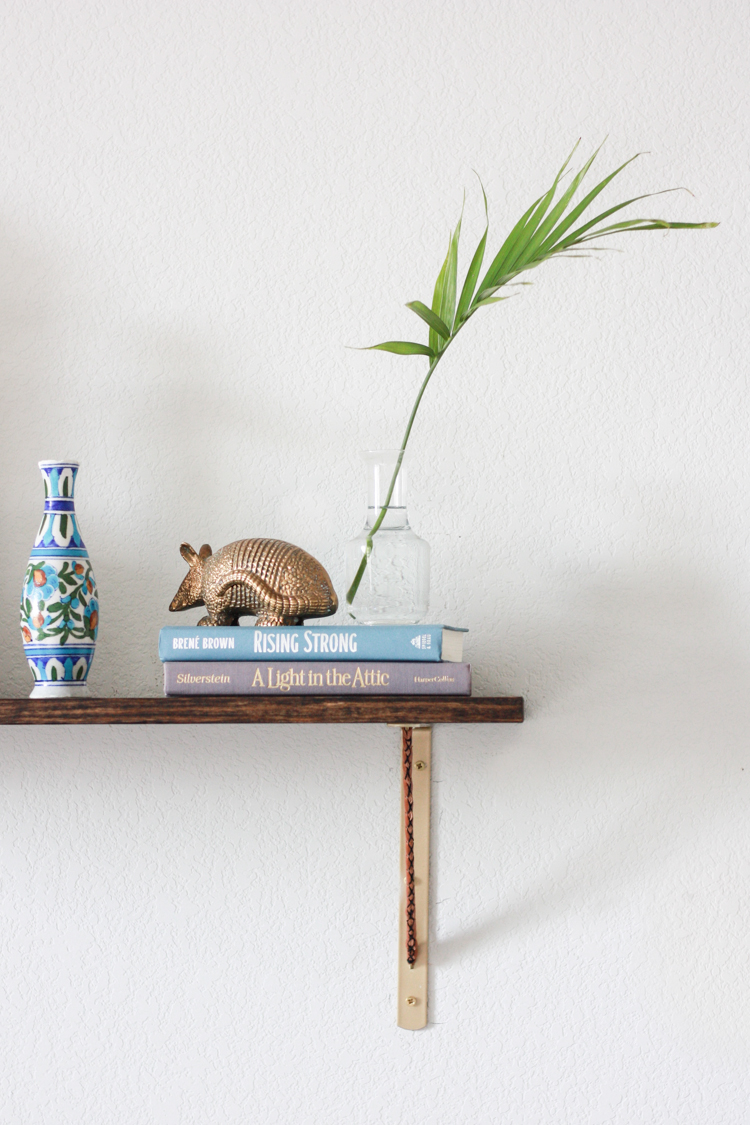
When I was designing my Master Bedroom last month, I settled on hanging a shelf above the couch, rather than some additional art. It was the perfect opportunity to try creating some leather-wrapped shelf brackets like I had seen in a cool rental home in the Fall. The process of making the leather shelf brackets was simple, quick, and they turned out amazing.I love the hearty feel adding hand-sticked leather to these simple metal brackets gave. They feel elevated with a touch of southwestern appeal, but are simple enough to maintain a nice, modern industrial design. Here’s the how-to!
You’ll need:
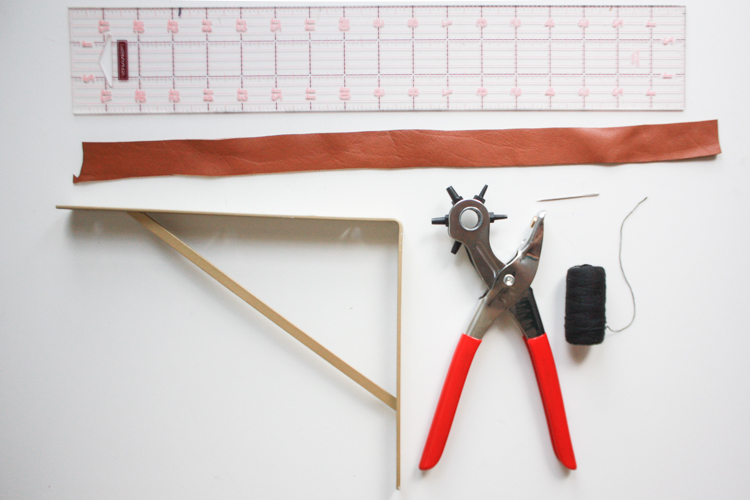
simple metal shelf brackets (this one is from Home Depot)
gold spray paint
a wooden shelf plank
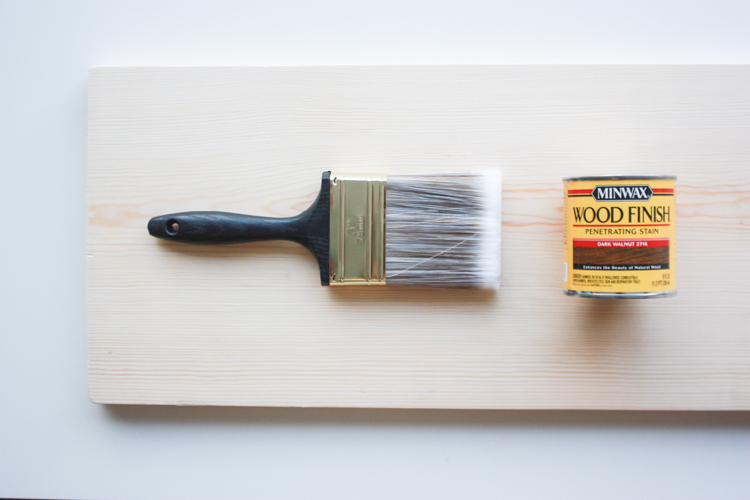
wood stain
paintbrush
leather strips 1″ x 12″ long
a leather hole punch
waxed polyester thread
a large needle
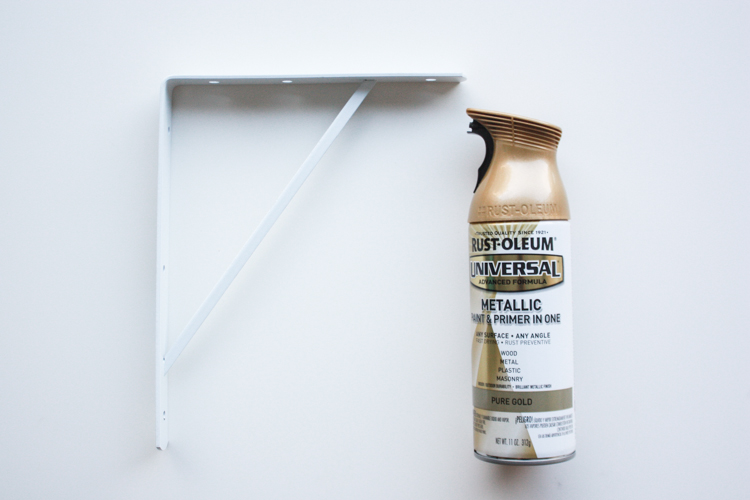
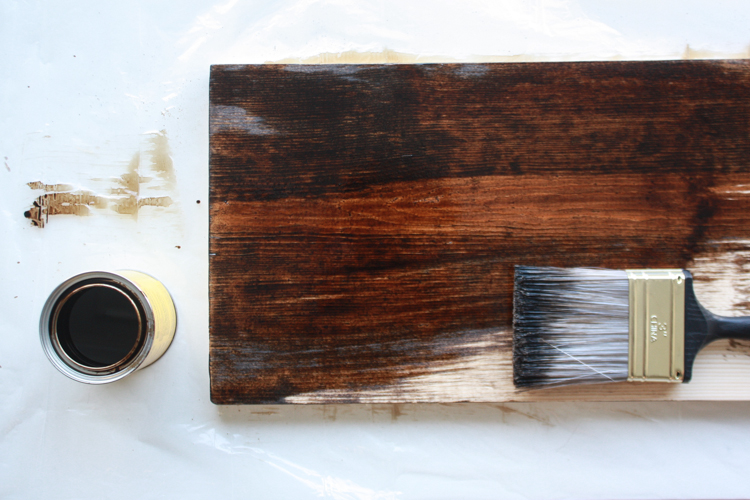
1. Spray each shelf bracket gold, using two or three light layers to get an even finish2. Brush your wood stain on evenly over the shelf3. The stain may also need two or three coats to get a nice, even color. Flip and stain underside as well as it will be visible.
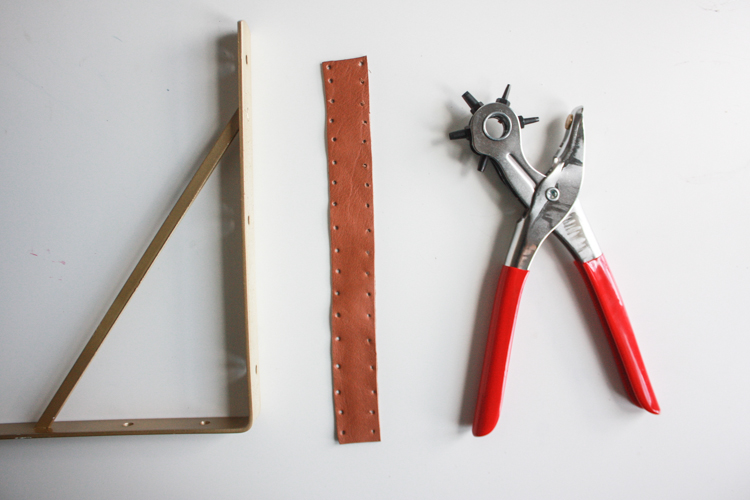
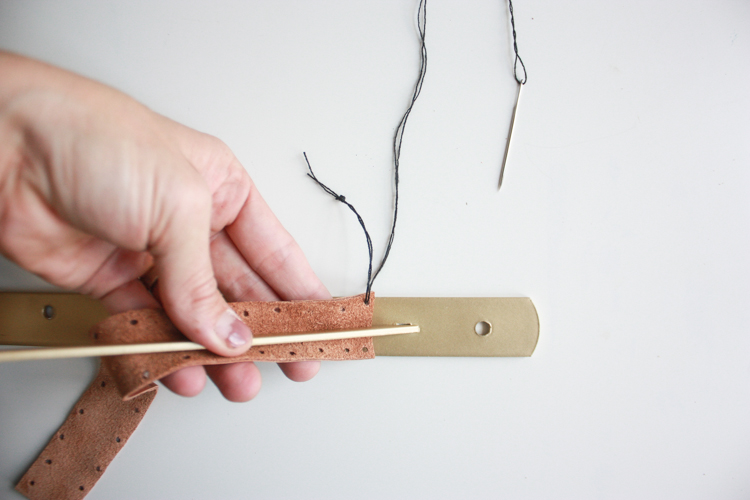
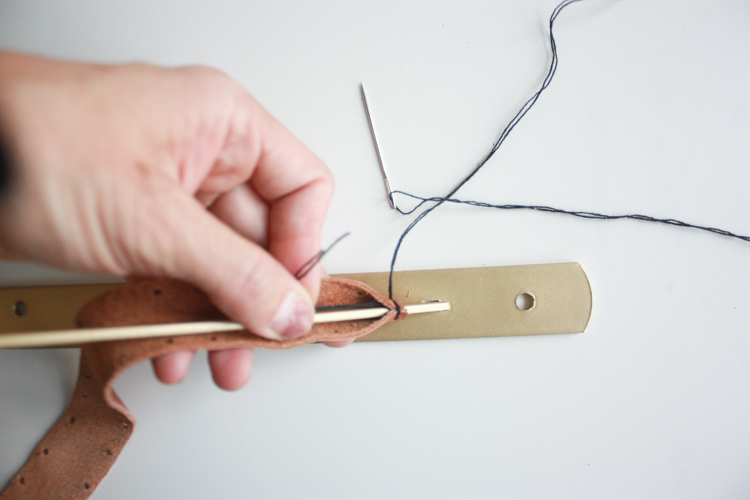
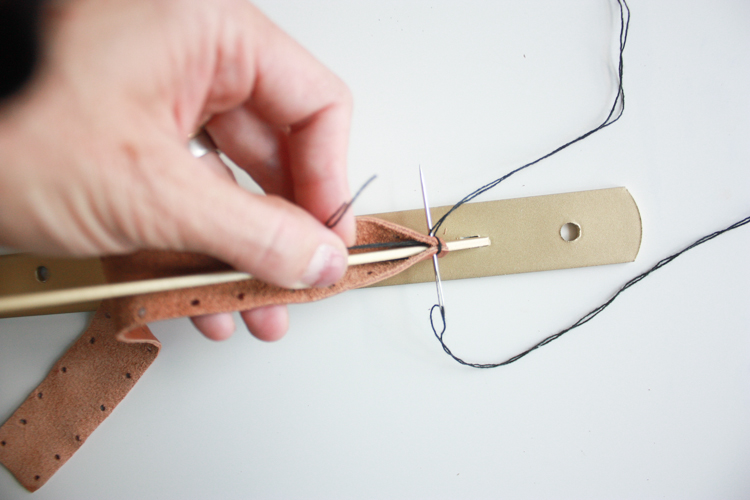
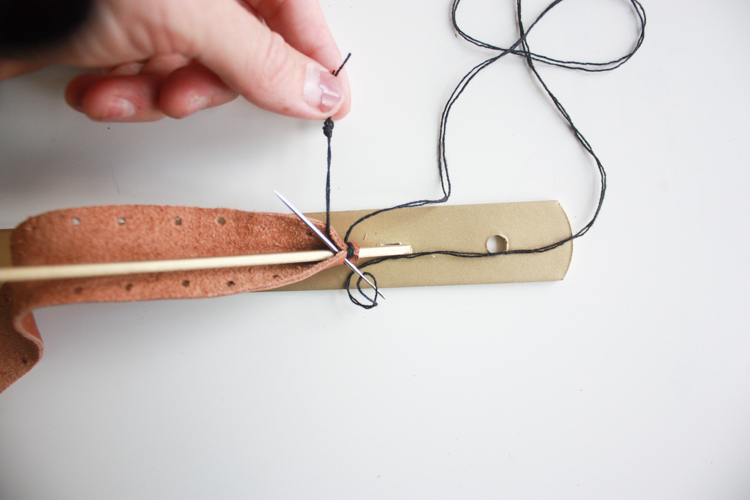
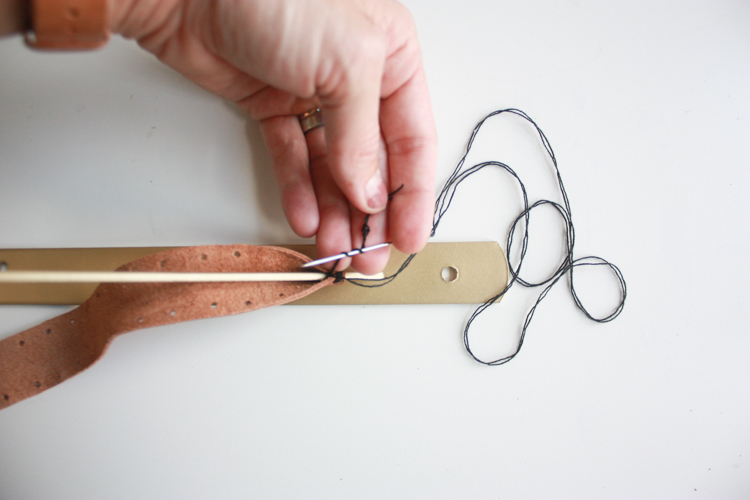
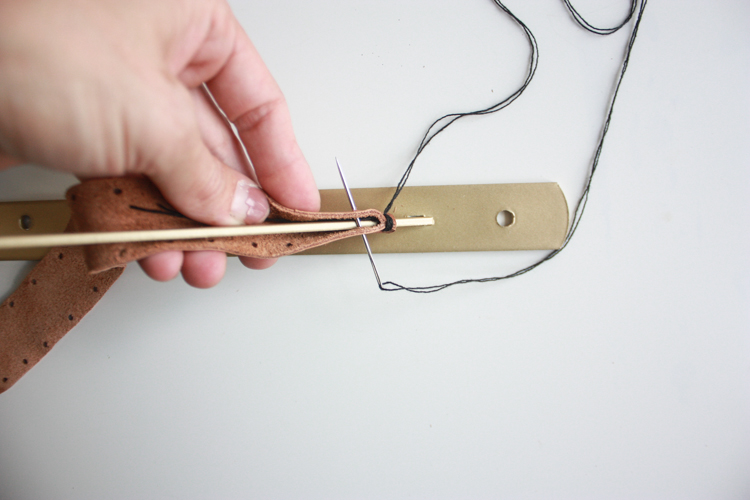
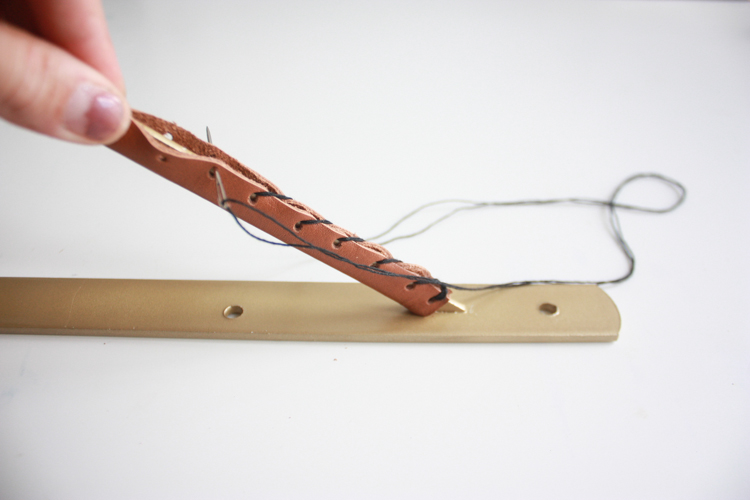
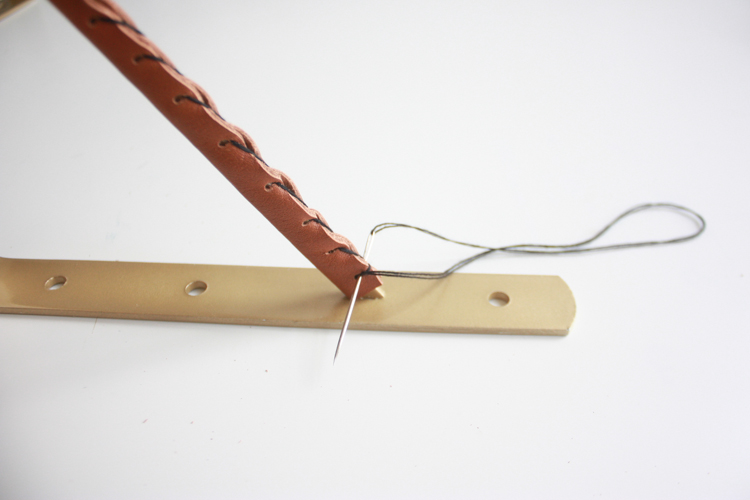
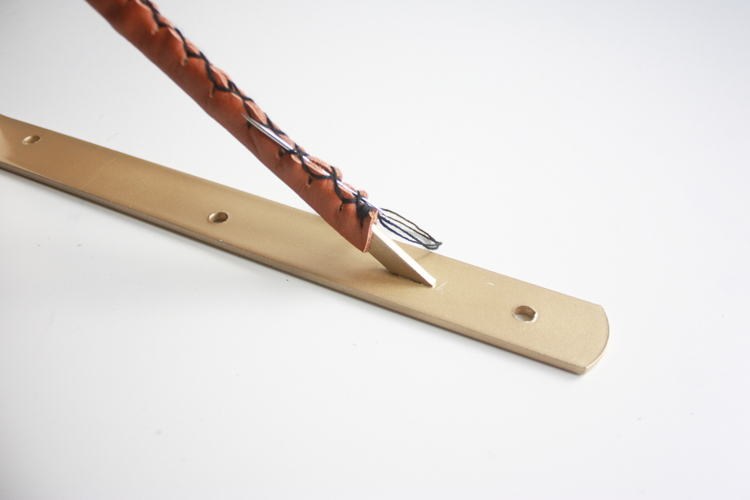
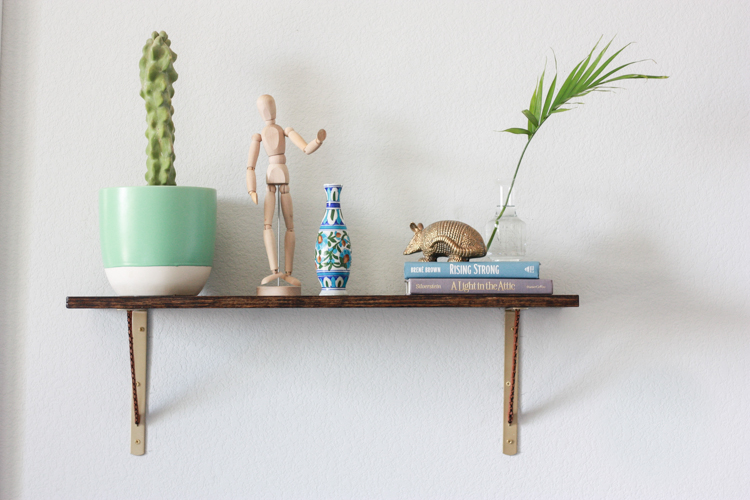
4. Gather leather supplies and cut the leather strip to size.5. Punch small holes along both sides of the leather for stitching.6. Thread the needle with a long length of thread and tie a double knot on both ends. Starting on the inside of the leather, pull the needle through, leaving about a 2″ tail with the knot inside.7. Looping around, stitch the needle back from the outside, across through both bottom holes, closing the end, with the loose, knotted tail tucked up inside.8. Repeat the same stitch again, giving the end some nice security.9. Stitch through one layer of leather.10. Wrap the tail a couple times around the needle and pull tight, forming an interior knot. 11. Finish the stitch to the outside, then begin stitching from one side to the other up the length of the leather.12. The stitches will form a diagonal line from one hole to the other up the first time.13. When you get to the top, wrap the thread through the end holes two times, and then begin stitching down the leather again, crossing the threads you stitched before.14. Once you’re at the beginning again, stitch through to the center again and then pull the needle up through several stitches before cutting to leave a long tail inside.Don’t these leather shelf brackets look amazing? Such a simple transformation makes a nice impact with the design details within the room. With the popularity of floating shelves, these are a beautiful, inexpensive alternative to some of the specialty shelf brackets available.Plus, knowing you did it yourself always adds a boost of appreciation and beauty to the designs. I think these leather shelf brackets are gorgeous, and I’ll definitely use this technique again as I continue designing and decorating spaces in our house!Once added to the wall and topped with the stained shelf, they look even more awesome. I love some simple shelf styling, and the way having a shelf vs. art on the wall will enable me to switch things up from time to time as well!
All in all this is one of my favorite spaces in the house, and simple details like these DIY leather shelf brackets are what make it so cozy and intentional. Hope you enjoy!