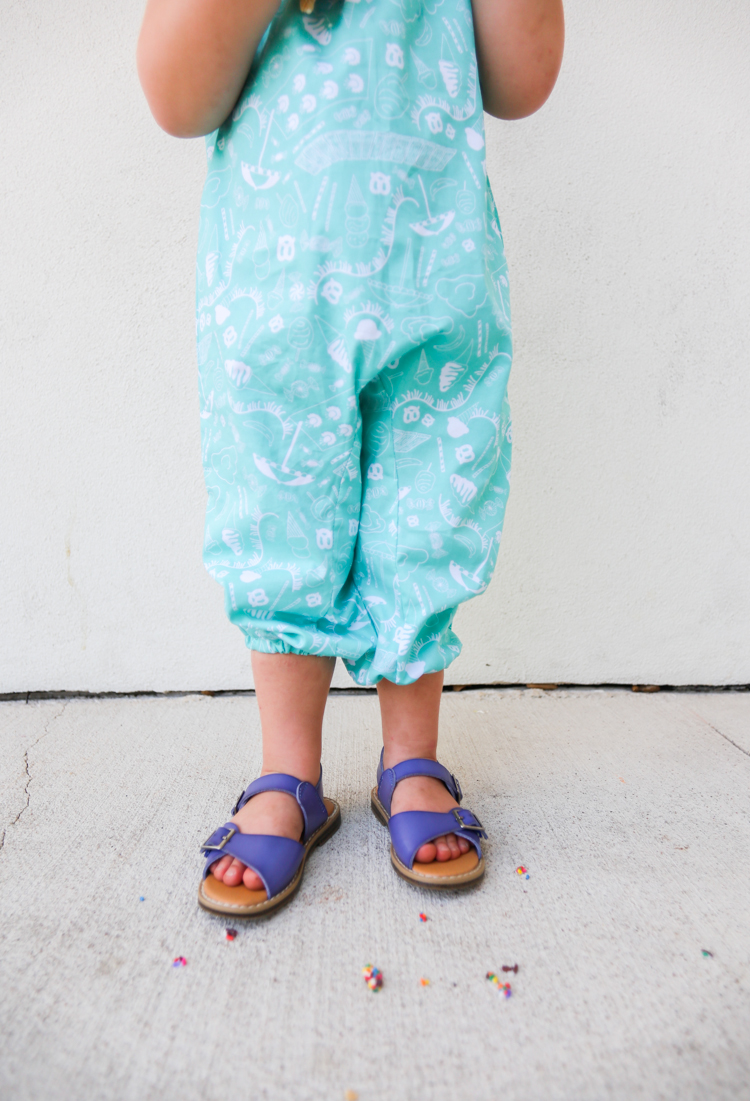
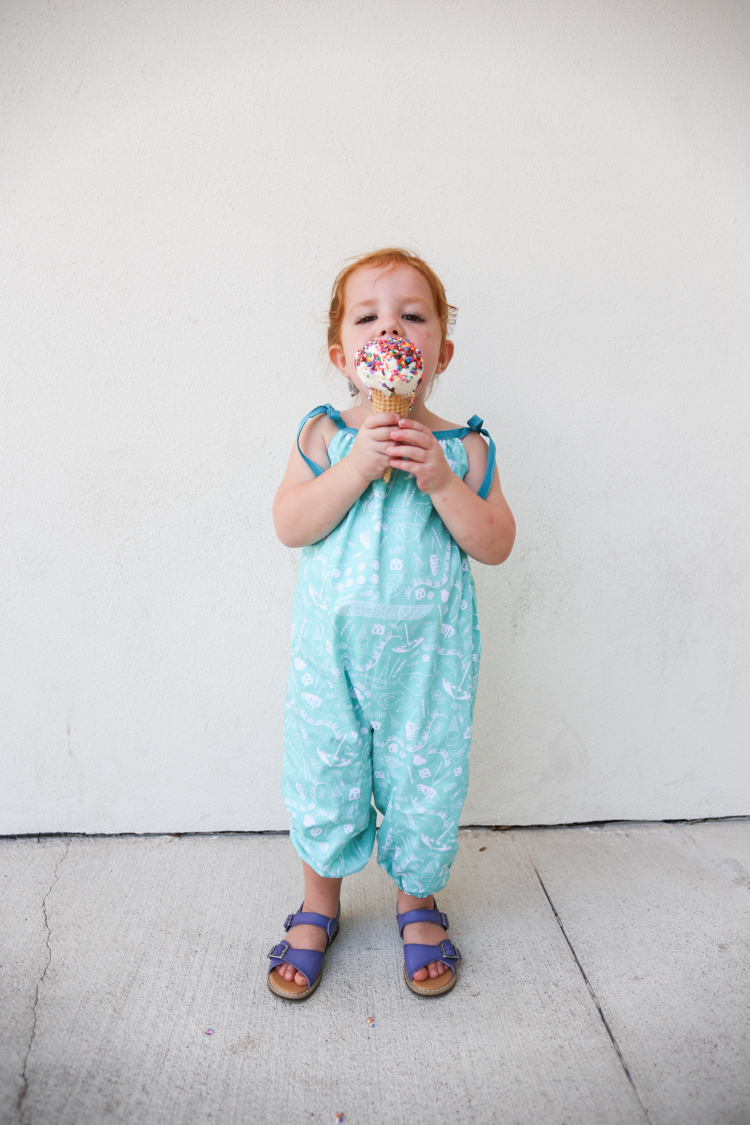
The summer is winding down piece by piece, but in my world it’s romper season anytime! I was excited to get my hands on some of this darling blue Busy Beach print designed by my good friend Dana, and whip it into what I’m calling the Four Seasons Romper for little miss Plum. (And I’ve got the full romper DIY for you!)
Because this romper is pants, it will be perfect for fall and winter paired with a cute cardigan and tights. But right now it’s perfect for the breezy late-summer days, with an ice cream cone and sprinkles, of course.
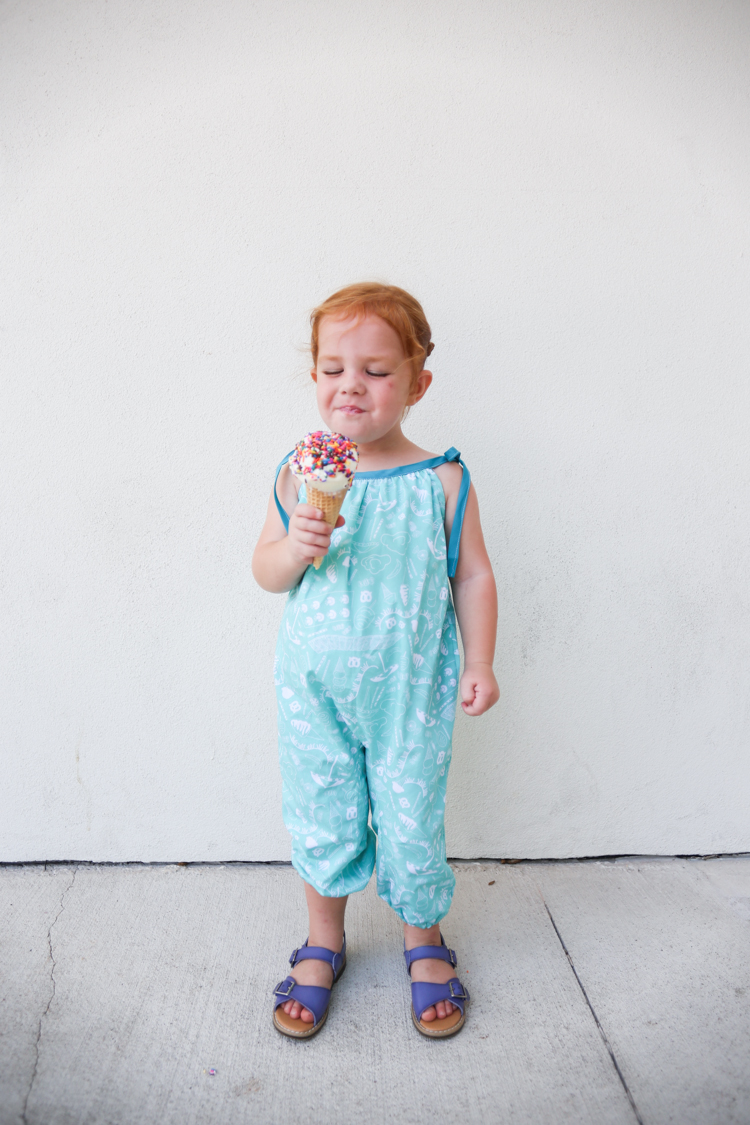
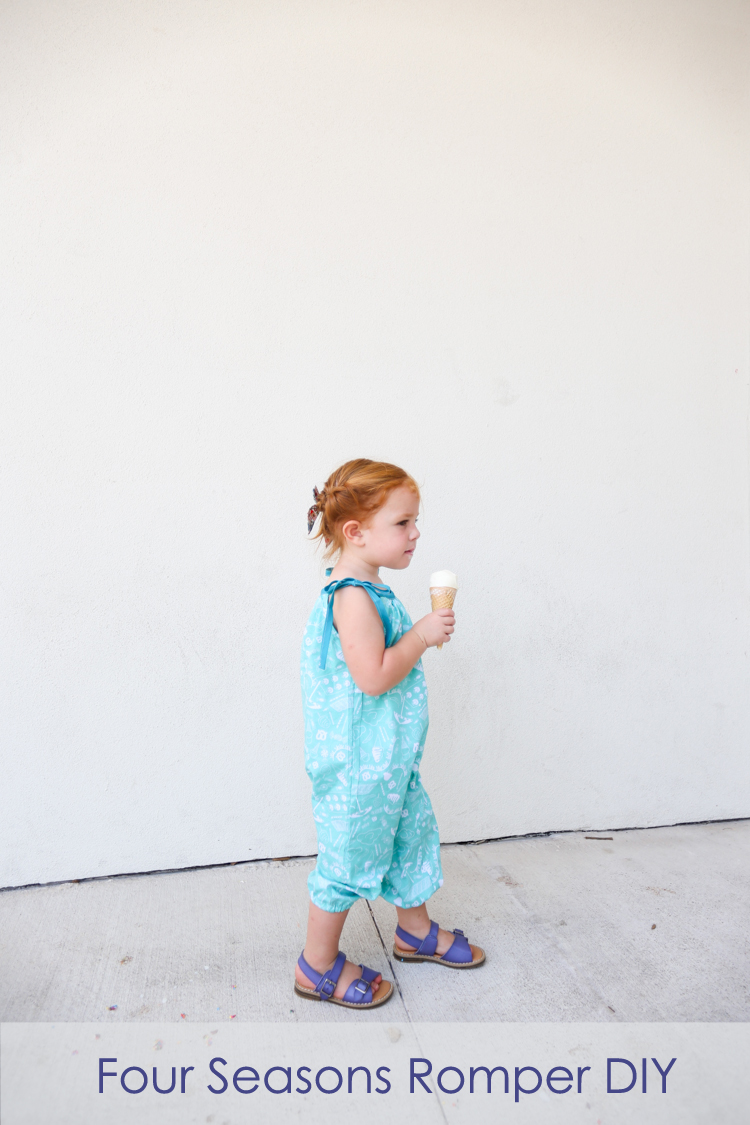
Using bias binding on the top and as the straps was a fun way to add contrast, and keep it simple. And finally by adding thin elastic into the ankle hems, I got a darling gathered leg to keep those pants out of the way of her running, jumping, climbing, and sliding. 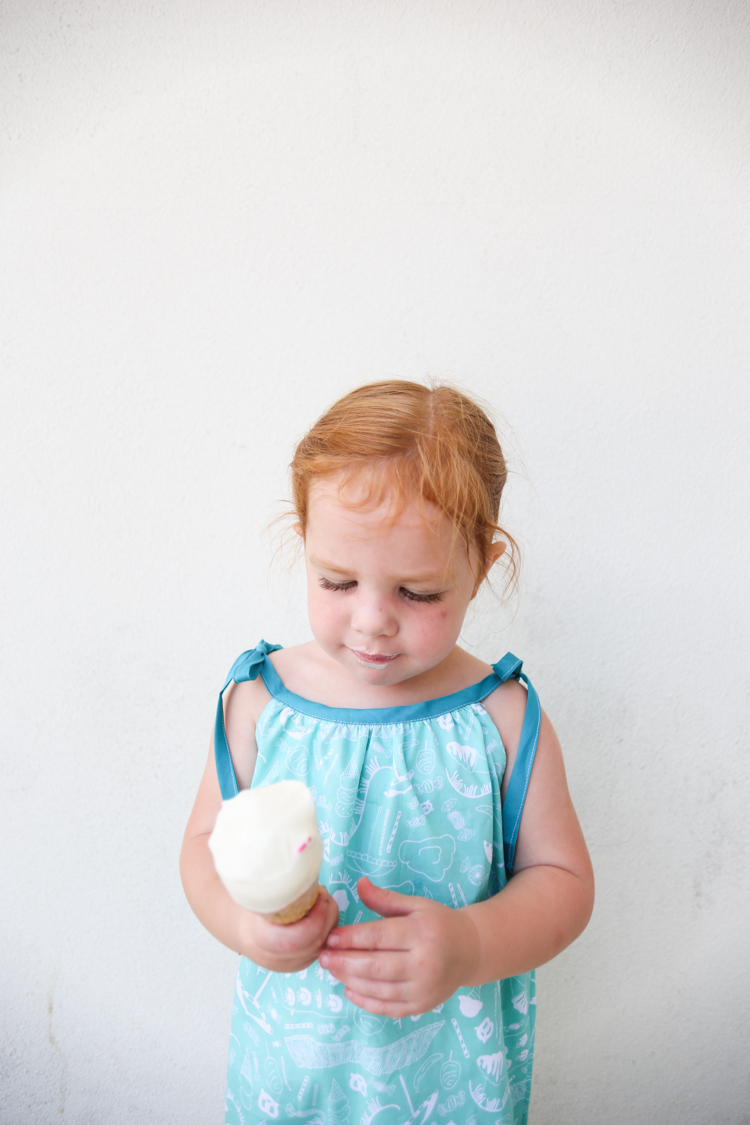

One change I’ve made to the instructions that I think will be an improvement is to bind the top of the bodice, then bind the underarm to make the straps so they are already pointed in the right direction! I did it opposite, and on the next one will make that change.
Okay, ready to make a Four Seasons Romper? Here’s what you need:
1-1.5 yards of lightweight fabric, pre-washed and dried
1 package of double fold bias binding, or 3 yards homemade
hip/belly circumference measurement (around the larges part)
shoulder to ankle measurment
inseam measurement
ankle circumference
a dash of adventure and confidence to cut and sew without a perfect pattern 😉
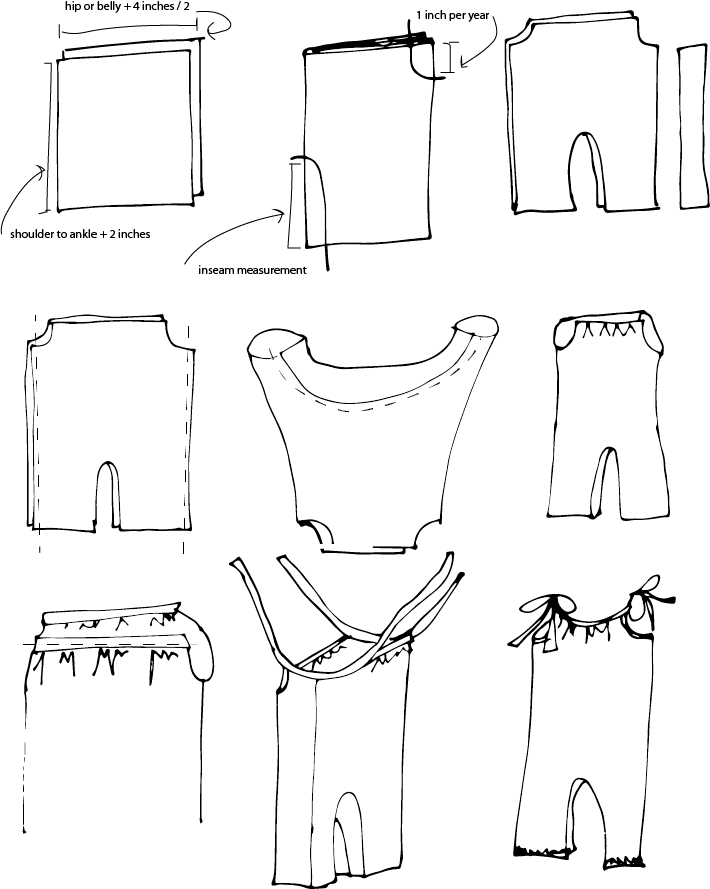
- Add 2 inches to the shoulder to ankle measurement and use this for the fabric length. Divide the belly circumference in half, then add 4 inches and use this for the width. Using those two measurements, cut two rectangles from your fabric. (Example: 25″ shoulder to ankle + 2″ = 27″ length. 22″ circumference / 2 = 11″ + 4″ = 15″ width measurement. Cut the fabric 22″ x 15″)
- Stack both pieces of fabric together and fold them in half. Measure the inseam ON THE FOLD and make a mark, then measure 1″ from the edge and make a mark. Cut a gentle curve from the top inseam measurement down to the 1″ mark to open up the legs. In the top corner NOT on the fold, and measure 1″ over, then 1″ down for each year of age. Plum is almost 3, so I went with 3 inches. Cut a curve. This opens up the arm hole. These two curves don’t have to be exact, because the pants are slouchy, and the shoulder straps have length for adjustment, so don’t worry too much!
- Cut a rectangle for the inseam age +1″ wide and as long as the inseam measurement + 2″. (Example: Plum is almost 3 + 1″ =4″ wide. Inseam 12″ + 2″ = 14″ long. I cut hers 4″ x 14″)
- With pieces right sides together, stitch along the side seams using a 1/2″ seam allowance.
- Straighten along the inseam curve to stitch the rectangle in place on both edges, with right sides together.
- Use a basting stitch to gather the top of each bodice to 1/2 the circumference -2″ (Example: 22″ circumference /2 = 11″ – 2″ = 9″ across)
- Cut a piece of bias binding to fit across each gathered edge and stitch in place. Trim any extra bias binding from the neckline.
- Cut the remaining bias binding in half and pin the center of each piece to the underarm side seam, then continue pinning in up the curves. Stitch in place, stitching along the whole length of the bias binding as well to finish off the straps. Tie a big bow on each side and then cut and finish off the excess binding.
- Fold the pant legs under 1/4″ then 1/2″ and stitch, leaving an opening to thread through a 1/2″ elastic the ankle circumference + 1″. Add the elastic, stitching it closed into a loop, then finish stitching the casing.
- Iron, try on, then go get an ice cream cone to celebrate!

