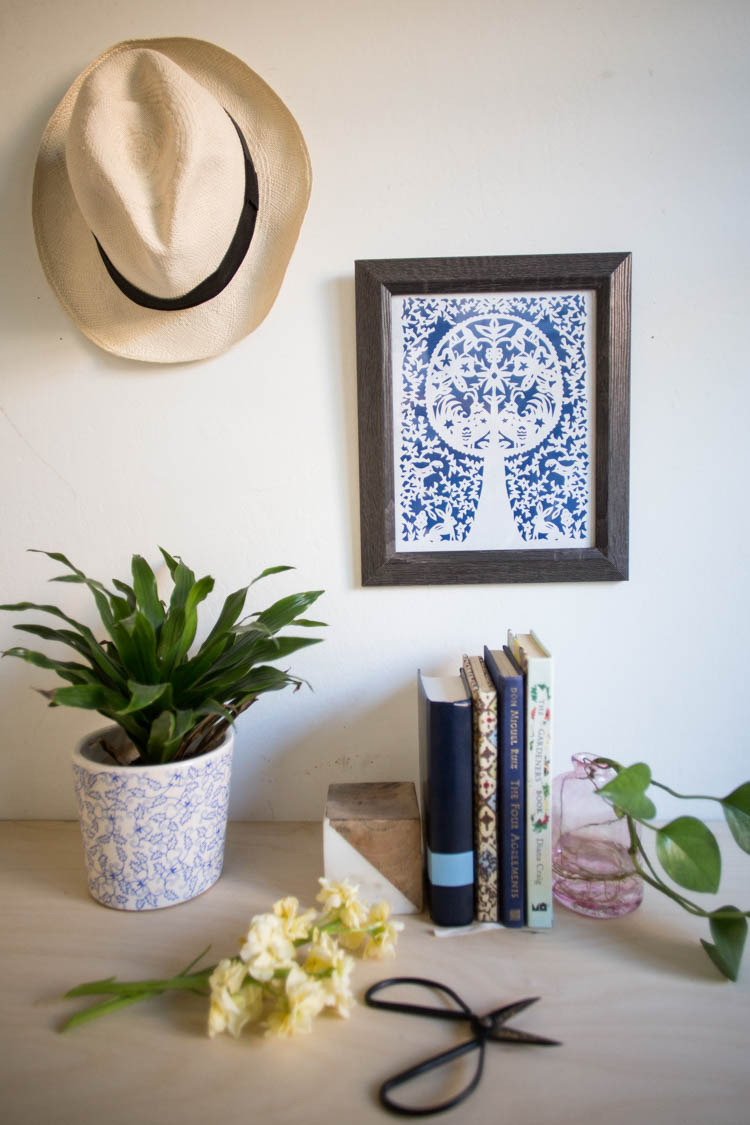
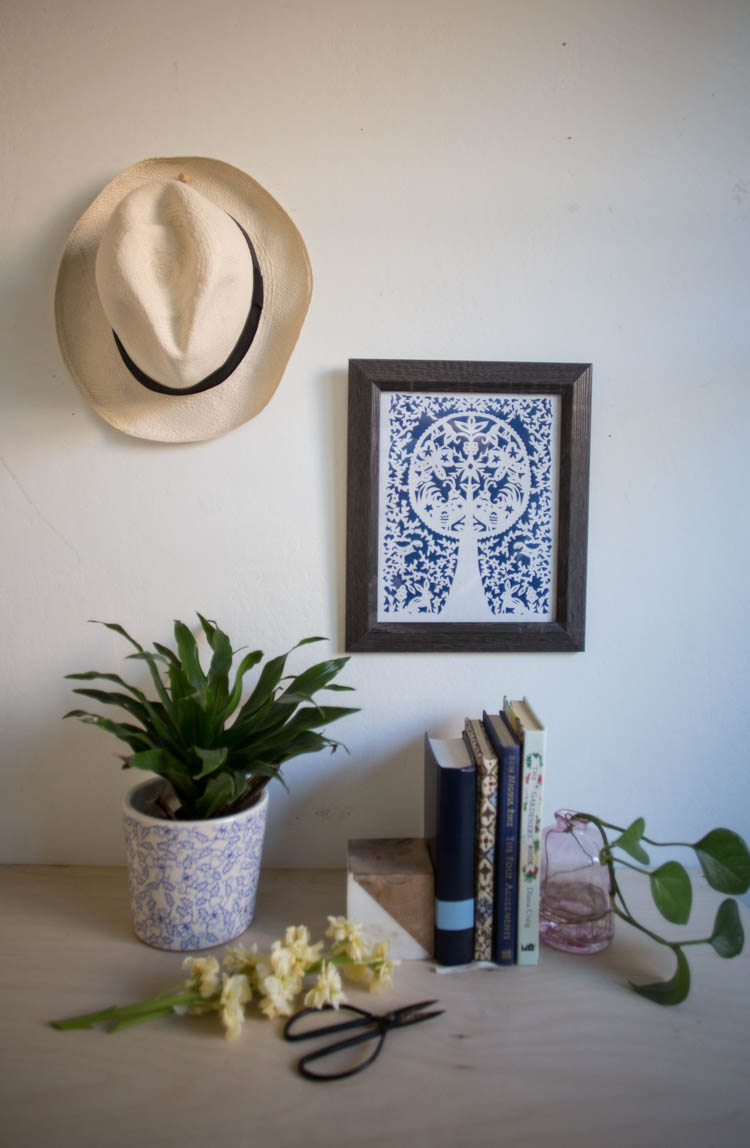
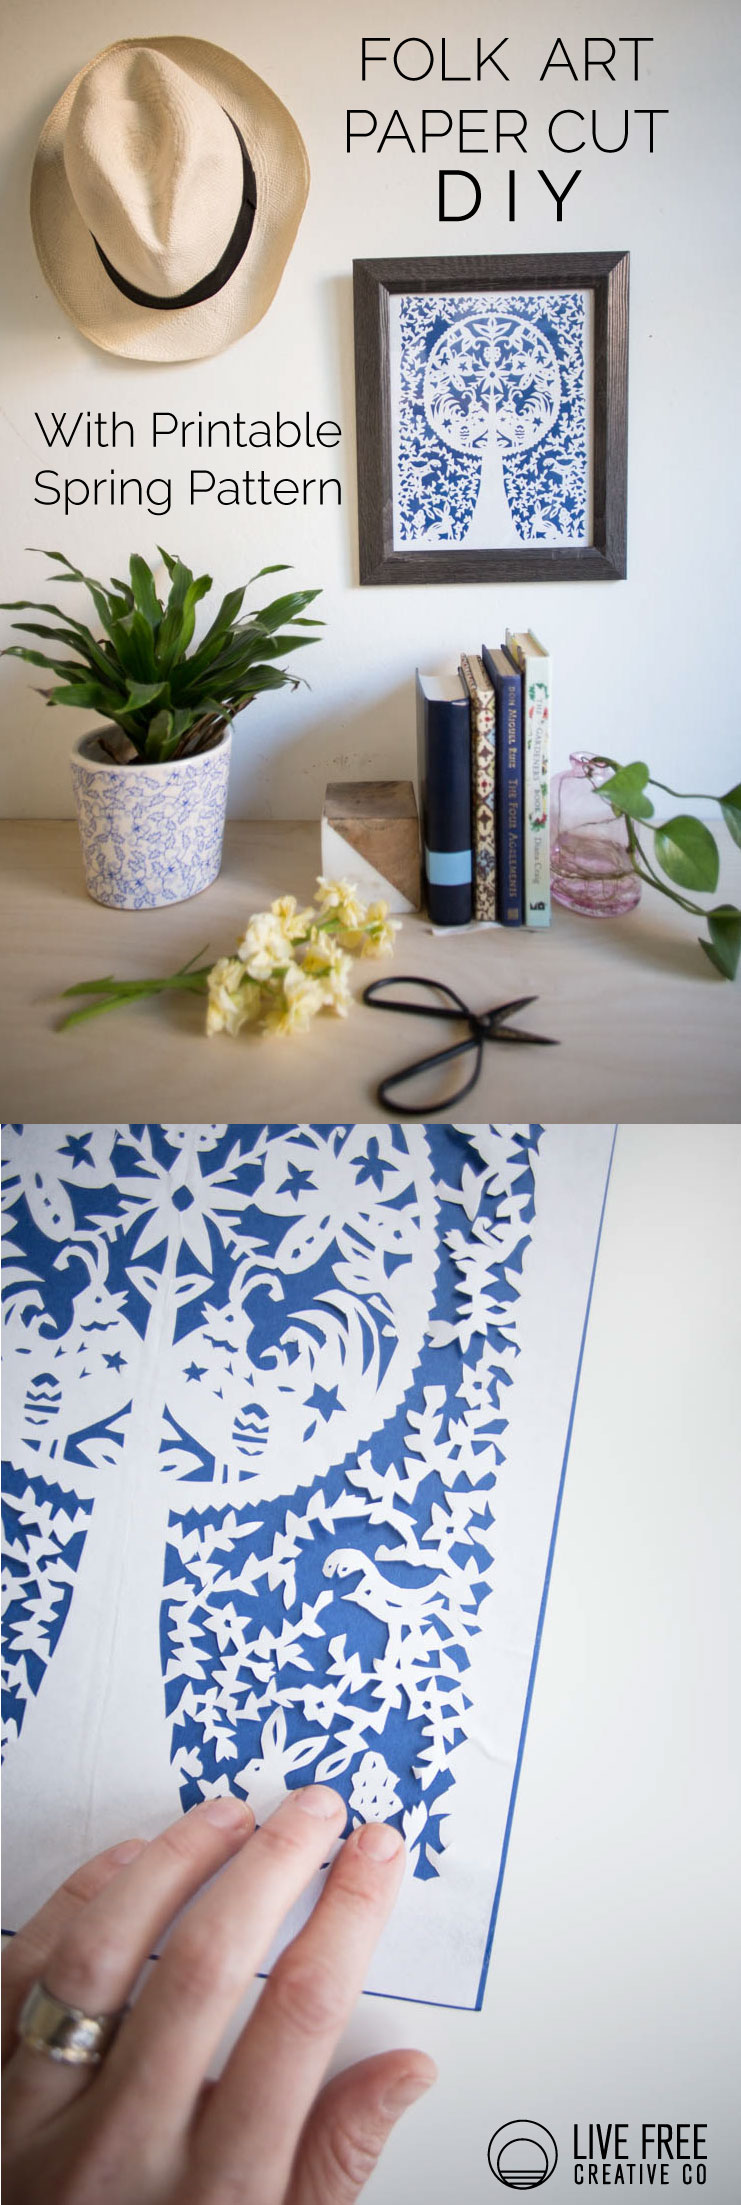
I’ve been loving this month’s DIY Friday medium of paper. It is such a commonplace material that can be used for some really gorgeous art, like this Folk Art Paper Cut we’re making today. A simple piece of printer paper transforms into an intricate design with only a craft knife.
Paper cuts are pretty magical, and also a bit time consuming. I felt like the process was therapeutic and totally worthy of a couple hours of focus. I smile each time I pass this new framed art in the hallway. There is something really special about making things you love. 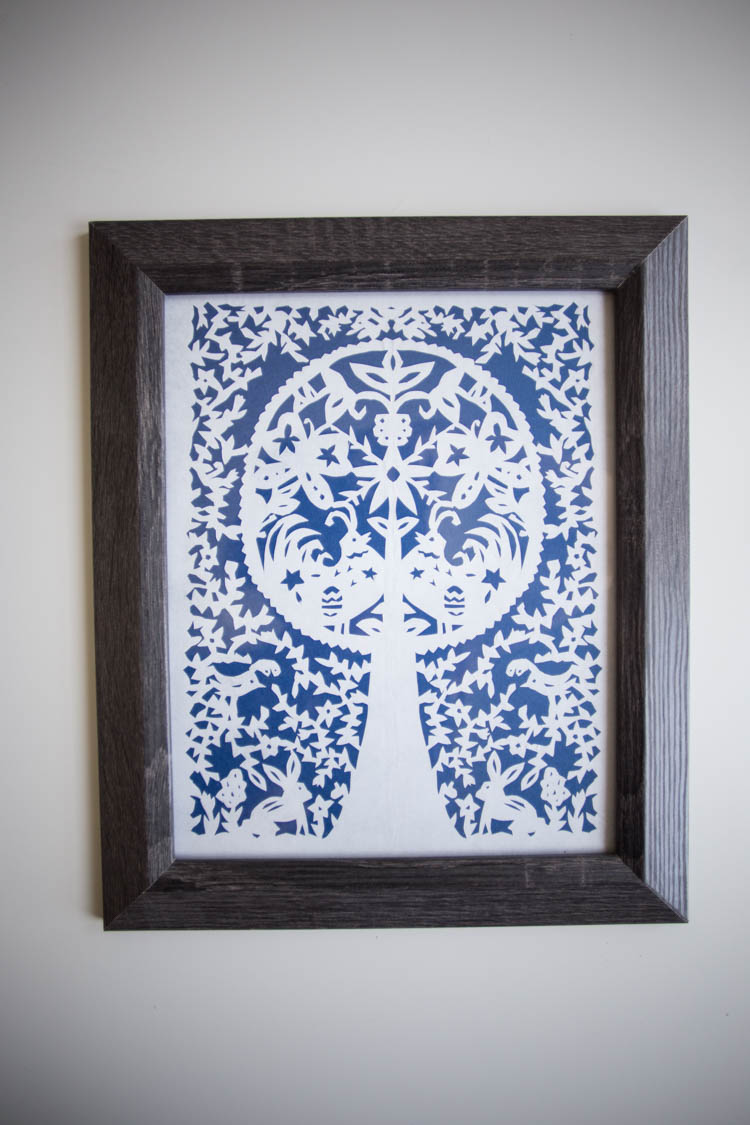
I didn’t realize then that paper cutting has been around for thousands of years and permeates most global cultures. There are Chinese paper cut lanterns, Mexican Picada flags, Jewish marriage displays are often surrounded by intricate paper cut prayers. This art has been long-lived and widely used.
In preparation for creating an original design myself, I spent a little time looking at the myriad designs online. I was most inspired by the classic folk art paper cuts featuring florals, trees, and animals.
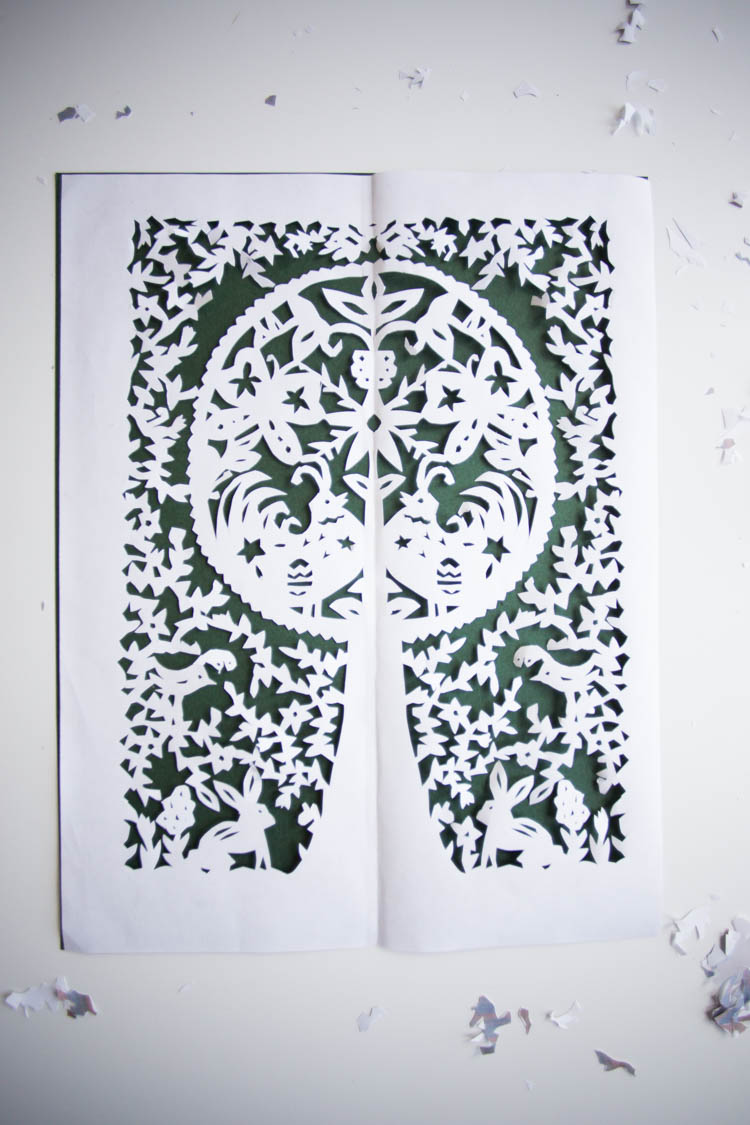
With spring right around the corner, I wanted the design to feel springy. I made sure to add tulips and flowers tucked among the vines on the edges, put a bird on the edge, a bunny on the ground, a mama chicken (with an egg in her belly) perched in the tree, and a butterfly for good measure.
Once I drew and filled in my design, I scanned it into the computer and used Adobe Illustrator to vectorize the image into a black and white file. I had to make some small adjustments and clean it up a little bit. Then, I moved it into Photoshop to invert the design so that I could create a printable file for you where the grey areas are what is cut away. You can find that free printable pattern HERE.
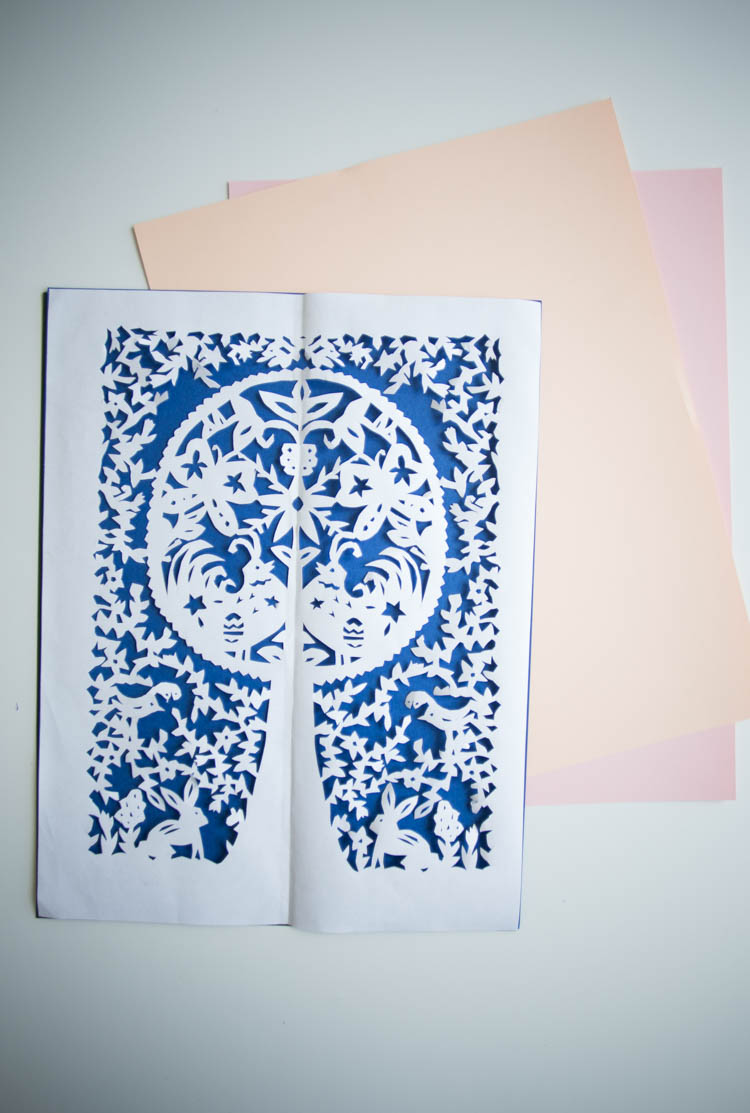
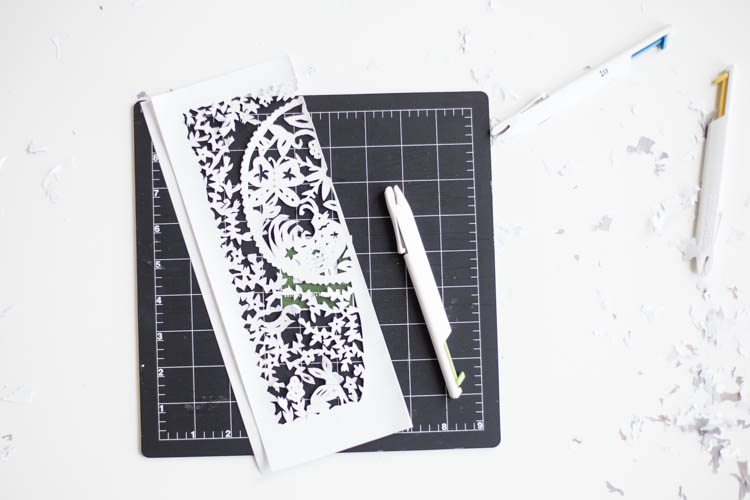
My neighbor loaned me a new craft knife tool called the Penblade, and it was really amazing to work with. The blade retracts into the handle, like a pen (hence the name) and it comes in a variety of sizes.
I started with the smallest size (15) for the smallest cuts, and continued to use it for the whole piece. It slices super easily, and I wasn’t worried about the blade coming lose or wiggling around. I’m a new fan, and just might have to borrow these things long-term. 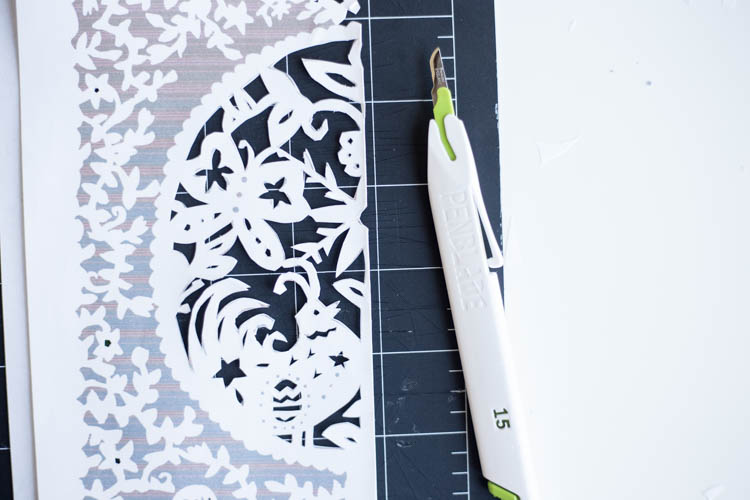
Are you ready to get started? Like I mentioned in the beginning, this is not the quickest and easiest project I’ve ever shared, but it is really fun and turns out really beautifully.
Here’s what you’ll need for your Spring Folk Art Paper Cut:
This Folk Art Paper Cut Design printed on a piece of standard printer paper
A cutting surface
A craft knife (the Penblades are awesome!)
Some spray adhesive
Your choice of colored card stock for backing the design
An 8×10 frame
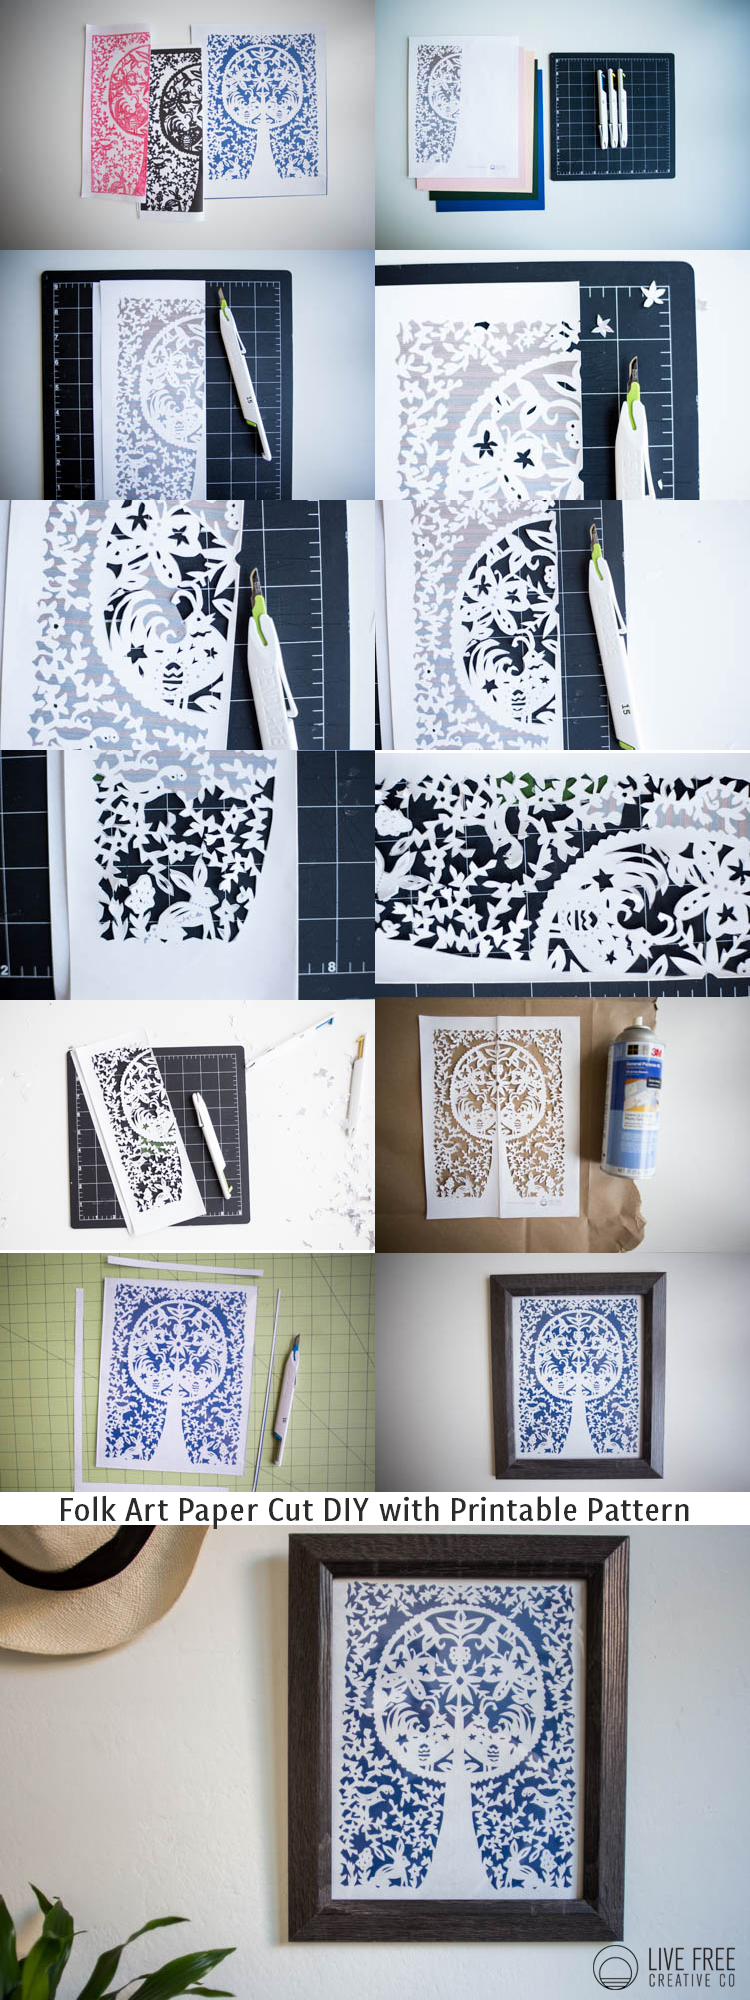
- Gather your supplies.
- Print the folk art paper cut design onto a piece of standard printer paper and fold in half along the center line of the design. Depending on your printer settings, the center of the design might not be the exact center of the paper. So, fold along the design center, not the paper center.
- Place your paper onto your cutting surface with the design showing. With your craft knife, begin carefully cutting the smallest pieces of the design away first.
- When cutting the small circles, make five to six short cuts around the outside of the circle, rather than trying to do one round cut. Cutting short straight lines works much easier, and you won’t notice the tiny extra slices in the paper when you’re finished.
- Adjust the paper so you are always cutting comfortably. Most of the time, when cutting, you are instructed to cut away from yourself. I find that with this art, cutting short lines toward myself felt most in control.
- Remember that the grey area will all be cut away eventually, so don’t be shy about making cuts right across it as you work. There are a lot of places where it will be easier to cut small chunks of grey away at a time, rather than trying to pull those pieces out intact.
- Try to always cut away from the white. For example, when cutting leaves on the vine, position the blade to begin at the vine, and cut towards the grey. That way, if you accidentally over cut a bit, you’re into a safe area.
- Finish cutting all of the smallest areas first. If a piece seems too small for you to safely cut away, feel free to modify or leave it there. (I didn’t cut the tulip within the rabbit, or the tiniest dots in the chicken.)
- Once the smaller pieces are cut out, you can start working on the larger areas. Remember to cut them into smaller pieces as you go, rather than trying to cut out whole pieces.
- On the corners, make a small over cut each direction, so the corners come out cleanly.
- When you finish all of the cutting, take a break and give yourself a pat on the back!
- Next, carefully unfold and flatten the paper. Smooth the center fold line as well as you can, bending it slightly the other direction to flatten it out.
- Try several different pieces of colored card stock beneath the paper cut to see which color you prefer.
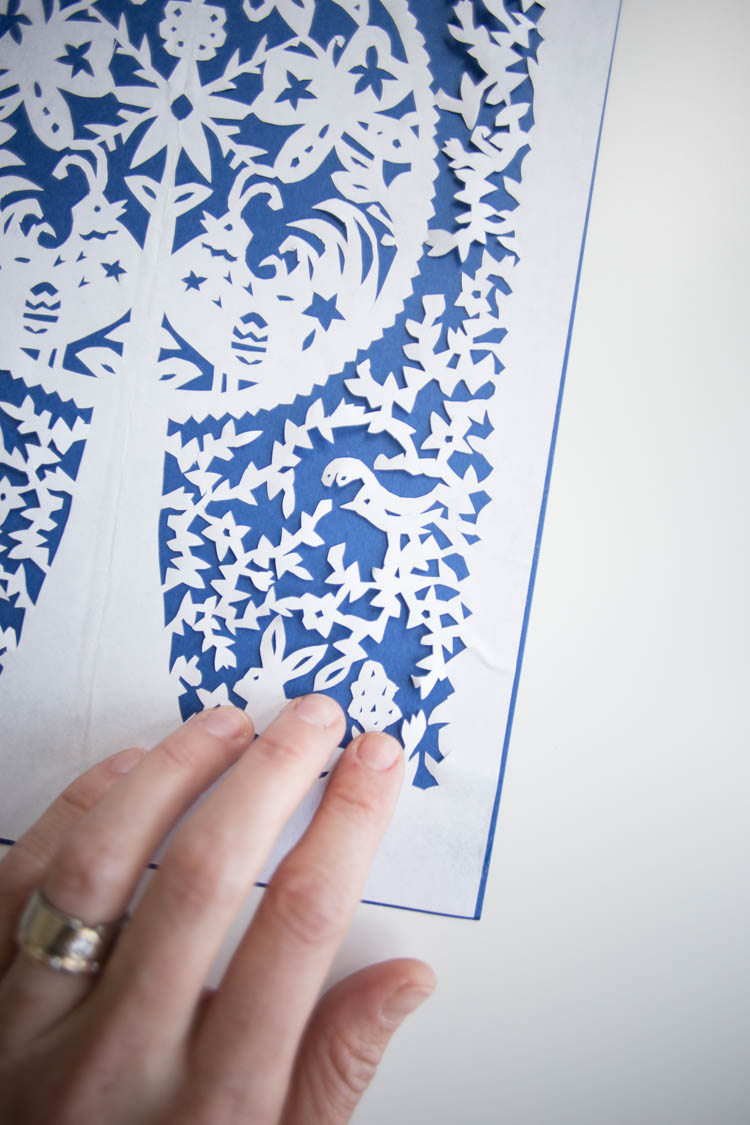
- Lay out a piece of scrap paper, newsprint, or another barrier and spray adhesive onto the side of the design that you cut (with the logo).
- Carefully place the adhesive side down onto your chosen card stock. Use your fingers, and maybe a pair of tweezers if needed, to straighten all of the tiny ends so they lay flat and smooth.
- Using the glass from your 8×10 frame as a guide, trim the edges from the finished art.
- Frame, display, and enjoy!
The other paper projects done this month so far are:
These gorgeous huge paper flowers
This cool paper mache armadillo piñata
Check back next Friday for our last paper project this month!

