This series is sponsored by Baby Lock. For over 40 years, Baby Lock has been dedicated to the love of sewing by creating machines for sewing, embroidery, quilting and serging – all with ease-of-use, high quality and a touch of elegance.
I have a little love affair with dresses. There is something really awesome about wearing only one piece of clothing and being fully dressed. And not just dressed, but sort of dressed up! Like, no one realizes you haven’t showered in two days because you’ve been chasing snot-nosed babies, dressed as pirates, all around the house since last week! Not that would know anything about that…
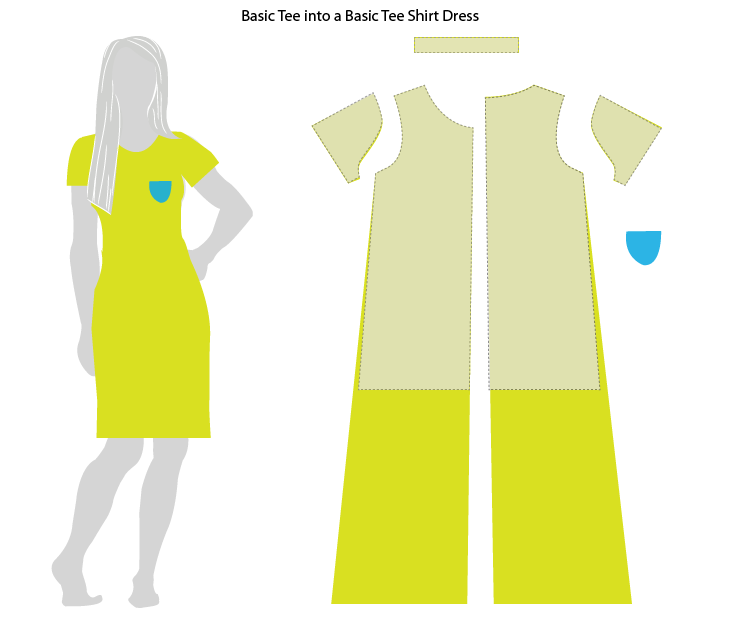
Today I’m going to show you how to take the basic tee shirt pattern that you made on Tuesday (either by rub-off, or by drafting) and turn it into a simple tee-shirt dress! I’m actually going to get a little carried away and show you how to make it into two different dresses, with possibilities for hundreds more. Miriam will be taking a basic tee pattern and making a Peplum Tee Variation, so be sure to check that out, too!
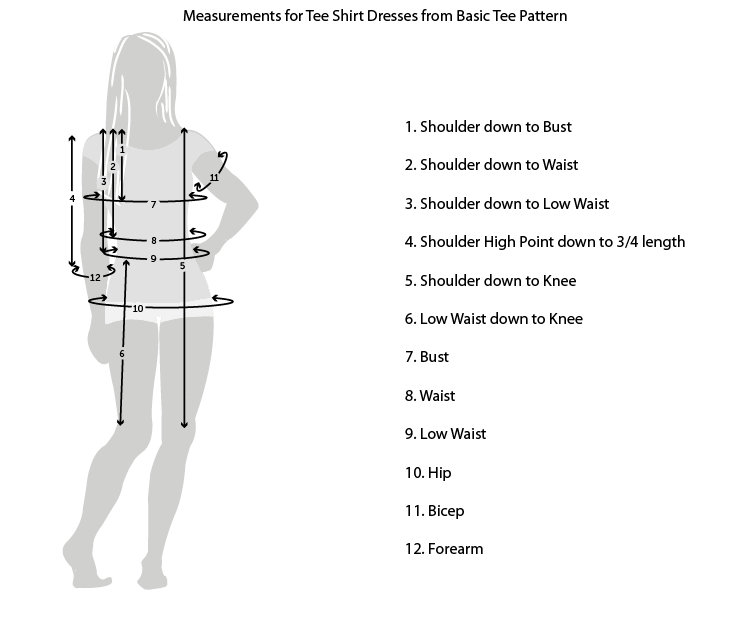
To make your tee shirt dress pattern, you’ll want to have a few basic measurements handy. I keep a notebook page with all of my measurements written down so they are always available when I’m ready to make something new. Mim describes how to take basic measurements in her post about Drafting a Tee.
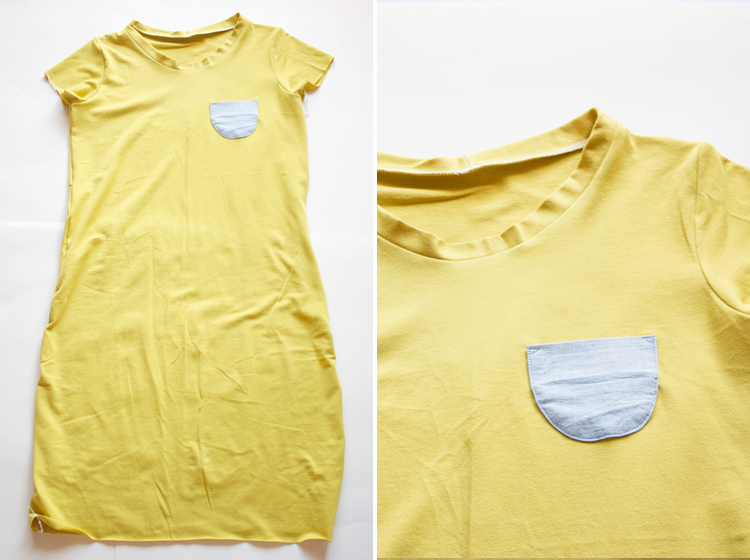
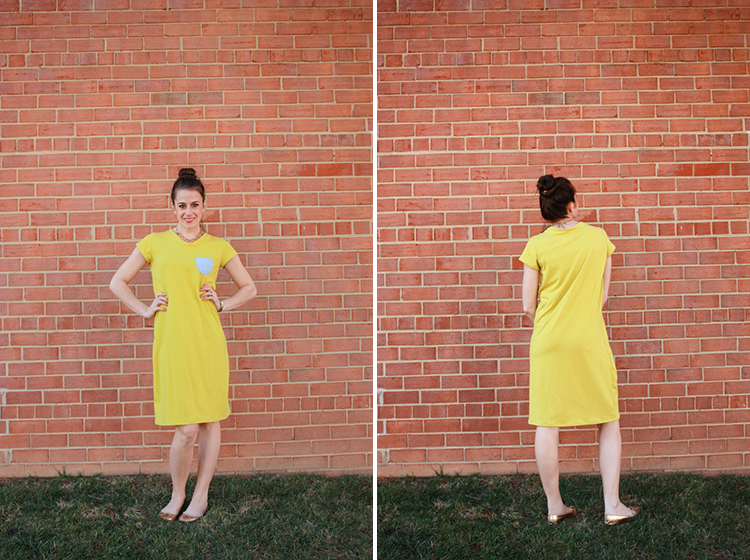
First, we’re going to make a super simple tee shirt dress. Basically, it’s just a tee shirt that’s long enough to be called a dress. The pattern that you have will work perfectly for the top section of the dress. We’re just going to make sure it will fit over your hips, and extend the hem down as far as you’d like. I made mine to the knee, but am probably going to make the same thing into a maxi very soon.
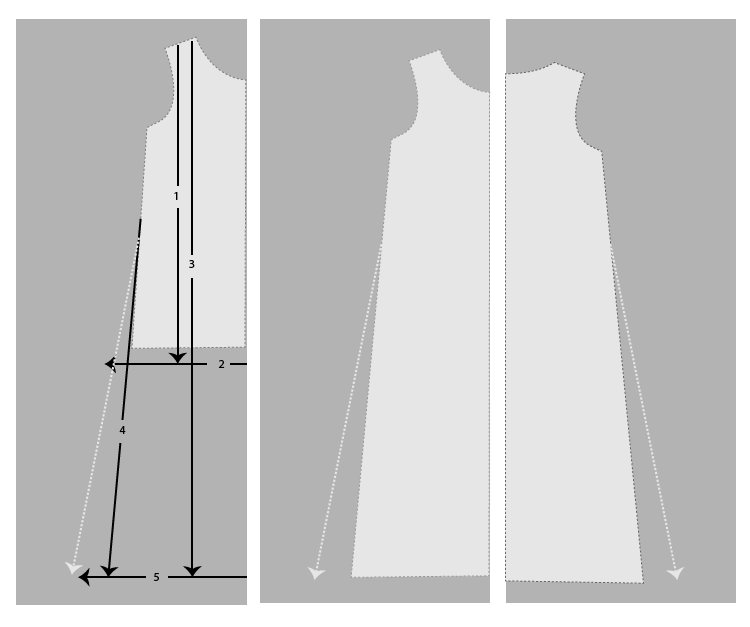
Grab your tracing paper, a pencil, a ruler and your basic tee pattern. Lay the front bodice pattern along the edge of your paper and trace around it.
1. Mark the length you measured from your shoulder to your hip and make a mark.
2. Measure out your 1/4 hip measurement at that mark to ensure your tee shirt dress will fit over your bum!
3. Measure down from the shoulder to your desired hem length and make a mark.
4. Use your ruler to extend the tee shirt side seam down towards your new hem length. If you want a more loose a-line skirt, extend the line at an angle. I am sort of boxy shaped, so I like mine a little straighter. As long as the tee gets over your hip and stays at least that wide, it will look great (narrower will make a more form-fitted dress.)
Repeat the above steps with the back pattern piece so you have a front and back dress pattern.
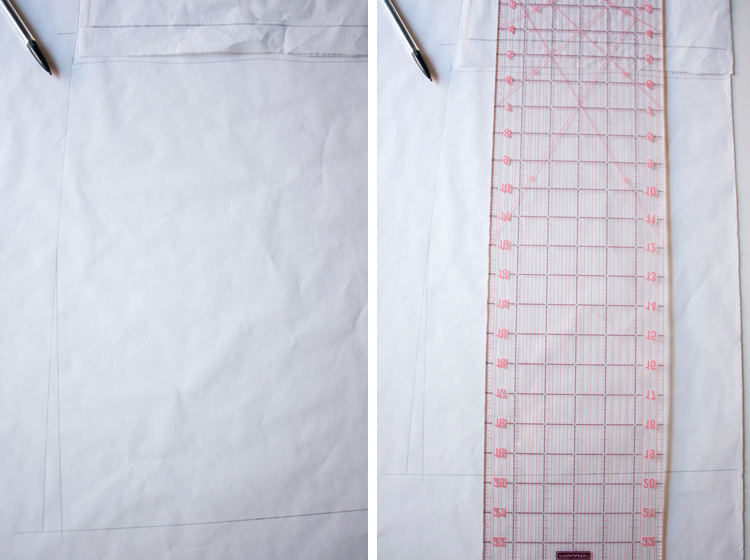
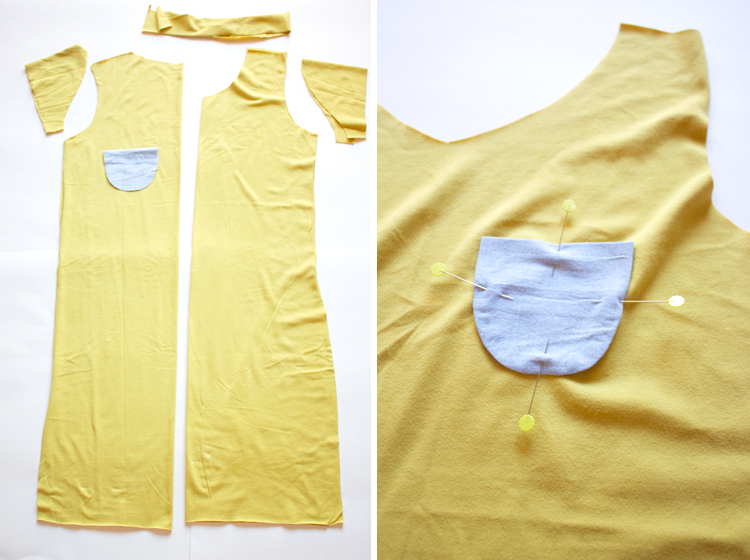
Ready, set, cut out all of your pattern pieces out. If you’re attaching a pocket, pin and stitch it on first, before you construct the dress. The dress construction will be identical to the Basic Tee Shirt Construction we did yesterday.
Finish the hems using whatever Finishing Techniques you choose! Done and done. Could that have been any easier?
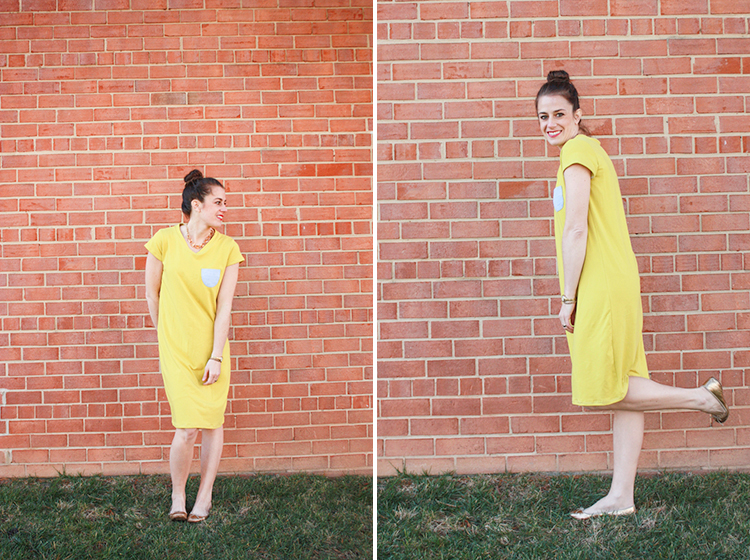
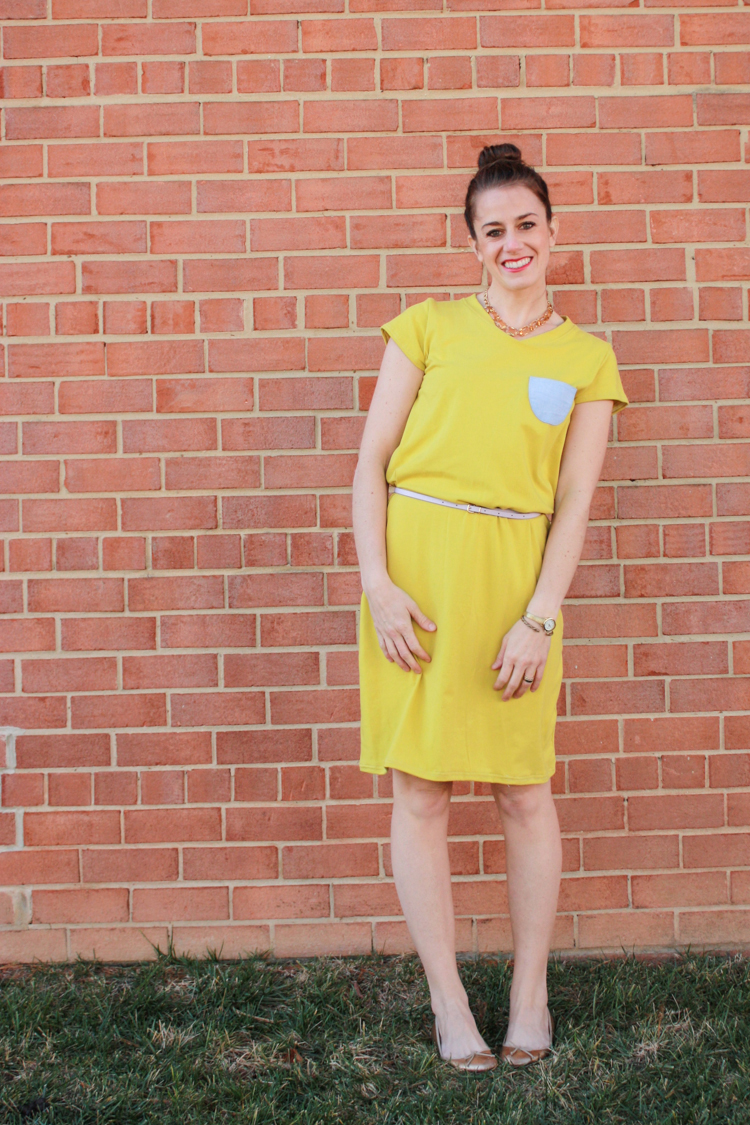
I’m digging the comfy, easy look of this basic tee shirt dress. It’s fitted enough to wear alone, or I can cinch it with a belt to pull the look together even more.
Pattern: Tee Shirt Dress Variation, made by me
Fabric: lightweight cotton/spandex jersey from my stash with a woven chambray pocket
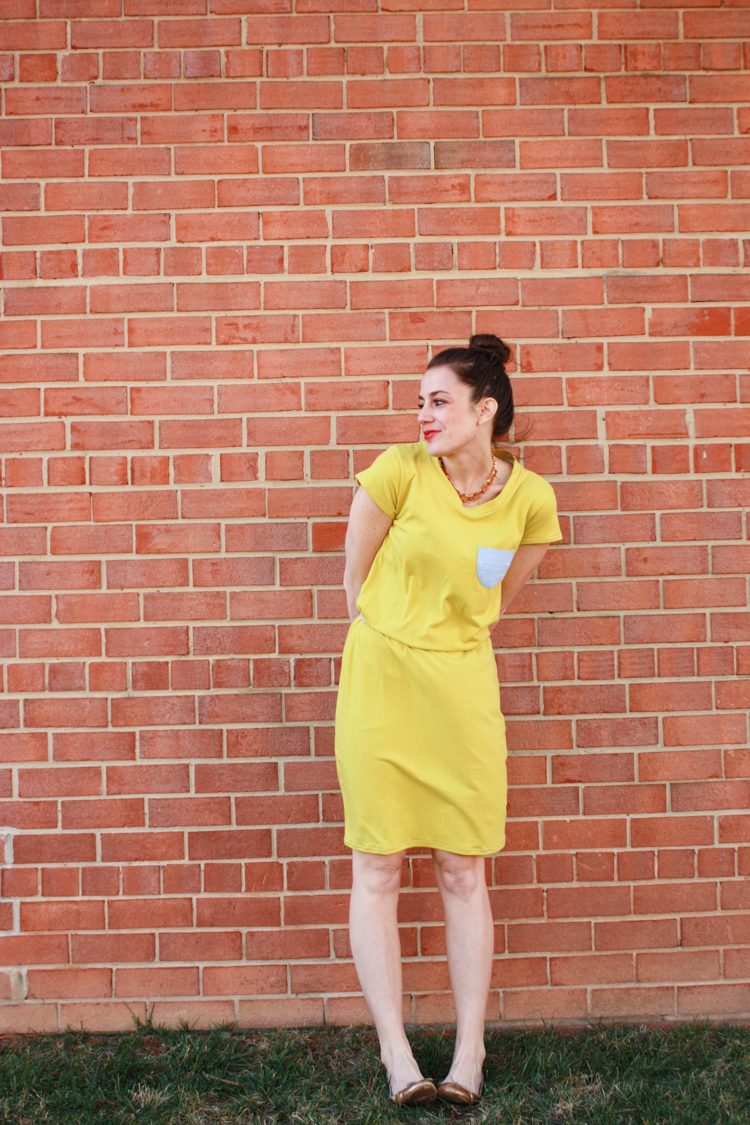
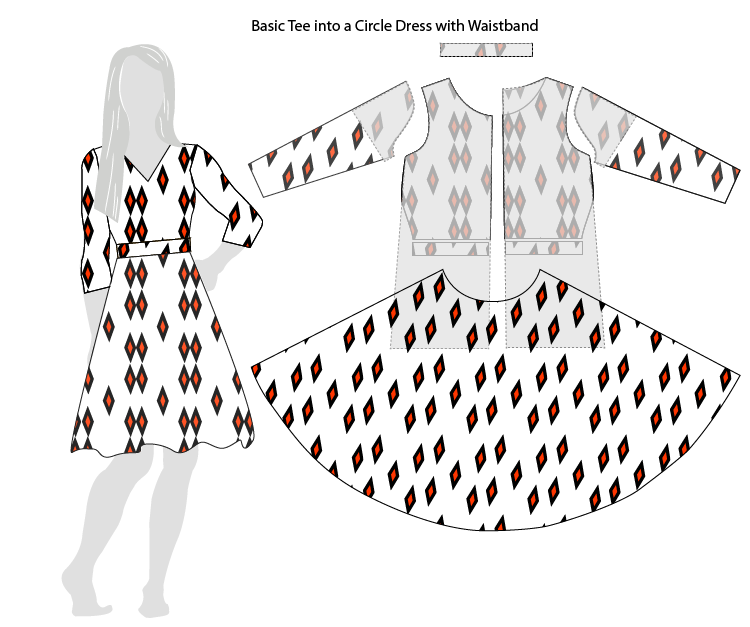
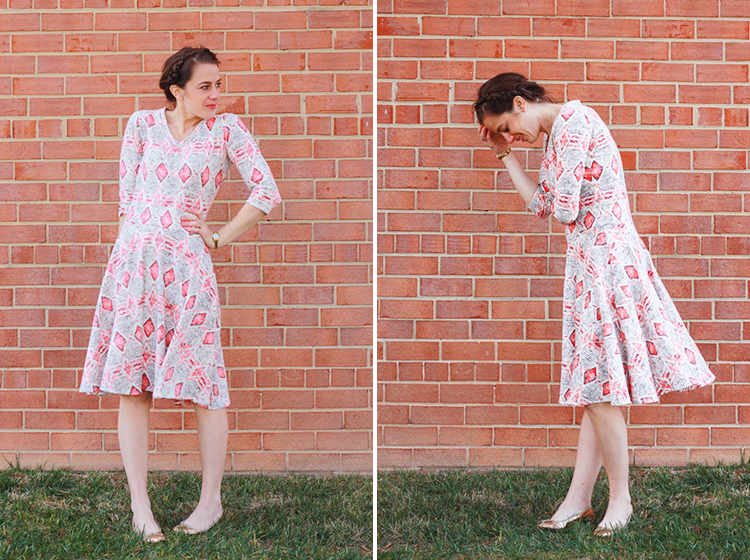
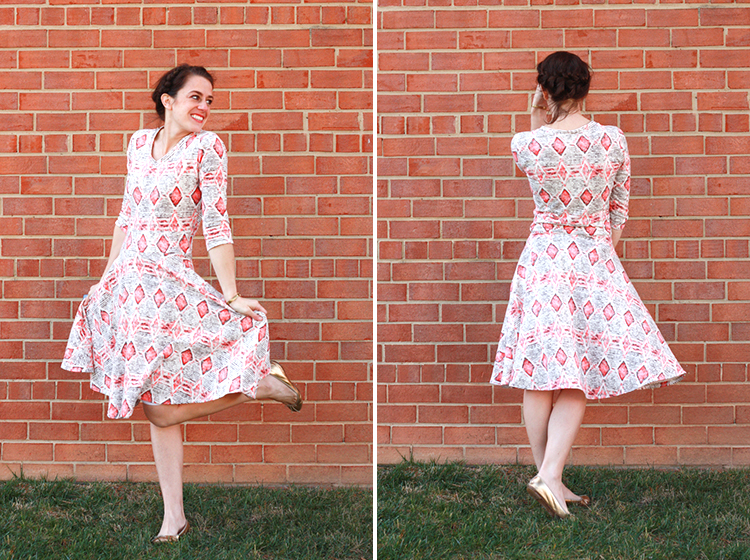
Now, ready for something a tiny bit more interesting? Let’s turn that basic tee pattern into a fitted, v-neck dress with a waistband, 3/4 length sleeves, and a circle skirt!
Don’t get intimidated by the additional pattern pieces or the new shapes. This type of dress variation is really simple to make, and you can ensure a great fit by using your own measurements again.
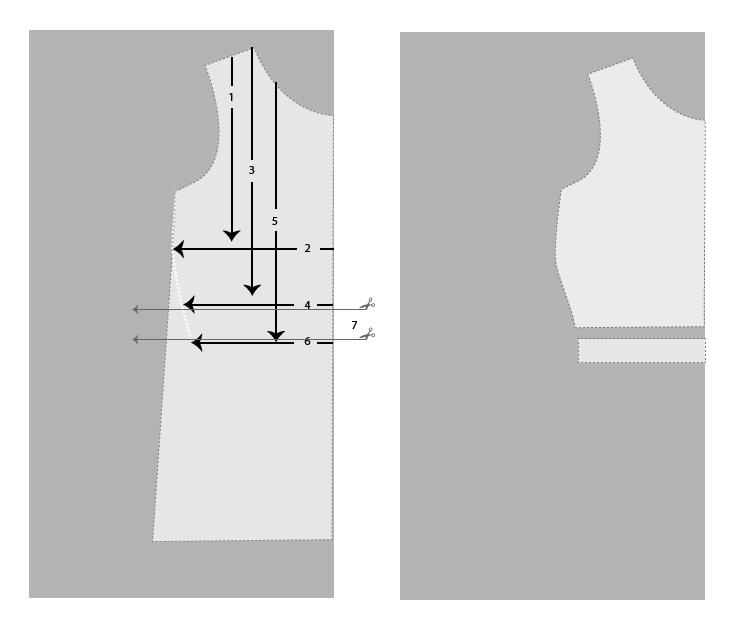
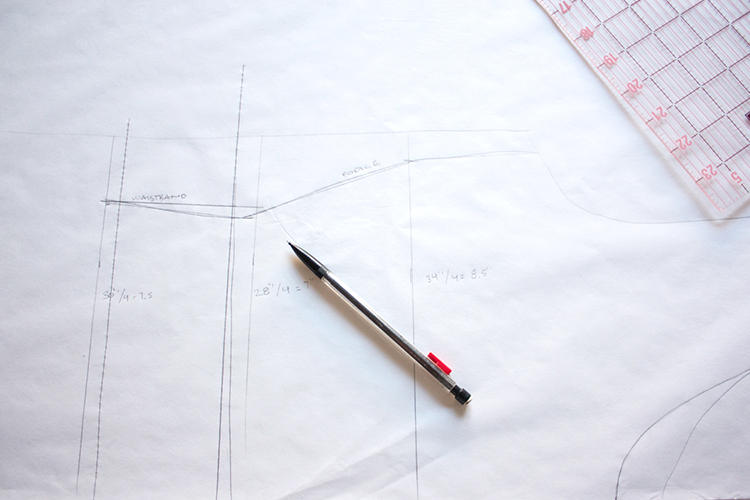
Once again, grab your tracing paper, pencil, ruler, and basic tee pattern. Lay out a sheet of tracing paper and trace the basic tee pattern on the Center Fold (CF) edge. To make the looser tee into a fitted bodice, follow the steps below:
1. Measure from shoulder to bust and make a mark.
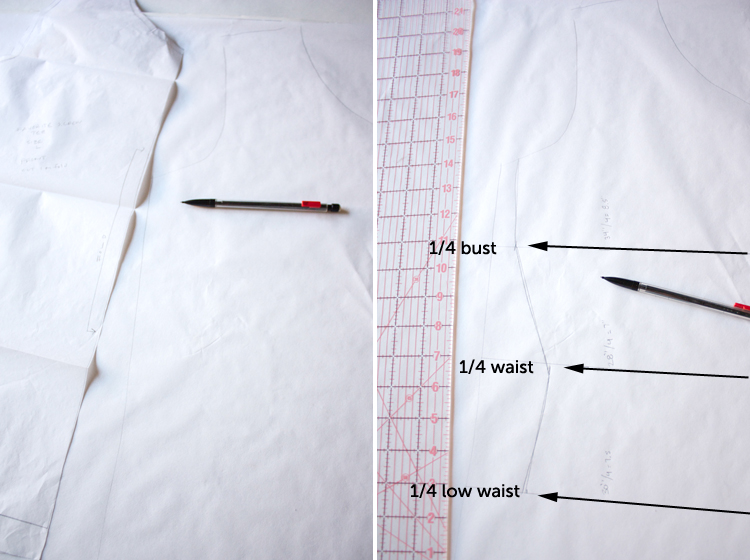
2. At that mark, measure perpendicular to the CF your 1/4 bust measurement and draw a line.
3. Measure from shoulder to waist and mark.
4. At the waist mark, measure your 1/4 waist, perpendicular to the CF and draw a line.
5. Measure from shoulder to low waist and mark.
6. Just as above, draw a perpendicular line from CF at the low waist mark the distance of your 1/4 low waist measurement.
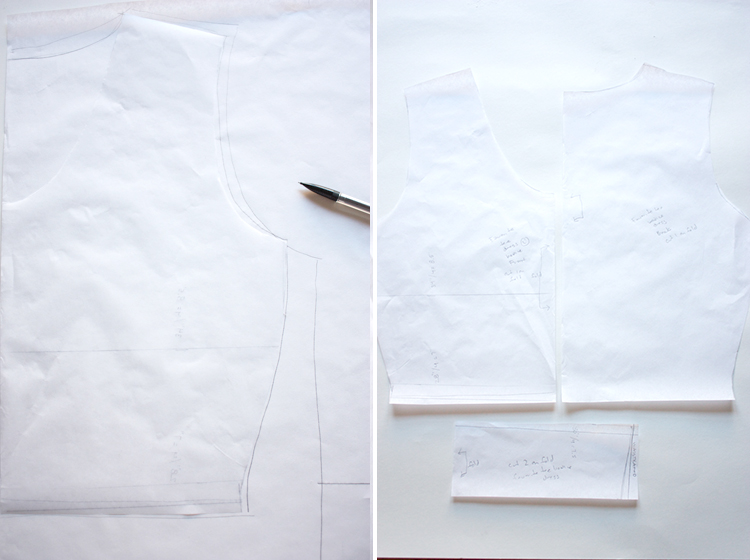
7. Connect the outer edges of the lines you just made, tracing along the neckline, shoulder, and arm scythe just as before, then along the waist and low waist lines. This will be your waistband, and you should re-trace it to add seam allowance.
Now you have a new fitted bodice and waistband! Follow the same steps for the back bodice.
If you want to leave the bodice one piece, without a separate waistband, just skip the step where you cut it off and add seam allowance. Without that step, the bodice will be a single piece. I think this could be really cool color-blocked, with the skirt, waistband, and bodice all different colors. Maybe ombre? Get creative!
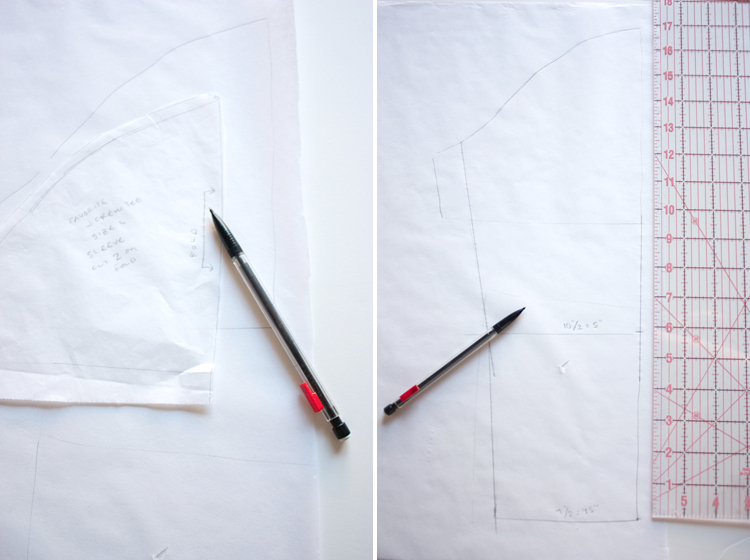
To lengthen the sleeve, first trace around the basic sleeve pattern. Using your ruler, measure in a straight line from the shoulder cap down to the desired sleeve length. Mark at the bicep and forearm lengths, and measure your 1/2 bicep and 1/2 forearm circumferences, then connect the dots from the underarm seam of the pattern to the new forearm-length (3/4) hem.
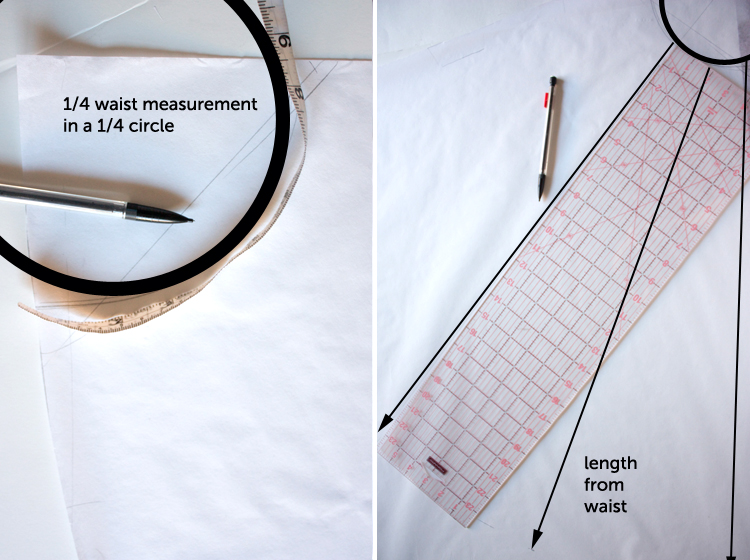
To make a circle skirt, you’ll just need your 1/4 waist measurement and your waist to hem length. In the corner of a new sheet of drafting paper, use a flexible measuring tape to measure your 1/4 waist as if it were 1/4 of a circle. From that line, you’ll use your ruler to measure out the waist-to-hem length every couple inches along the waist line. This will give you a pattern piece for 1/4 circle. If you cut your 1/4 circle with one long end on the fold, each piece (front and back) will be a 1/2 circle, making your dress a full-circle skirt. If that is all really confusing, I’m sorry. Read THIS great post and you’ll get a good overview.
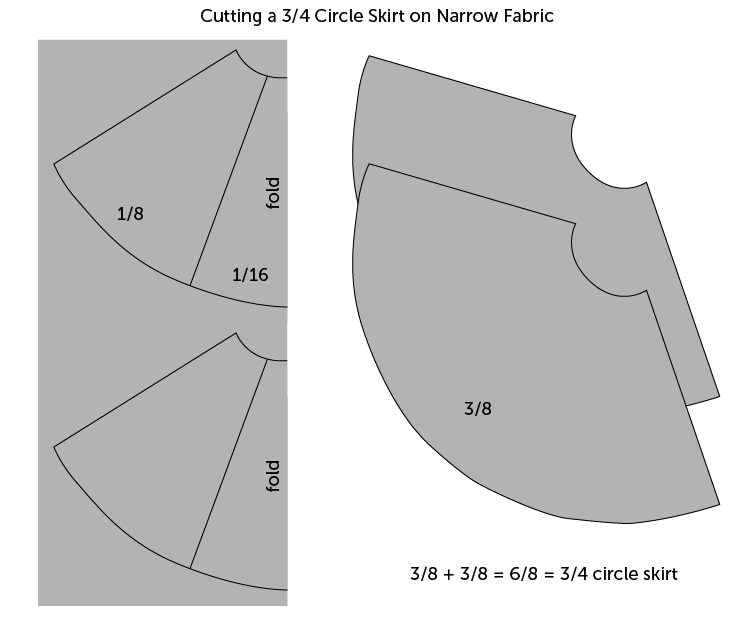
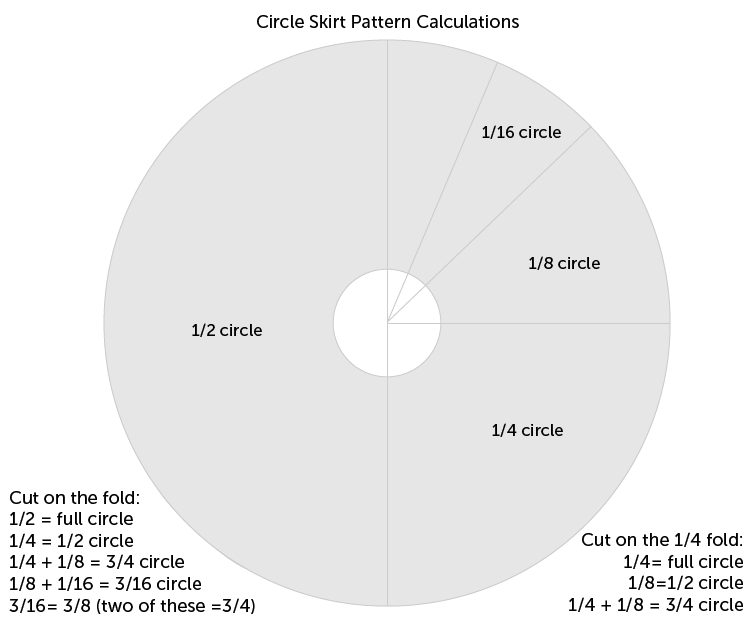
My tracing paper was only wide enough for me to create a 1/8 circle pattern, so I cut two. If I had taped them together to make a 1/4 circle, I would have ended up with a full circle skirt. Instead, I folded one in half, taped them together (to make a 3/16) and used that. When cut on the fold, the 3/16 creates a 3/8 pattern piece, and two of those sewn together (front and back) make a 3/4 circle skirt. Did I lose you? Hope not. Believe it or not, fractions are one of my weakest points, so if I can do it, you can do it.
To help me (and you) understand creating a pattern for a circle skirt a little better, I made the above diagram. If it confuses you, just ignore it. However, if you understand it, you may find it becomes a welcome resource. You can make your pattern to any portion of the circle (1/4, 1/8, etc.) and use it to create the fullness of skirt you desire. Cutting on the fold refers to having one straight edge of the pattern lined up on the fold of the fabric (except in the case of the 1/2 circle, when it would be both straight edges). Cutting on the 1/4 fold refers to folding the fabric in half width wise, and again length wise, so both straight edges of the pattern are along folded edges (this is the method Miriam uses to show the Peplum Variation today!)
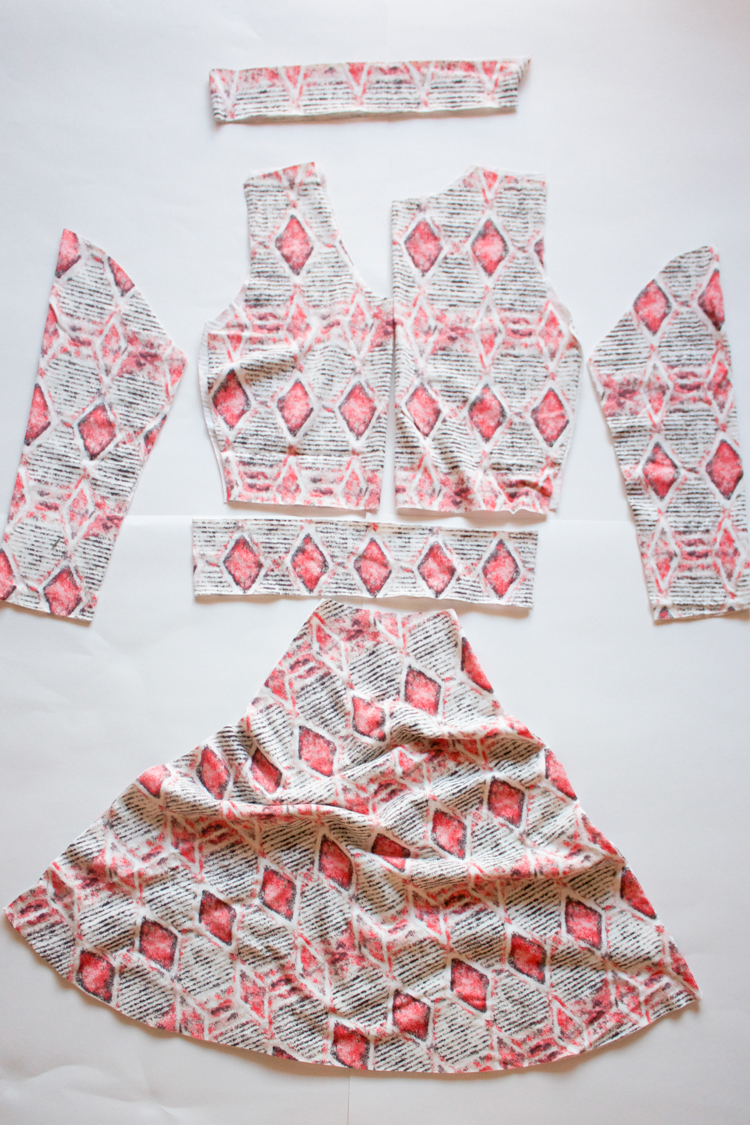
Whew. Okay. Did you get all of that? Now that your pattern variation is ready, use it to cut out your pattern pieces.
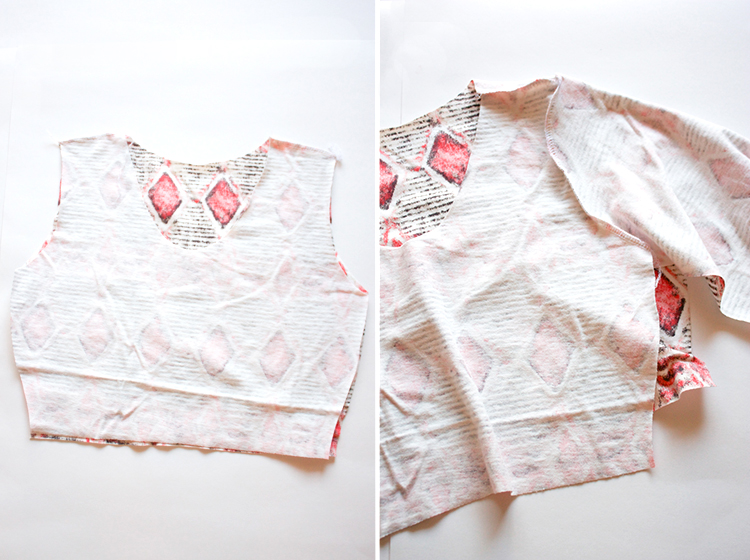
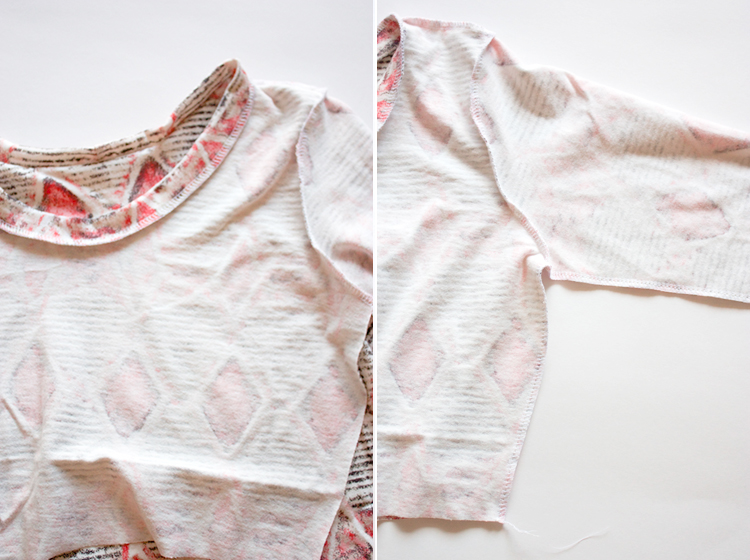
I added the neckband next, then finished the side seams.
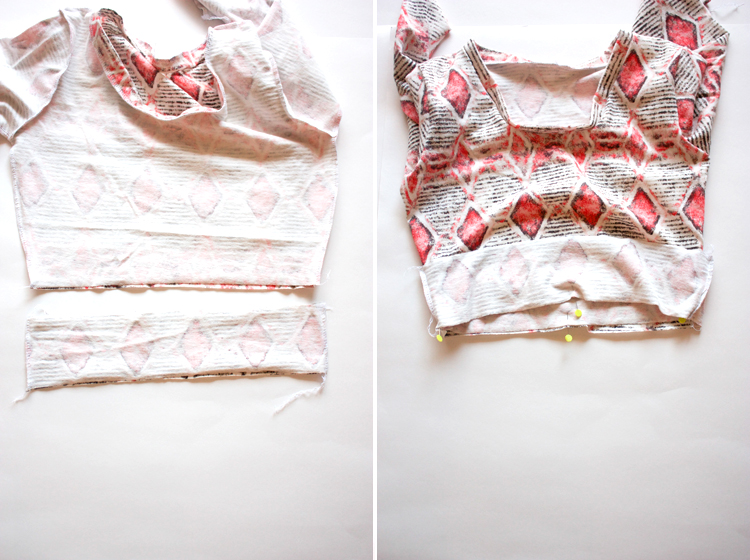
At this point, sew the waist band pieces along the short ends with right sides together. Line the side seams up to the side seams on the dress, with right sides together, and stitch in place.
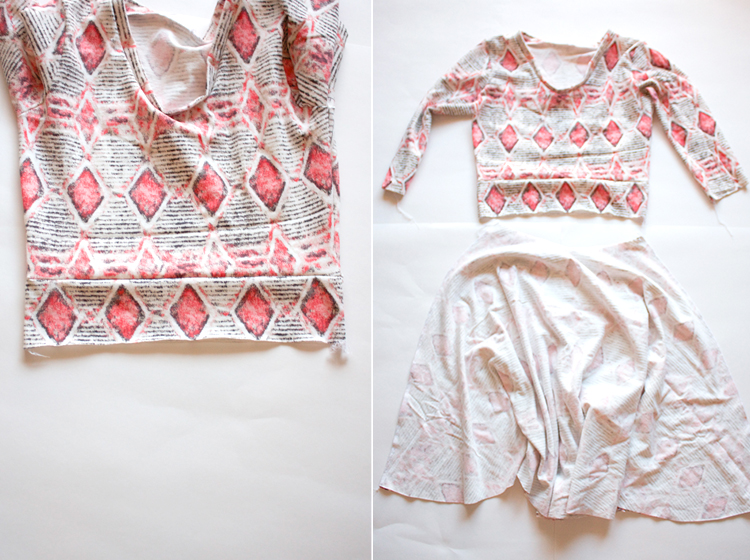
Once the waist band is on, the last step is to add the skirt! First, sew down the side seams of the skirt (unless you were able to cut a full circle in one piece.
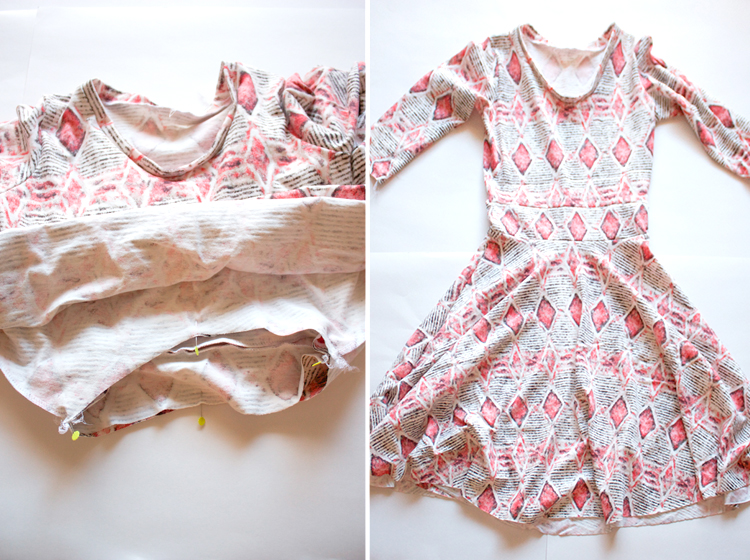
Match up the side seams on the waistband and the skirt, with right sides together, and pin at the center front and center back. Sew in place.
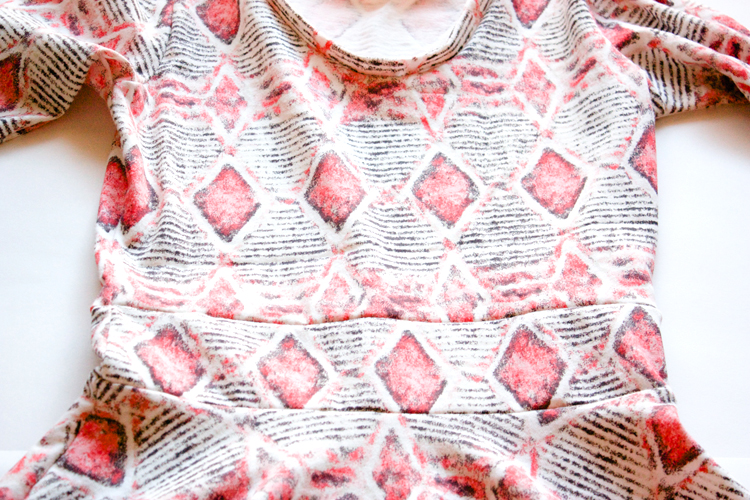
Pretty cool, right? From a basic tee shirt to a fitted bodice with a waistband and circle skirt just like that!
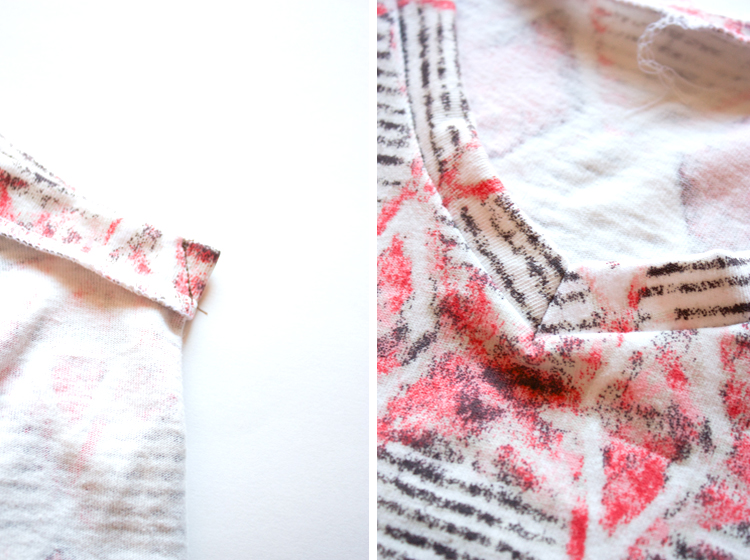
To create a v neck I use this simple method. Find the center front of the neckband and fold with right sides together. Sew a diagonal line from the upper end of the neckband just to the seamline of the neckband, making sure not to cross over onto the front bodice. Unfold and press your new v neck!
Finish the sleeve and skirt hems using one of these finishing techniques, and rock your new tee shirt dress variation!
Pattern: 3/4 sleeve, fitted bodice with a waistband, circle skirt variation on the basic tee shirt- self drafted
Fabric: The Fabric Fairy
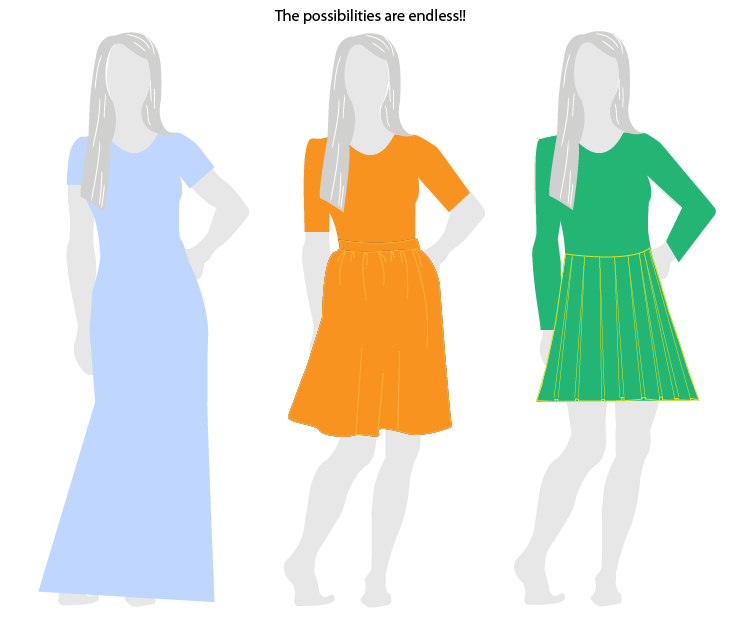
With just the few steps we learned today, you can start turning your basic tee shirt into an endless array of dresses! And you know what you’ll need to make all those new dresses? Fabric! Well, we’ve got you covered. Whether you are looking for nautical stripes, black and white polka dots, or ice cream cones there is something you will love at The Fabric Fairy. Some of my favorite materials have come from this little shop, and right now I’m especially interested in the new ruffle elastic trims!
Leave a comment on this post before Friday, January 18th, for the chance to win a $50.00 credit to The Fabric Fairy!
Don’t miss Mim’s Peplum Variation post today. That adorable striped knit is from The Fabric Fairy, too!


