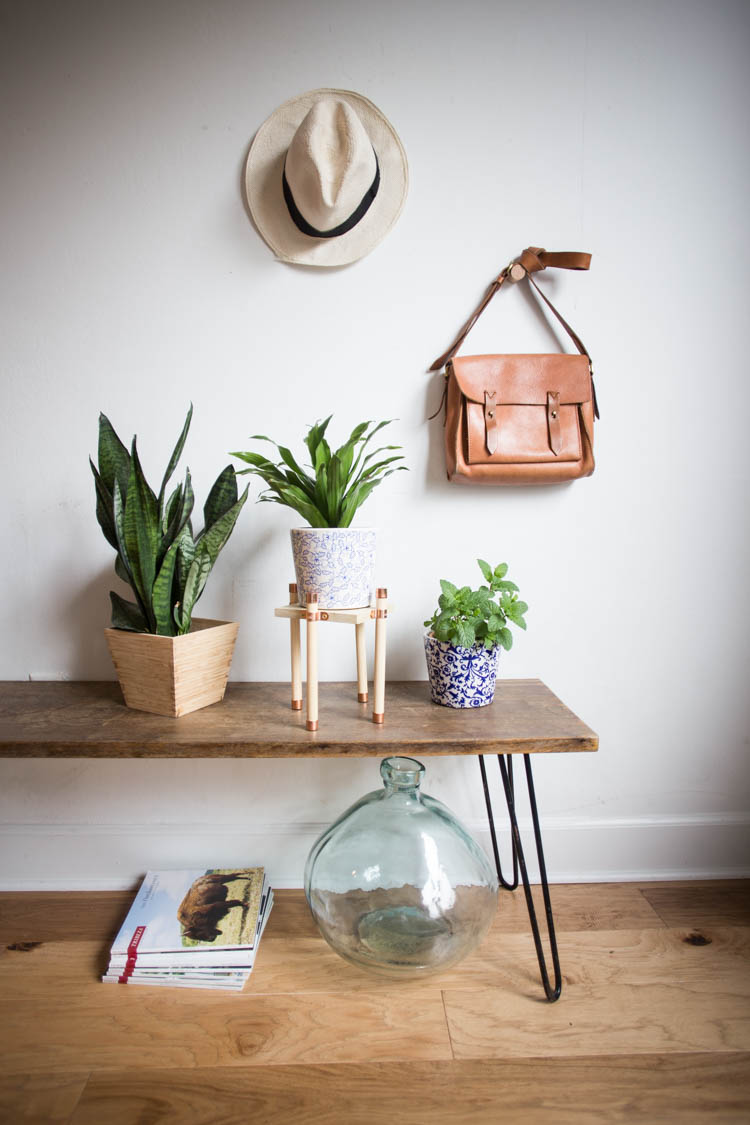
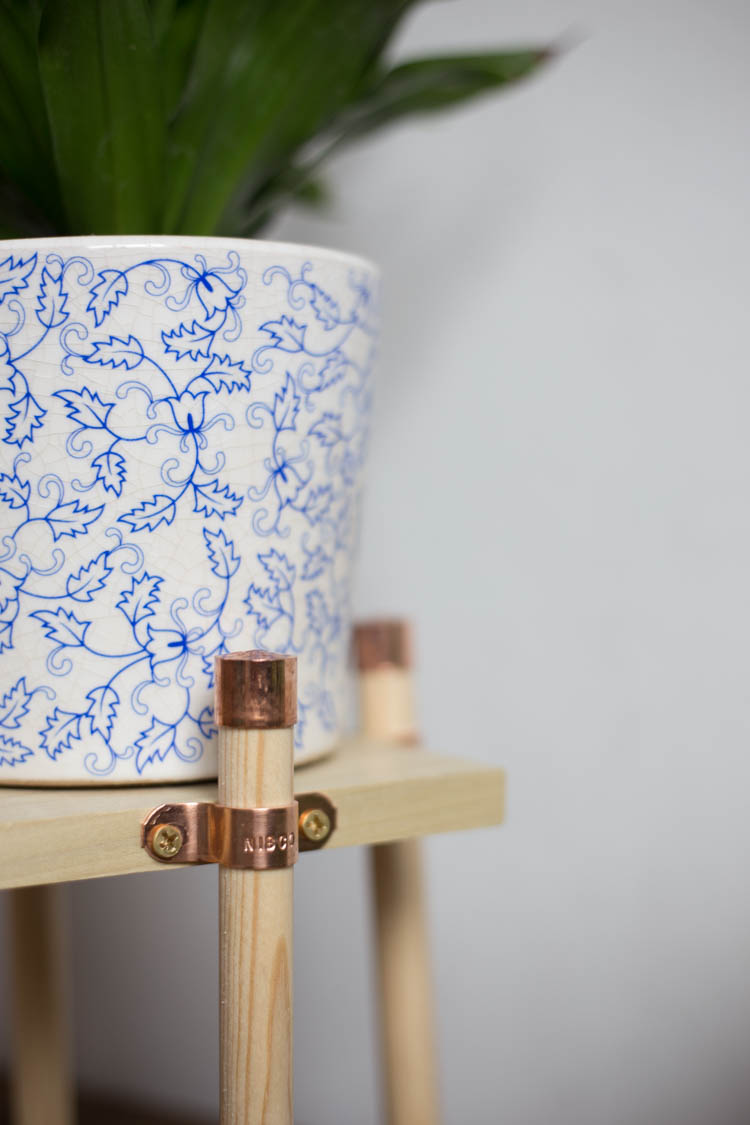
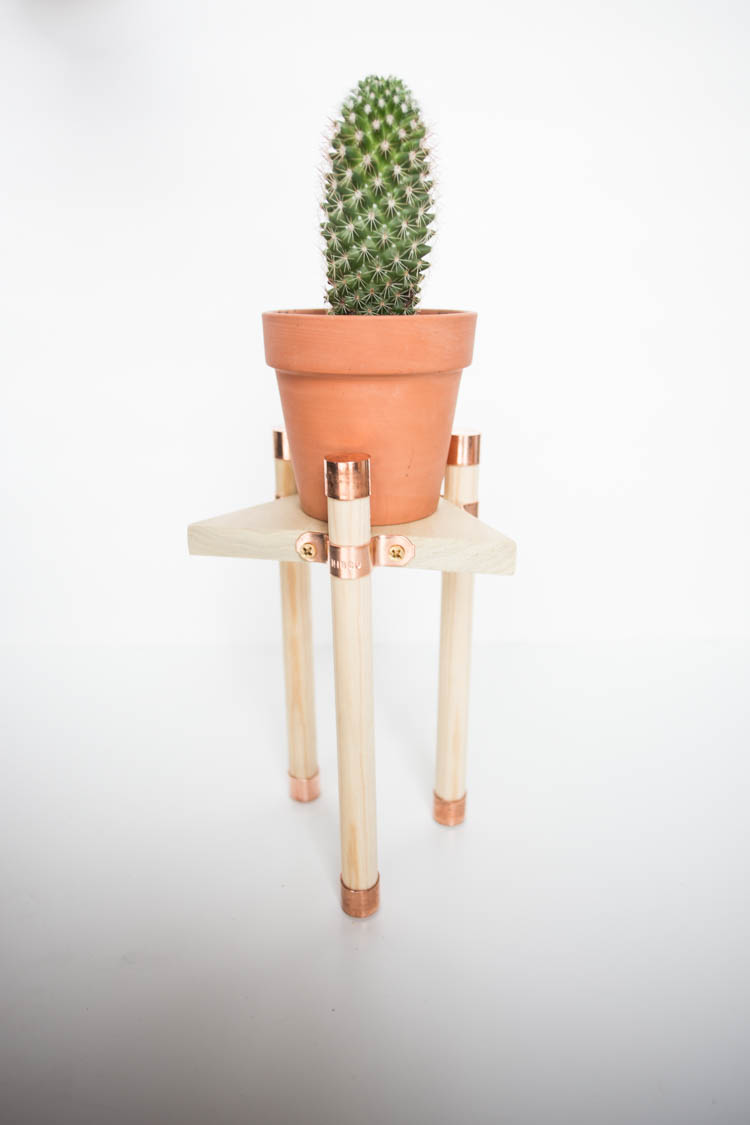
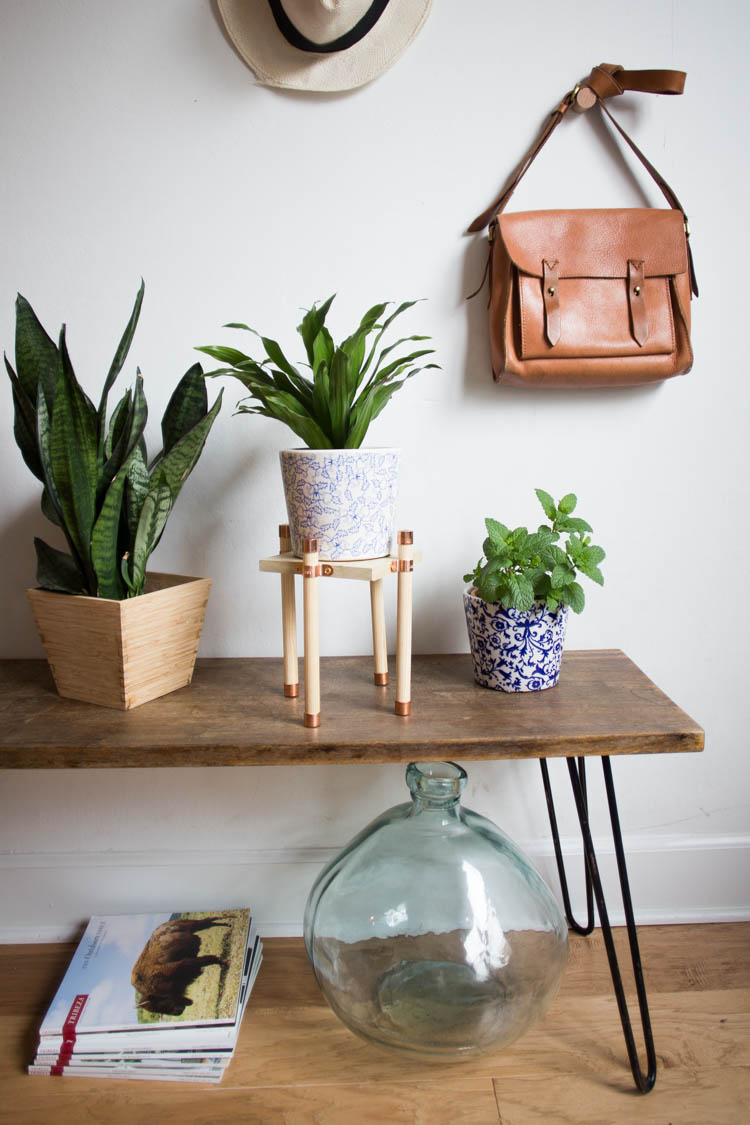
When I began working with wood as my DIY medium this month, this copper and wood plant stand was one of the first projects that popped into my head. I’m a plant lady to the core, so of course I have space and love for more plant accoutrements. I think this project is also fun for someone who has one or two little plants to highlight around the house.
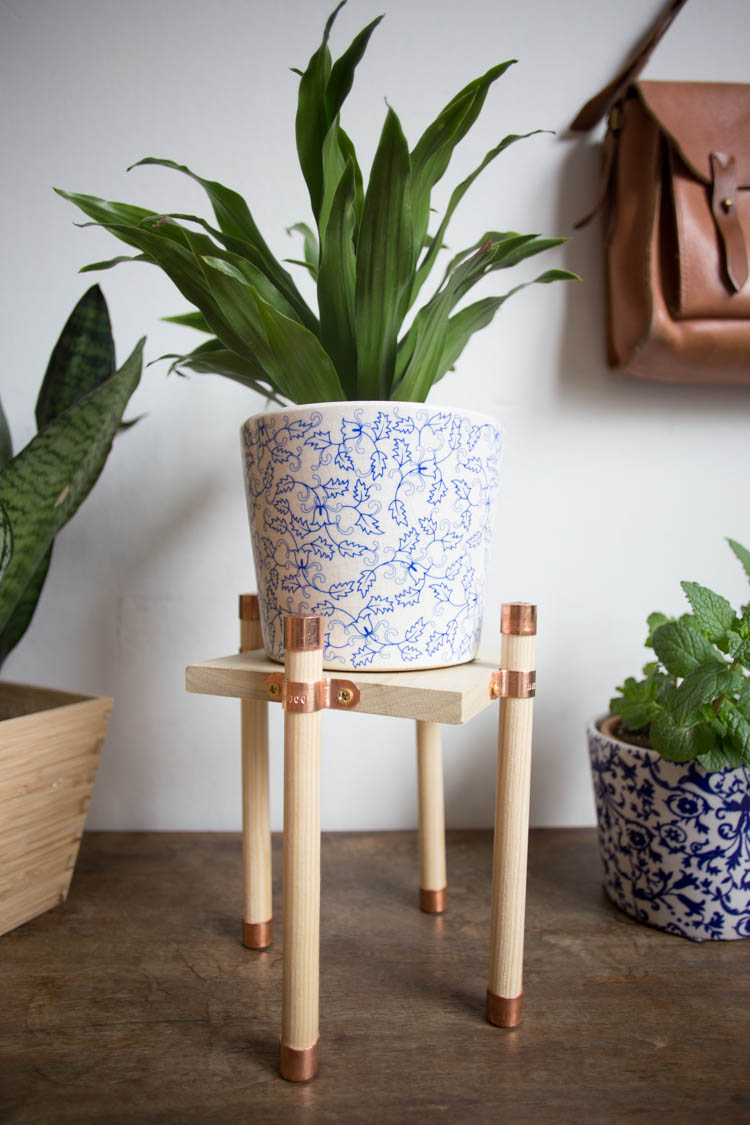
It’s always fun to work on a project where you get to bust out the power tools. I’ve gotten pretty good at using my miter saw, and the drill gun is second nature after three years in our home (and probably a lot more holes in the walls than Dave would like.) Although using power tools helps this copper and wood plant stand DIY move along more quickly, they are not essential and a hand saw and screwdriver will also do the trick.
Are you ready to get started on your own copper and wood plant stand?
Here’s what you need:
- 3/4″ diameter dowels cut to 12″ long, 3 for the triangle or 4 for the square
- 1 6″ x 1″ poplar board, cut to 6″ x 6″ x 6″ for the triangle or 6″ long for the square
- 3/4″ copper end caps, 6 for the triangle, 8 for the square
- copper pipe fasteners, 3 for the triangle, 4 for the square
- 1/2″ brass screws
- sand paper
- power drill
- hammer
Instructions:
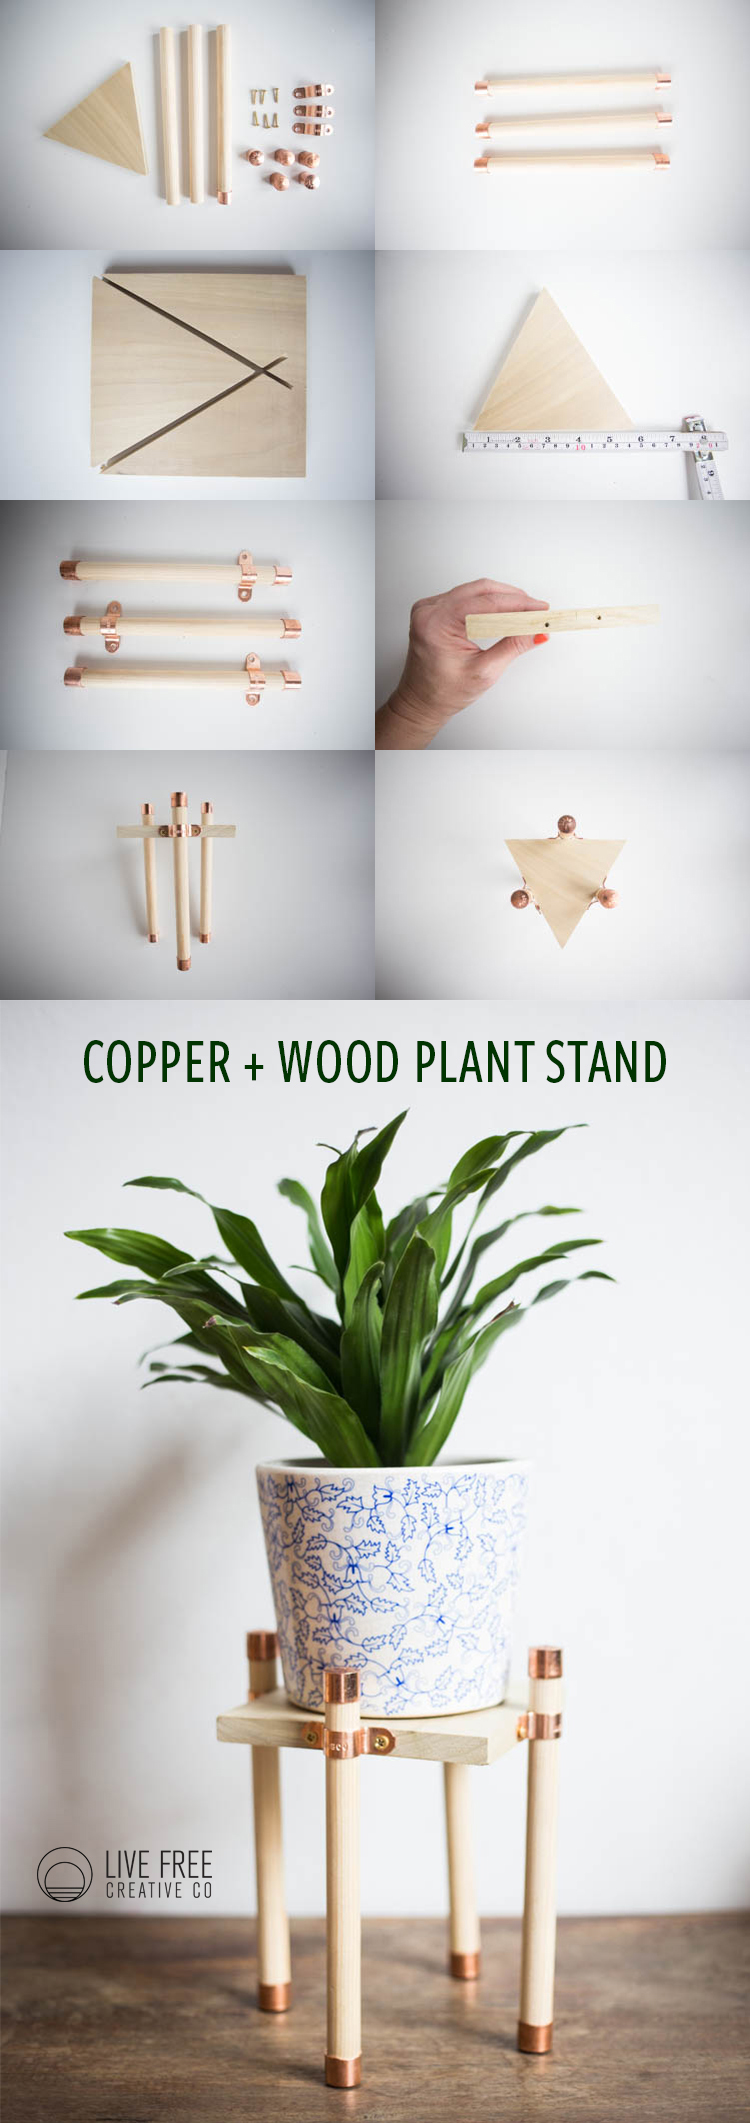
- Gently sand the edges of all of the wood pieces.
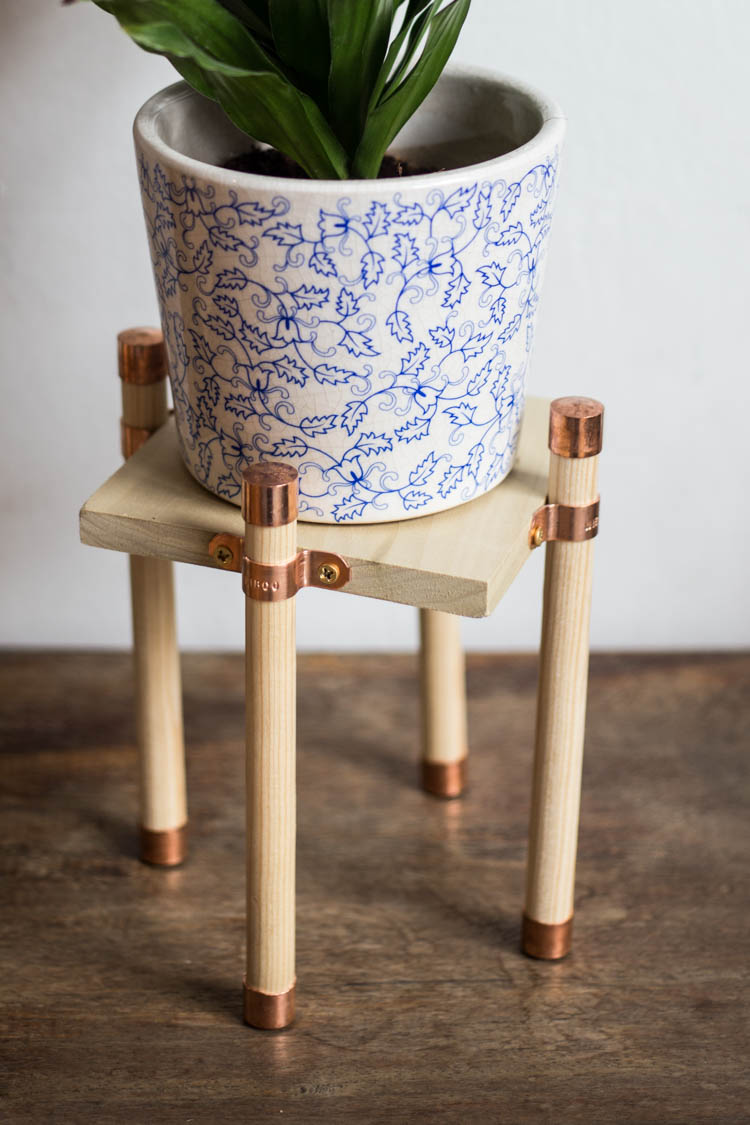
- Add the copper end caps to both ends of each of the 12″ wooden dowels, they’ll fit tightly.
- Measure the center of each side of your main board with a ruler, and make a mark with a pencil.
- Loop the pipe fasteners onto each of the dowels, 2″ from the top.
- Use one of the dowels with the pipe fastener on it as a guide for where to drill holes. Line the dowel up with the center pencil line, then use a pencil to mark each of the screw holes. Repeat on all 3 or 4 sides.
- Use a drill to pre-drill holes on each of the marked pencil marks. If not using a power drill, go ahead and begin screwing the dowels onto the board with one brass screw through each fastener hole.
- Finish screwing all of the screws into the fastener holes. Stand the plant stand upright and gently tap with a hammer on any legs that are out of alignment.
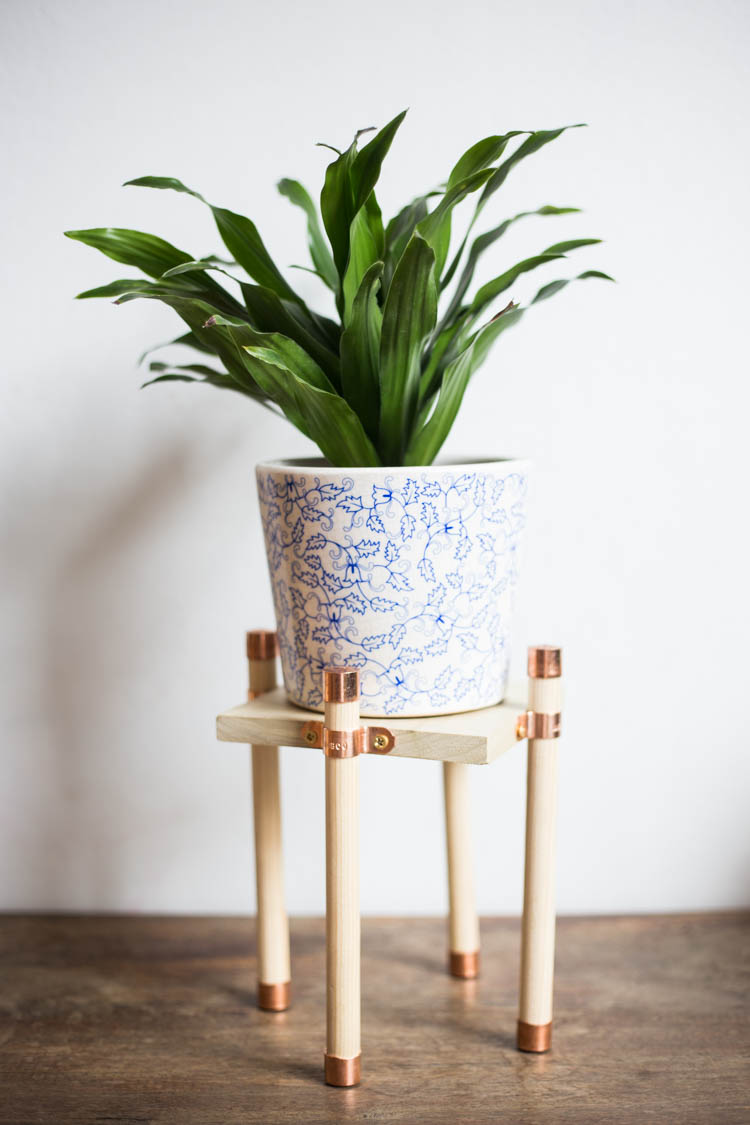
- Add your favorite plant baby and enjoy!
Whew! If you believe it, that concludes our wood month of Friday DIY’s! We made Brass and Wood Towel Holders, Modern Dowel Tacks, Wood Burned Garden Stakes, and todays fun Copper and Wood Plant Stand.
Other fun wood projects I’ve done in the past include: This air plant pencil holder, these fun crayon holders, this simple bistro light pergola, my kid’s outdoor reading nook, and our favorite giant Jenga game.
Stay tuned to find out what we’ll be working with in April (I’m on the fence and still deciding, so it will be a surprise for all of us!) And for all of the weekly DIY Friday’s click right here.

