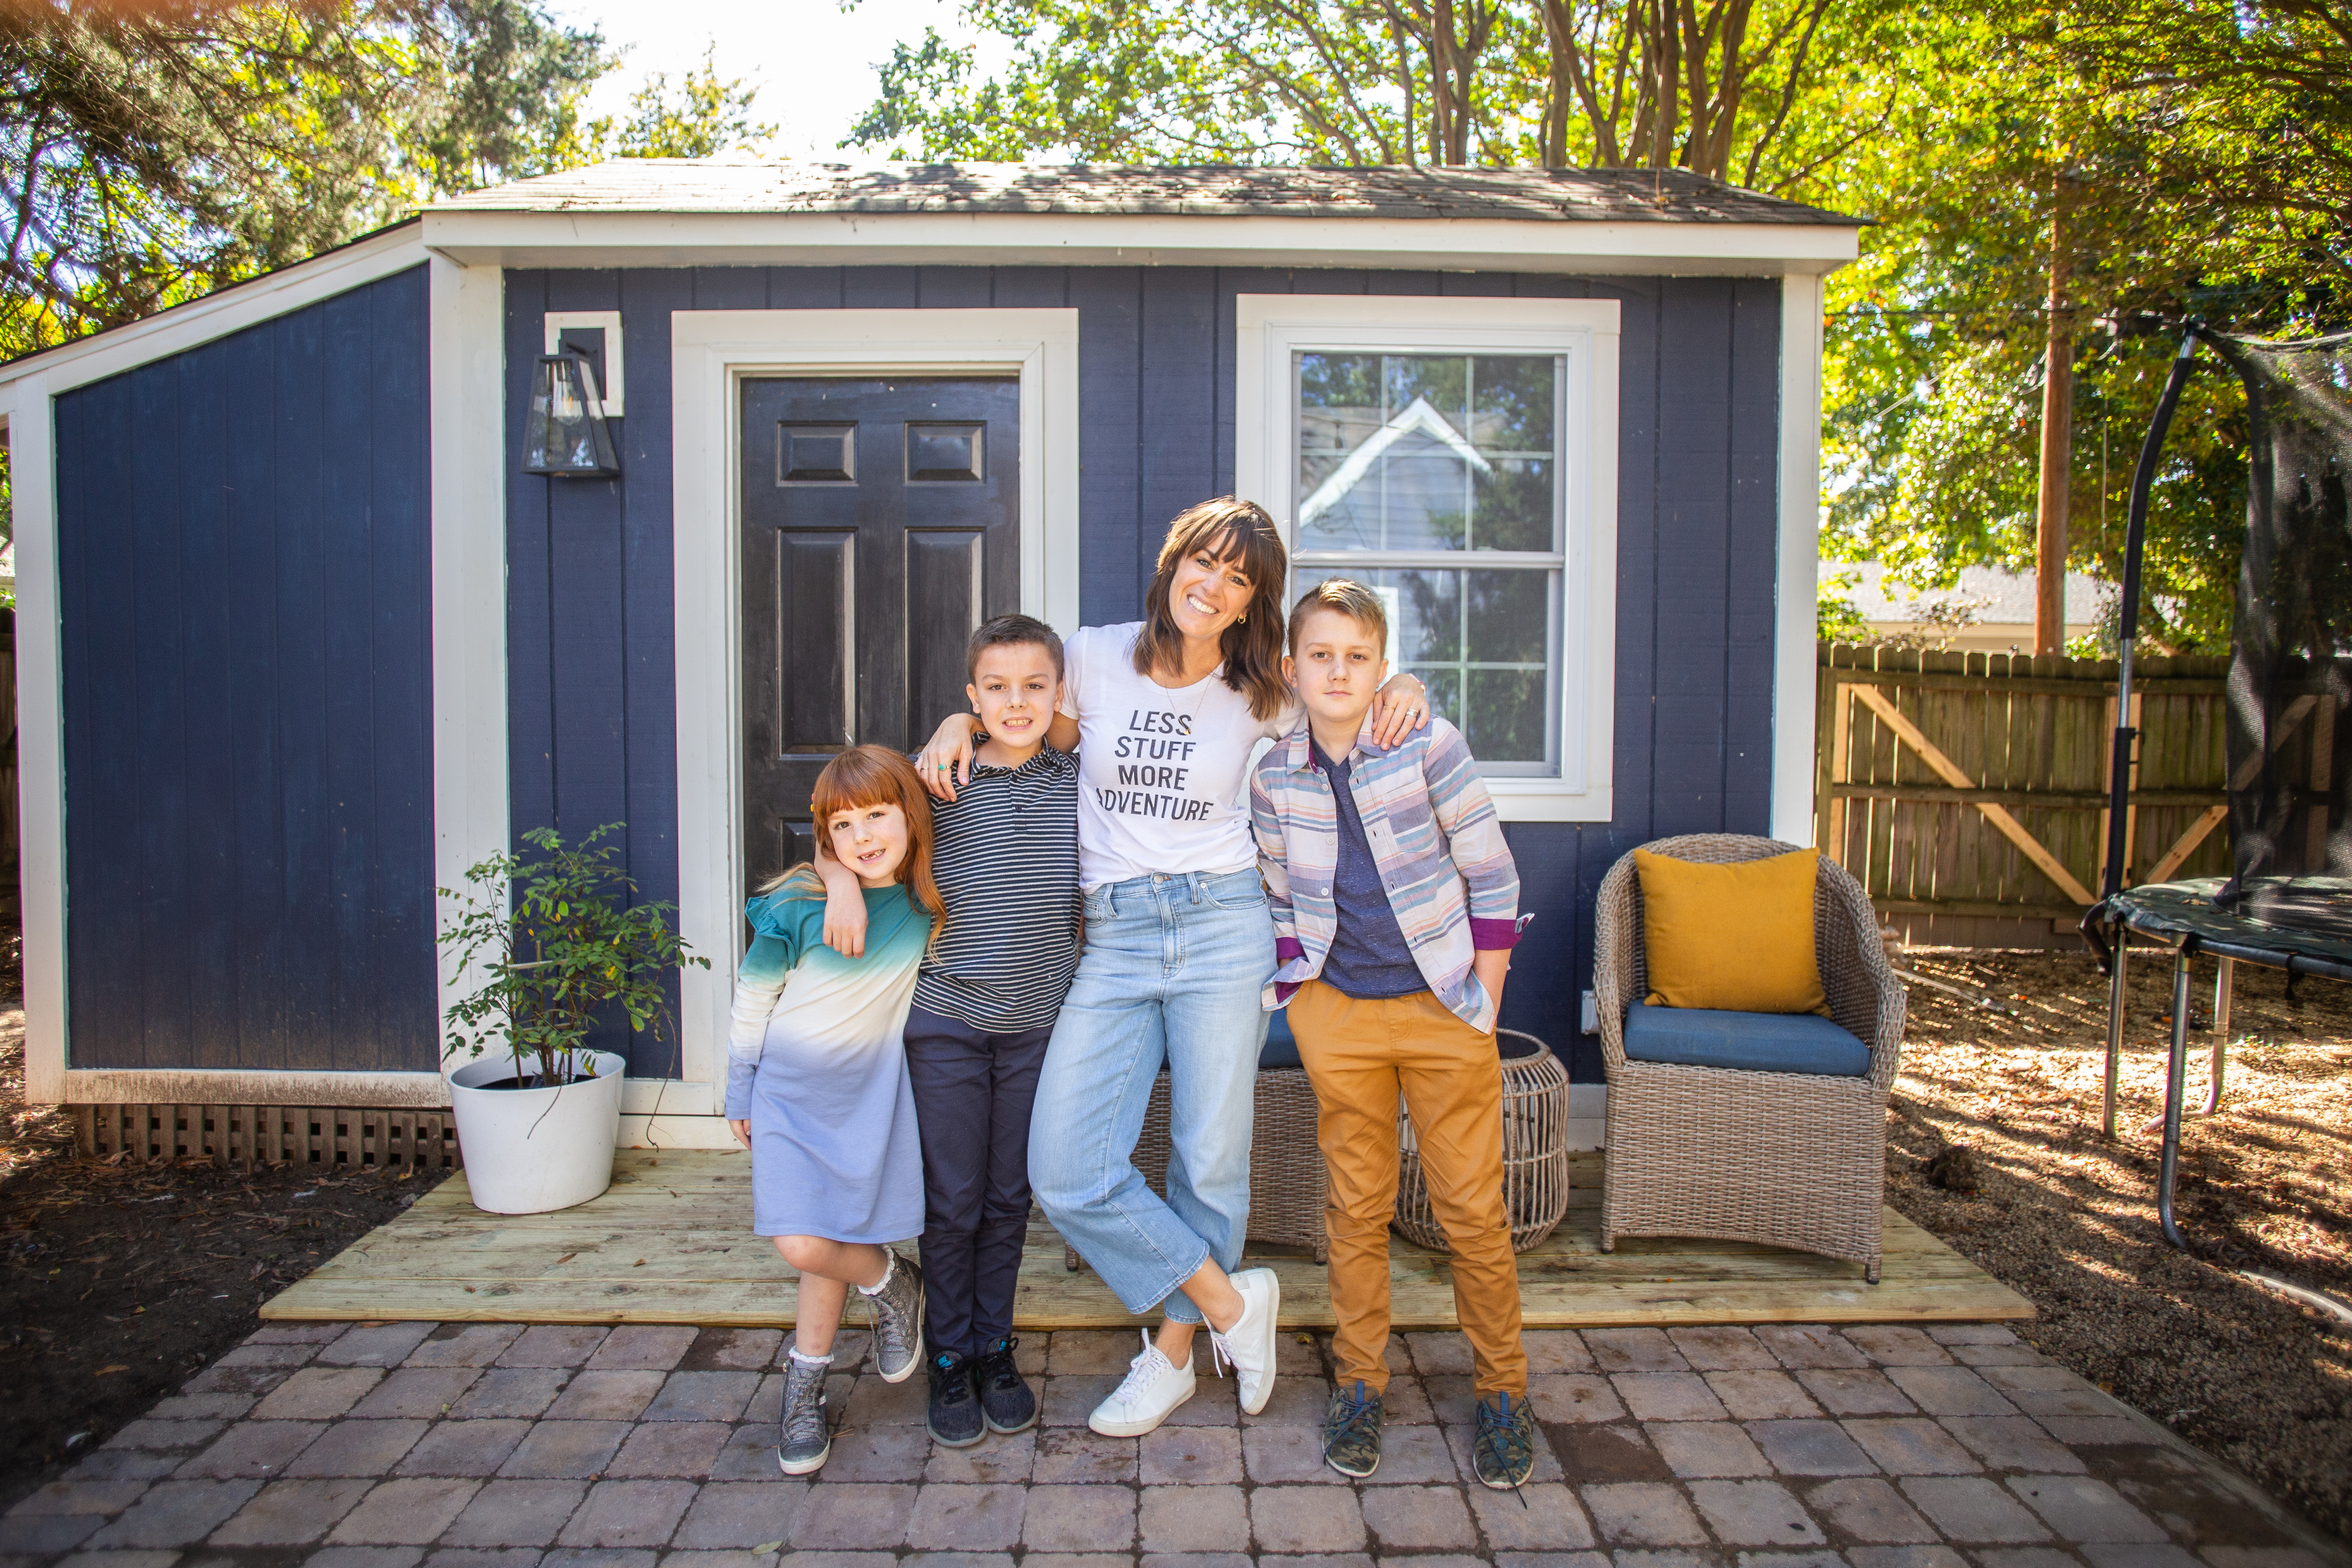
Creating a DIY Kids Playhouse from our Backyard Shed is a project we first talked about 2.5 years ago when we bought this little house. The little shed had such potential, and we started daydreaming with the kids about what they would turn it into, given the chance.
The kids’ initial dream was a cozy, kid-friendly space with a mini fridge stocked with snacks and drinks, a gaming console, tv for movie nights, and space for the neighborhood friends to come gather before night games and after trampoline tournaments. Well friends, I think nailed it! Come inside and check it out!
Let’s take a quick walk through the process of the DIY Kids Playhouse from a Backyard Shed transformation.
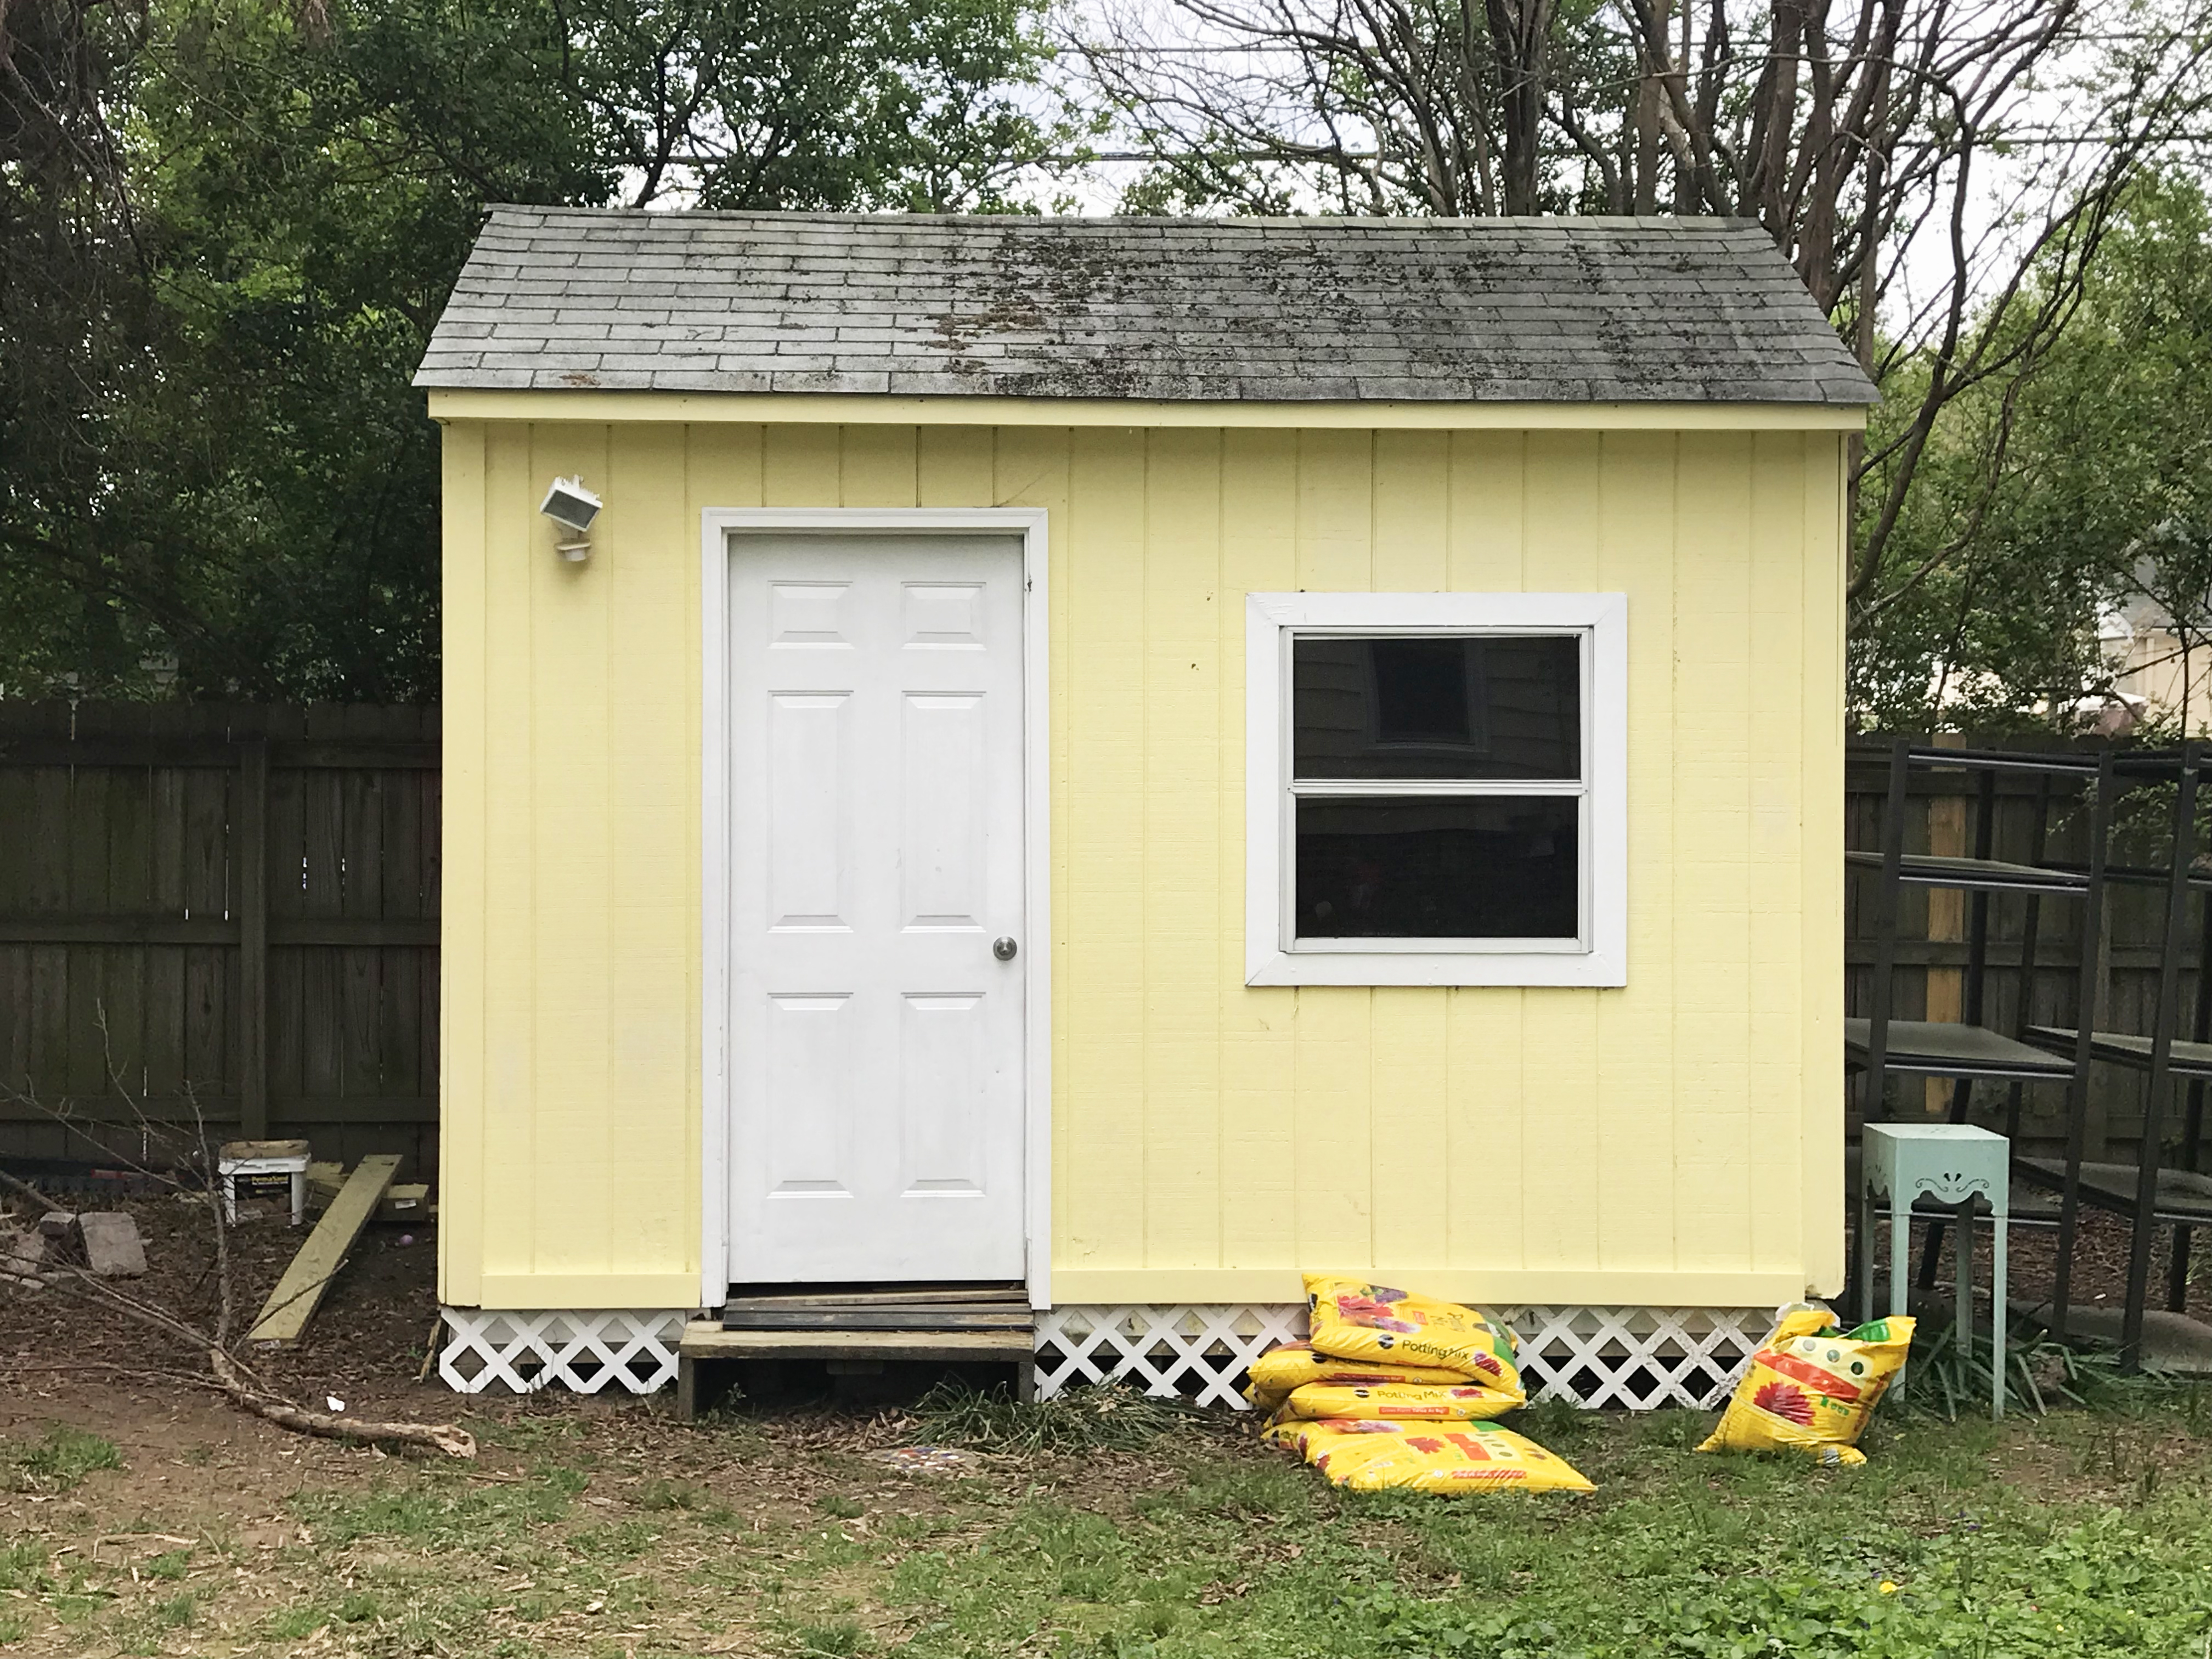
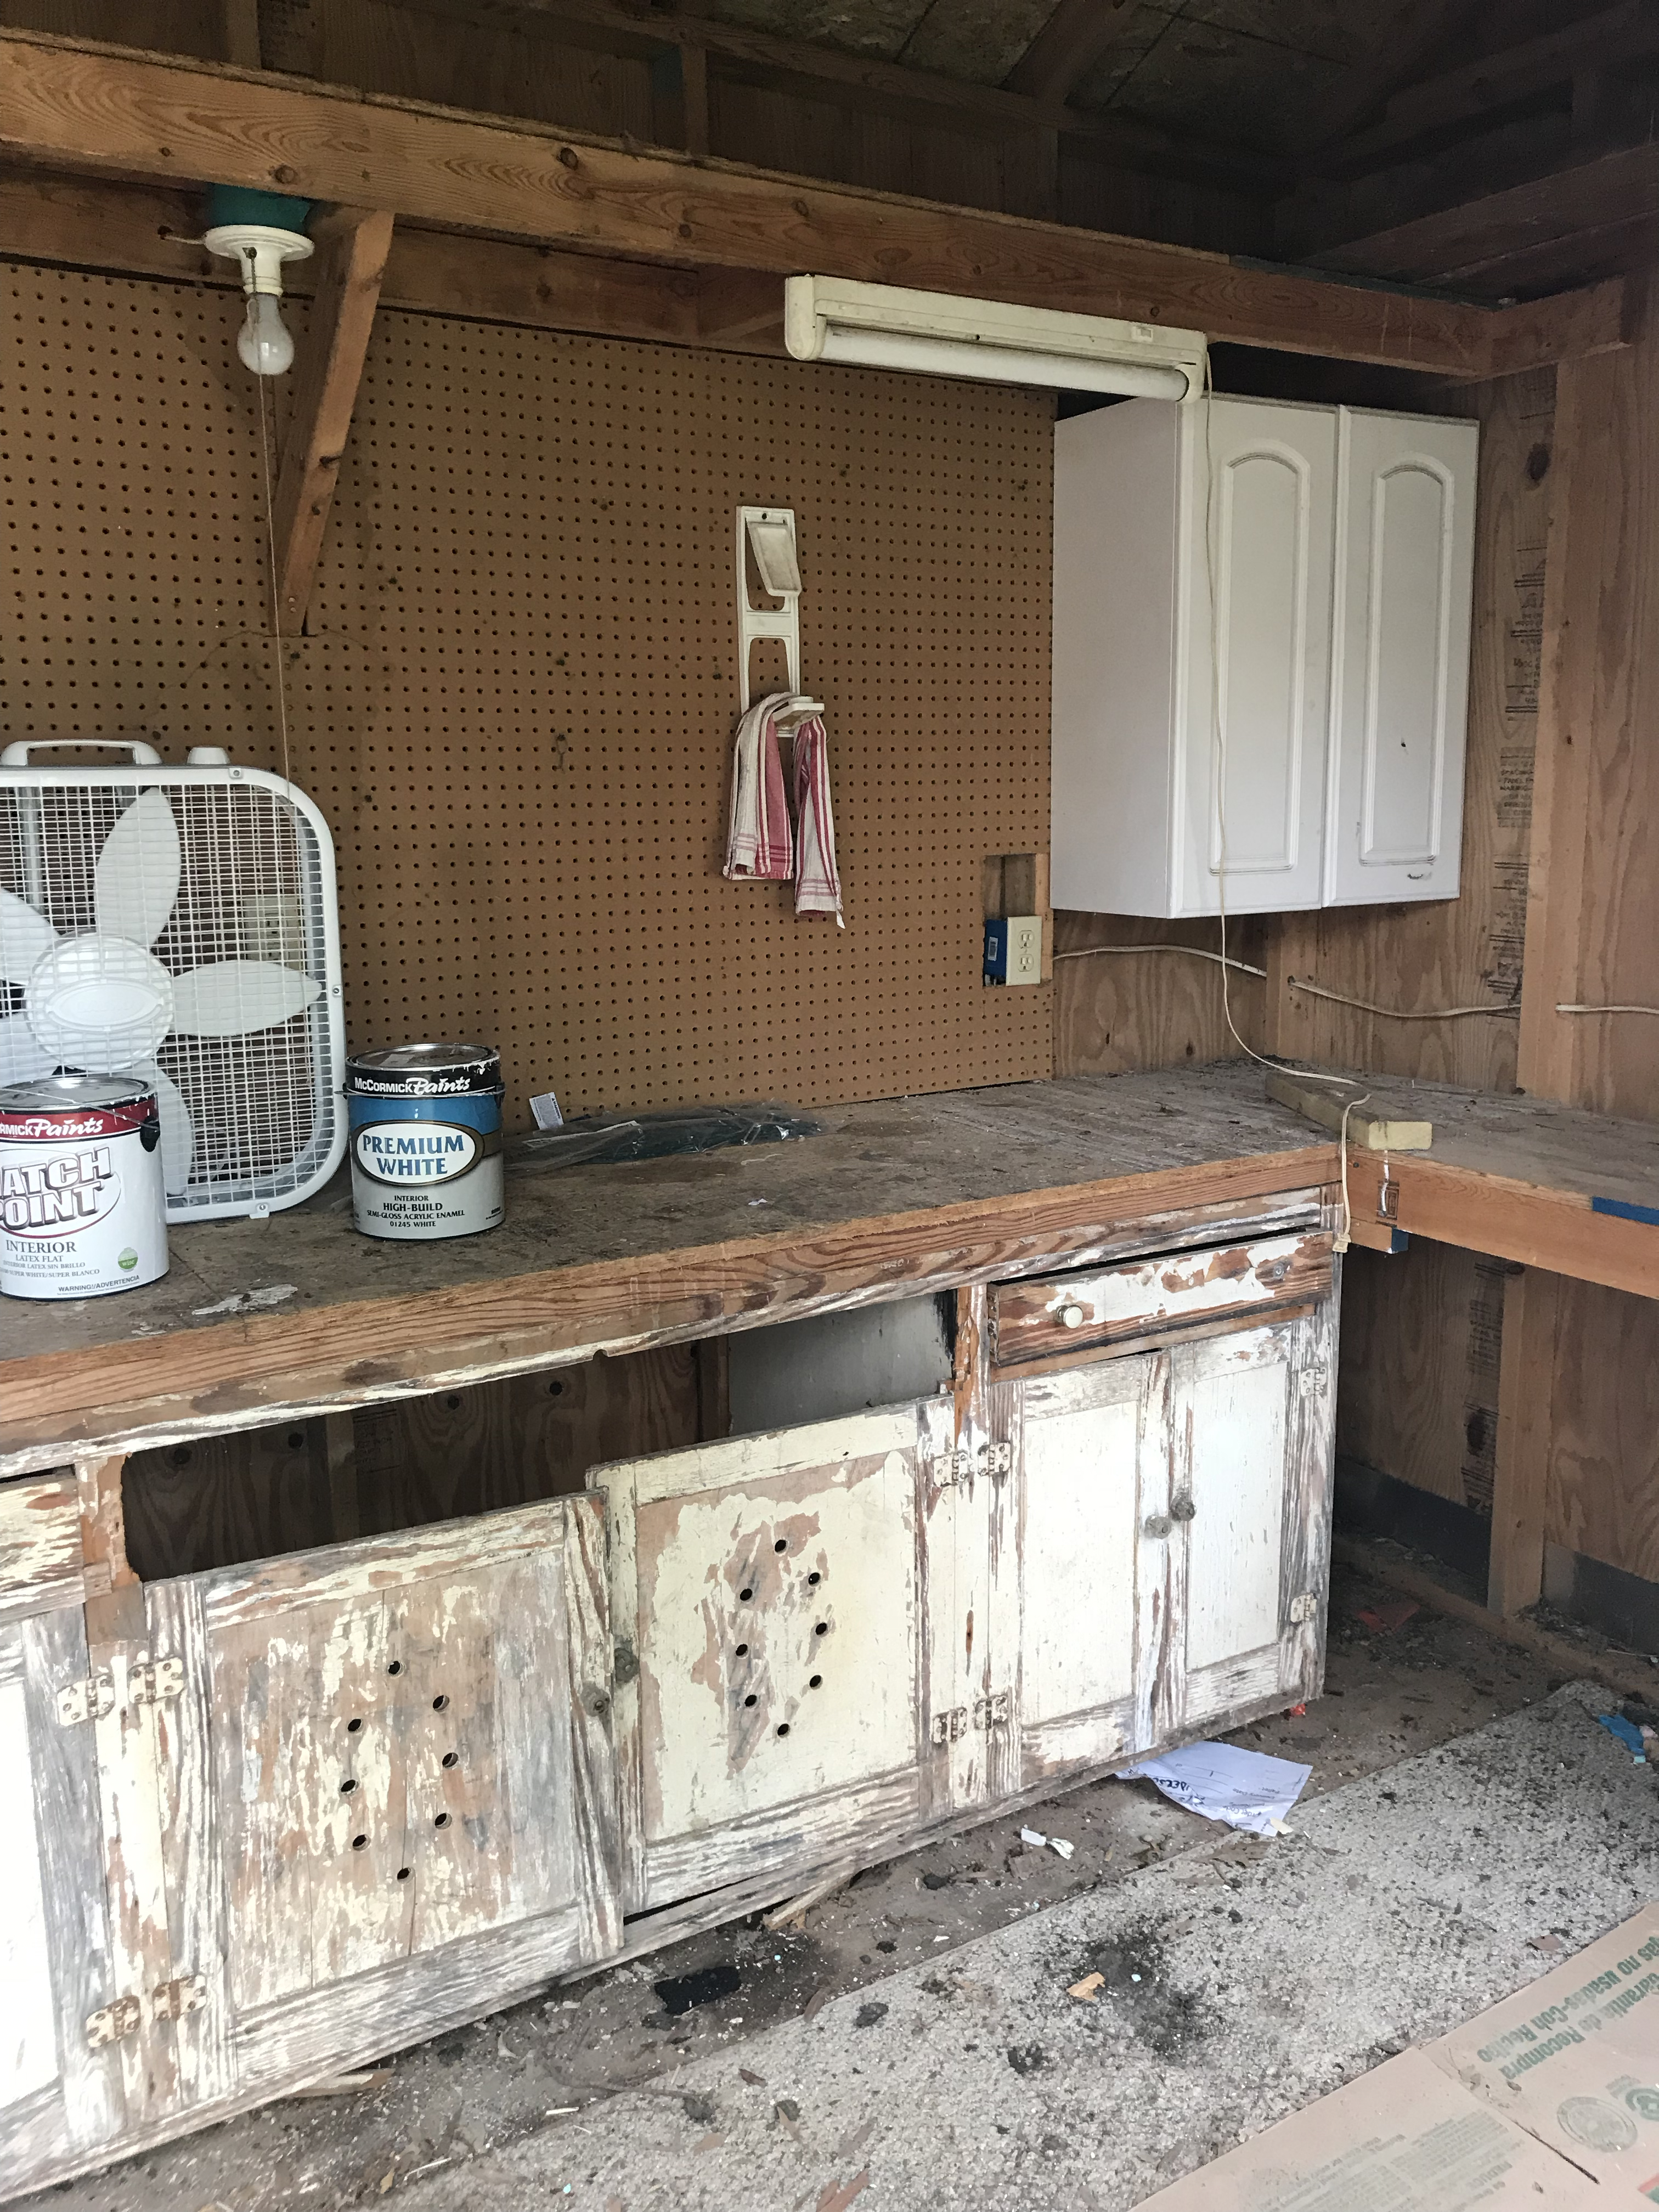
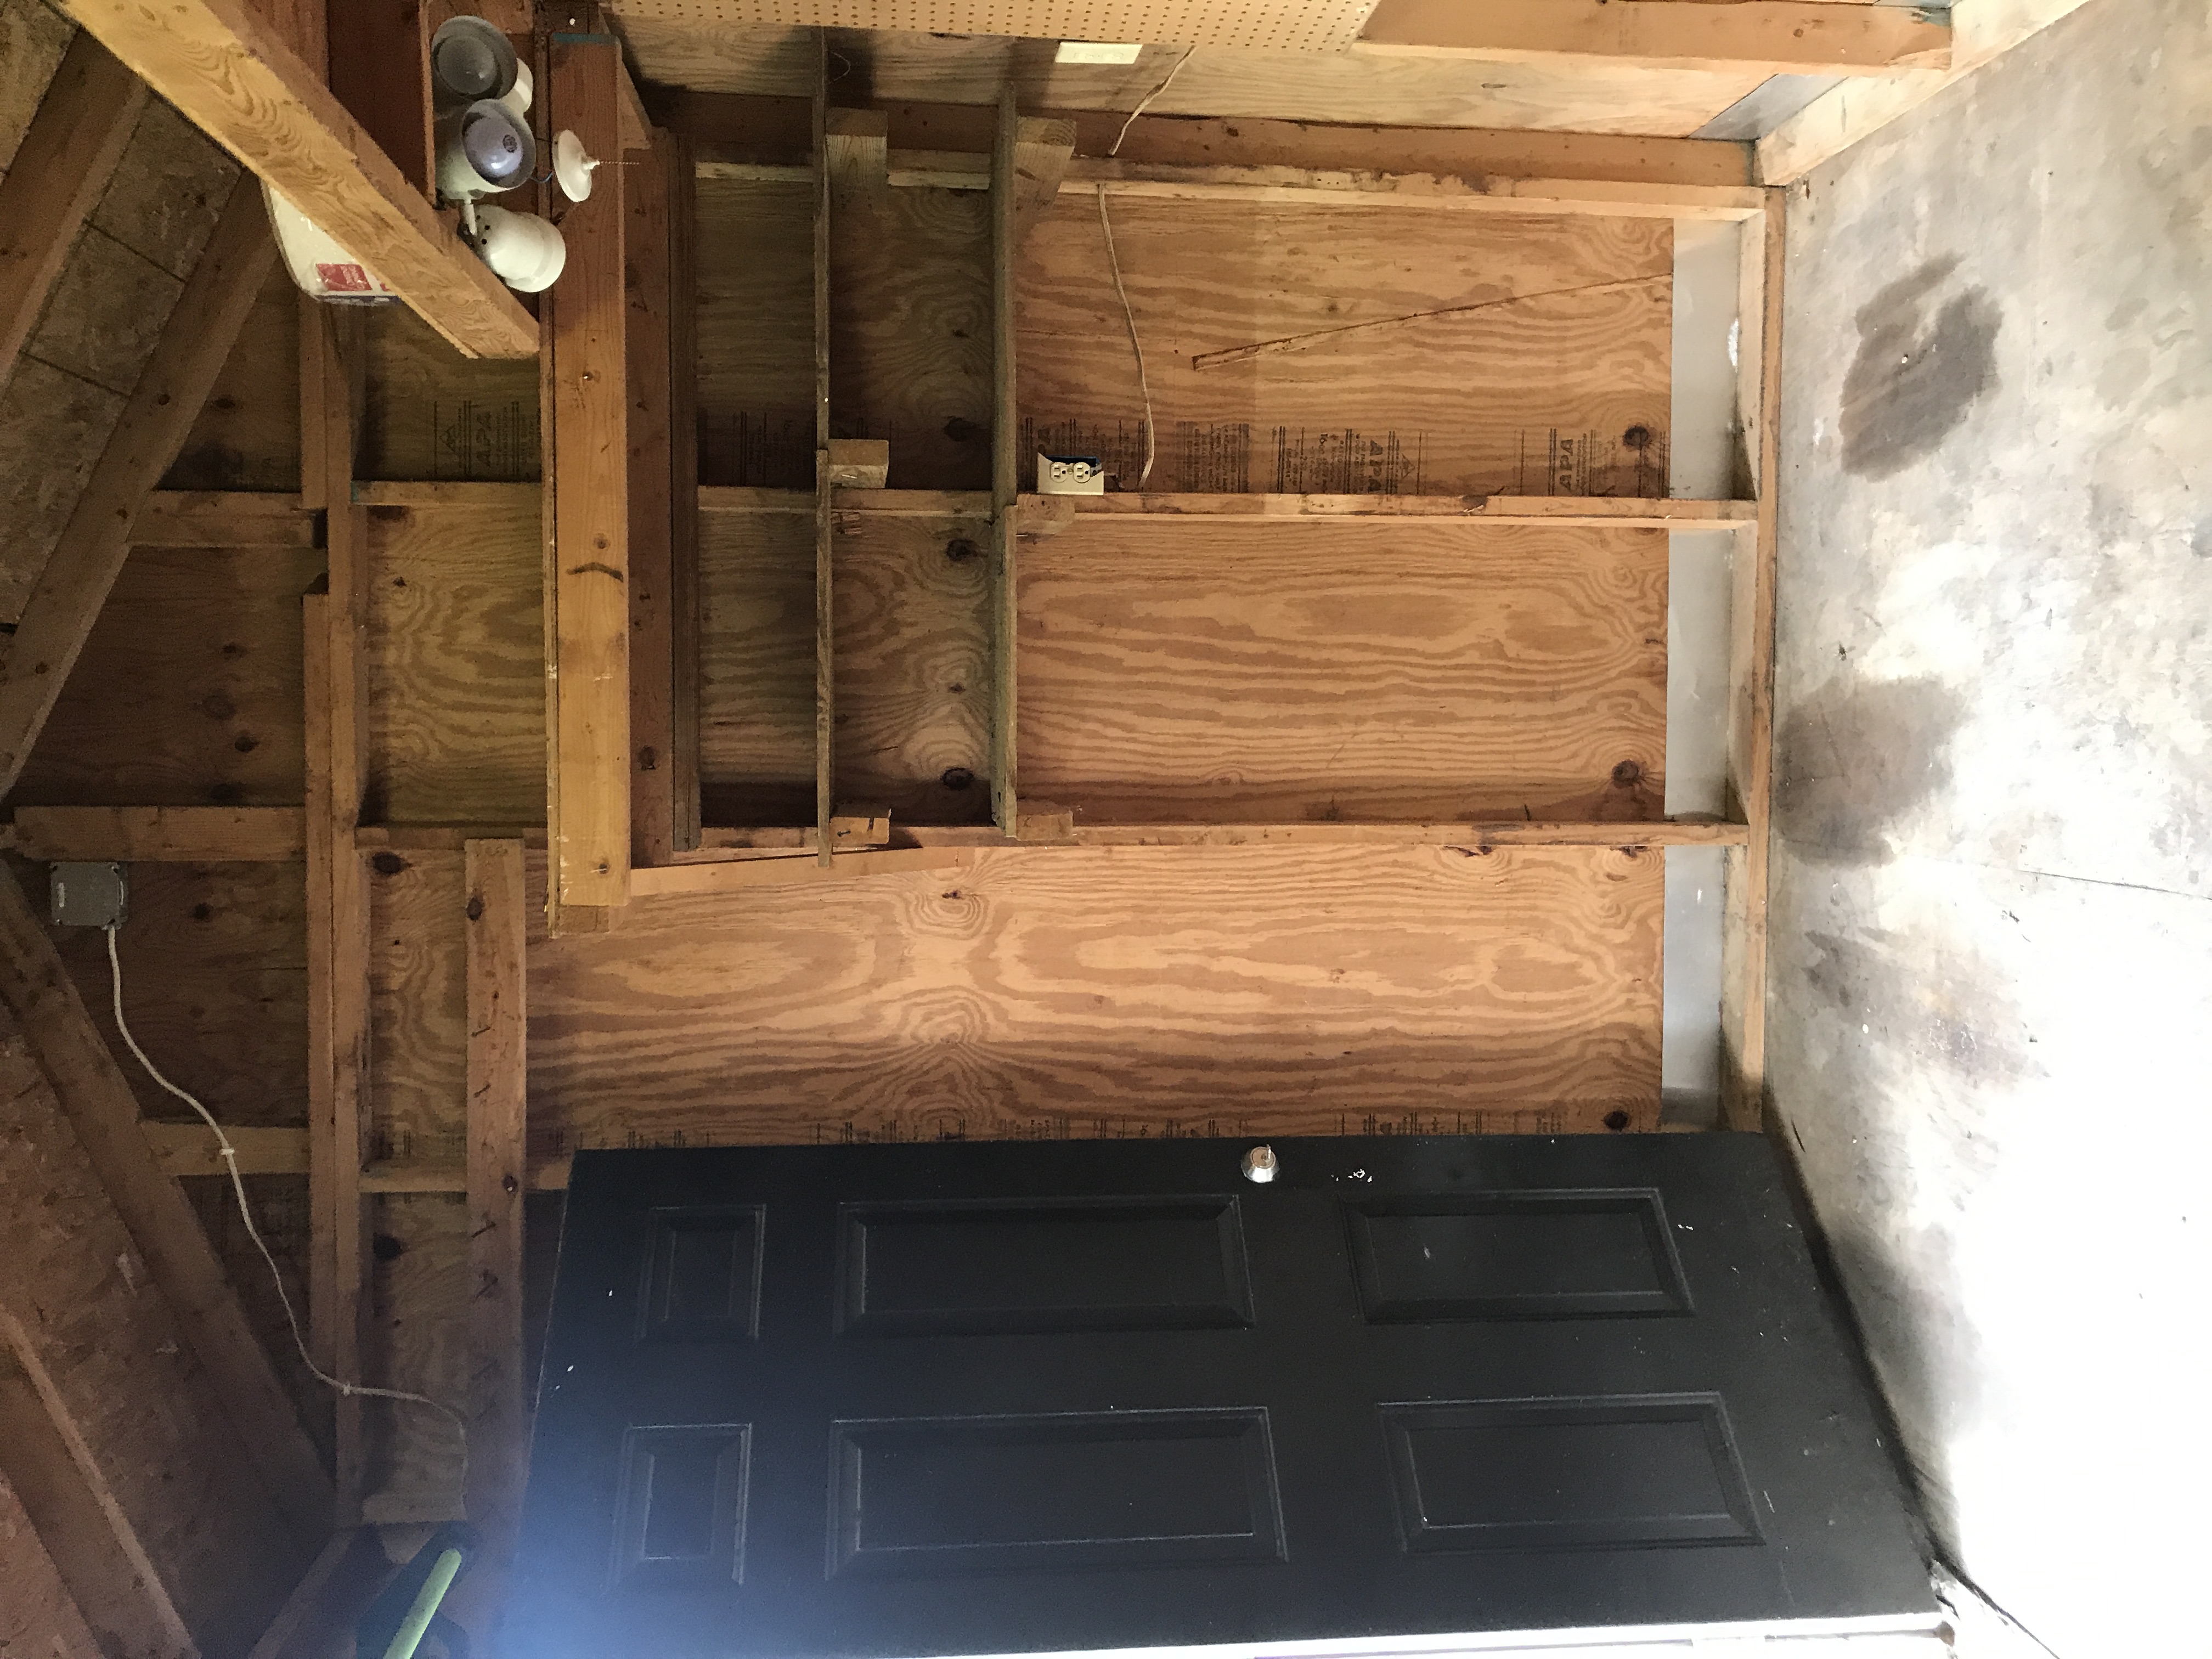
The Before:
One of the first reasons we had the idea of using the shed as a kids playhouse/clubhouse was that it was already wired for electricity! The previous owners may have used it as a workshop or wood shop, so it had functional lights, outlets, and felt set-up for more than yard tool storage.
The second reason we loved the idea of using the shed as a kids space was that our house is 1400 sq ft, and only has one main living area. We all love spending time together, and the kids also really loved the idea of having a room to call their own. Between the three they share two small bedrooms, so the clubhouse is like their overflow hang-out space. In the week since the clubhouse has been finished they have spent HOURS in it each day, and in the backyard in general. I know they love feeling some ownership over a cool clubhouse.
Okay, so we knew we wanted to convert the shed into a kids playhouse, but how to begin? Here’s the process we used:
The Process
Step One: The Exterior
The very first step for me was creating a vision for the new shed space, and painting the existing exterior! I have a straight view from my kitchen window to the shed, so I wanted it to look a little more like what the future clubhouse would look like.
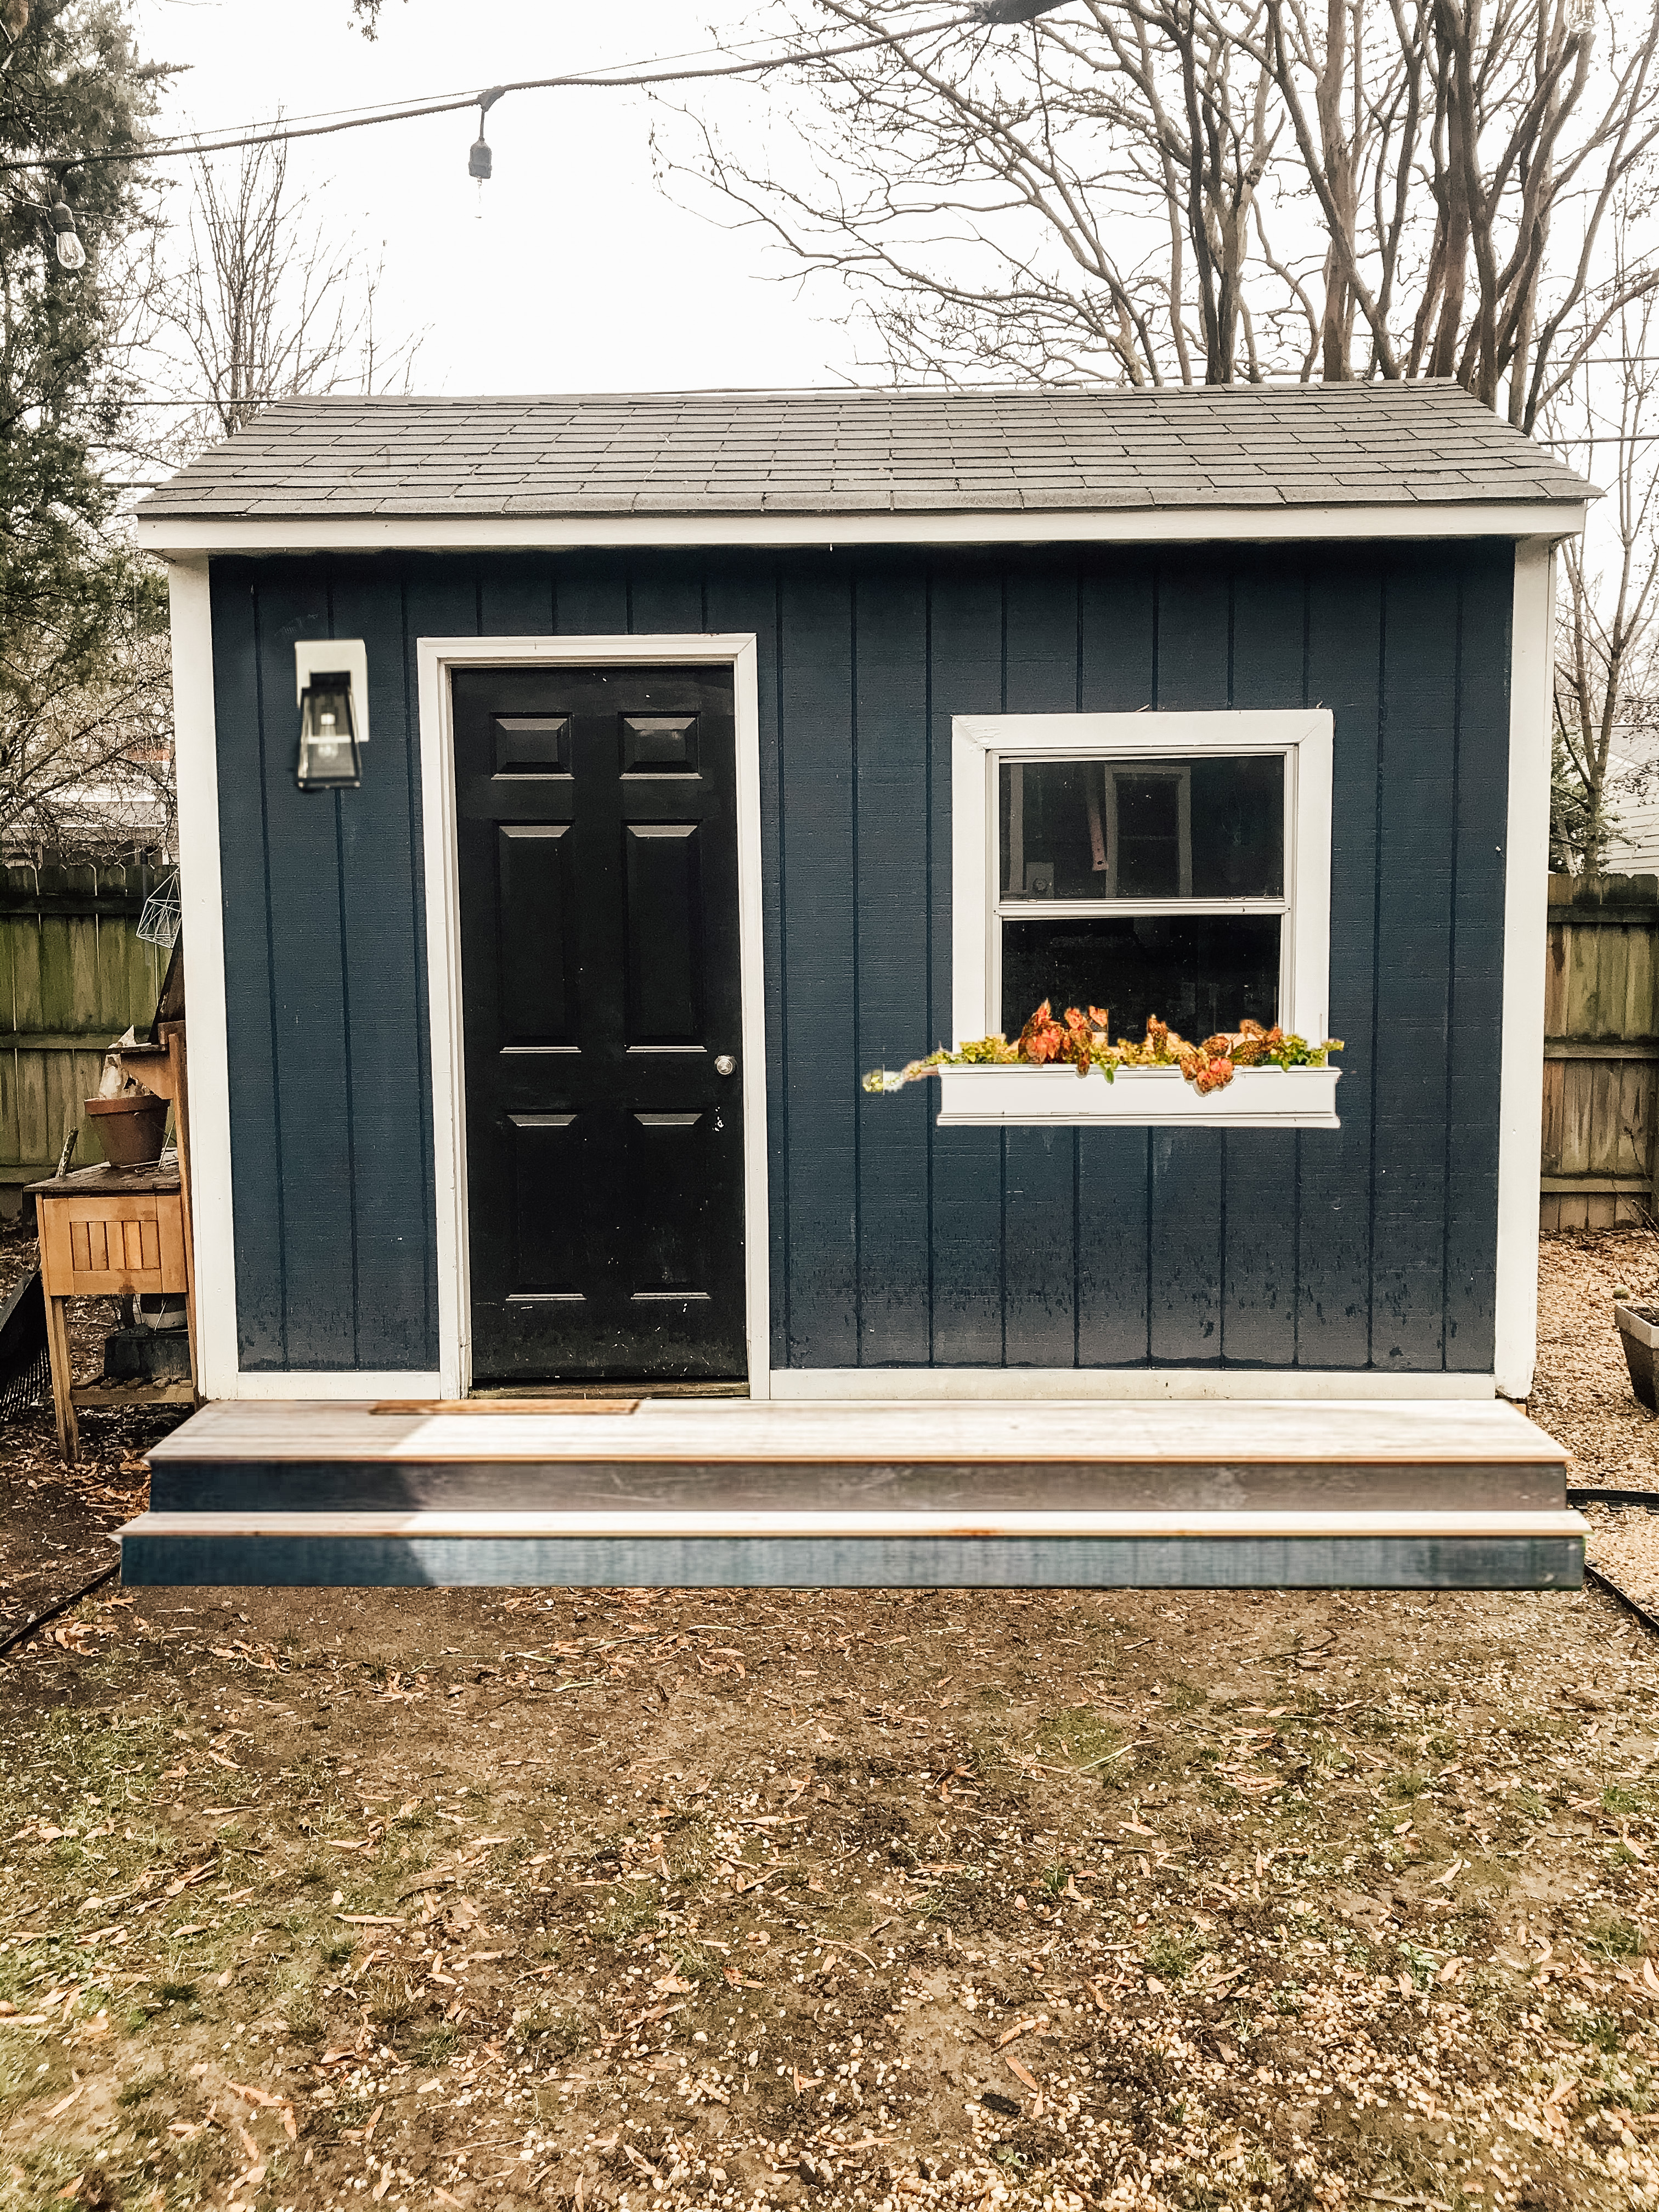
This is photoshop mock-up of the painted, future shed. I love using some simple tools on photoshop to get a real vision. You can see I also added a deck, window box, and new light to this rendering. Some of that worked out, some didn’t turn out exactly the same, either way starting with a plan is a great idea!
Here’s a quick video of me painting the exterior with my favorite paint sprayer.
Step Two: Addition
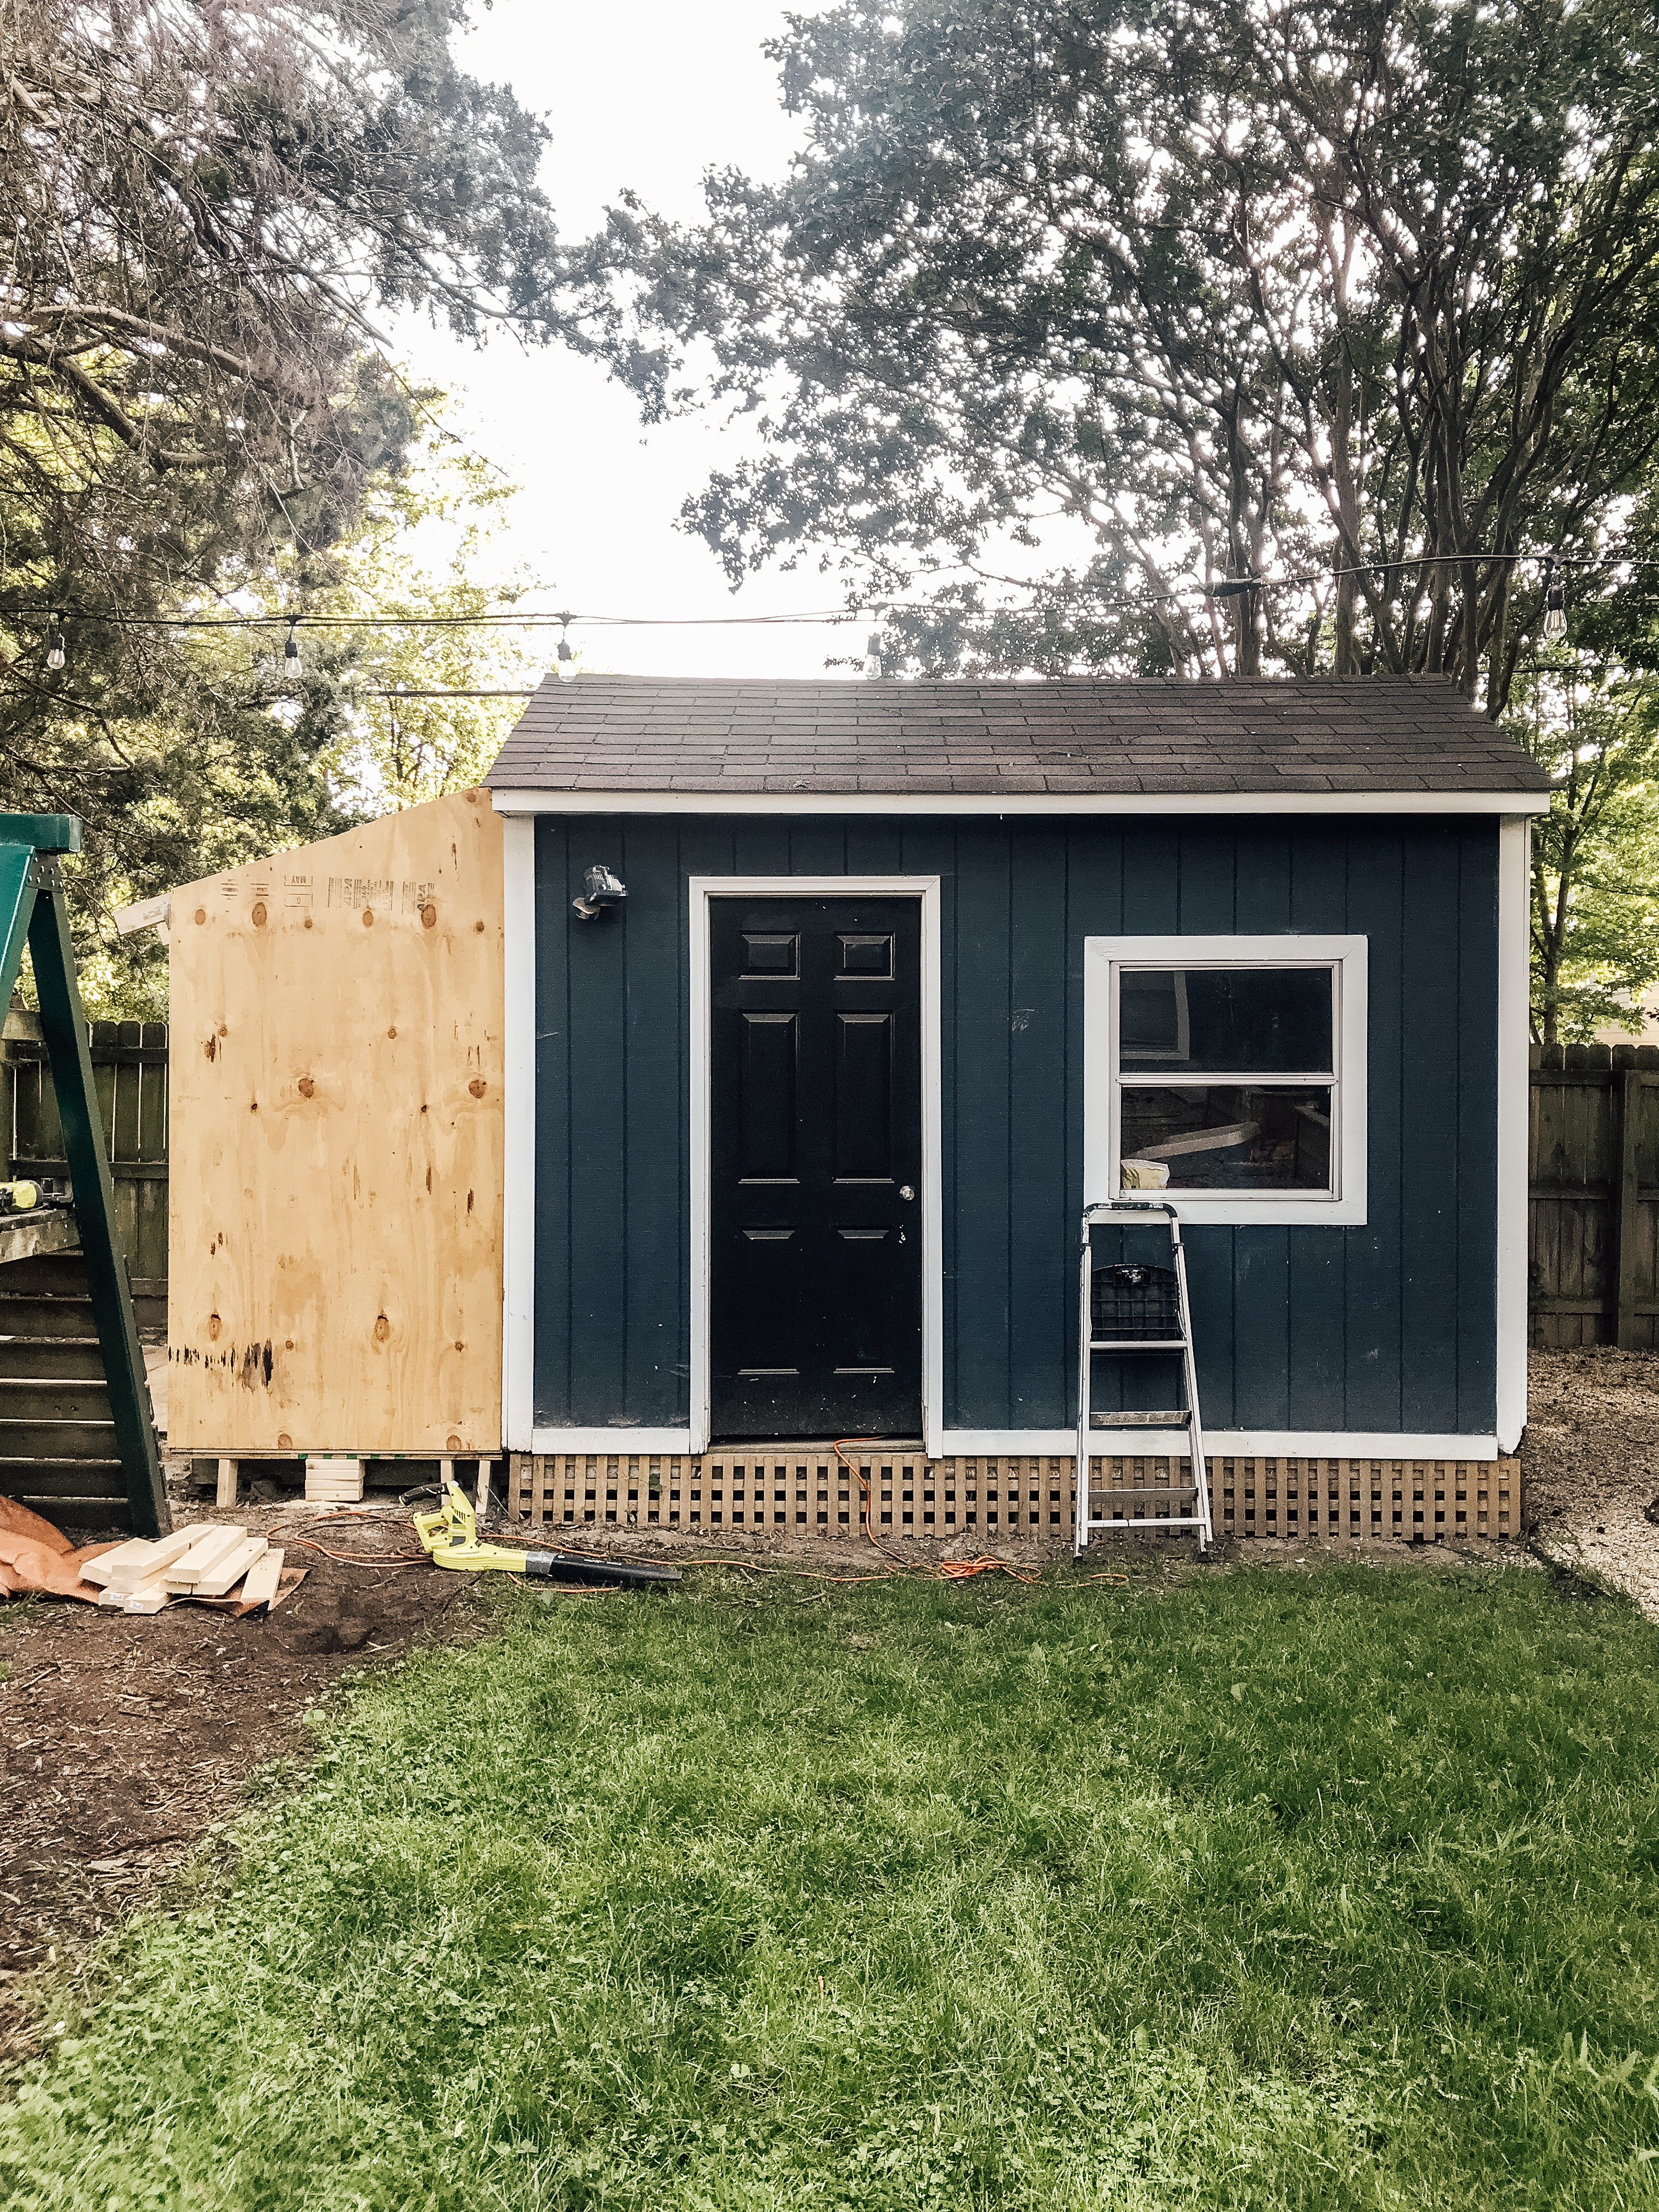
Step two for us was building a small shed addition. Although we didn’t need the FULL shed square footage for yard and power tools, we did need a little bit of covered storage space. I went through some ideas like: getting an additional small shed, trying to move everything inside, and utilizing the space beneath the back deck. Ultimately, I decided creating a small lean-to shed addition on the existing shed made the most sense.
This shed addition is a great example of how someone with a little gumption and access to free YouTube videos on the internet can make things happen. I had never built something so structural before, but I did it all in 3 days using DIY videos and listening to hours of audiobooks. Once the addition was painted and ready, I could move all of our shed storage into this smaller, more easily accessible space. Then the work on the clubhouse side could begin!
Step 3: Demo and Cleaning
After moving all the STUFF out, we were ready to clear away the unnecessary shelving units, light fixtures and basically strip the inside down to the basic studs.
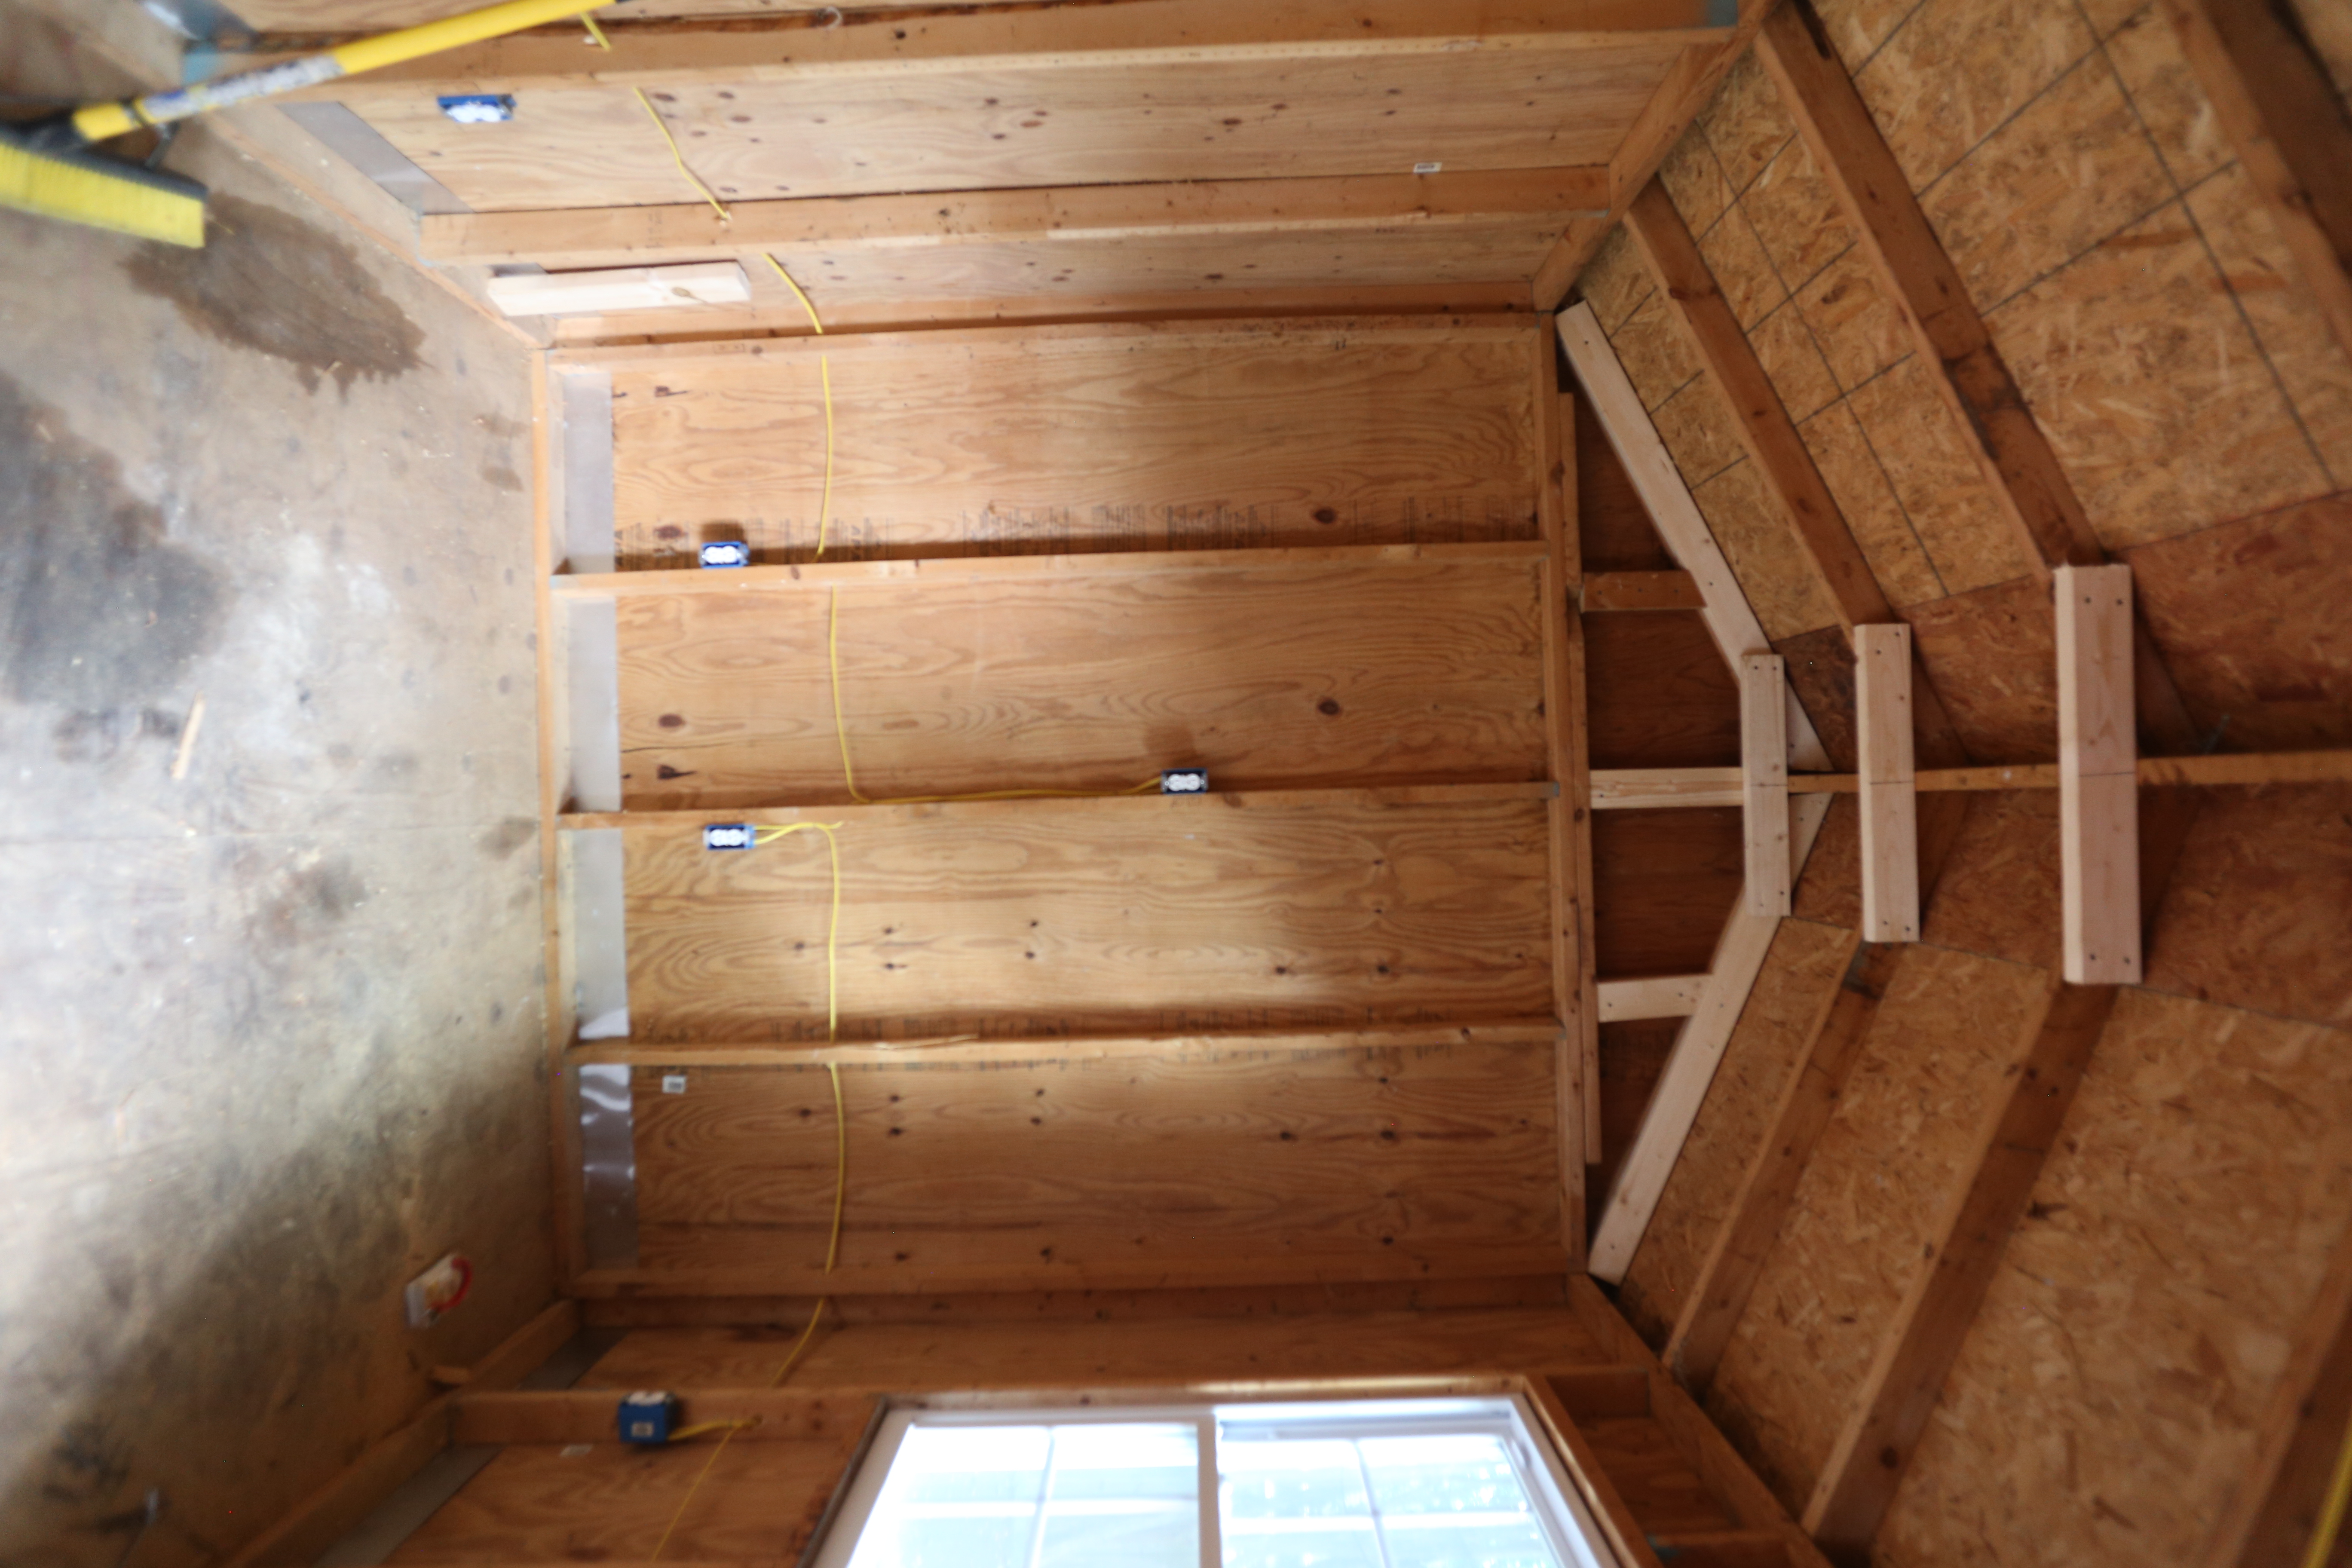
Step Four: Framing and Electrical Rough-In
The big turning point in the shed transformation project was when I decided to hire out the electrical and drywall. I have some basic experience with both of these things (changing electrical light fixtures, patching drywall…) but had to come to recognize that I was NOT interested in taking the time necessary to learn two whole new trades.
I hired a local company to come move the electrical outlets and fixtures to where we needed them for the layout of the clubhouse interior. It was well worth the $600 to have it done well and safely.
The drywall team added a few studs to the ceiling and made sure the walls were plumb so their drywall installation would be easier. Both great preparation steps that I wouldn’t have even known to make happen!
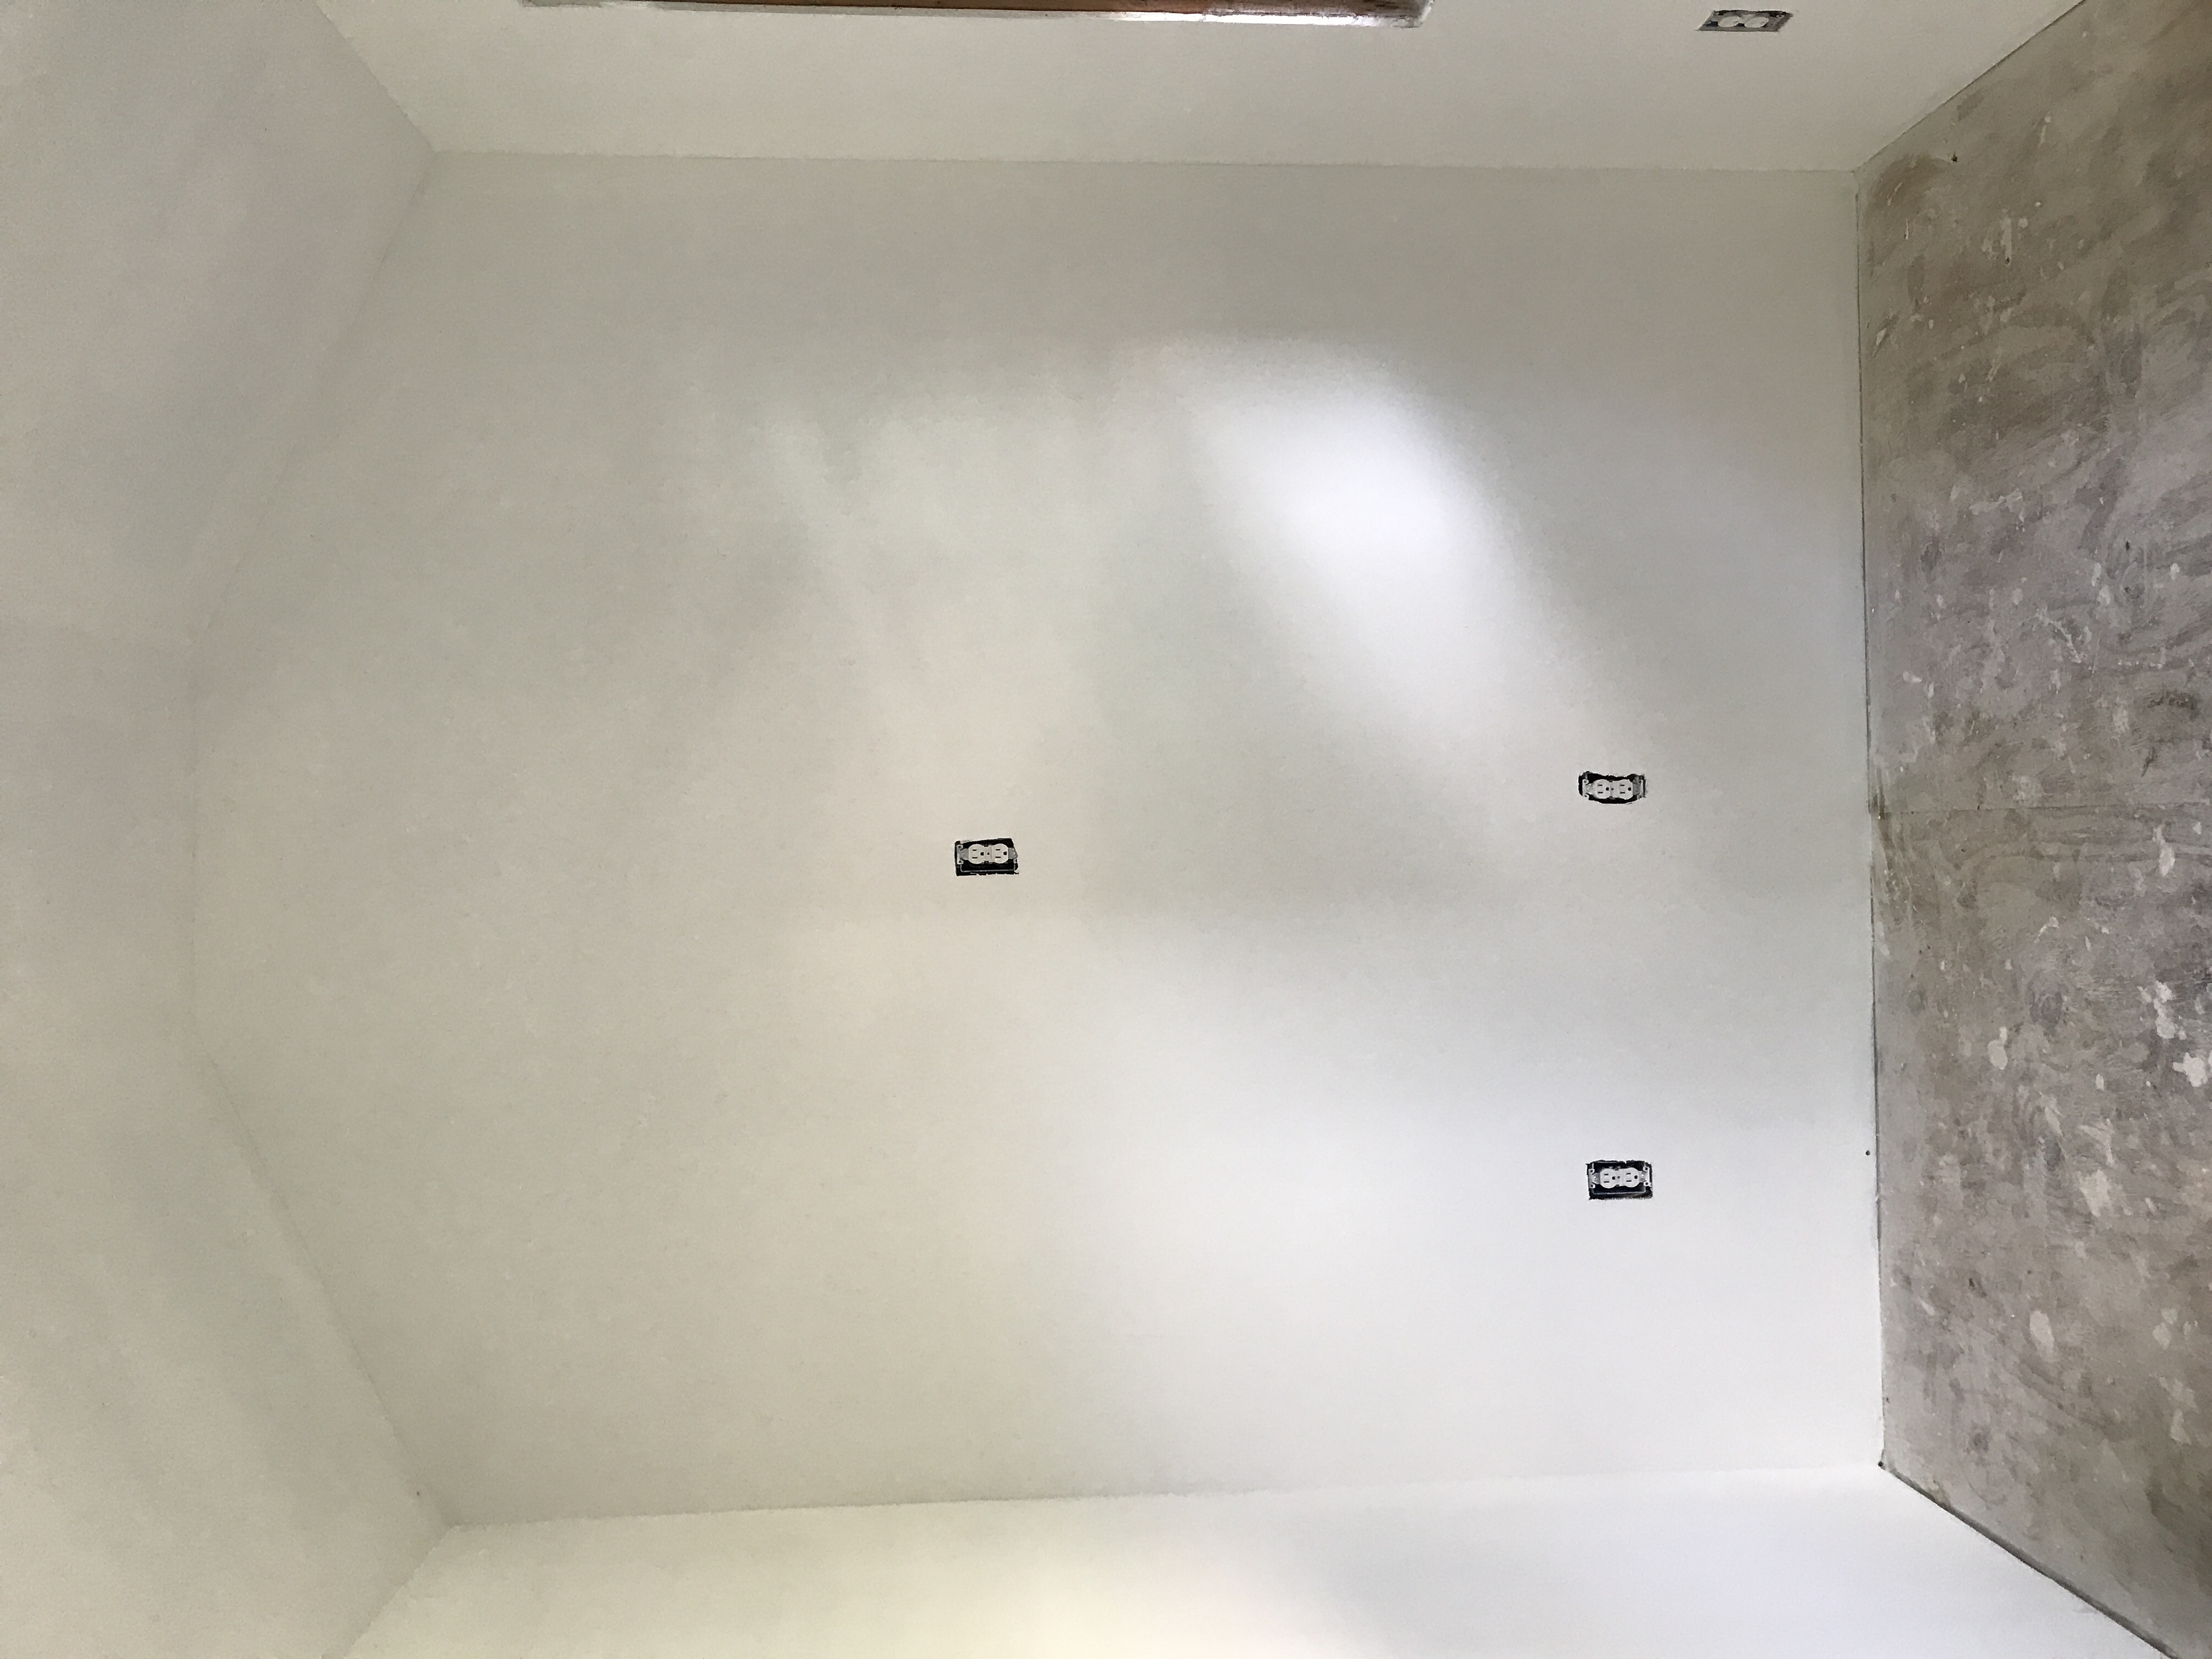
Step Five: Drywall, Paint + Trim
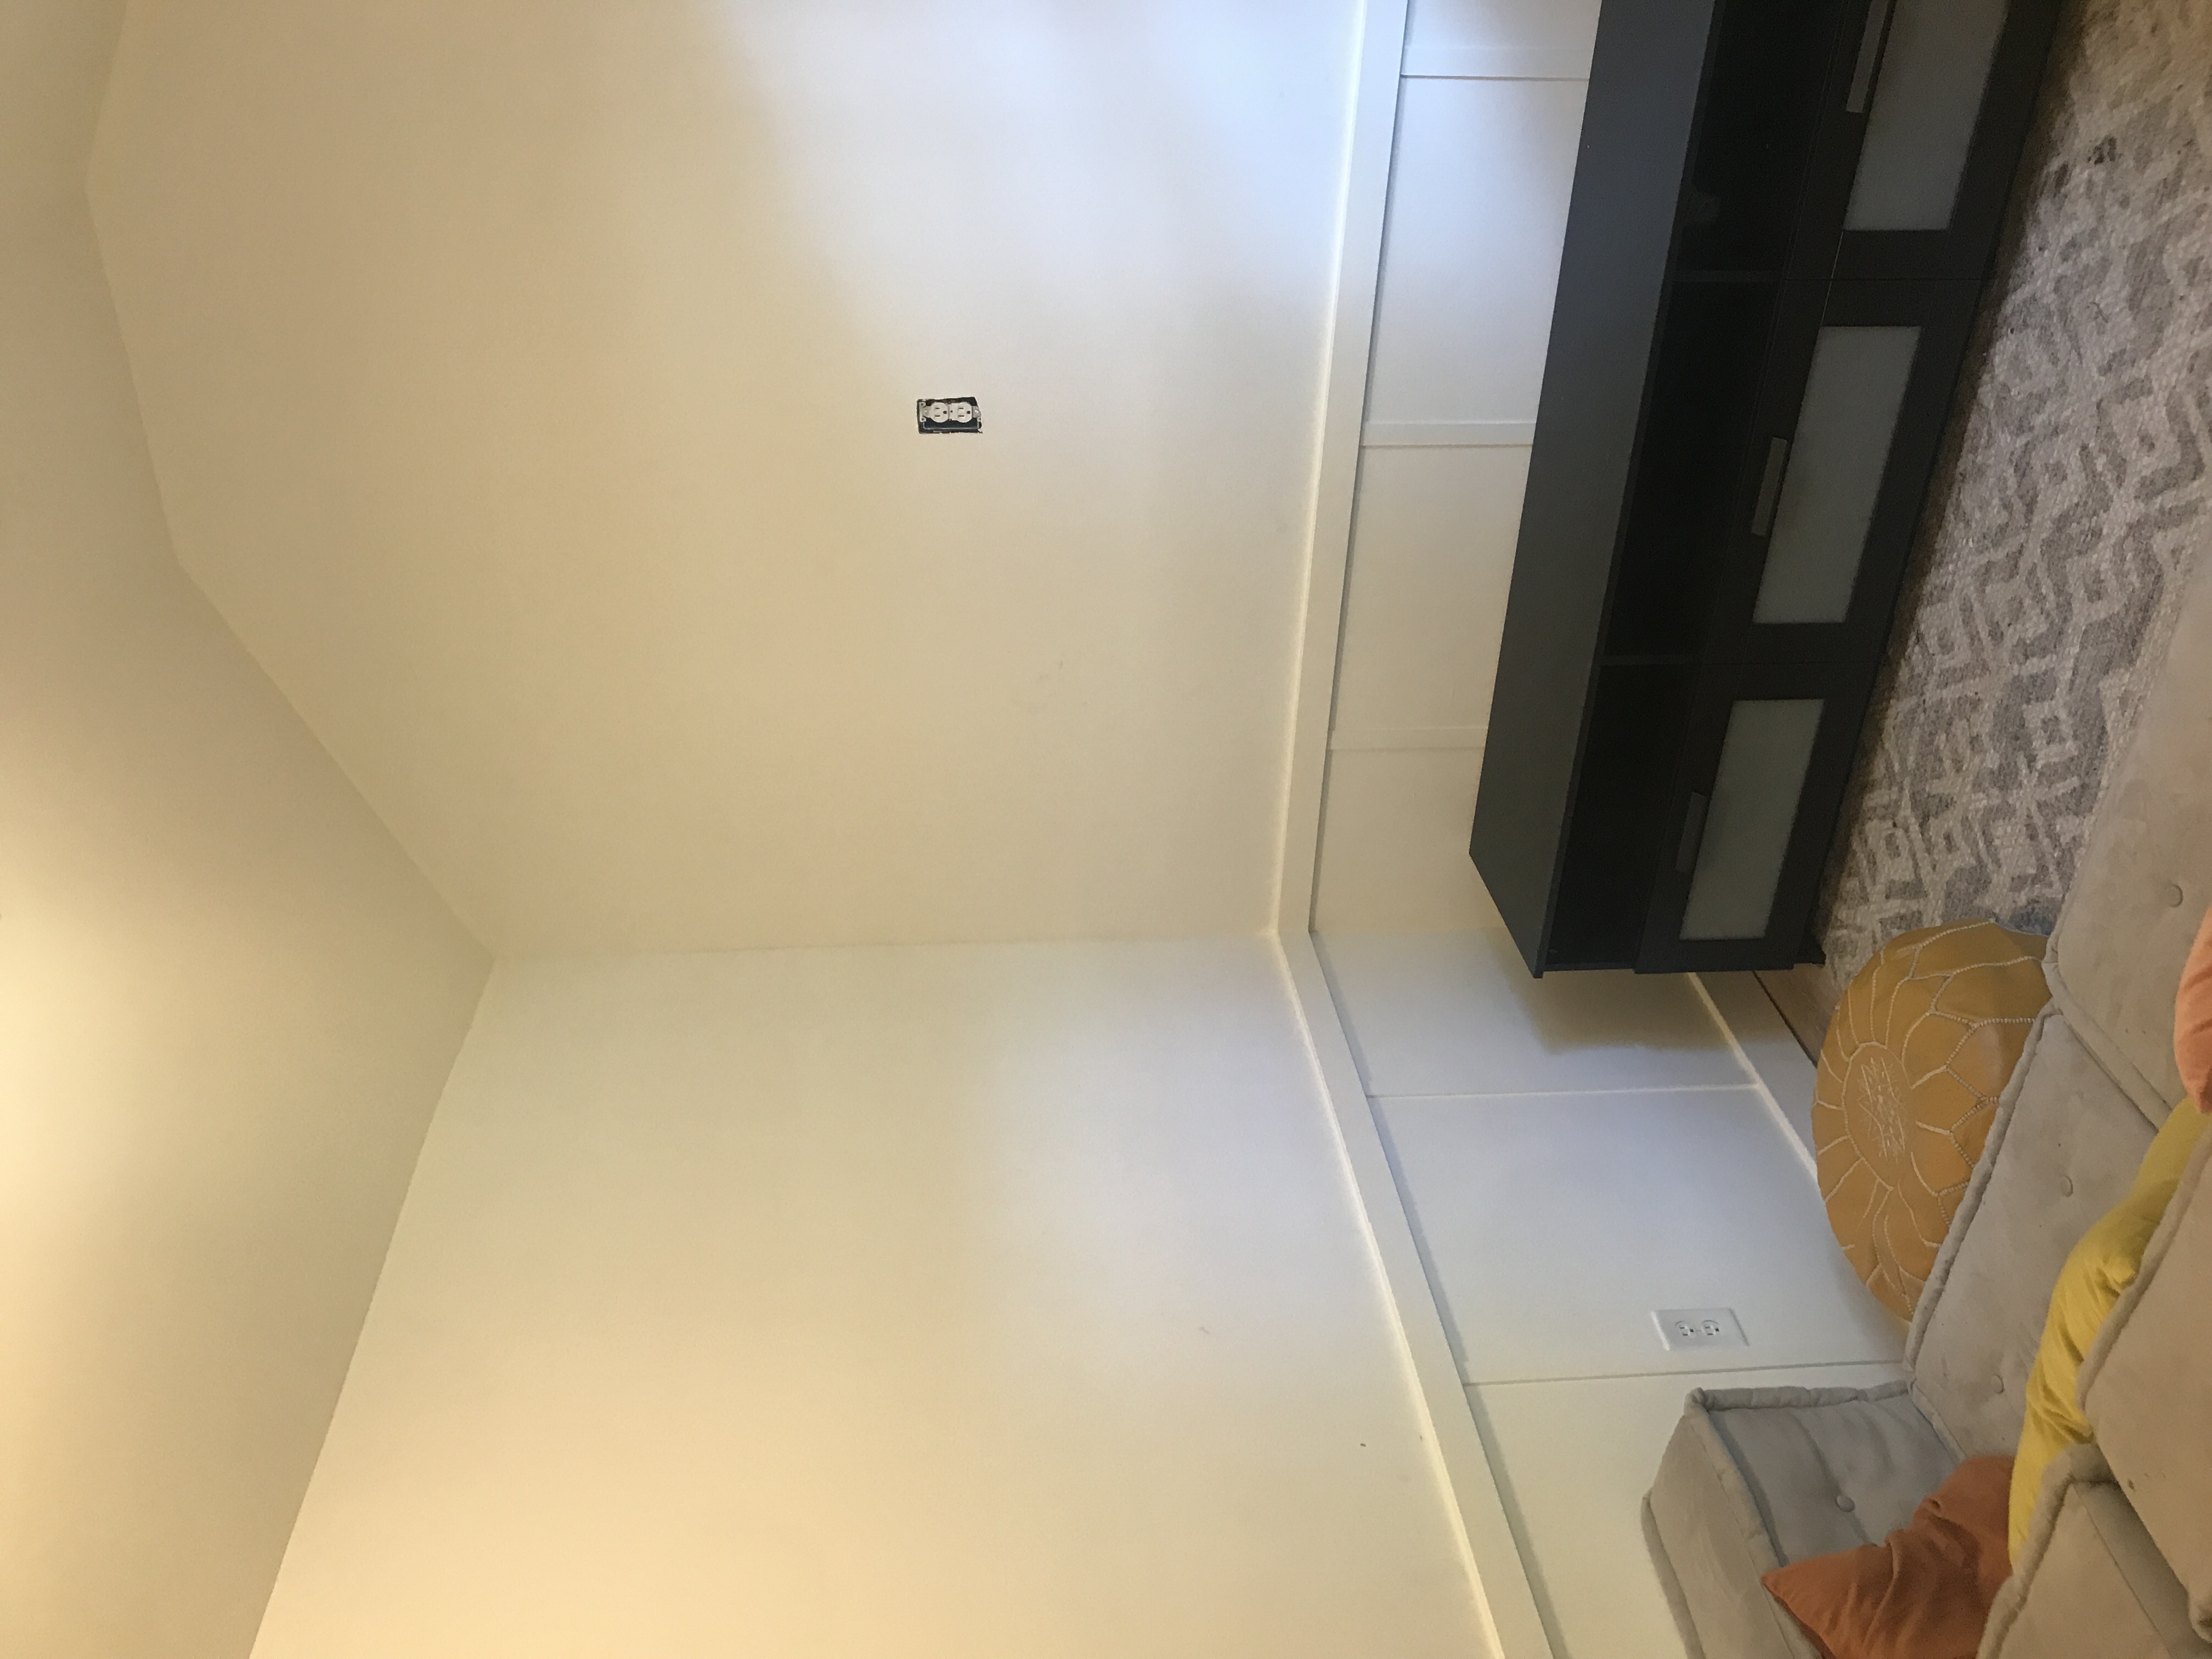
Hiring out the drywall was a huge relief, and I was able to focus on planning for paint and trim once they finished. The sheetrock took 2 days to install and sand, then I came back in with wood trim for a short, DIY board and batton wall treatment on three of the four walls.
I used simple trim boards and primed lattice to create this modern architectural feature, then painted everything a durable, eggshell Sherwin-Williams Extra White.
Step Six: Floors and Fixtures
This is the home-stretch! For floors I decided to go with Lifeproof Vinyl plank flooring, and installed it myself. It is durable and looks nice, but was still budget friendly. I always love a huge rug, too, so most of it is covered up with the cozy carpet.
I added a Hunter ceiling fan for airflow and temperature control. I love how simple it was to put up, and how nice-looking it is!
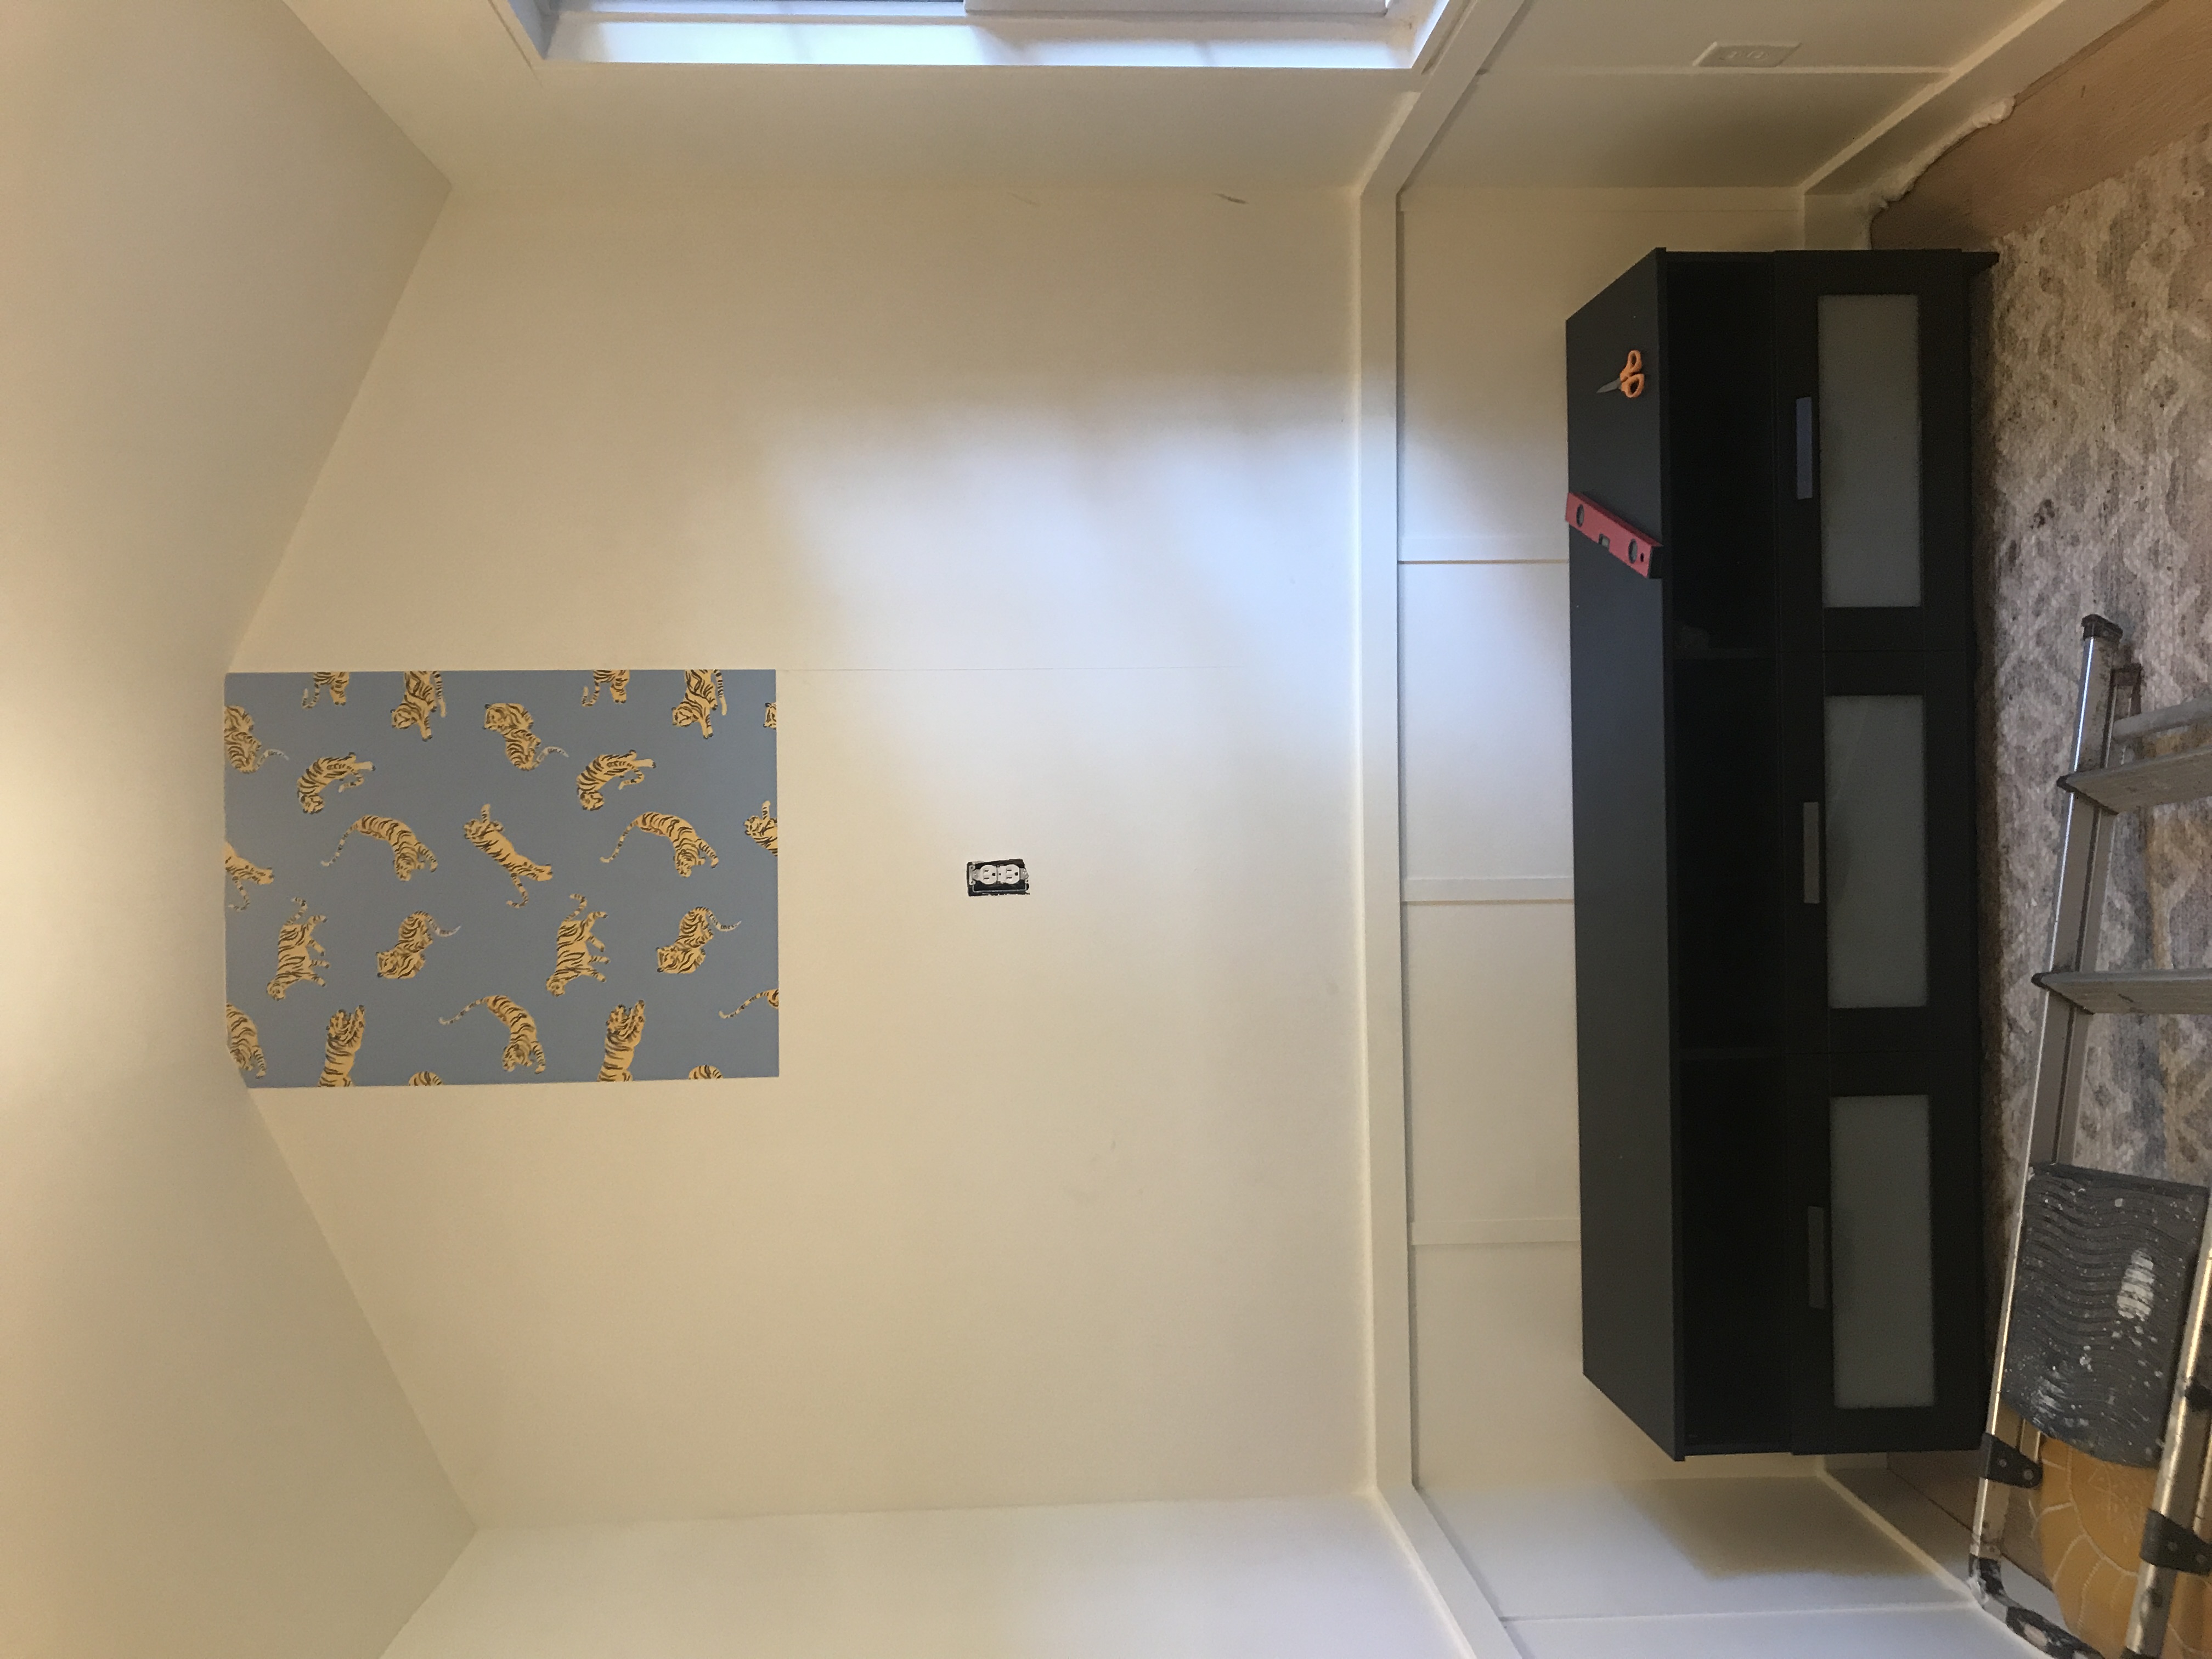
Step Seven: Tiger Wallpaper
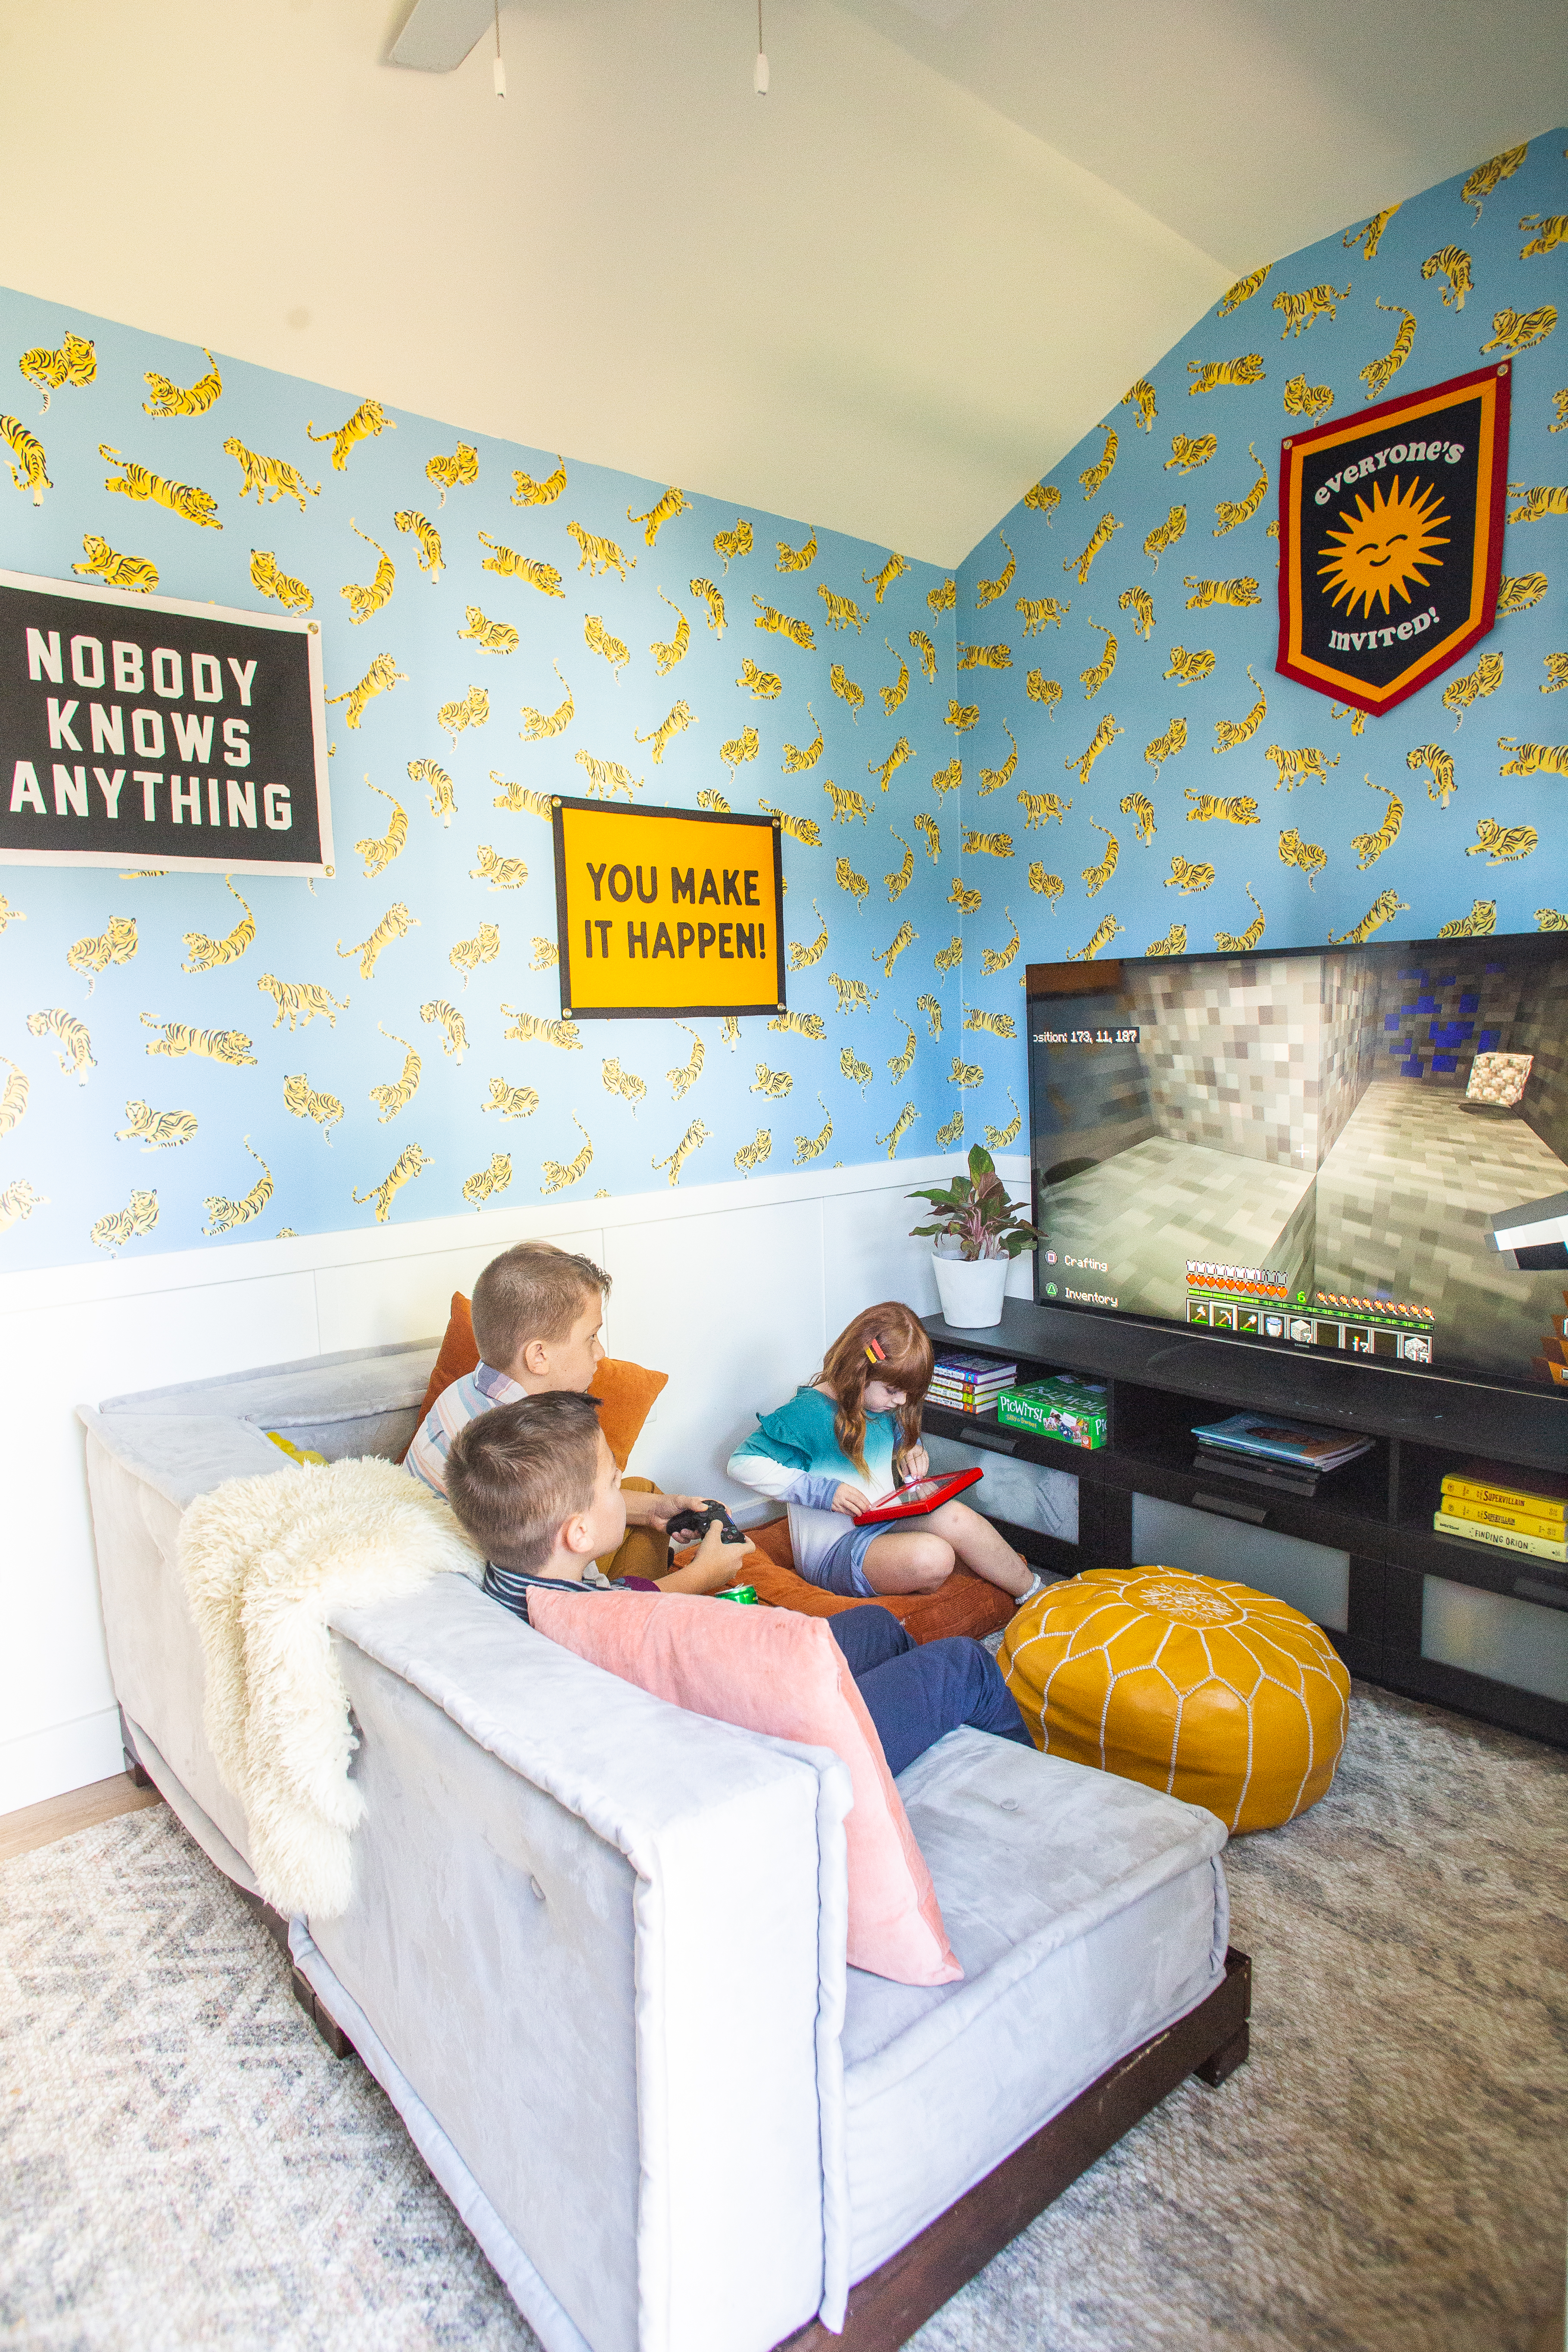
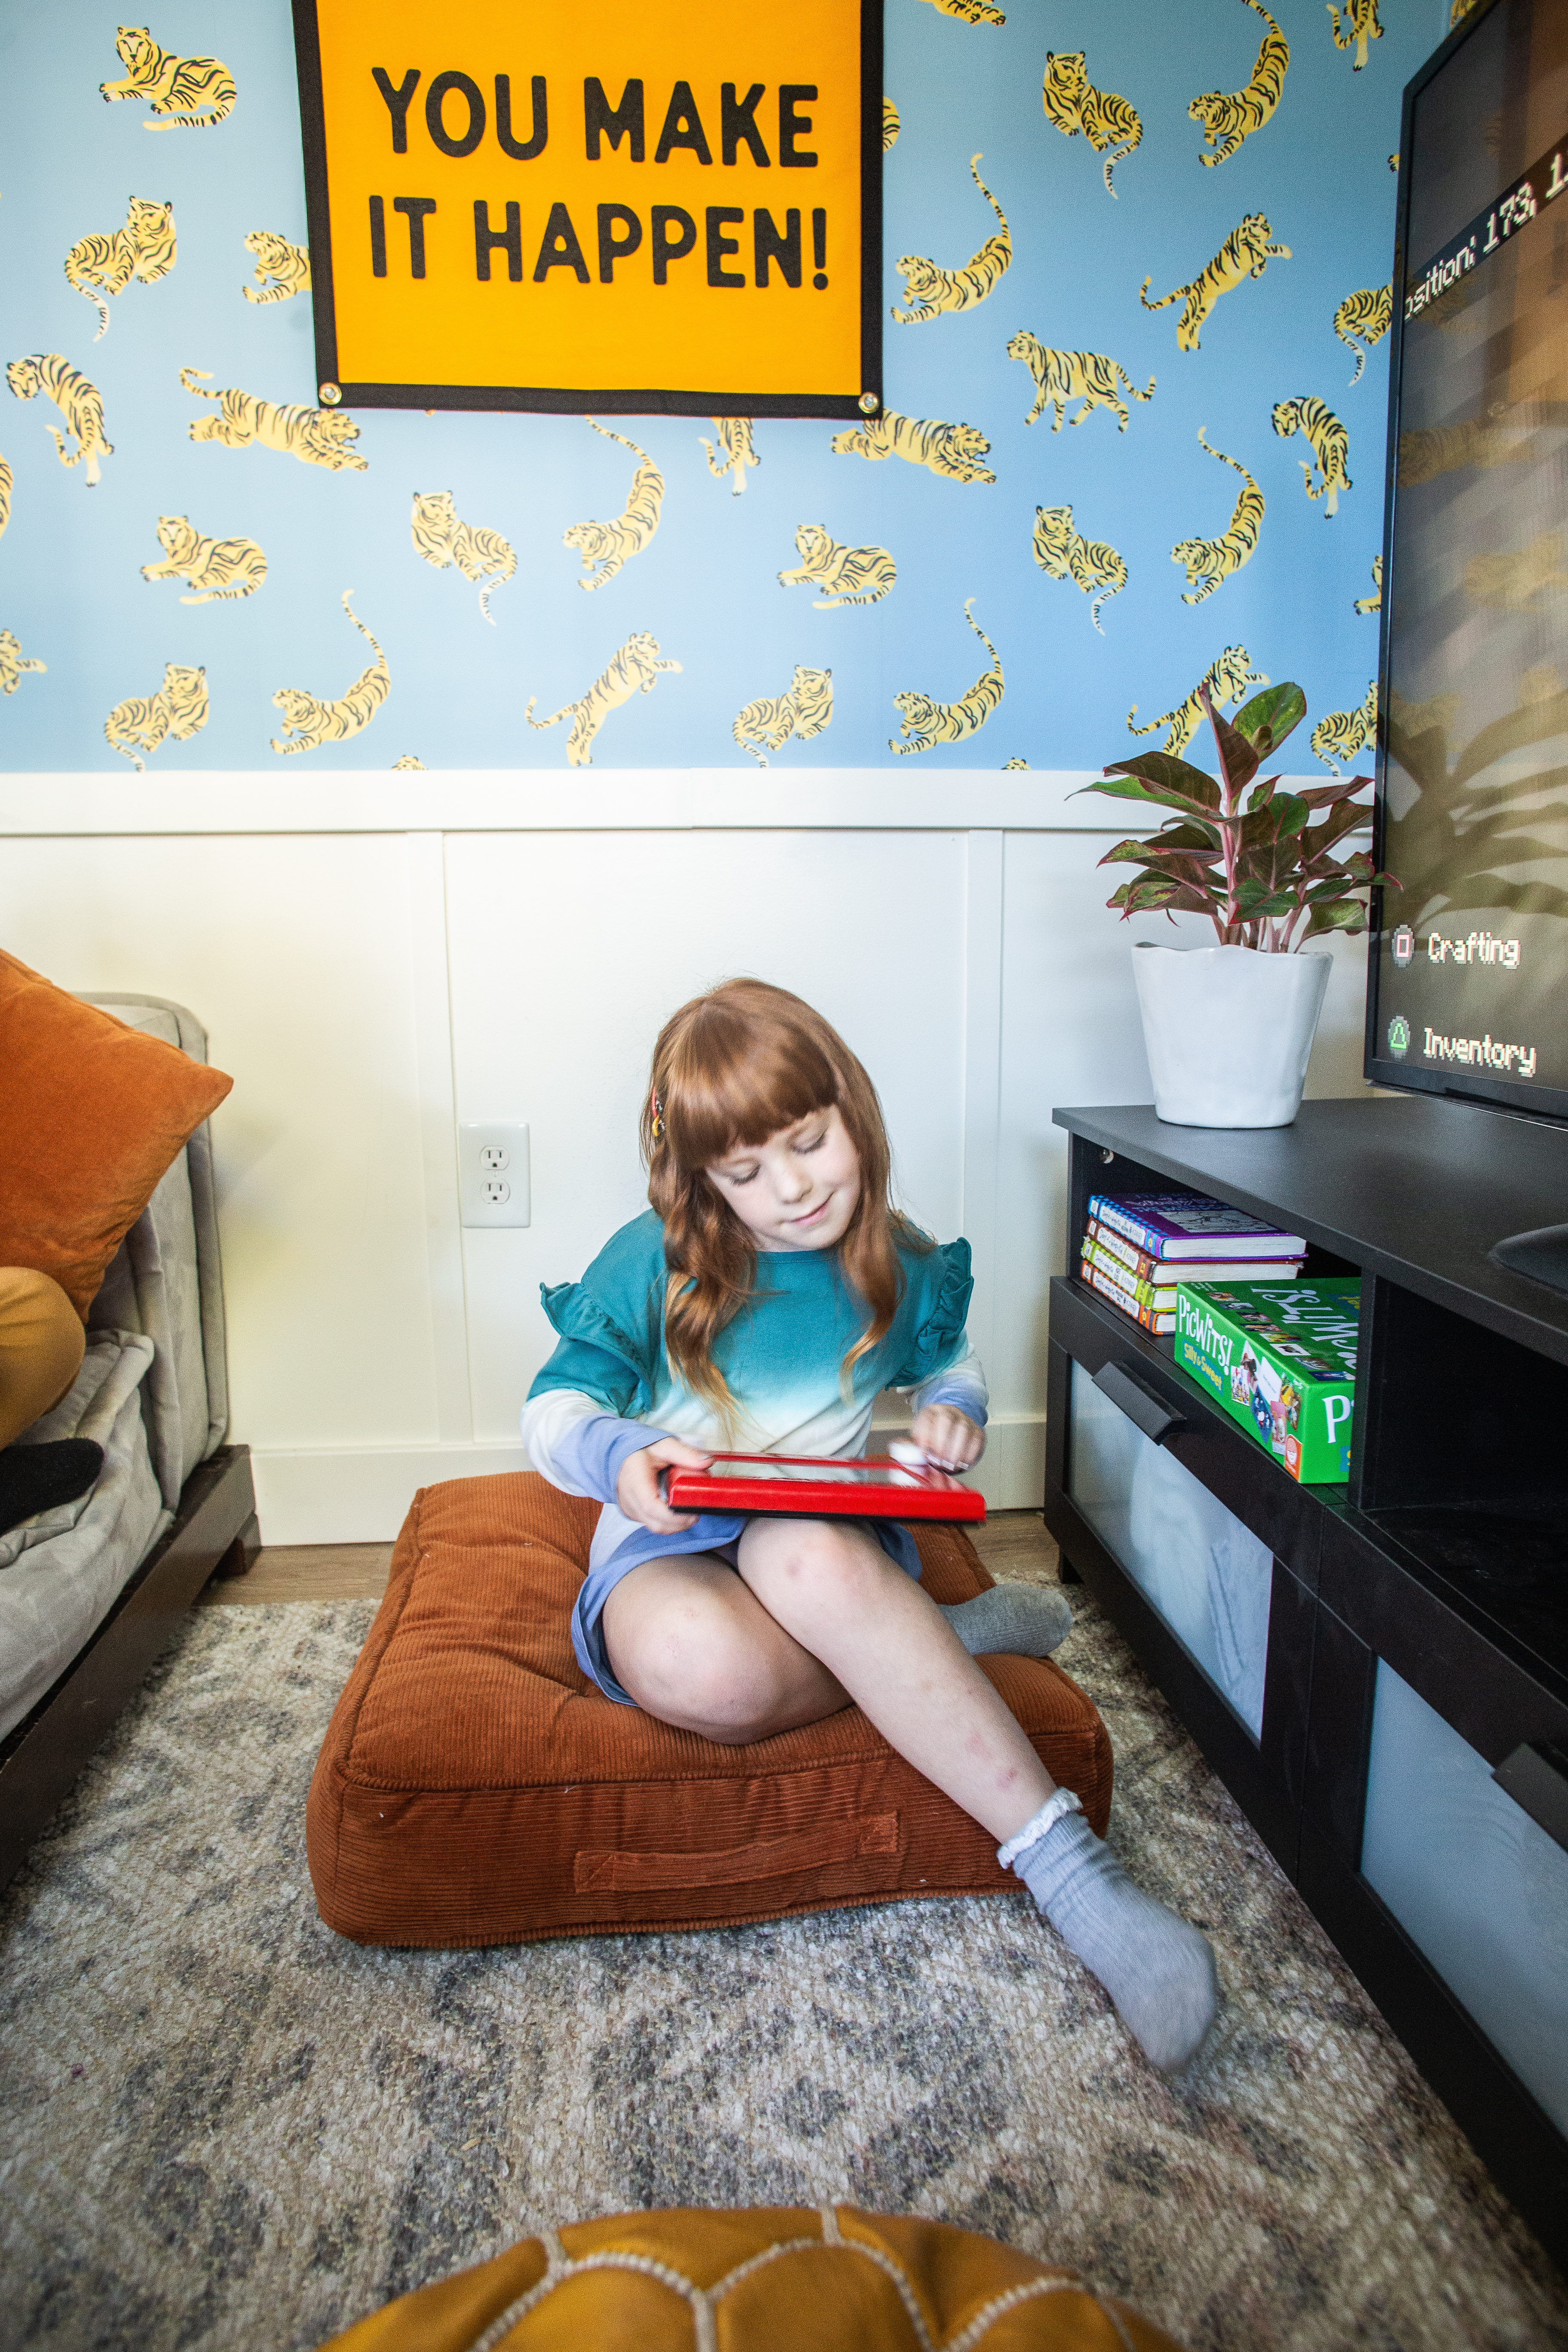
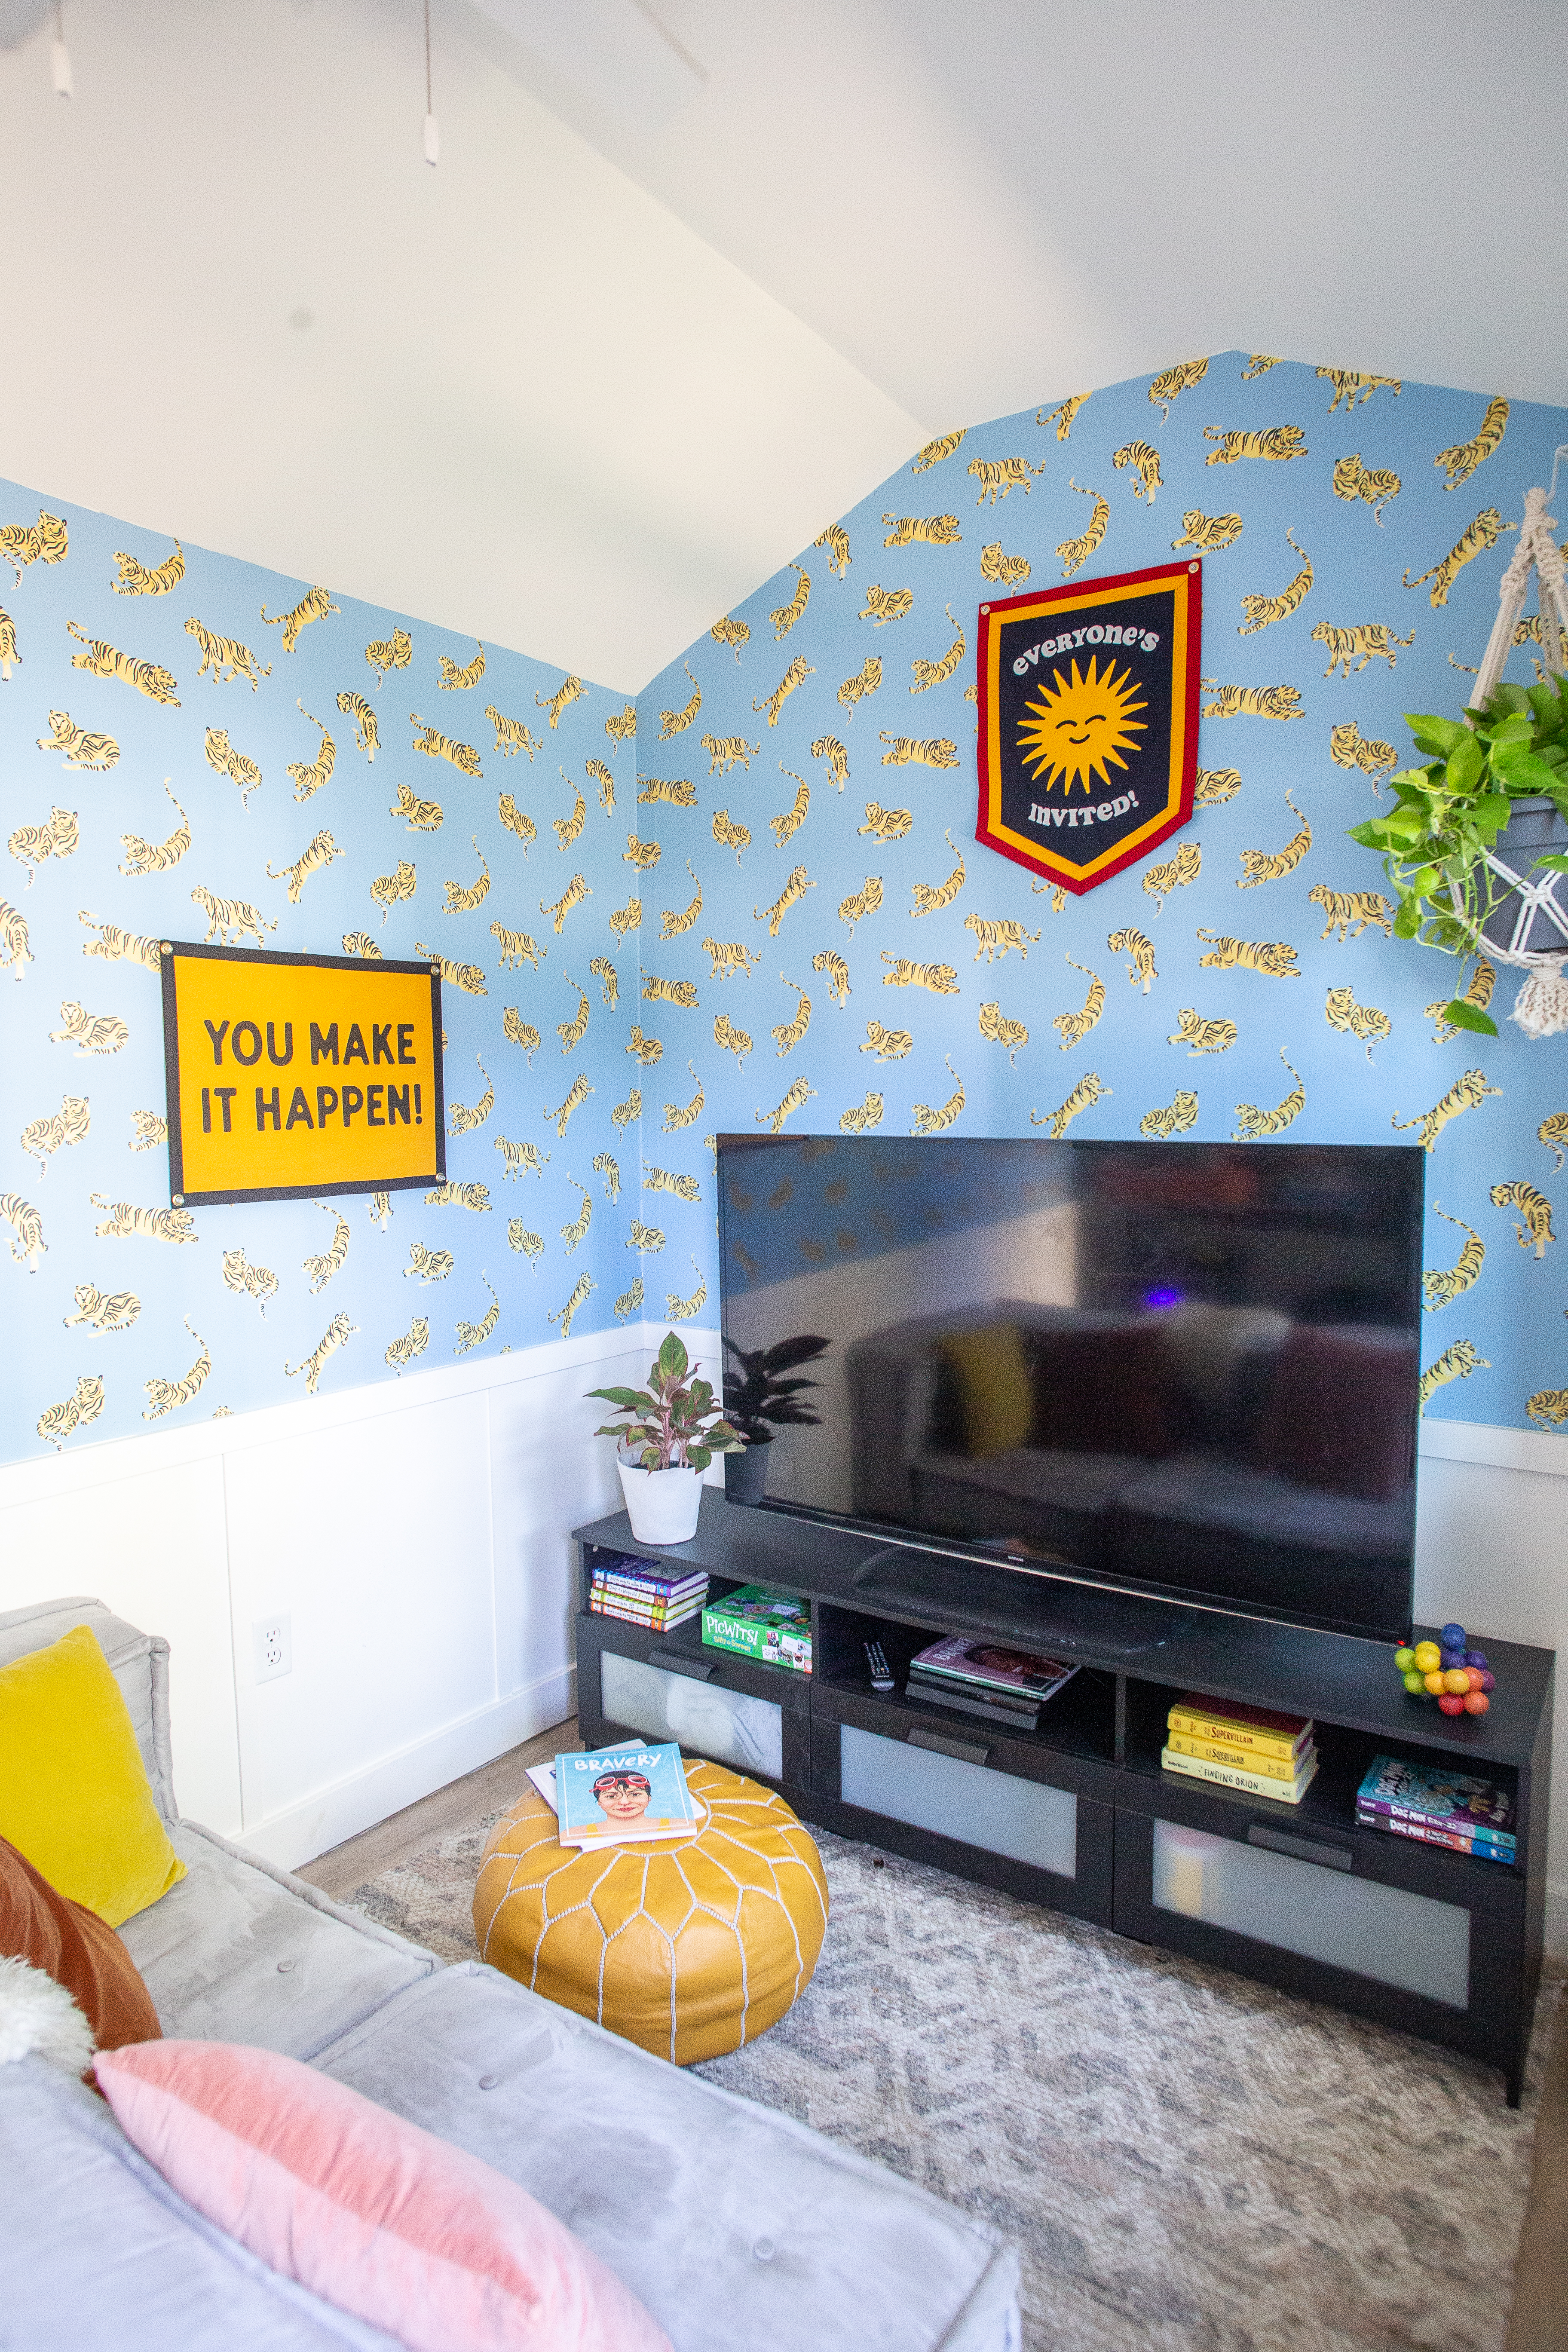
This Tiger Wallpaper was a collaboration between Wallshoppe and one of our favorite conscious, sustainable companies Tea Collection. I have worked with Tea for several years and invited the kids to browse the extensive collection of fun papers to choose one for the clubhouse.
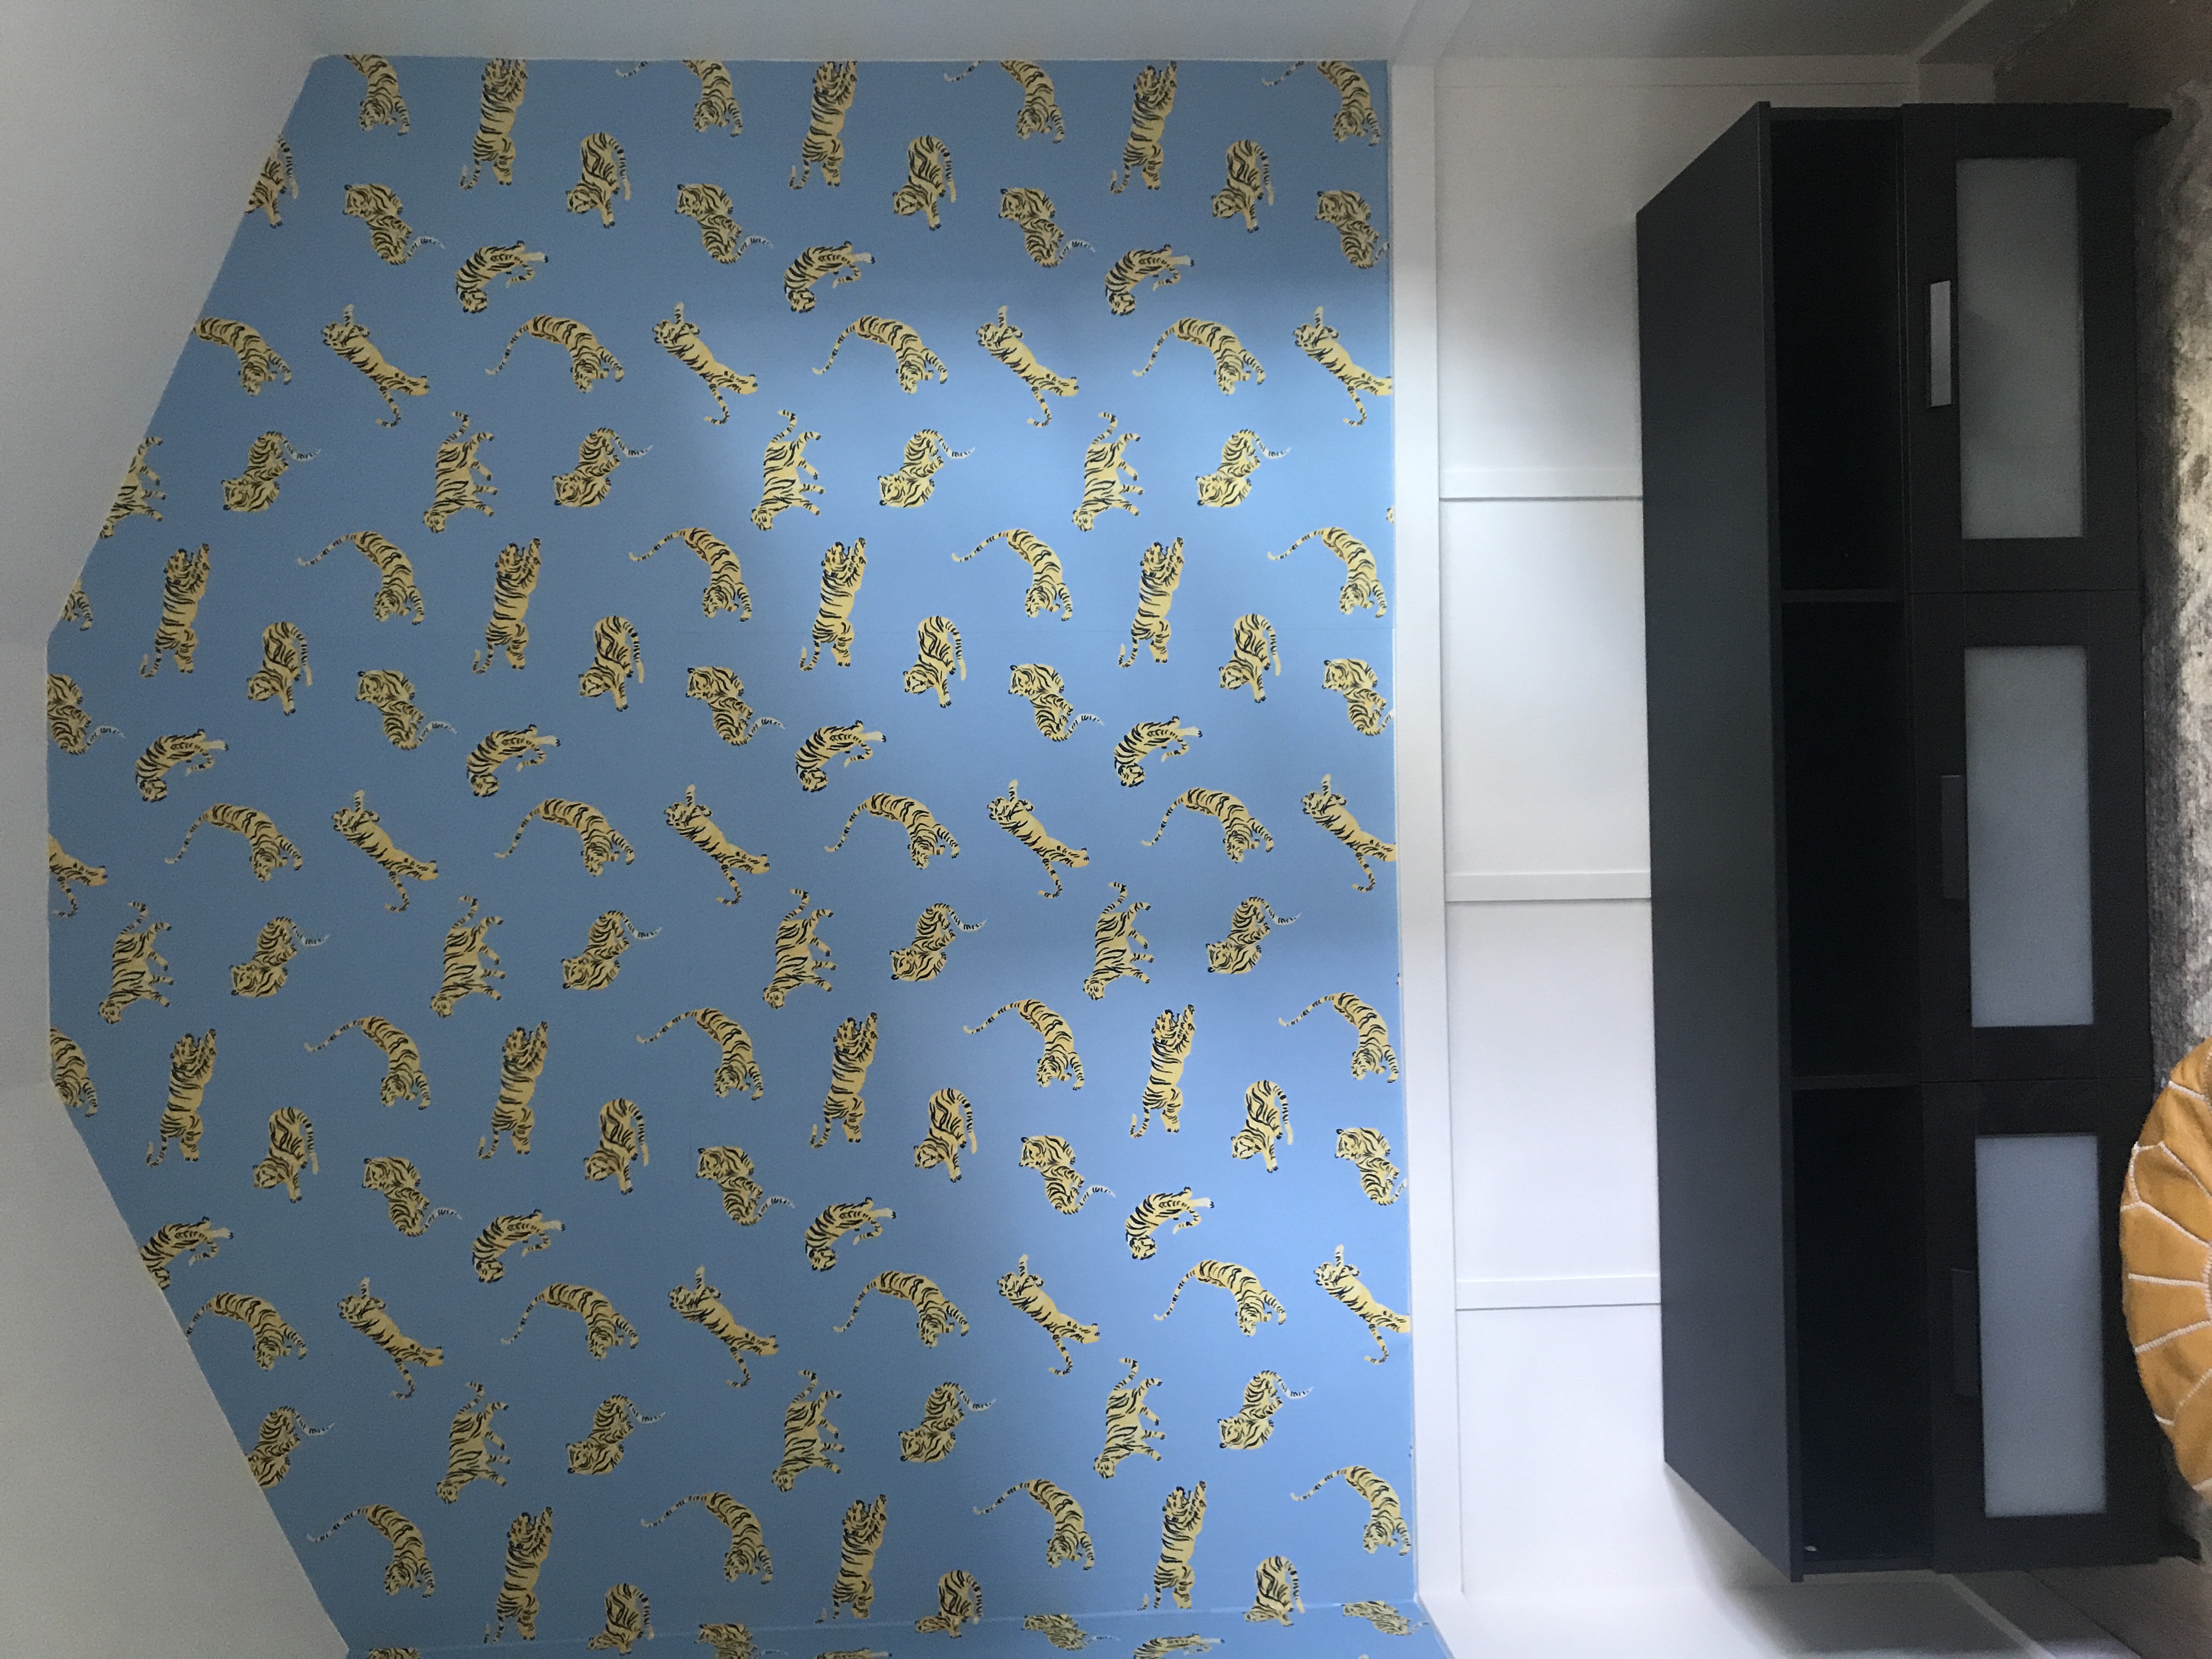
The tigers were a unanimous decision, and the kids wanted to go for this denim blue background. I loved it online, and loved it more and more as each panel of peel and stick paper went up!
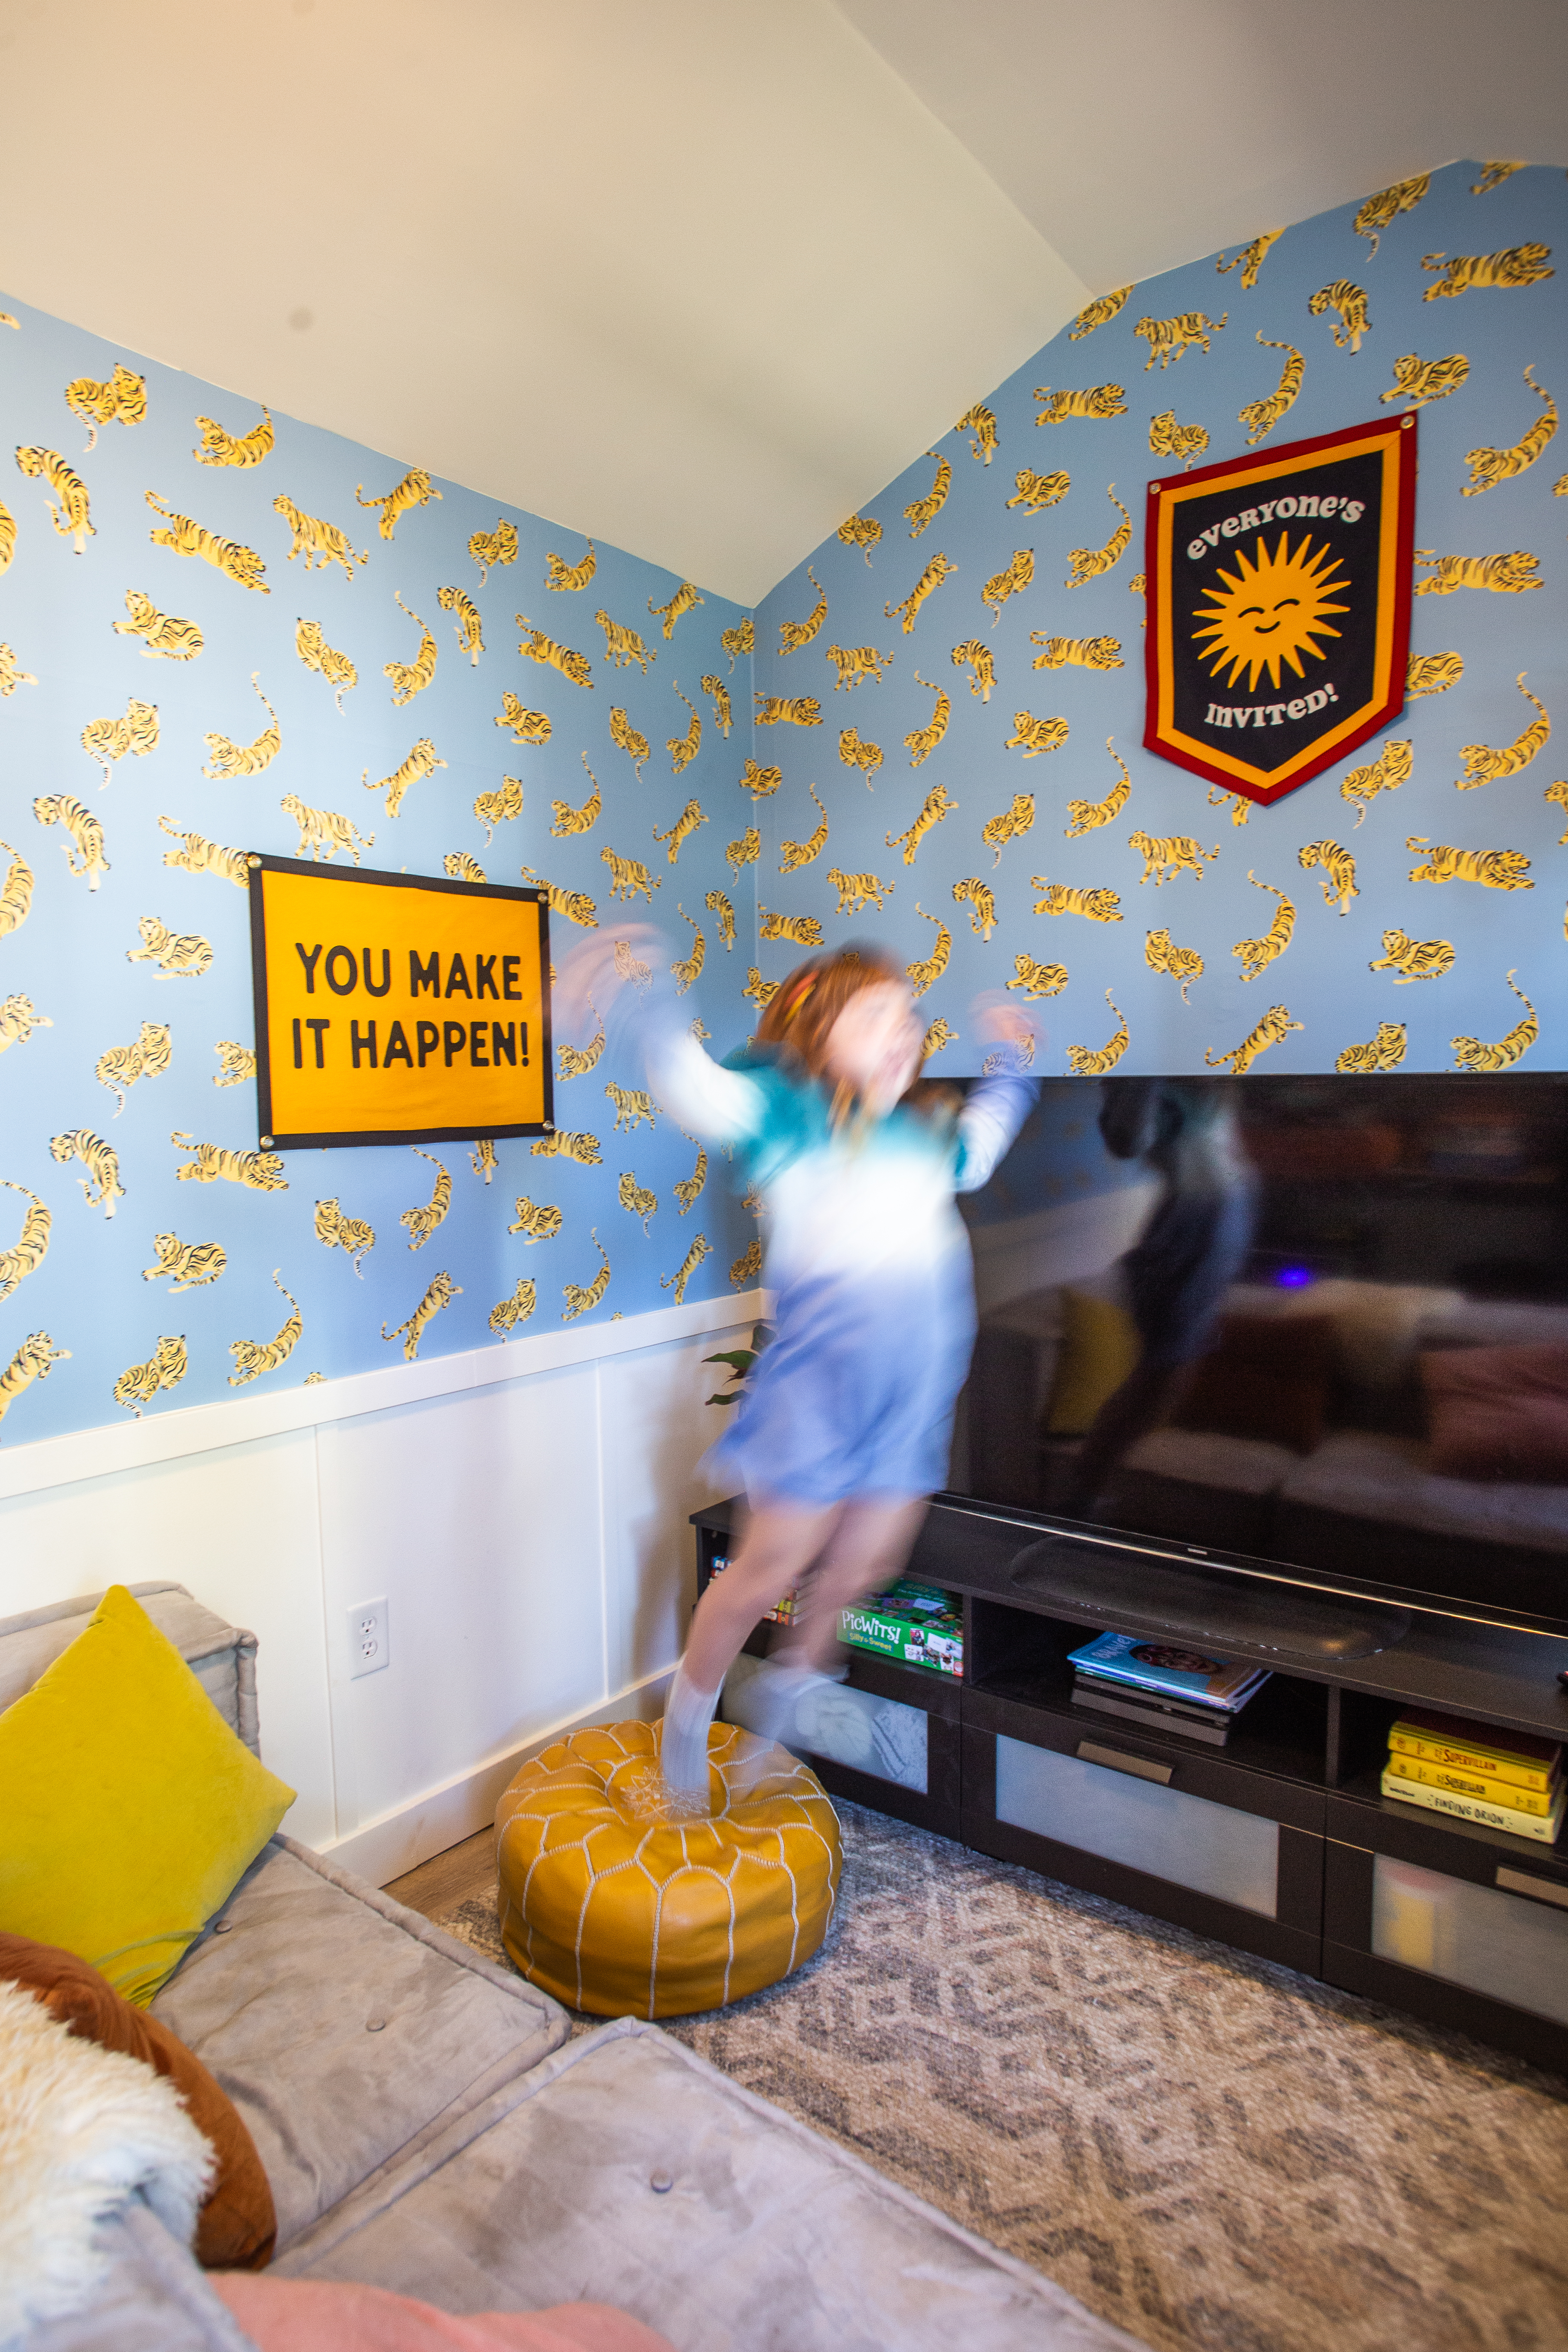
The board and batton serves as a natural stopping point for the paper, which enhances it even more as well as creates some boundaries for the bright, colorful, movement of the design. It was super simple to put up, cut to fit even those tricky angles on the ceiling, and we are obsessed.
Step Eight: Furniture, Art, Finishing Touches
This shed is a small space. 8’x 12′ on the outside, about 7′ x 11′ finished inside. When I took into account the swing of the door, that left about 7′ x 8′ total for hang-out space, and 2′ behind the door for storage. That’s not a lot, and we did our best to use it well while keeping it feeling bright, light, and open.
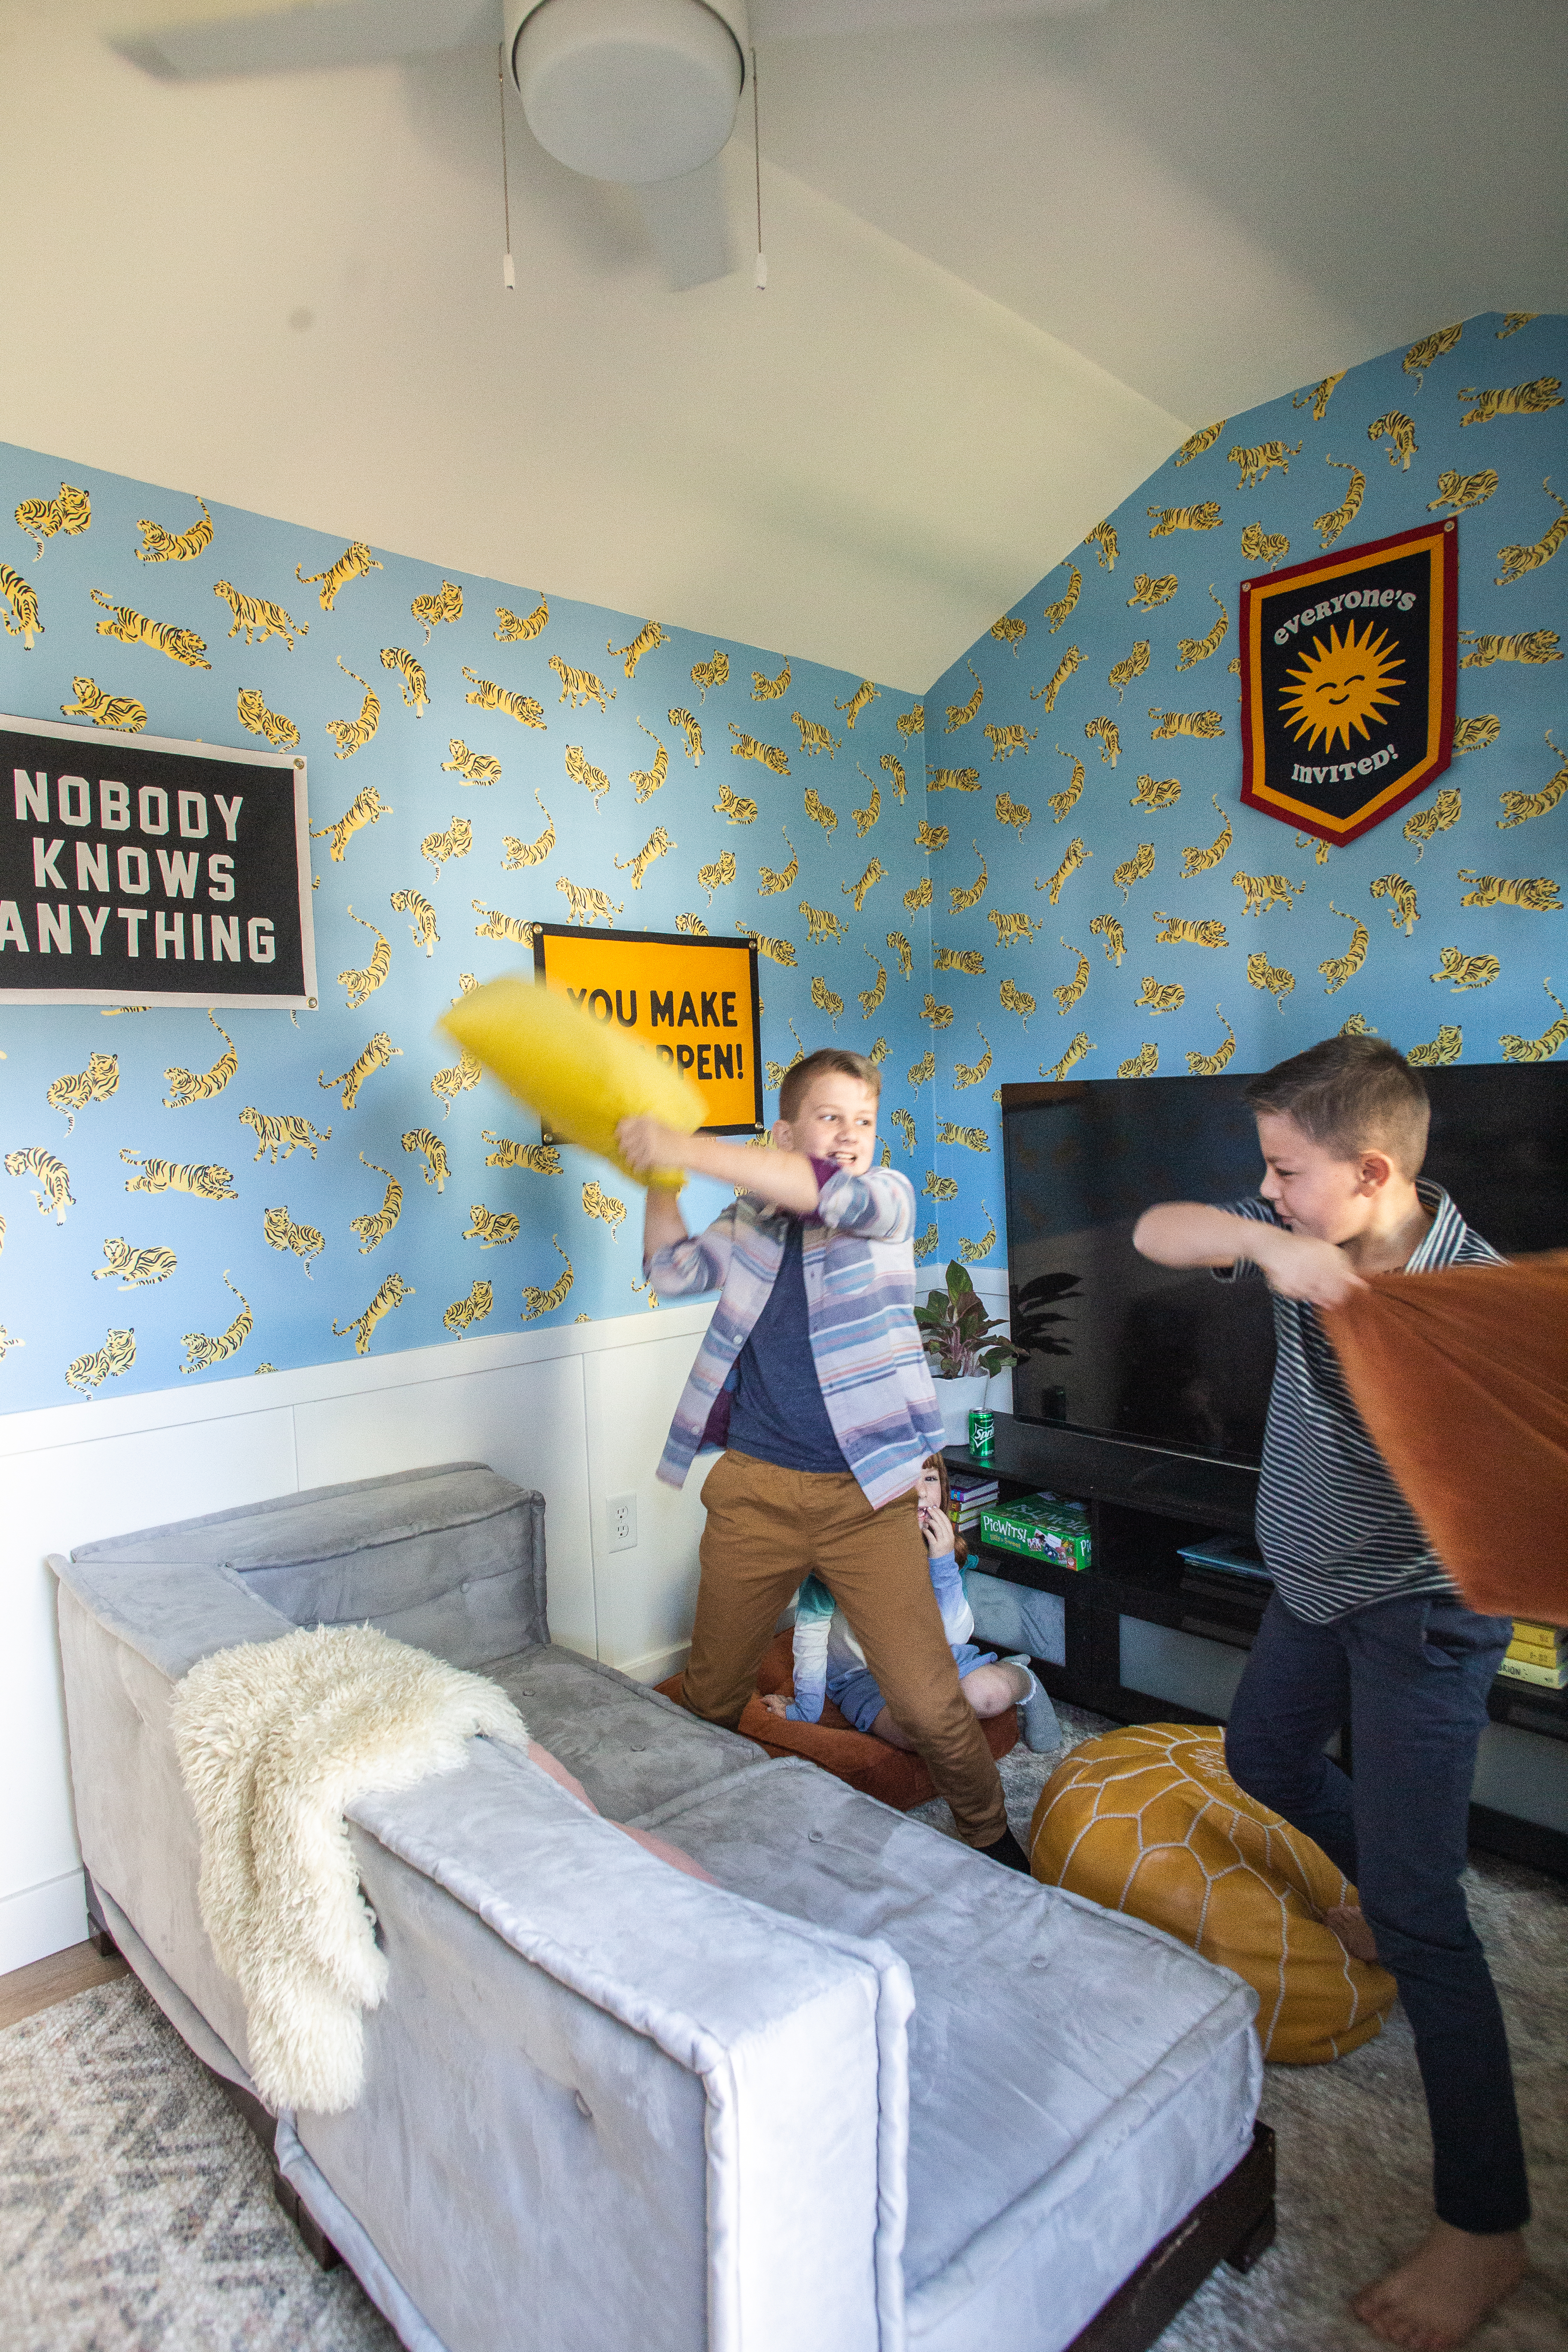
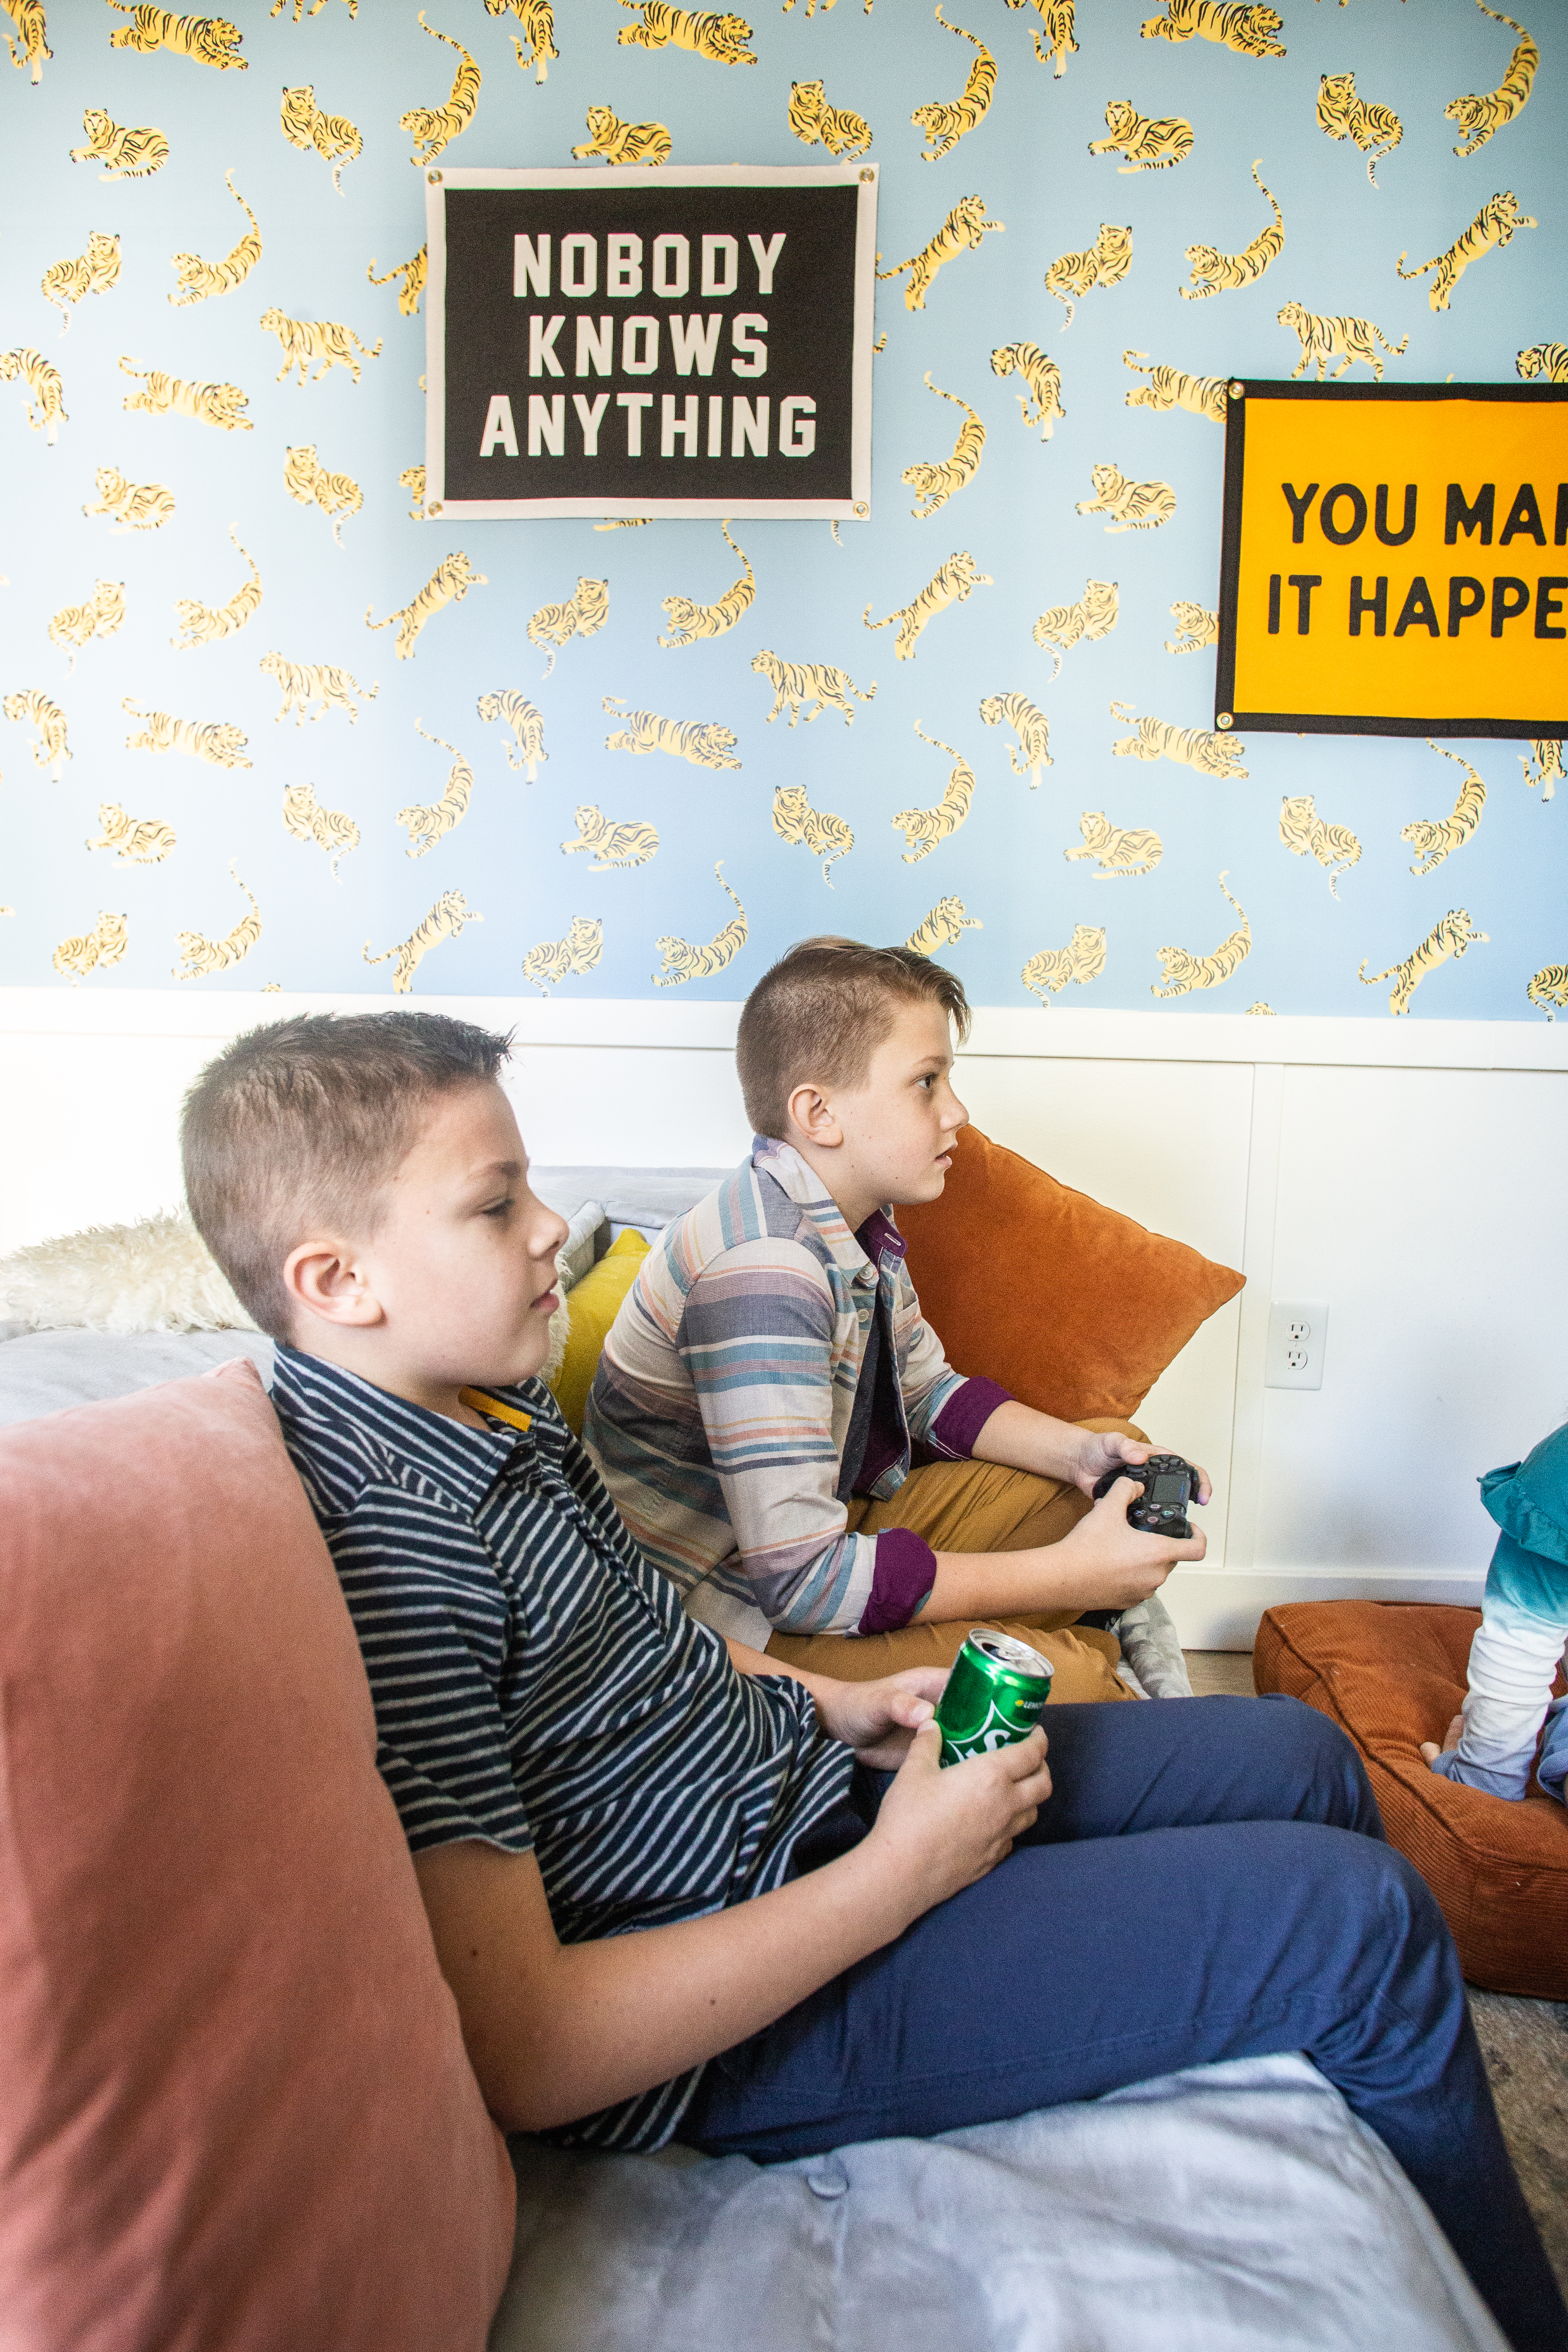
We found this cozy, low profile sectional on Facebook Marketplace, and two pieces fit perfectly in here. They are great for lounging, and because they’re low to the ground, adding floor pillows for additional seating feels really natural.
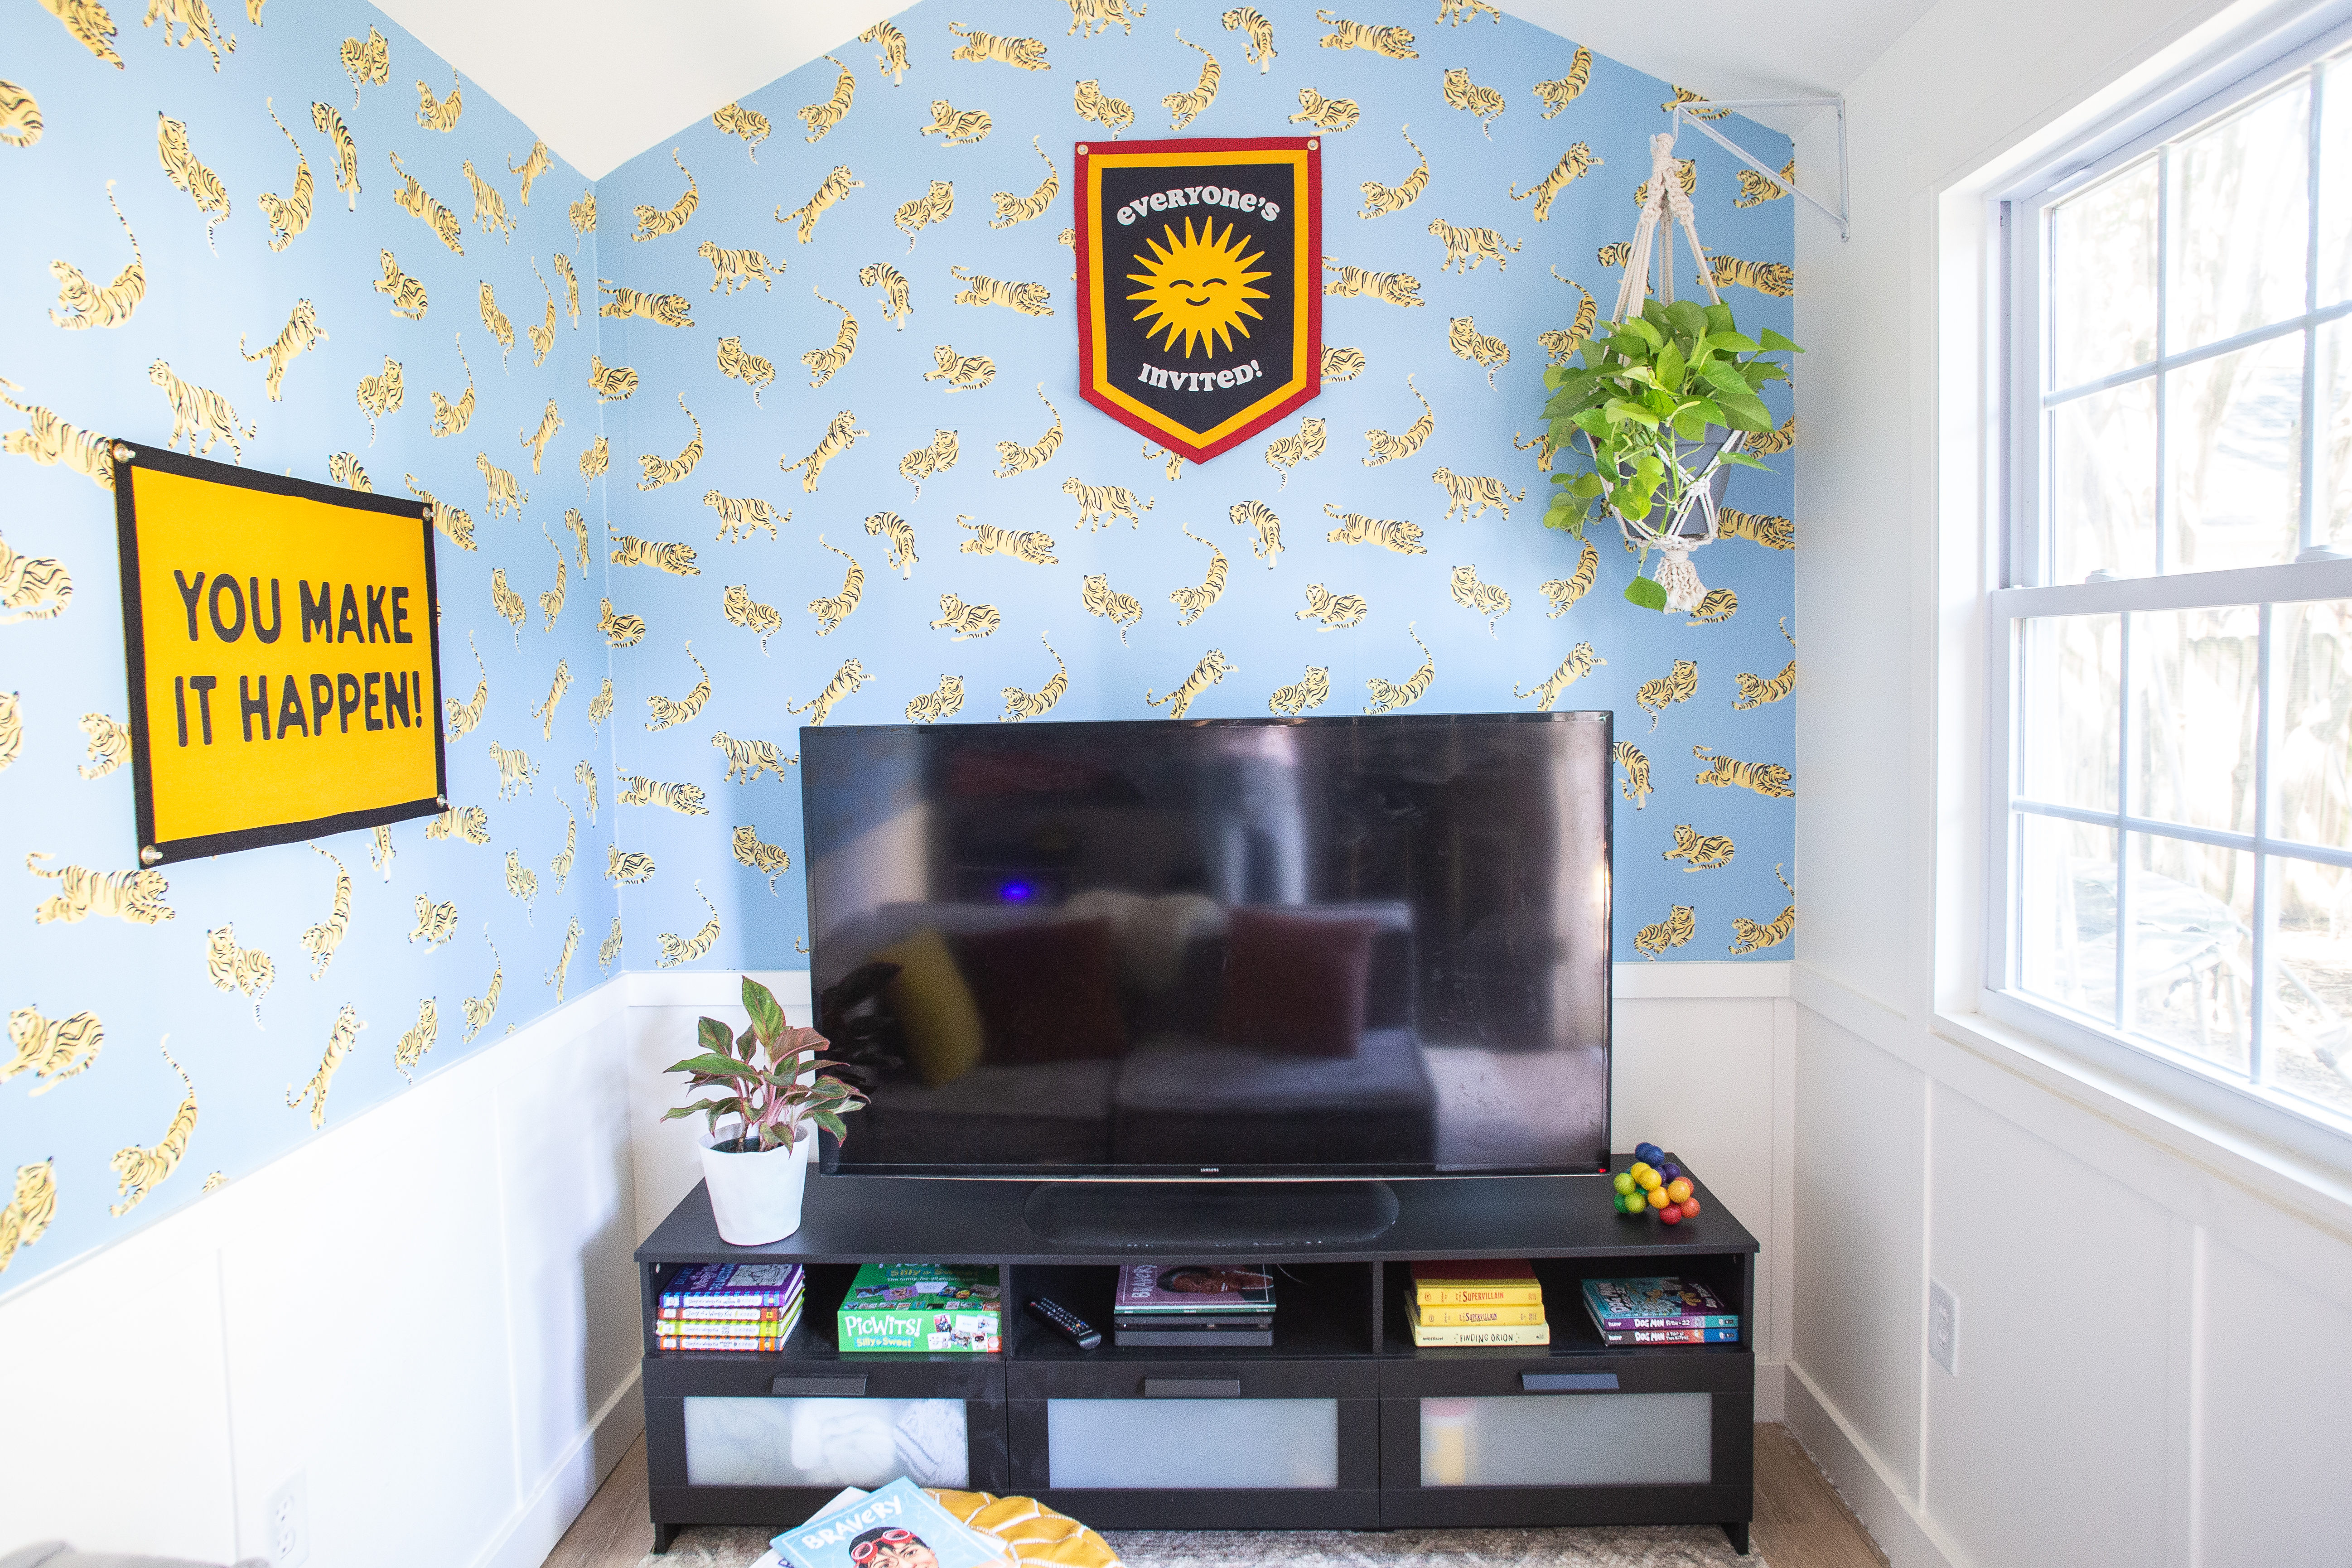
The tv console is from Ikea, and my son chose black to “feel luxury”. The huge tv was from our house, that I have been storing since last year when I replaced it in the main living area with The Frame tv (that disappears into my gallery wall) so that left this one for the clubhouse. It’s fun for the kids to have a movie-going experience with this great big screen!
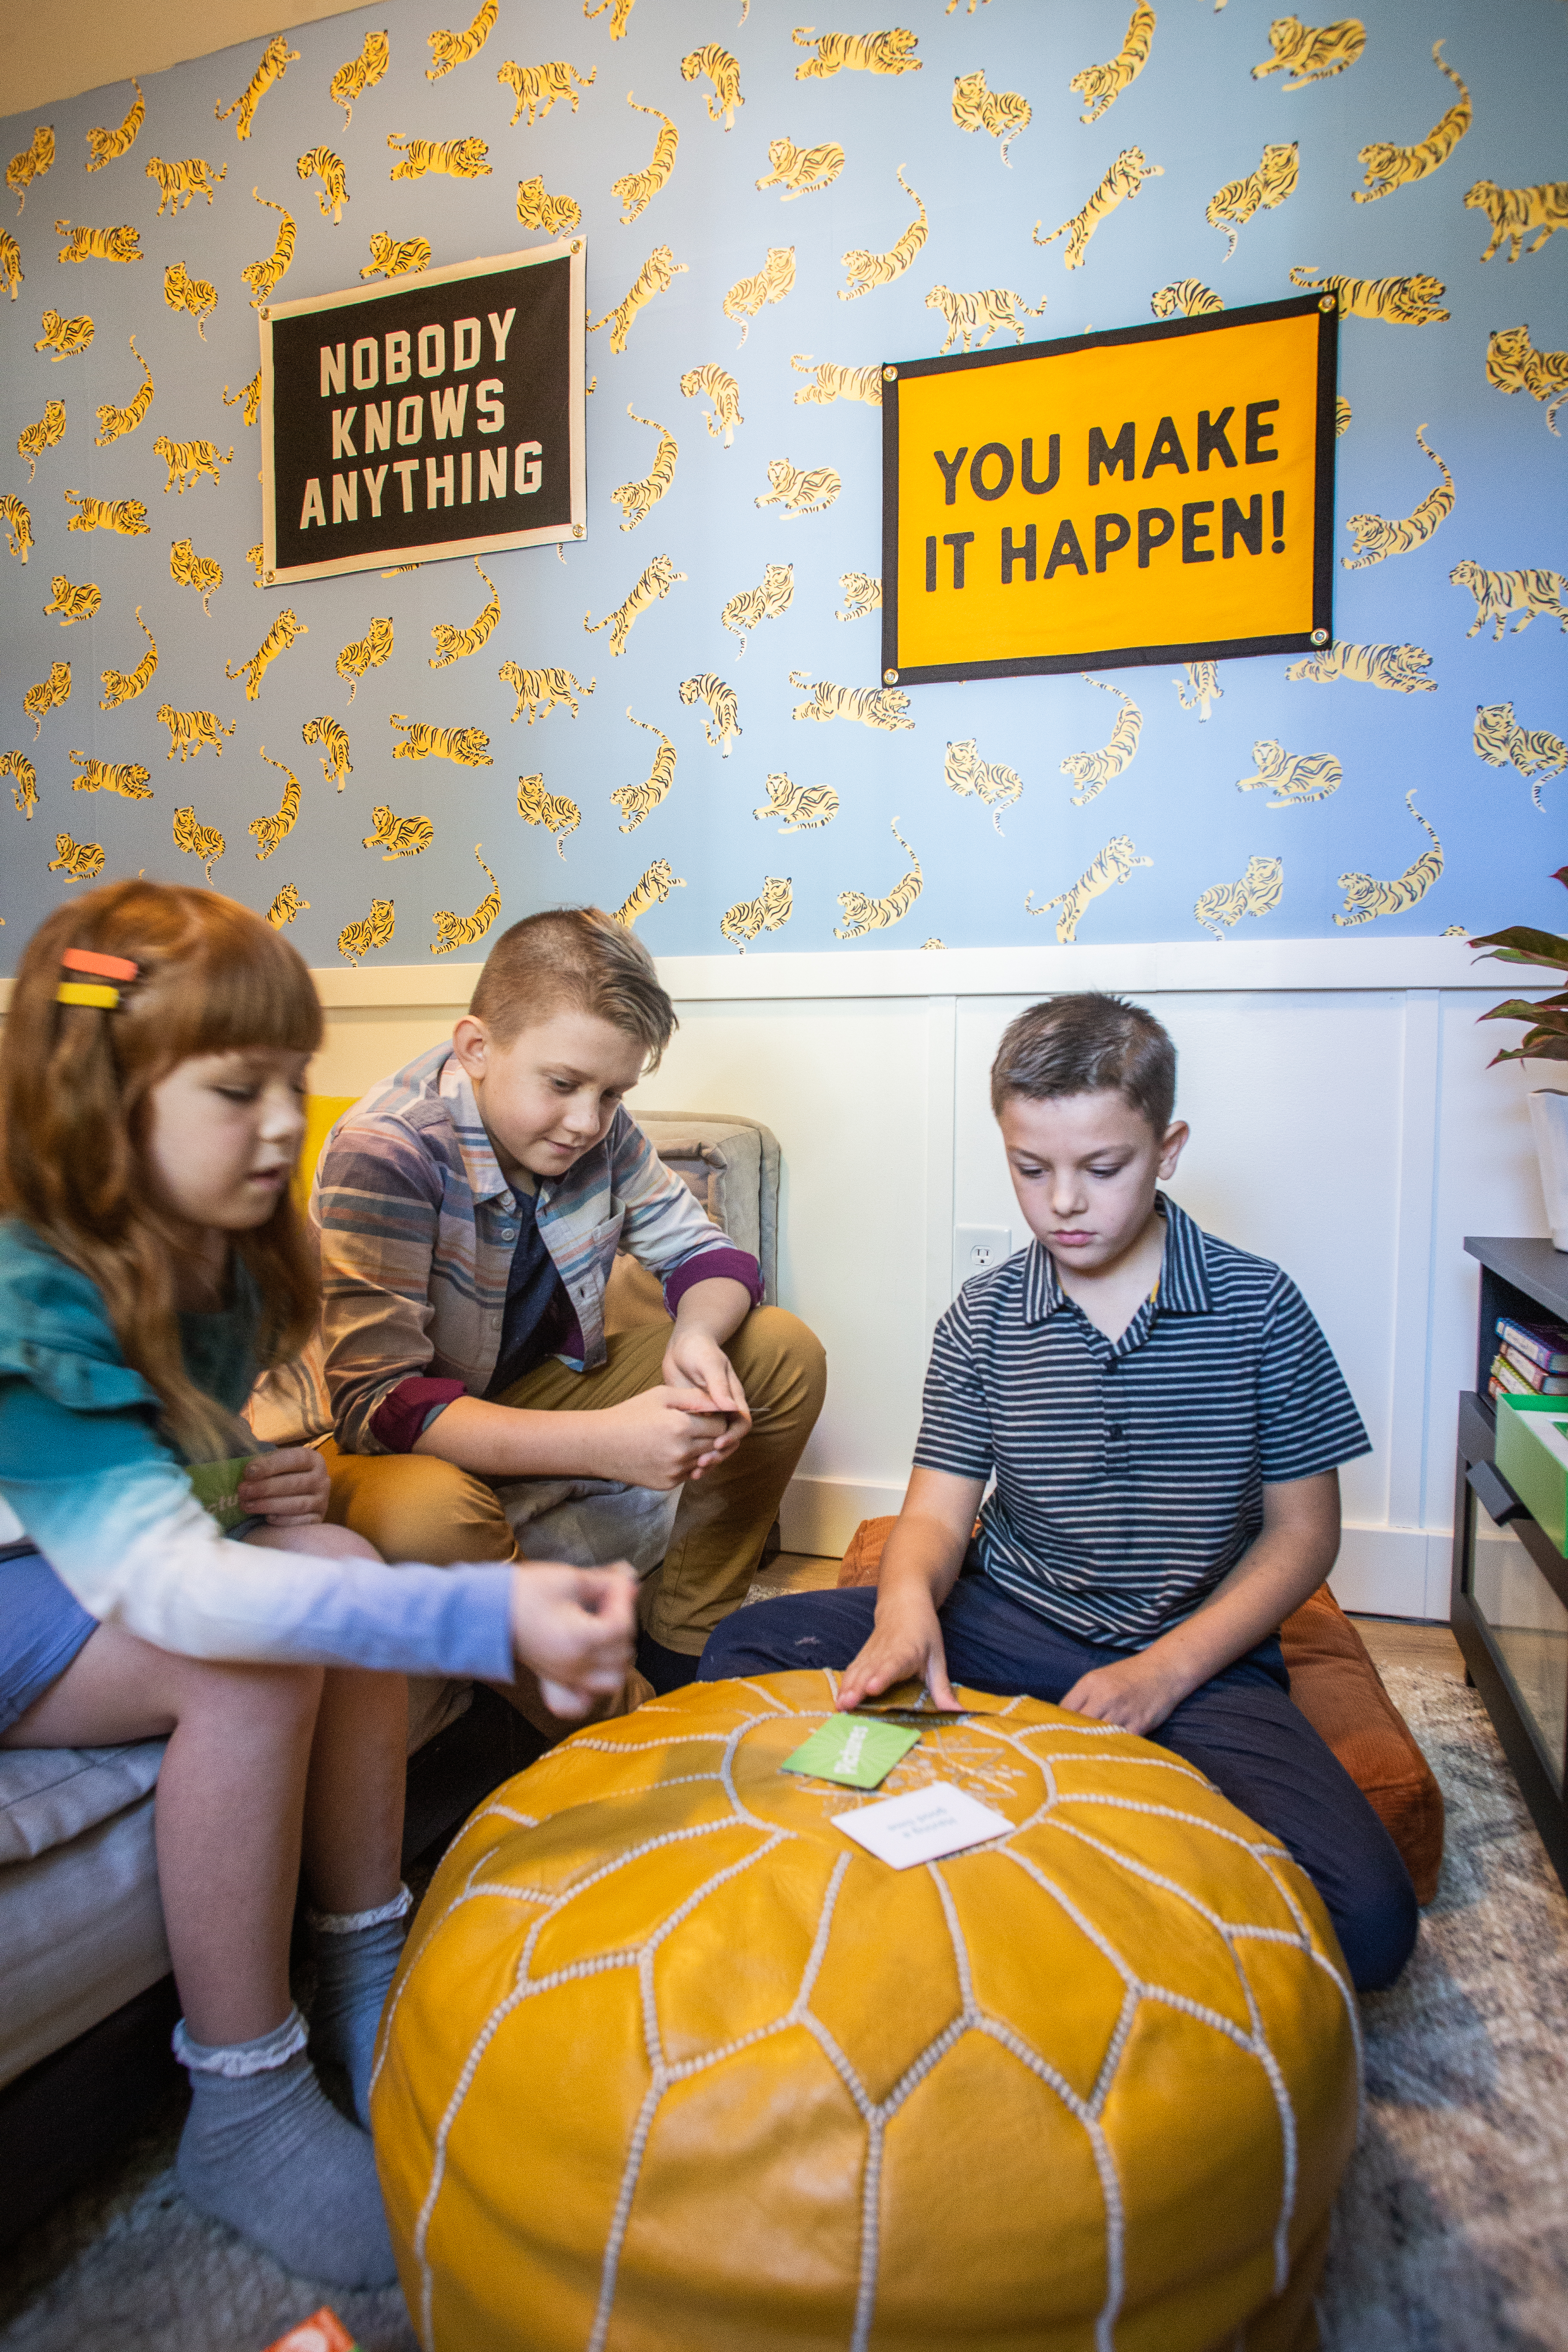
All of the pendants are from Oxford Pennant. I was looking for art that felt bold while also feeling kid-friendly, and these hit the nail on the head. I let each child choose a camp flag and we ended up with “Nobody Knows Anything” “You Make It Happen” and my personal favorite for this kids clubhouse “Everyone’s Invited!”
The yellow pouf is from Etsy, bright velvet pillows and floor pillow from World Market, and the macrame plant hanger was a DIY I did a few years ago.
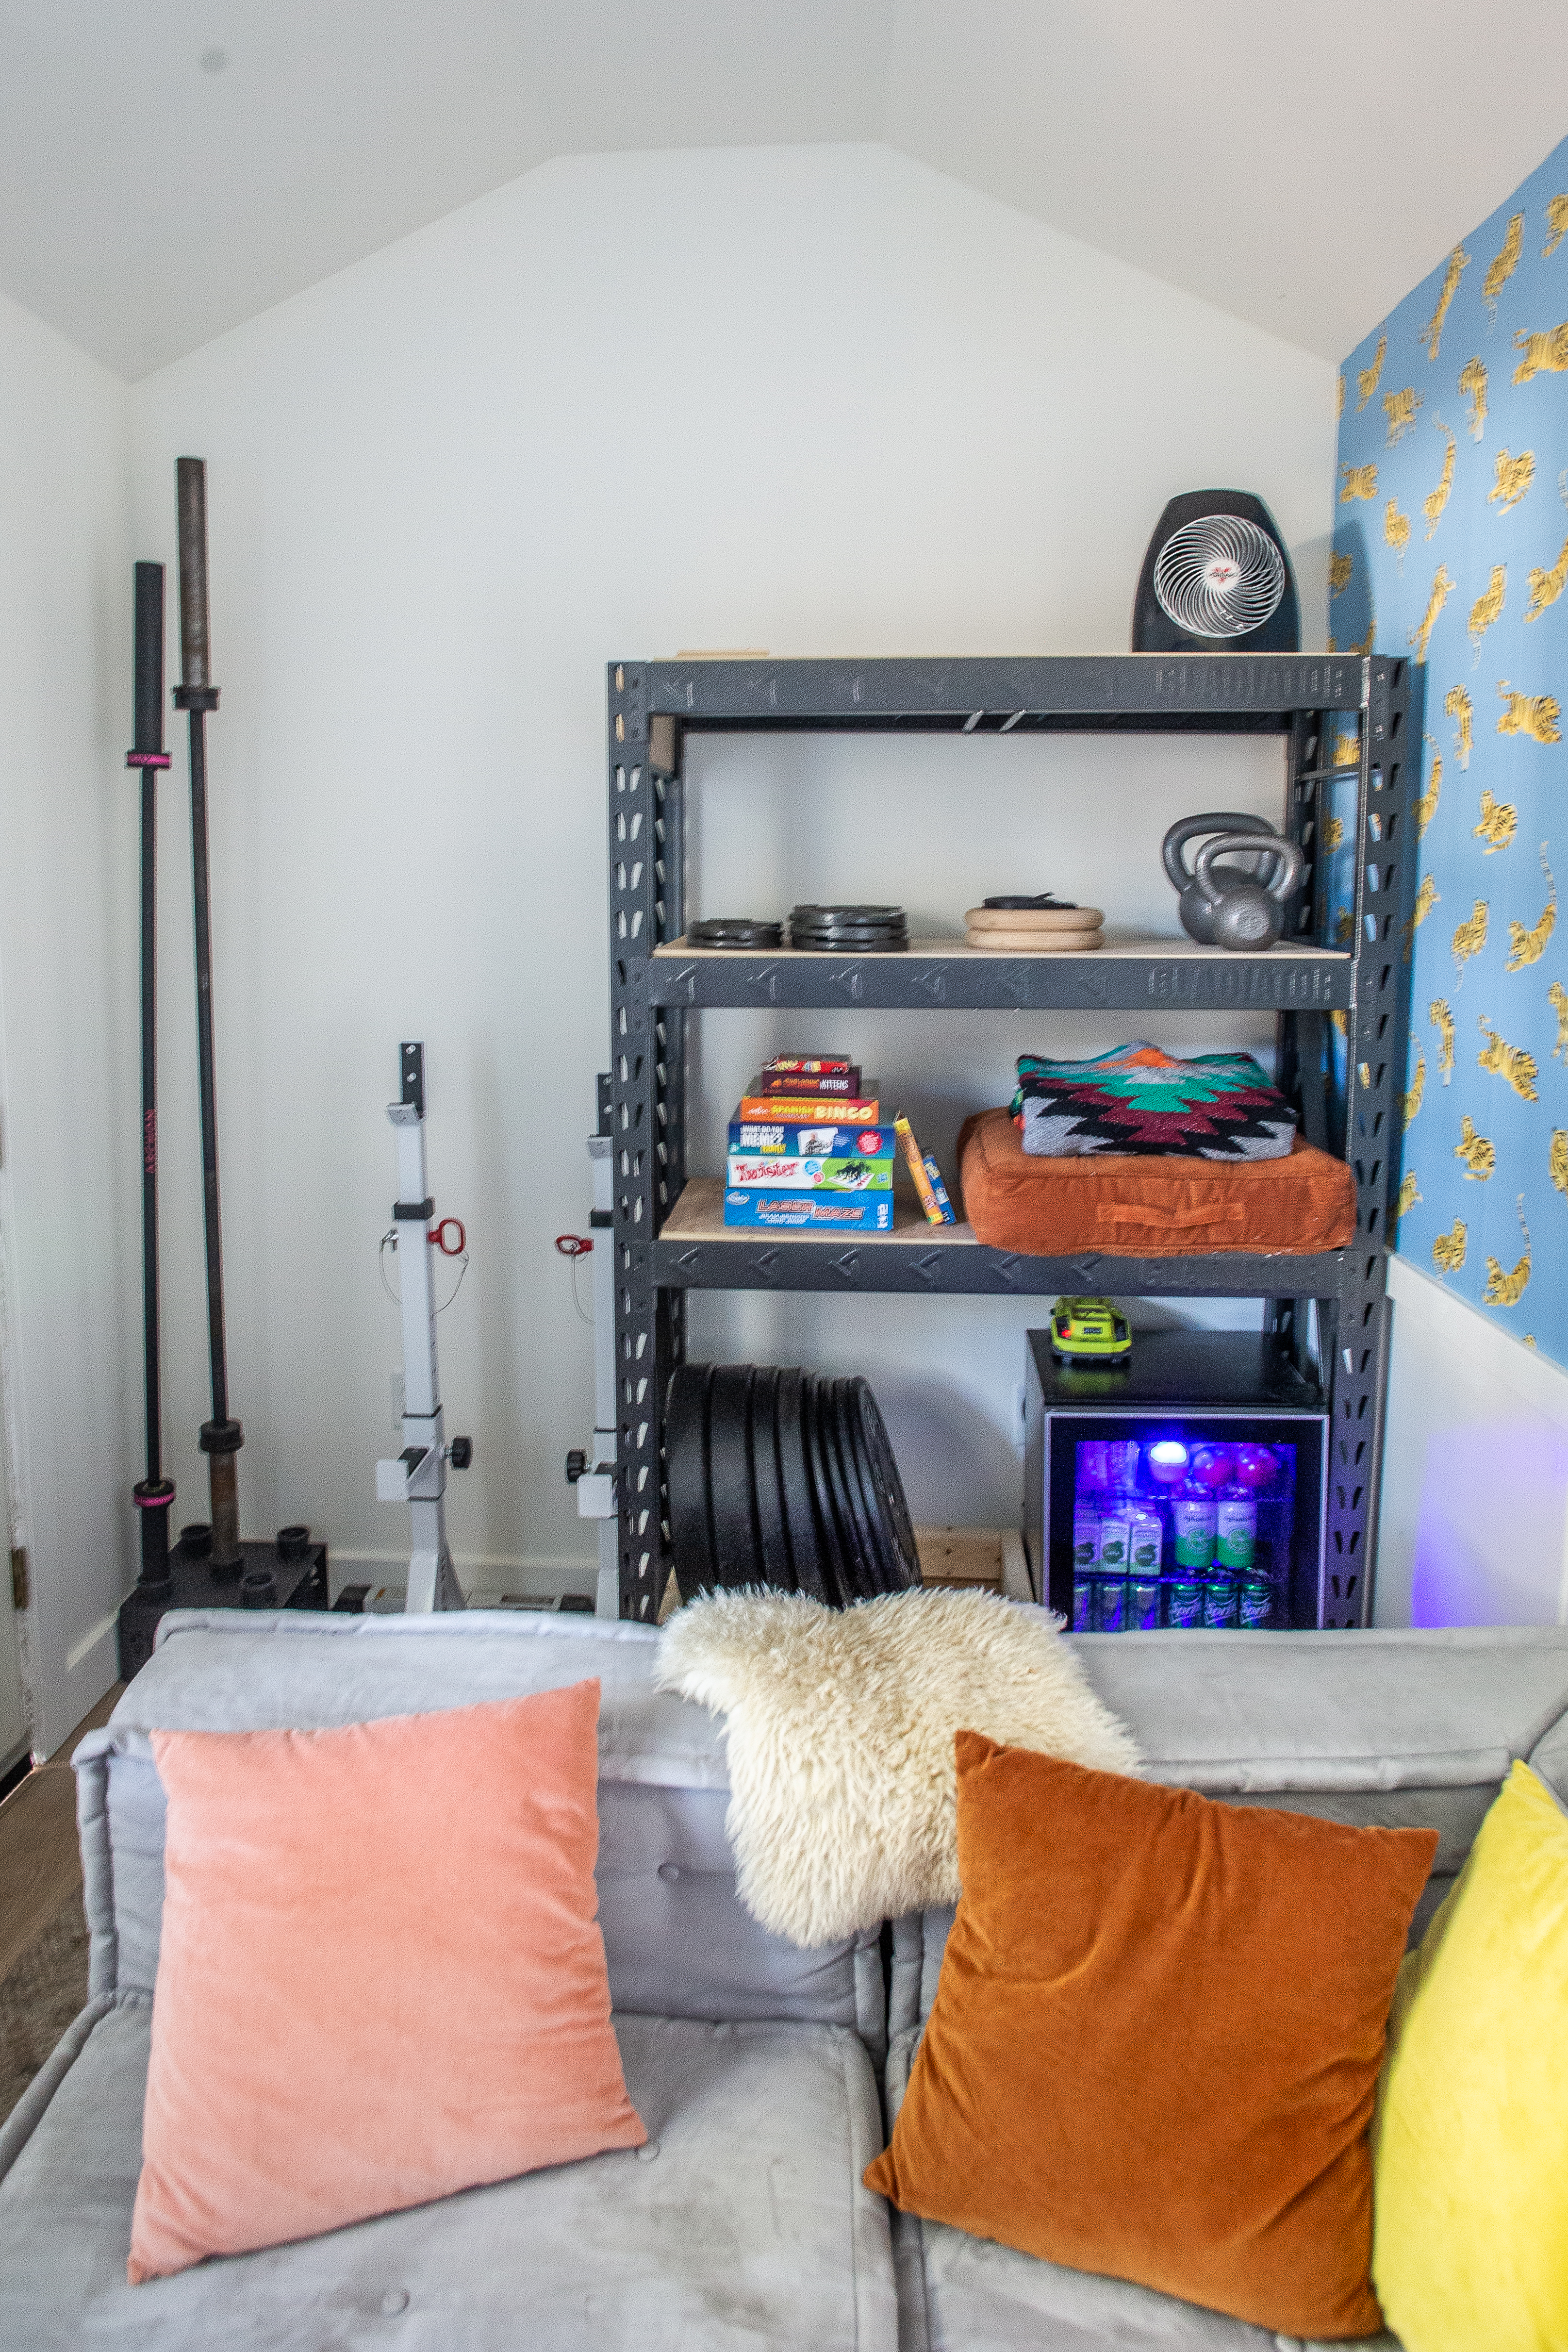
Should we talk about the mini fridge? It was the kids first and most-requested feature in the DIY clubhouse transformation, and it has not disappointed! We went with a short, glass front variety because part of the fun is seeing what is in there, and we also wanted to maximize space. I stock it with clear drinks (sprite, apple juice, etc.) and some healthy snacks once a month, and the kids get to manage it beyond that.
It’s definitely a hit with the neighborhood kids, and we’ve had several contributions with kids bringing their own favorite snacks and drinks to store back there too. 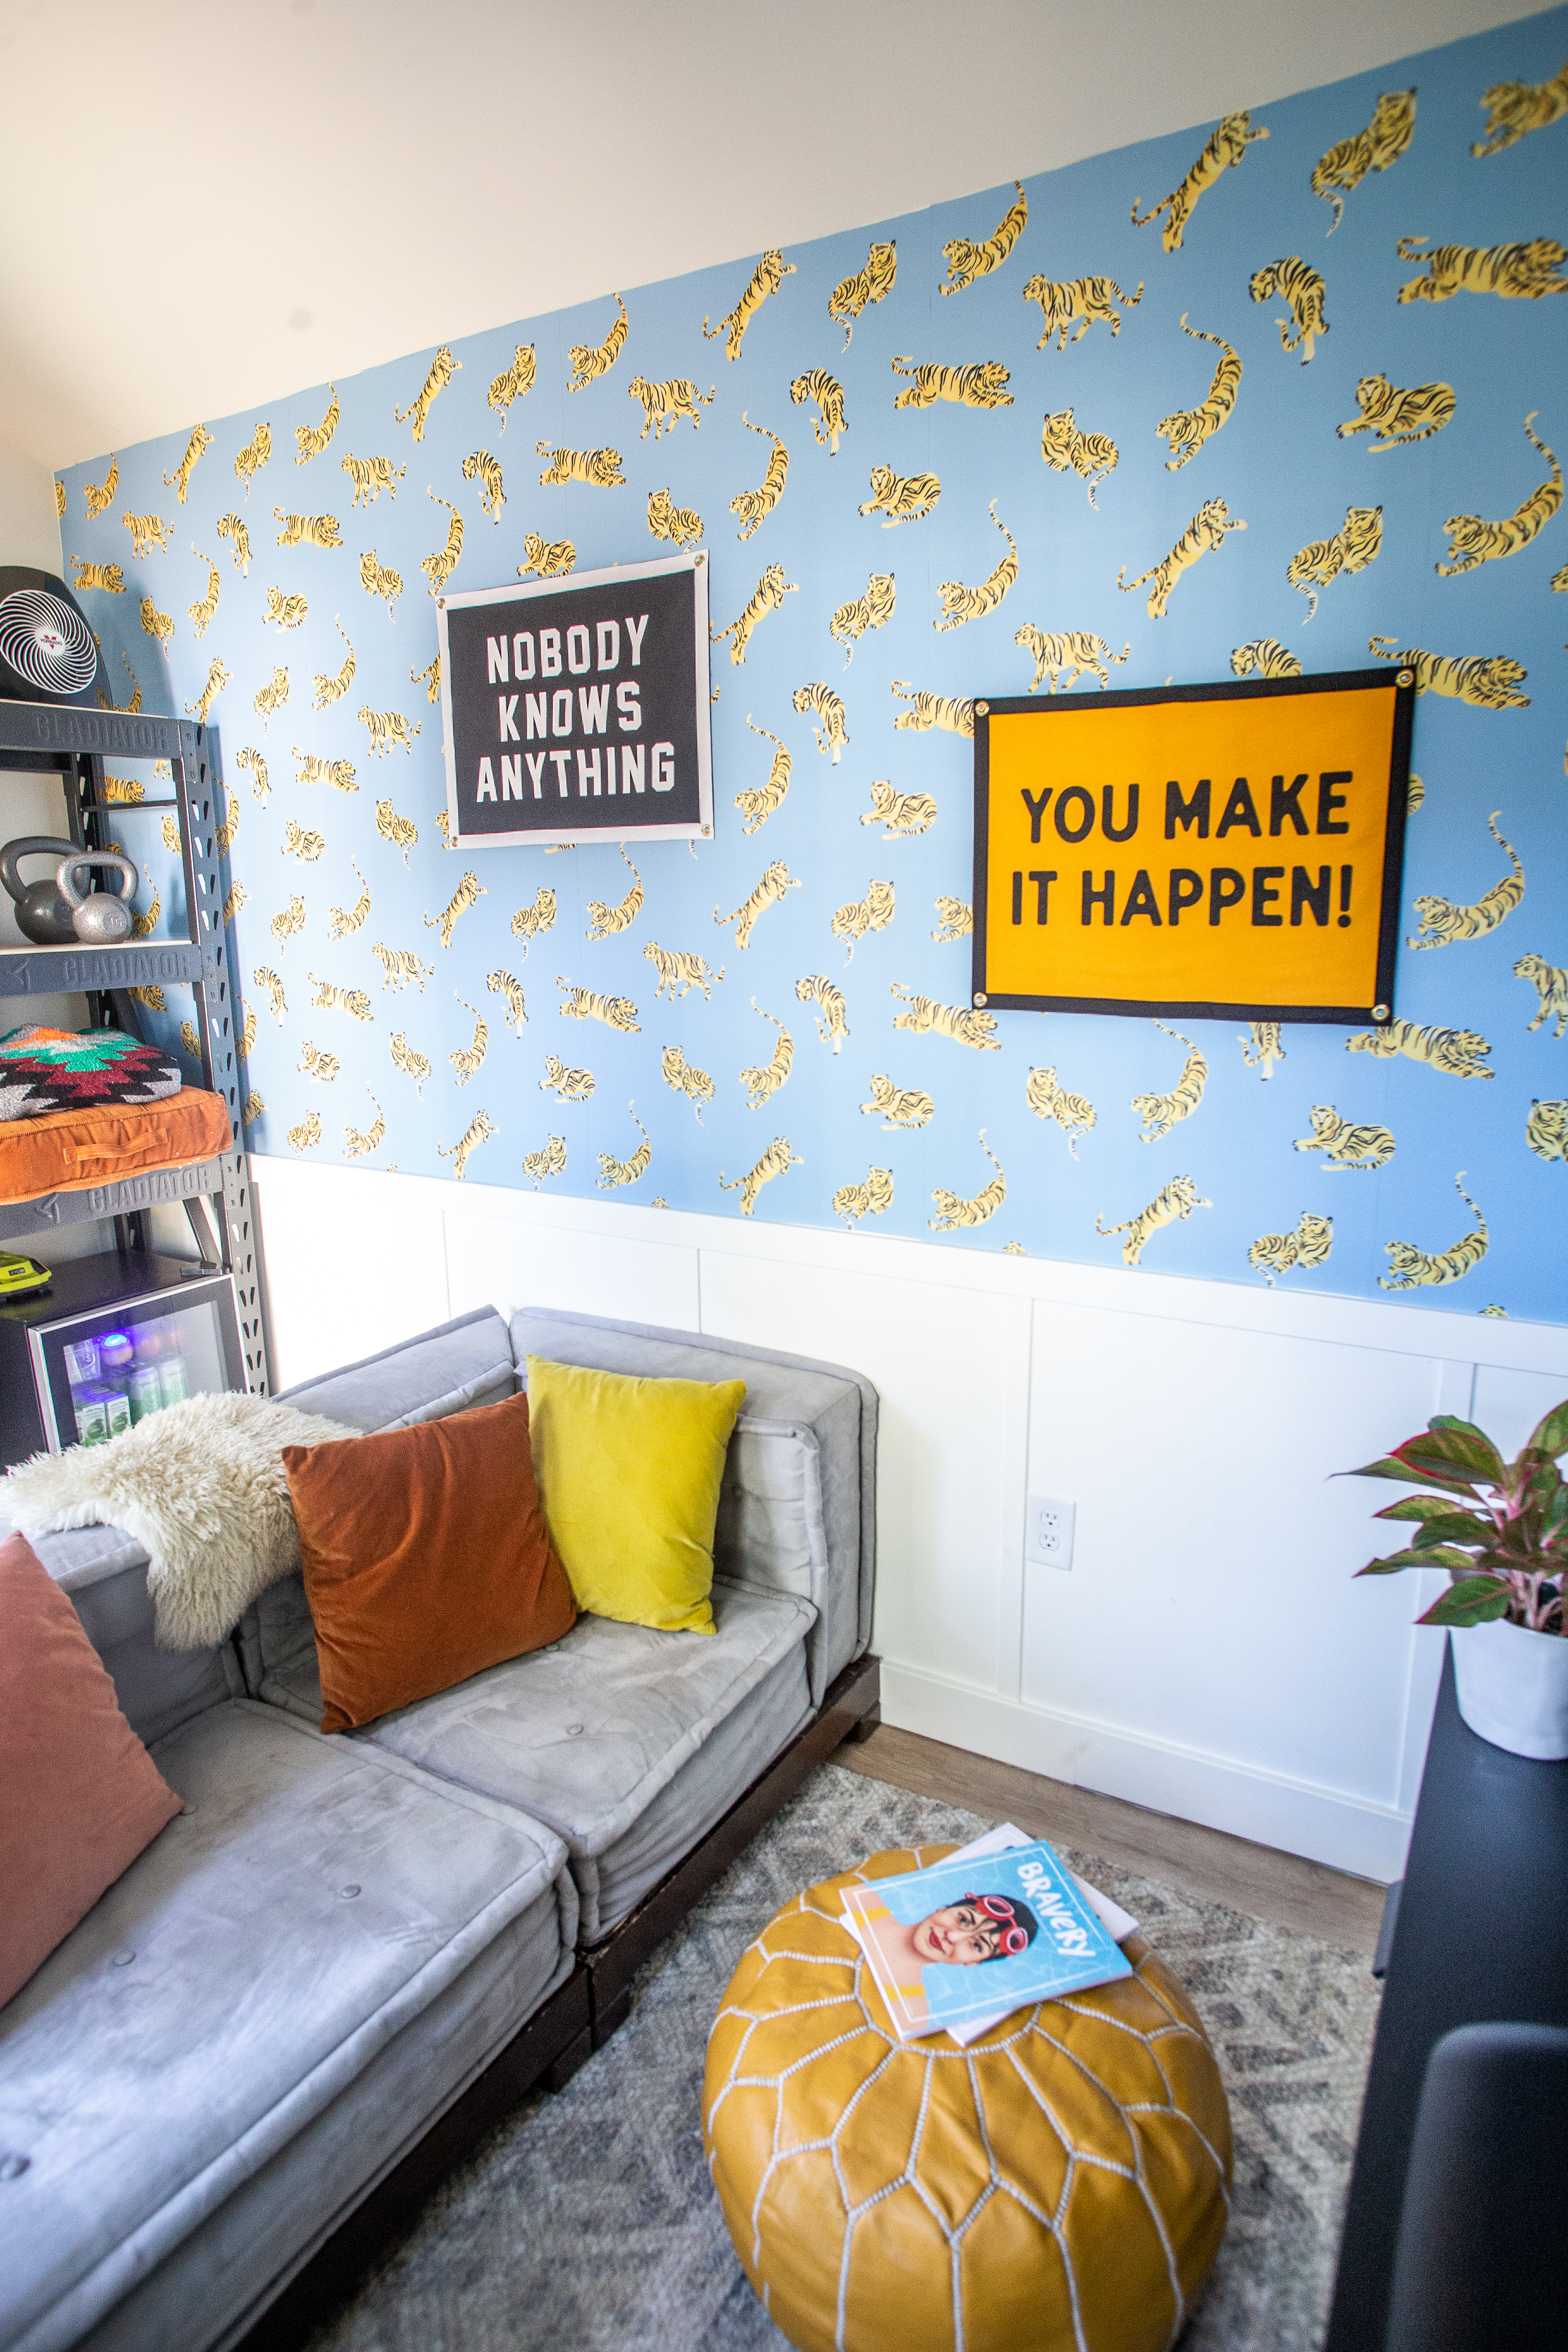
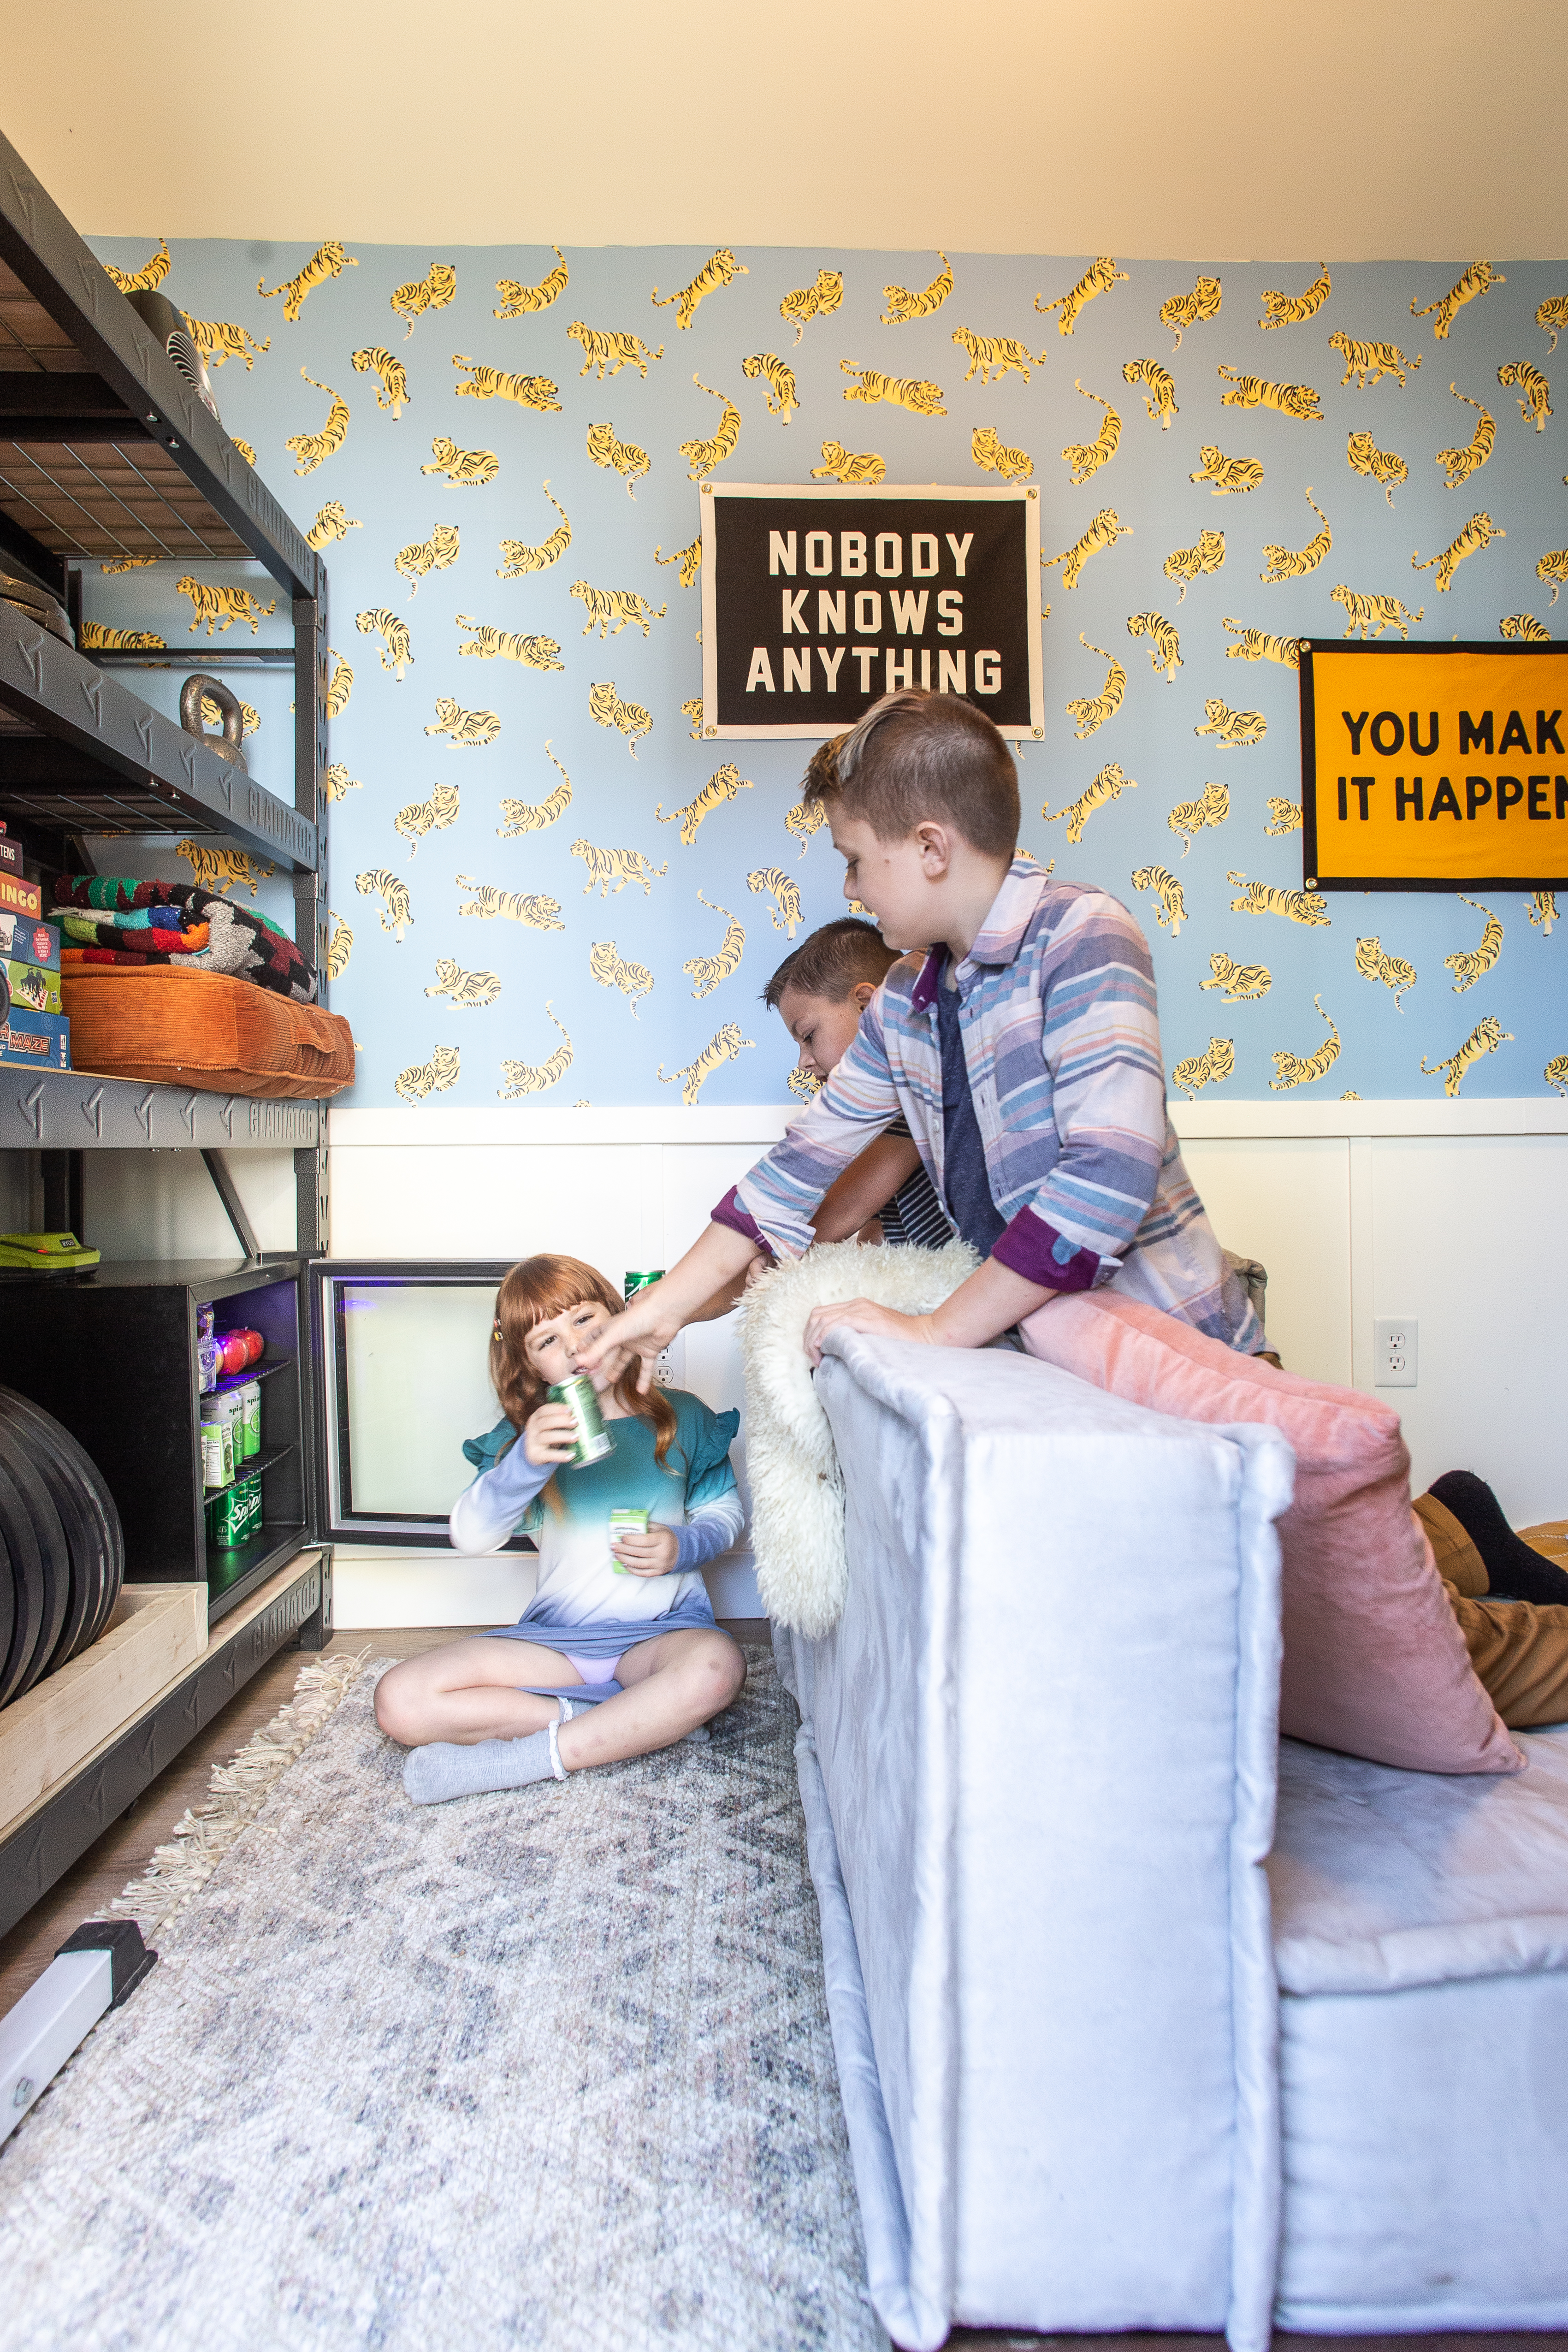
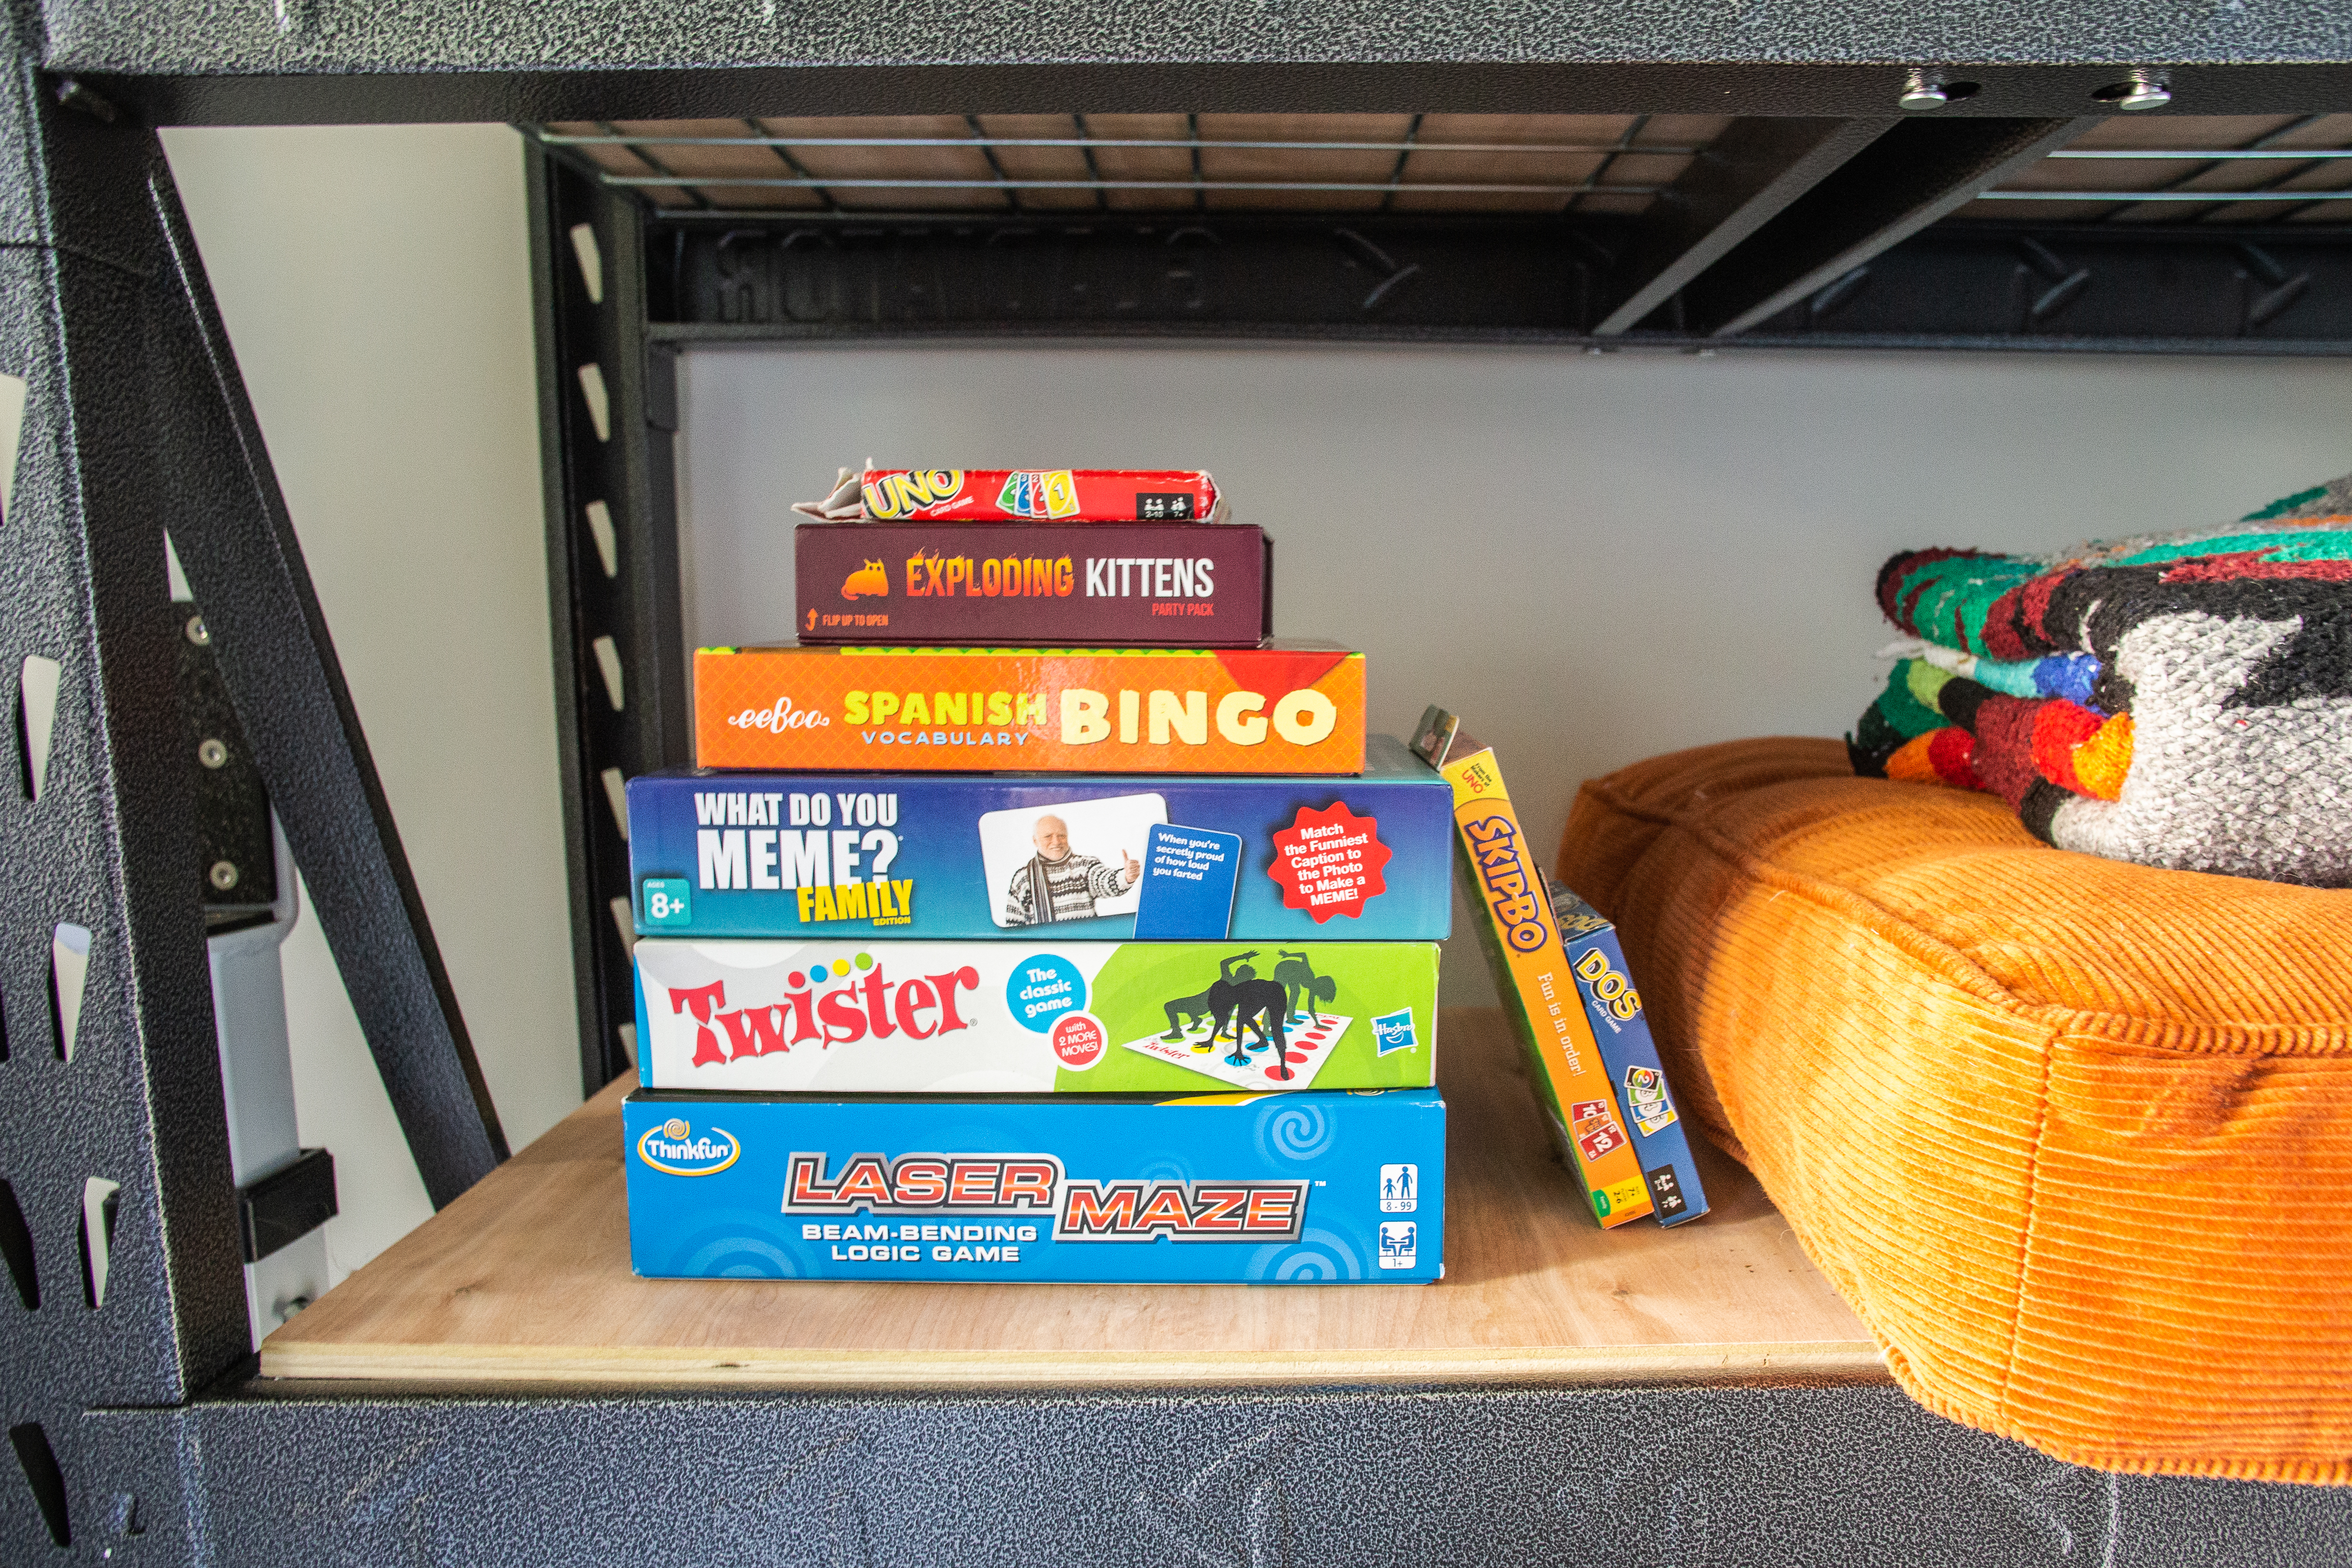
We use the storage area behind the door for some overflow fitness equipment for backyard workouts, as well as the mini fridge, extra pillows, blankets, and games. I have also added a mini space heater for the winter, and will bring in a small window unit A/C for next summer when we need it!
The toys, books, and gaming equipment all fits easily within the drawers of the console, and the kids can use the clubhouse for whatever they want!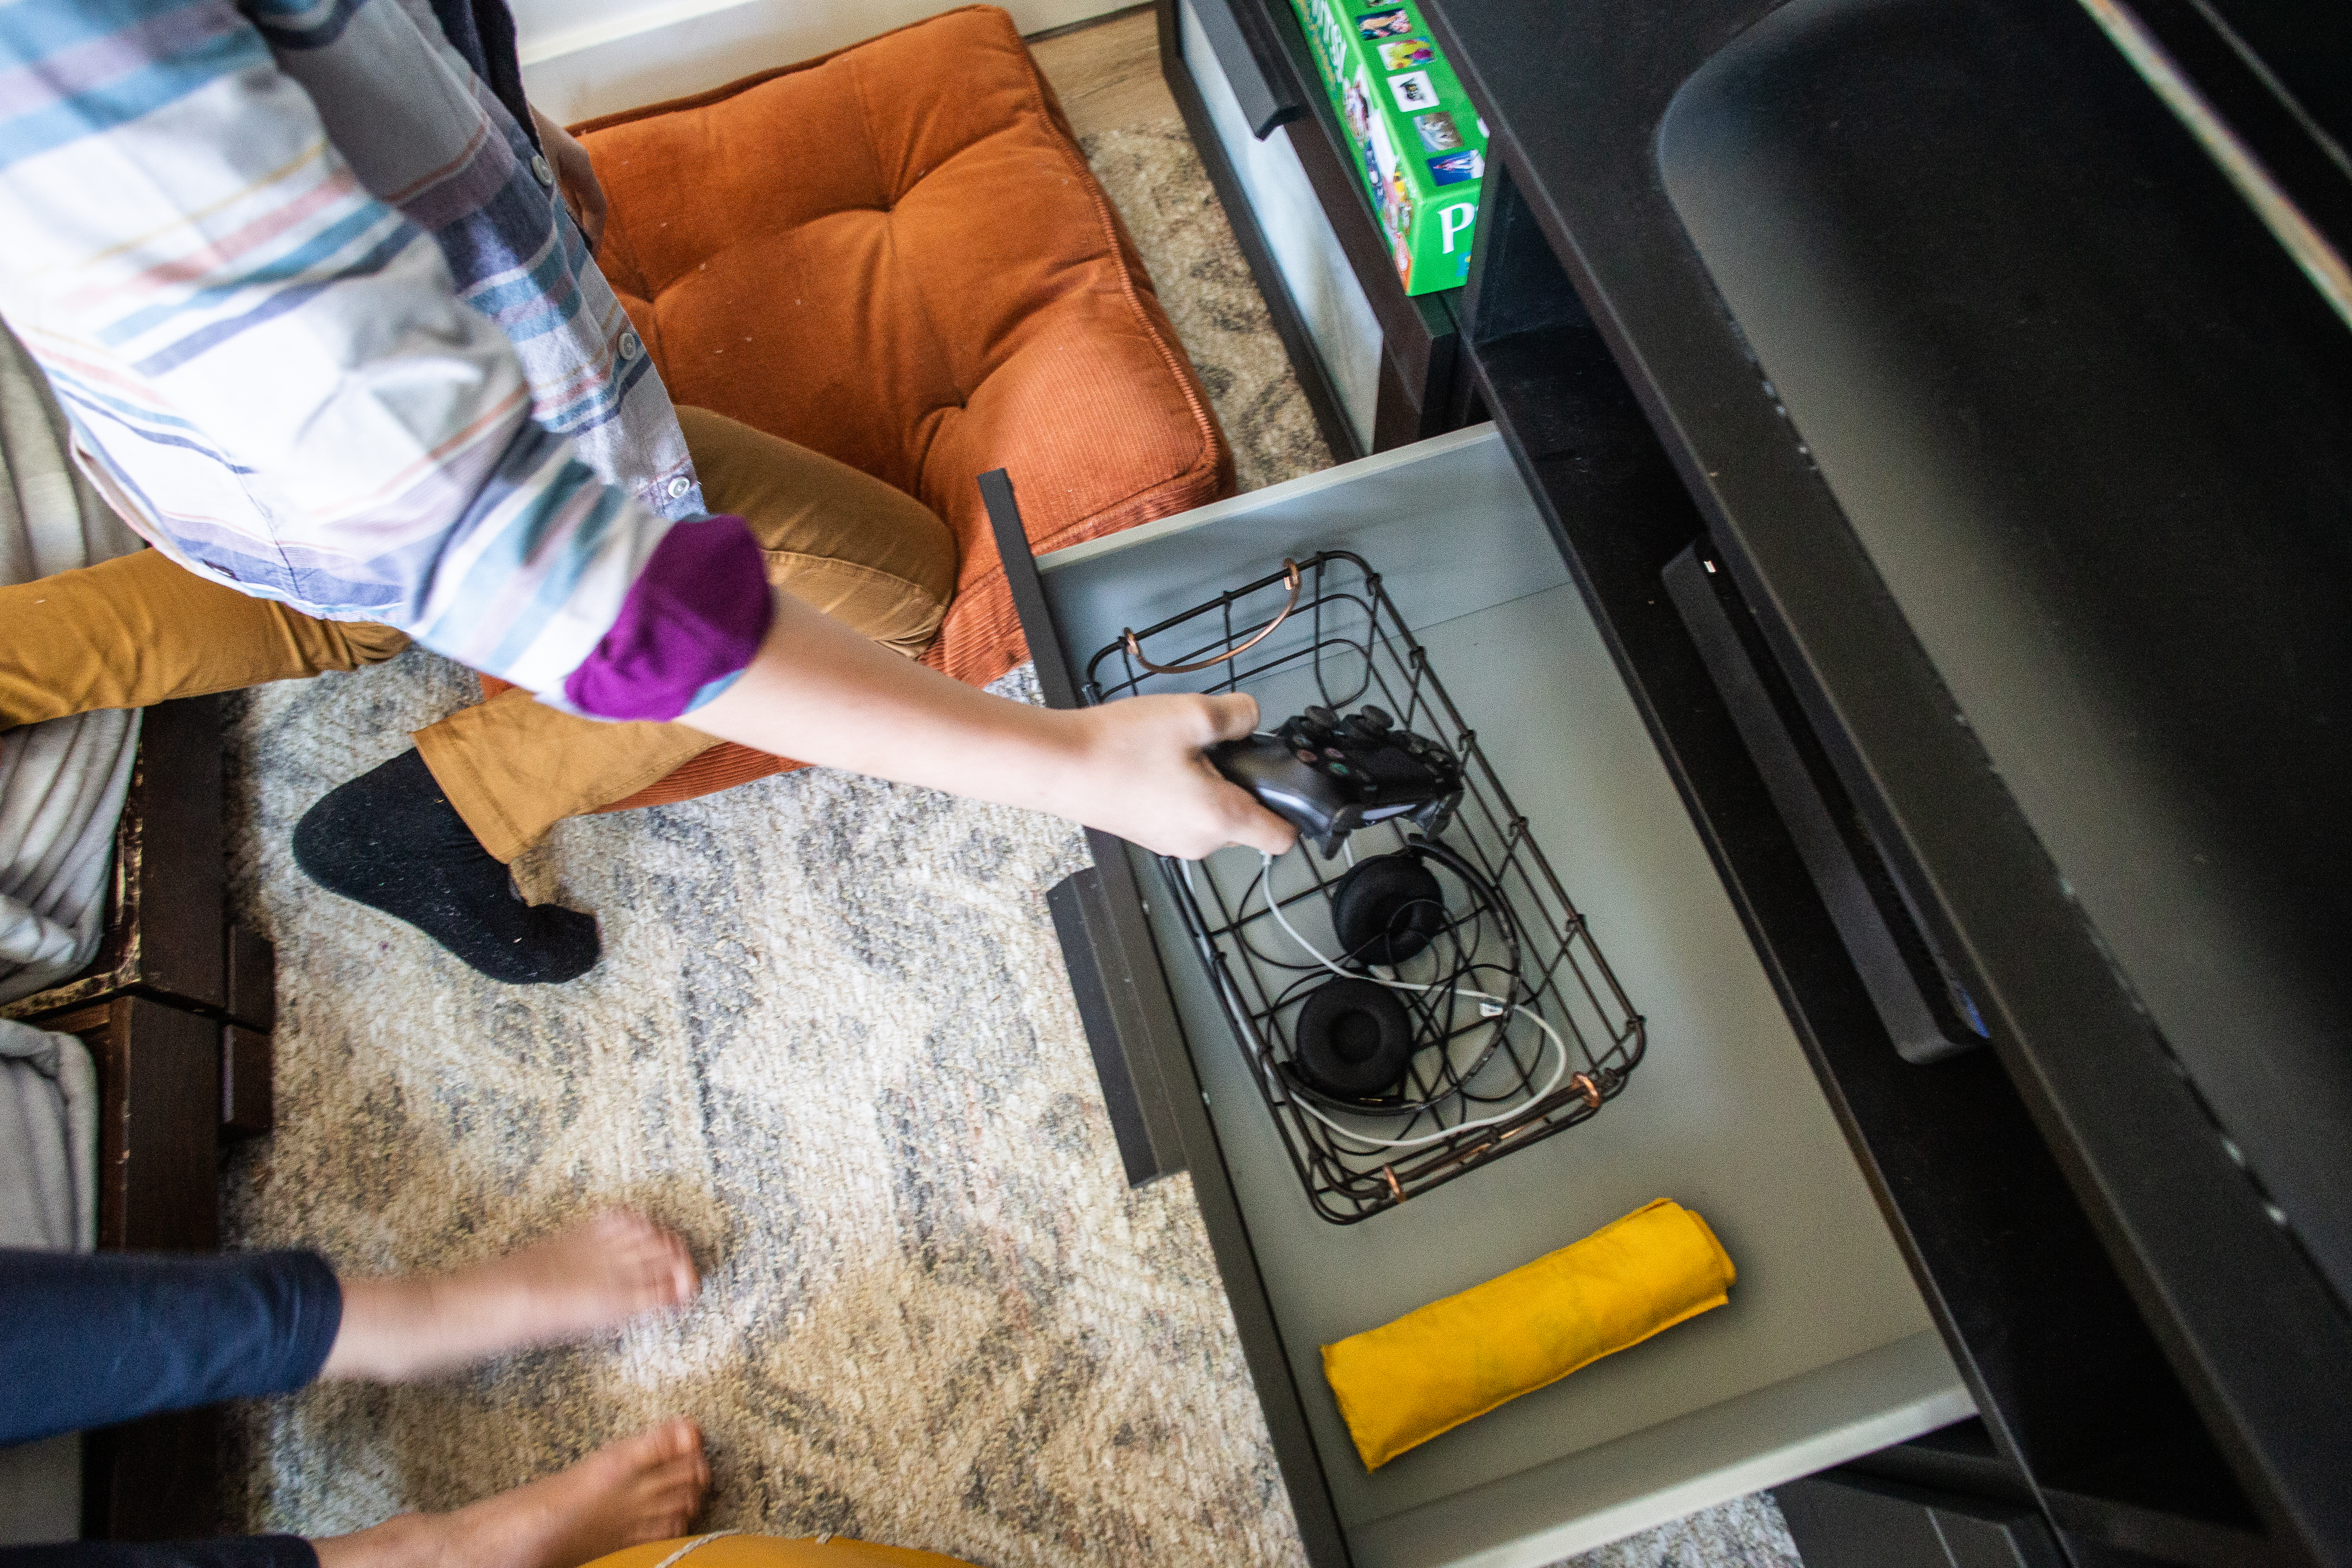
Clubhouse Dream to Reality
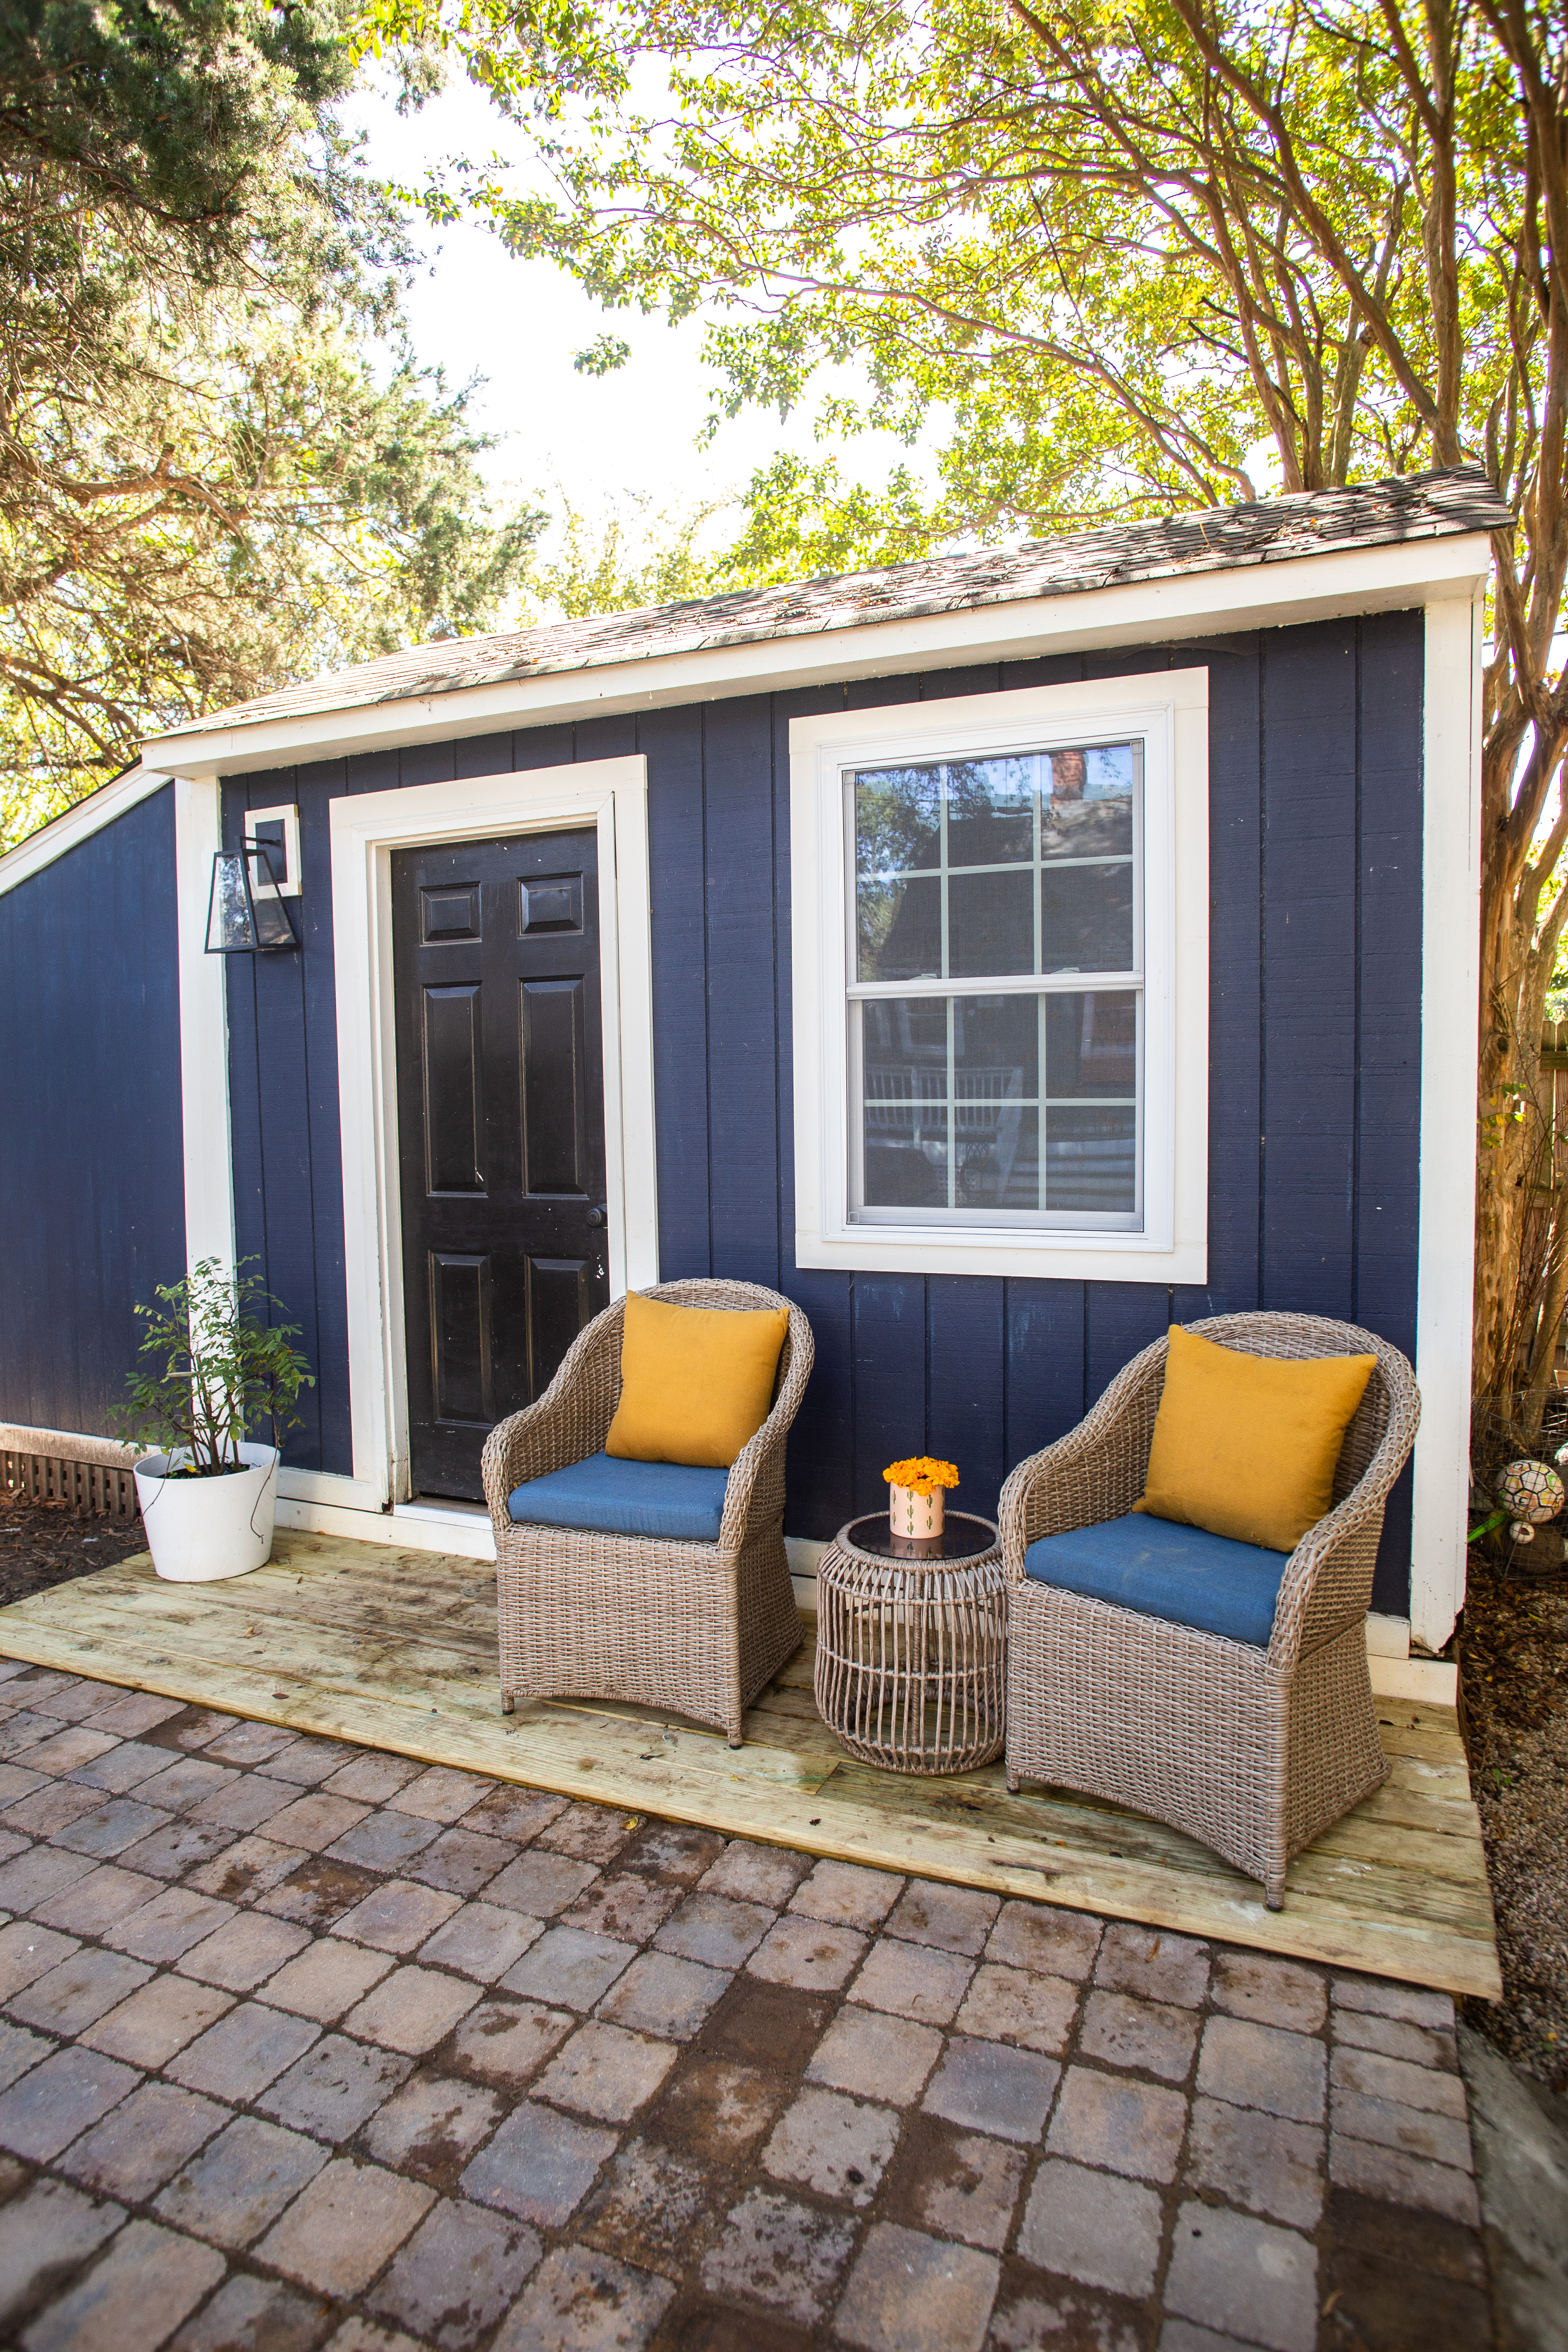
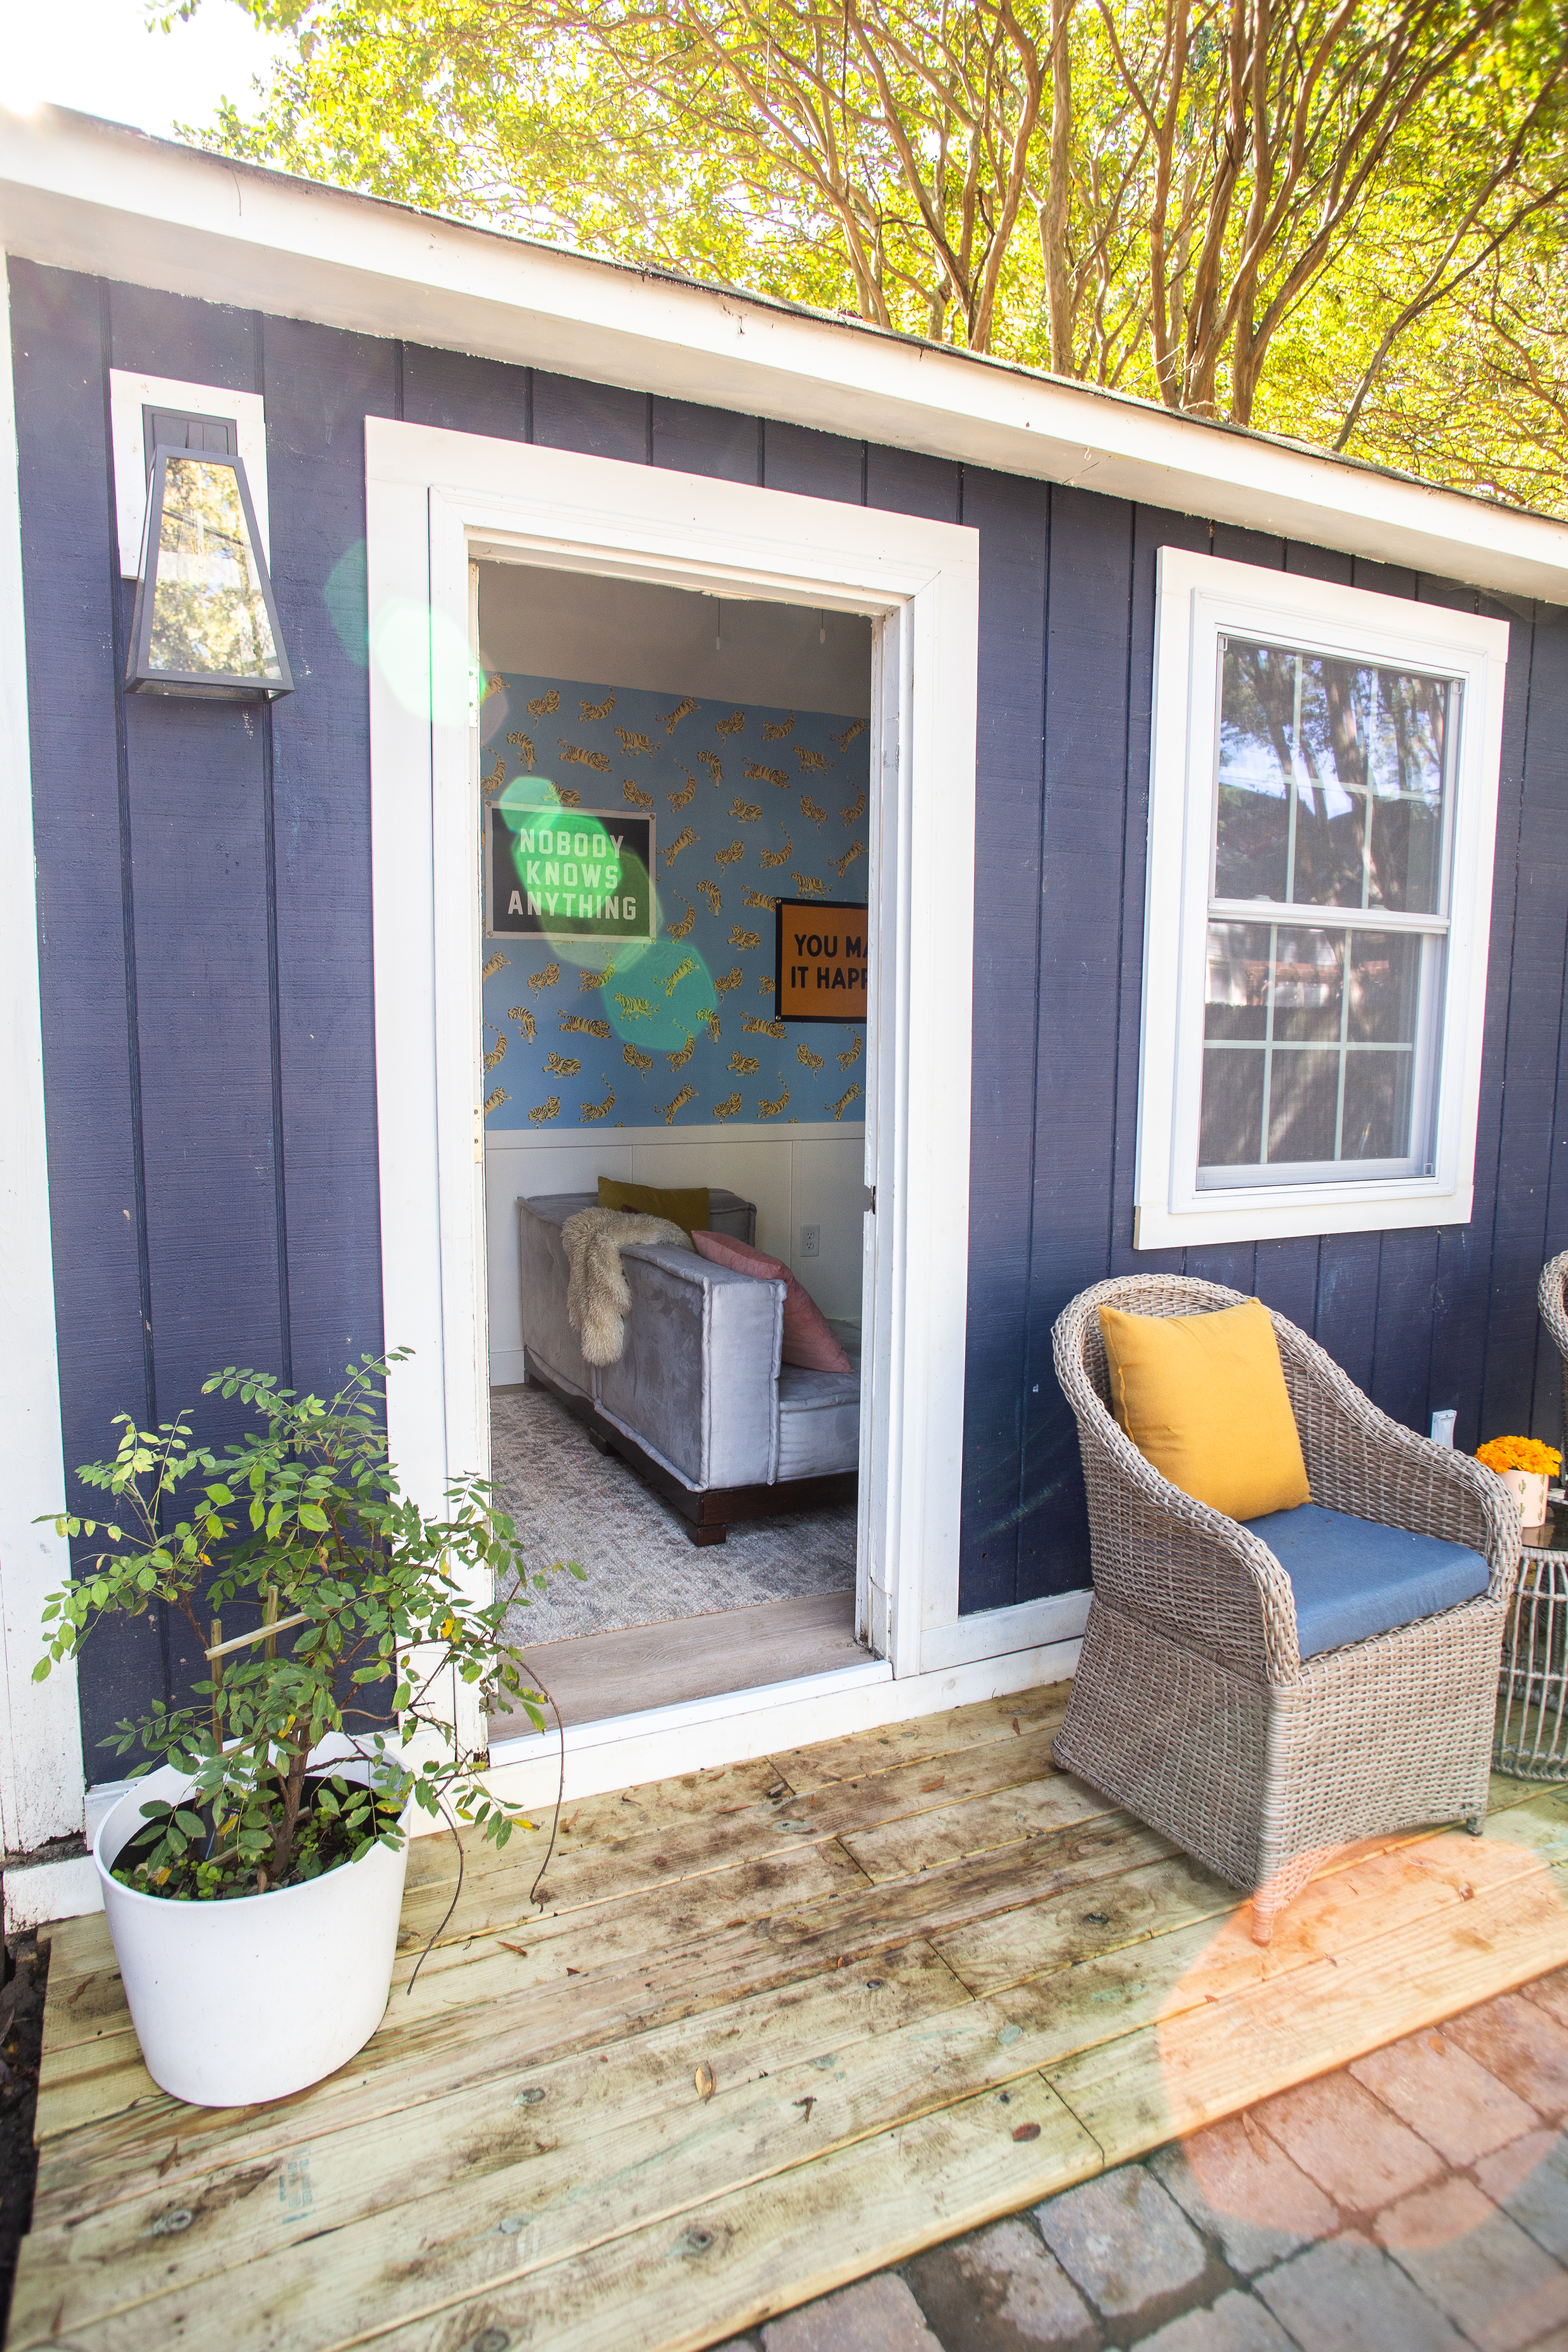
Taking a small, sort of sad and run down backyard shed and transforming it into the DIY Kids Playhouse of dreams was a super satisfying and hopeful project. On the outside, the shed got a huge makeover with new paint, a new window, a small DIY deck, paver patio, some conversation furniture and a couple plants (0f course. When in doubt, add plants!)
On the inside, the kids got a comfortable, bright, play space to spend time by themselves or with a whole crew of kids. Having a second entertainment area on our property has been really helpful for everyone. (Dave and I did a date-night movie in the clubhouse this past weekend because the kids were all in the main house! It’s a bonus room for all of our needs!)
I’m thrilled after two years of thinking about it we finally dove in and made it happen. Piece by piece, step by step, we are fixing up this fixer upper into the house of our dreams.

