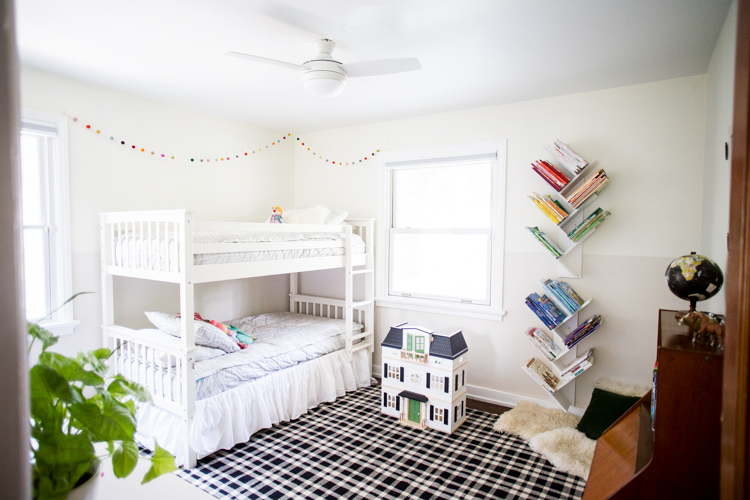
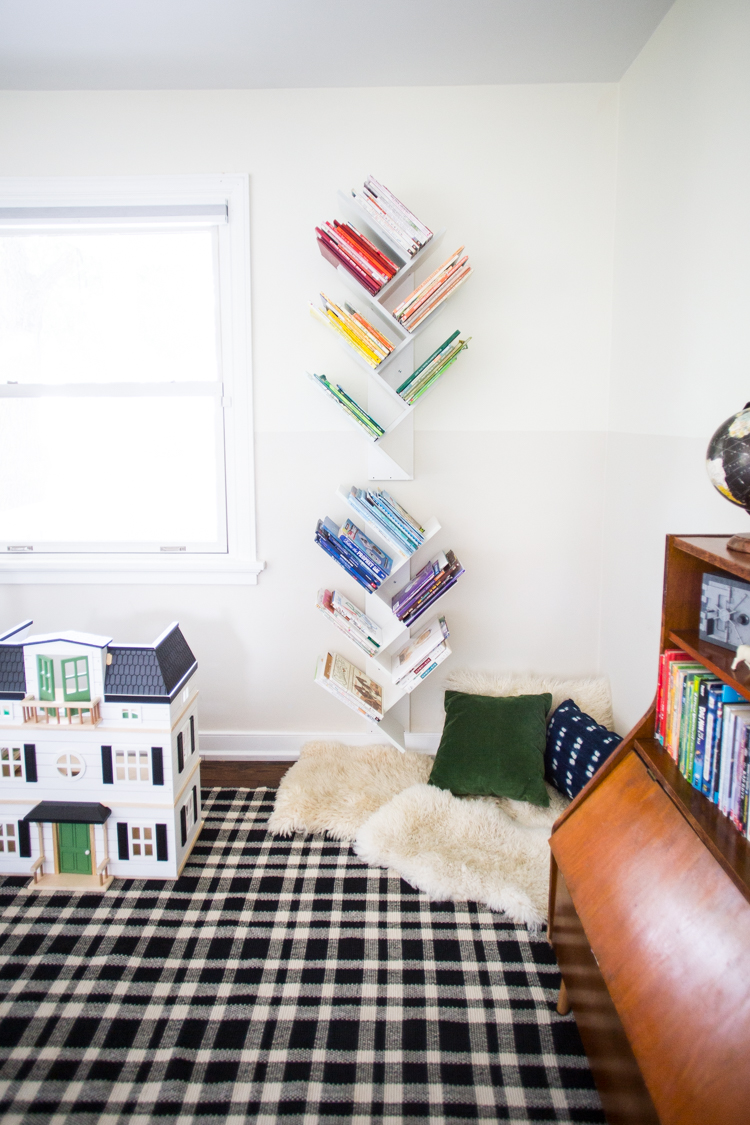
This month I have been focused on designing the shared kids room that also doubles as a play and reading area. One of my design challenges was to create a beautiful and functional bookshelf and I am so thrilled with how this tree bookshelf turned out! Today I am sharing how I made it (using some store-bought bookshelves) so you can make your own.
Beautiful, Minimal Bookshelves
One of my great joys as a mom has been reading to my kids, teaching them to read, and now watching them love to read books themselves. I want our favorite books to all be within arms reach at home, and creating beautiful bookshelves is one way I can do that!
We used to have all of the kids books stored on these beautiful, minimal shelves, but they have been moved into other rooms in this house. I loved the open, airy feel of those, and also thought it would be fun to add some whimsy as it is a kids room.
When browsing online, I stumbled into this fun, small tree-style bookshelf and ordered one immediately. At $60 and free shipping it seemed like a fun solution. But, when I put it together and filled it with books I quickly realized it wasn’t sturdy enough for our piles of pretty children’s books. I also need MORE shelves.
DIY TREE BOOKSHELF
The style and and width was just right, and I figured if I could mount it to the wall, stacked with a second bookshelf on top, I would be in business.
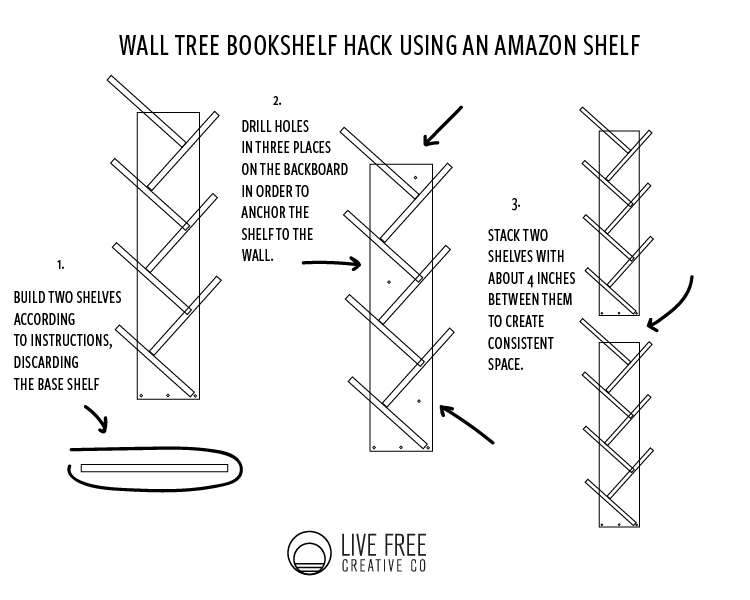
These shelves are meant to stand on the floor, so they have a base piece, that I simply removed and discarded as part of my hack. Then, I put together the shelves according to the (very minimal) instructions. You actually will end up using common sense more than the instruction sheet which doesn’t have any English instructions.
It isn’t too tricky to line up the holes on the shelves with the holes on the back board, and look at the photo to get it together. Think of it as a bran-buster puzzle keeping your mind sharp.
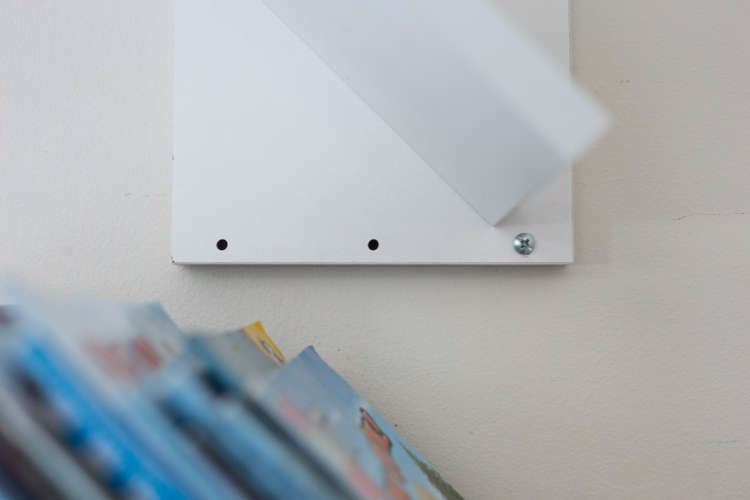
After both shelves are put together without the base plates, you need to drill a couple extra holes to hang them on the wall. I added three drilled holes, then asked Dave to hold the shelf steady against the wall while I marked the holes to put anchors into the walls.
If you want to stack your books high, you will want to make sure the shelves are anchored into the walls, or drilled directly into a stud (which would be trickier to place exactly where you want them.)
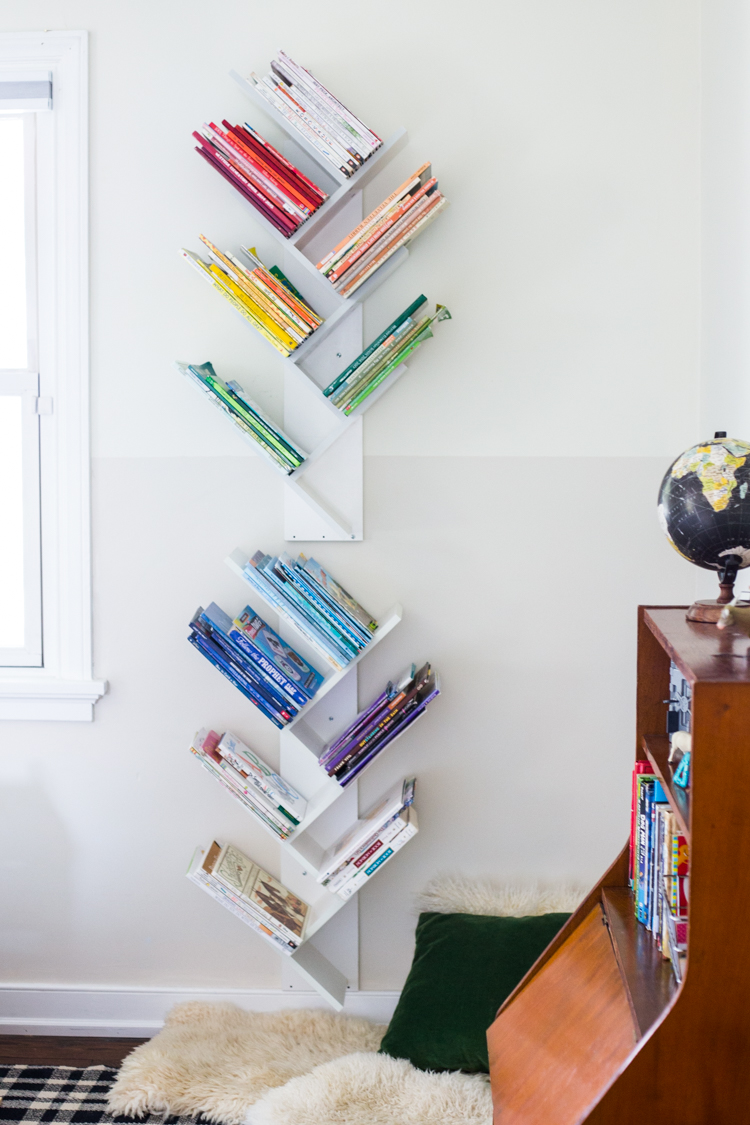
Because of how the shelves line up, I left about 4 inches between the top and bottom back boards, so I can easily stack books in the middle. I may go back and paint along the space in bright white paint, visually closing the gap, but for now I don’t even notice the space unless I am looking for it.
Once I had anchors positioned into the wall, I simply drilled screws through the pre-drilled holes in the back board into the walls to hang the shelves. The bottom of each shelf, where the base was supposed to go, already has pre-drilled holes, so it is easy to use those for additional support.
This tree bookshelf is a simple hack with such a fun, whimsical impact!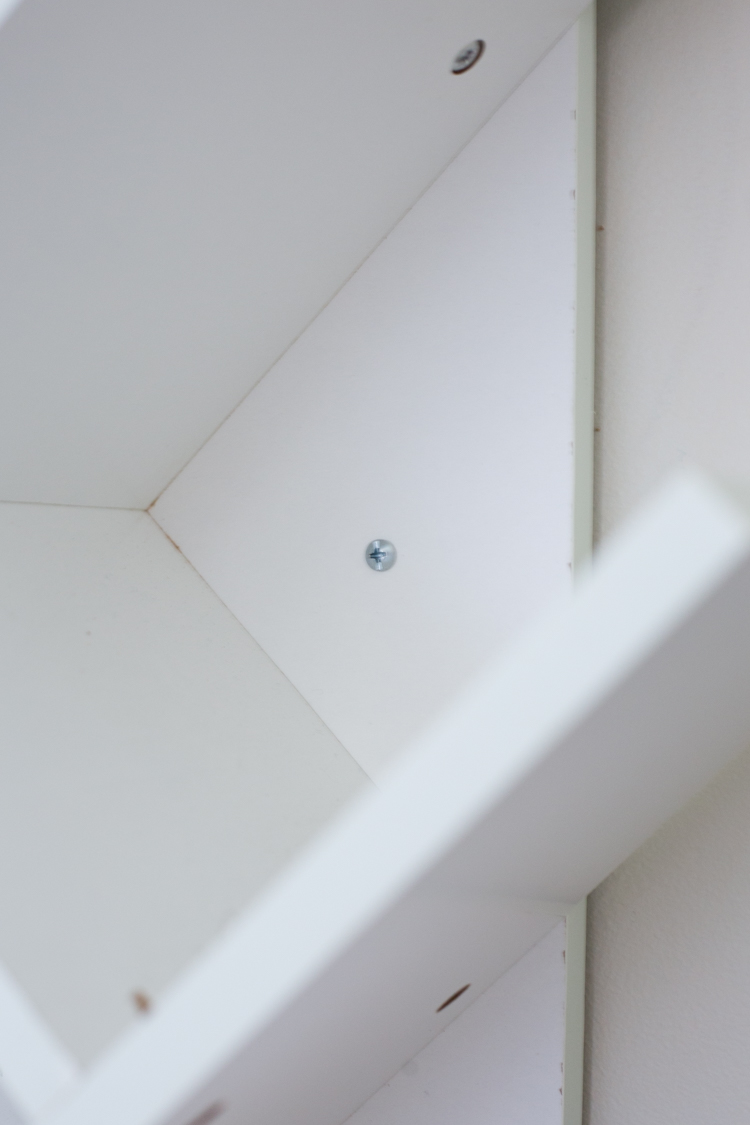
Arrange Books by Color
I have been arranging books by color for years and years and can’t get enough. I love the way it instantly makes the shelves look intentional and the fun rainbow it creates. My kids have even gotten really good at knowing which color spines their favorites books have, so they can grab them easily!
I decided to use the tree bookshelf for all of our bigger picture books, and the chapter books that the older boys have started to read have another shelf.
The tree shelf became an instant focal point in this shared kids room and I love it so much! The books themselves lend some of the color to this otherwise neutral room. My hope of having my kids surrounded by great books to read is happening with each intentional design decision that includes them in a fun way. 