This series is sponsored by Baby Lock. For over 40 years, Baby Lock has been dedicated to the love of sewing by creating machines for sewing, embroidery, quilting and serging – all with ease-of-use, high quality and a touch of elegance.
I’ve always loved sewing with knits, but recently I’ve developed an even greater obsession with it because of leggings. I’ve never had a problem finding leggings that fit (they’re all so stretchy most everyone can find the right size).
What I have really enjoyed is making leggings in different colors, prints, and materials than are available in stores! The process of drafting your own to measurements is really quite easy, and once you have the pattern piece made, watch out, because you might become addicted to making your own leggings!
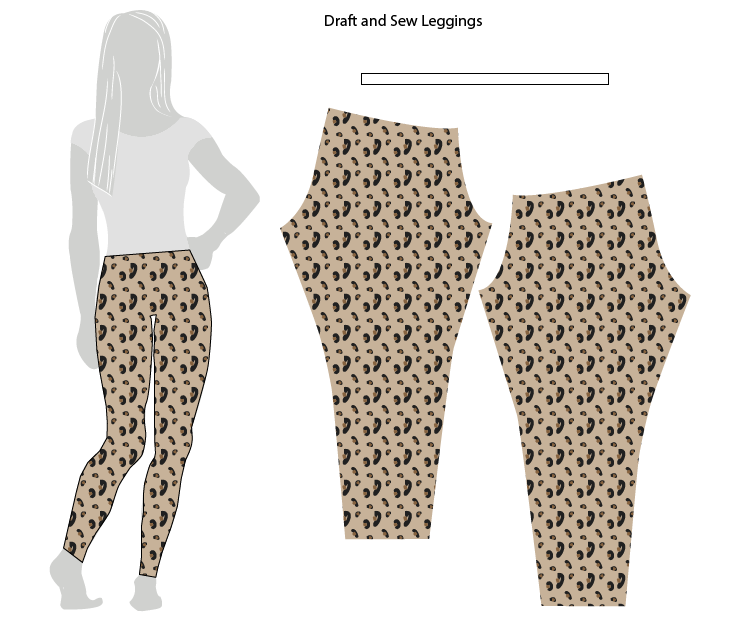
Let’s just all admire my leopard print pattern for a second. I’m a total amateur designer, and have to say I’m pretty proud of this one! Plus, my favorite homemade leggings so far are made from a leopard print lightweight sweater knit. They are on a very tight rotation.
Notice that to make a pair of leggings you will only need two pieces of fabric, cut to your pattern, and one length of elastic. It doesn’t get much more simple than that!
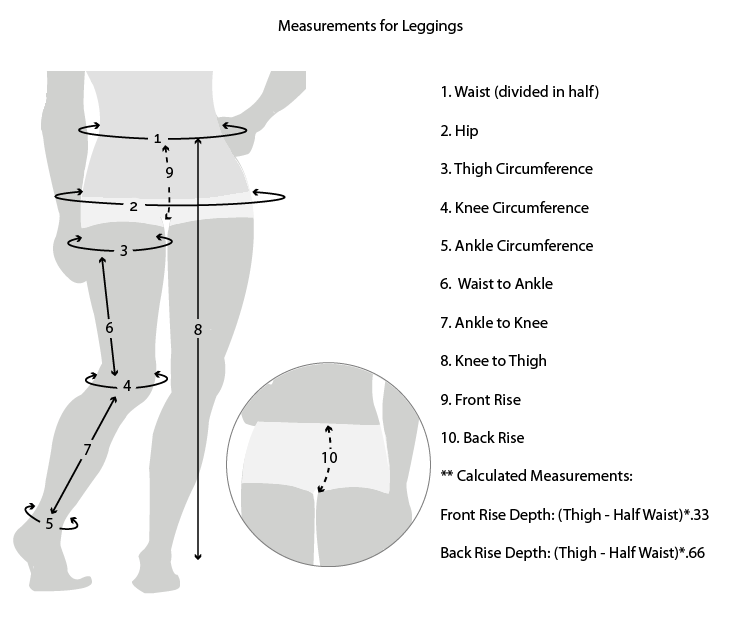
Waist: Technically, this would be your natural waist, or the most narrow part of your abdomen. For this pattern, though, you’ll want to measure the circumference of wherever you’d like the waistband of your leggings to hit.
Hip: The circumference around the fullest part of your bum.
Thigh: The circumference around the widest part of your thigh. Mark where you take this measurement with chalk, or a washable marker
Knee: The circumference around the top of your knee, above the knee cap, with your leg straight.
Ankle: The circumference around your ankle, at the length you’d like the hem of your leggings.
Waist to Ankle: Distance from where you took your waist measurement to where you took your ankle measurement (or the desired hem length).
Ankle to Knee: Distance from where you measured your ankle to where you measured your knee.
Knee to Thigh: Distance from where you measured your knee to where you measured your thigh.
Front Rise: Squeeze a ruler between the top of your thighs, so it sticks out parallel to the floor. Measure from your waist to the ruler.
Back Rise: Squeeze a ruler between your thighs with the ruler parallel to the floor sticking out behind you. Measure from your waist to the ruler. (You may need some help with this one!)
**Rise Depth: This measurement will help form the curves on the front and back of the pattern piece, to allow the upper part of the leggings wrap down between your legs before separating off into two separate leg tubes. I’ve always been a bit mystified by those curvy parts on patterns for pants, but turns out it’s not very difficult to figure out! To find your Rise Depth, divide your waist measurement in half (because each pattern piece only covers half of your waist) then subtract that number from your full thigh circumference (because each pattern piece covers one full leg). This gives the full depth. Rise Depth= Thigh-(Waist/2)
Here’s an example using my measurements: Waist: 30″, Thigh: 21″
21-(30/2)= 6, so my Rise Depth is 6″
Now we divide the Rise Depth between the Front and Back to know where to add those inches on the pattern piece. The Front Rise Depth is 1/3 and the Back Rise Depth is 2/3 (to accommodate that fine booty!)
Front Rise Depth = Rise Depth*.33 So, 6*.33 (or 1/3) = 2″ for my Front Rise Depth
Back Rise Depth = Rise Depth*.66 For my Back Rise Depth, 6*.66=4″.
Please don’t get freaked out by the math. It’s really simple, I just explained it as detailed as I could (with lots of examples of calculations) so you can understand the theory rather than just finding the number you need. I hope it helped!
If the fabric you want to use is very stretchy (in this post about knit fabric and selection, I talk all about stretch) you may want to subtract some a bit of negative ease from your circumference measurements (Waist, Hip, Thigh, Knee, and Ankle) before creating your pattern so that your leggings end up tight, not baggy.
For a minimally stretchy fabric (10-25%) I’d suggest subtracting 1/2″. For a very stretchy fabric (25-50%) I’d suggest subtracting 1″.
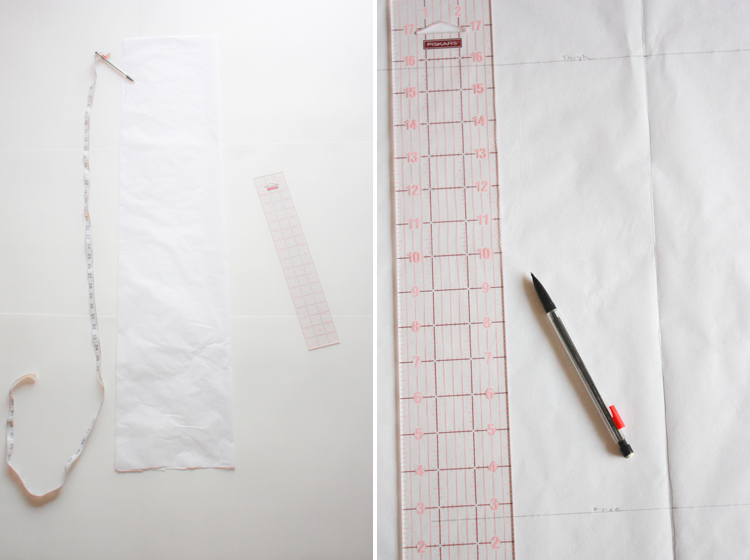
Grab a piece of drafting paper that is a few inches longer than your waist to ankle measurement. You also need a pencil and a ruler. Fold your paper in half lengthwise (hot dog style) and crease the fold. When you unfold it you can begin drafting.
The center fold of your paper will serve as the center of your pattern. Lay the paper out flat on a hard surface.
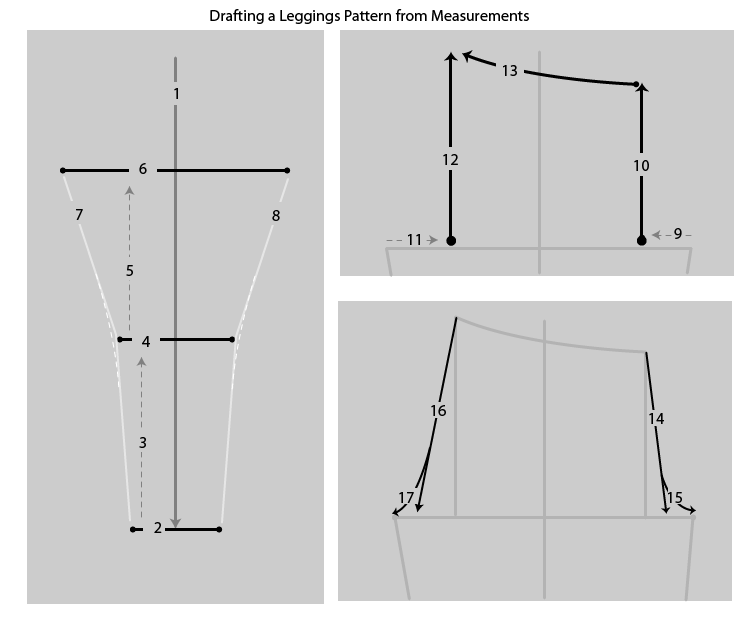
1. Make a mark about 2″ from the top of the page, on the fold, then measure your Waist to Ankle measurement along the fold and make a mark at the ankle.
2. At the ankle mark, draw a line perpendicular to the fold the length of the Ankle Circumference, with the fold in the middle of the measurement.
3. Measure the Ankle to Knee distance up from the ankle line and make a mark.
4. At the knee mark, draw a line perpendicular to the fold the length of the Knee Circumference, with the fold in the middle of the measurement.
5. Measure the Knee to Thigh distance up from the knee line and make a mark.
6. At the thigh mark, draw a line perpendicular to the fold the length of the Thigh Circumference, with the fold in the middle of the measurement.
7. Connect the ends of the thigh, knee, and ankle lines.
8. Gently round out any corners in your lines.
9. Starting at the end of the right side of the thigh line, measure your Front Rise Depth towards the center and mark.
10. Starting at the Front Rise Depth mark, measure and draw the Front Rise Height up perpendicular to the thigh line.
11. Starting at the end of the left side of the thigh line, measure your Back Rise Depth towards the center and mark.
12. Starting at the Back Rise Depth mark, measure and draw the Back Rise Height up perpendicular to the thigh line.
13. Connect the tops of the Front and Back Rise Height lines with a gentle curve (the back rise height should be slightly higher, if you have a bum!)
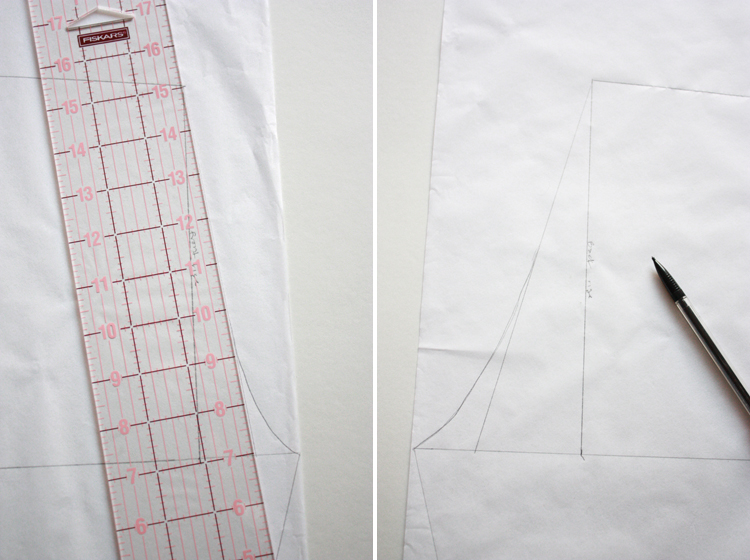
14. Use your ruler to draw a line from the top of the Front Rise Height line to about 1″ from the right end of the thigh line.
15. Starting about half-way down the line you just drew, gently curve out the corner to meet the end of the thigh line.
16. Use your ruler to draw a line from the Back Rise Height to about 1″ from the left end of the thigh line.
17. Starting about half-way down the line you just drew, gently curve out the corner to meet the left end of the thigh line.
Yay! You’ve drafted the whole pattern! Give yourself a pat on the back.
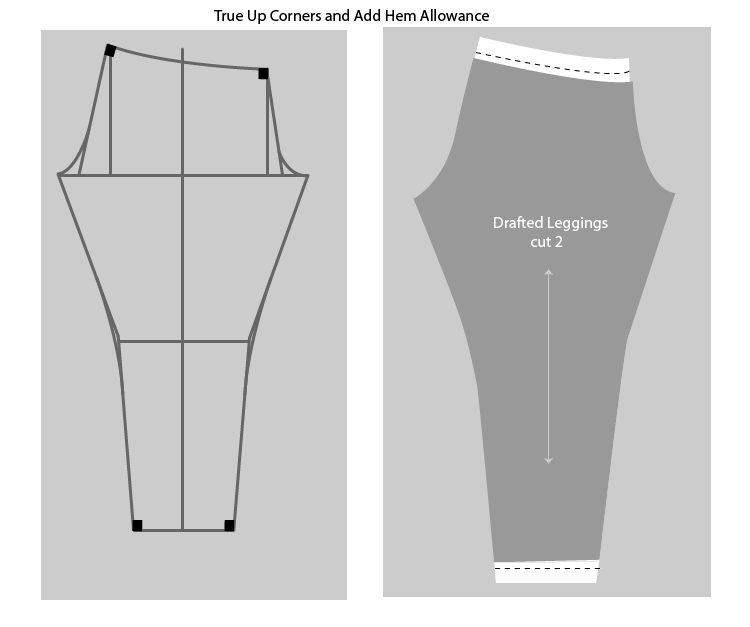
To finish up the pattern, use the corner of your ruler to make sure your four corners of the pattern are all squared off. This is where the pieces will meet, and need to do so at a right angle. Finally, decide what width of elastic you will use for the waist.
Add 2 times + 1/4″ your elastic width (example: for 1″ elastic I’ll add 2 1/4″ ) to the waistband of the pattern. Just measure that distance straight up from the front and back rise heights, and re-connect them with a gently curved line.
For the hem, just lengthen the pattern by the width of hem that you’d like. I used 1/2″. We won’t add any seam allowance, because we expect the fabric will stretch.
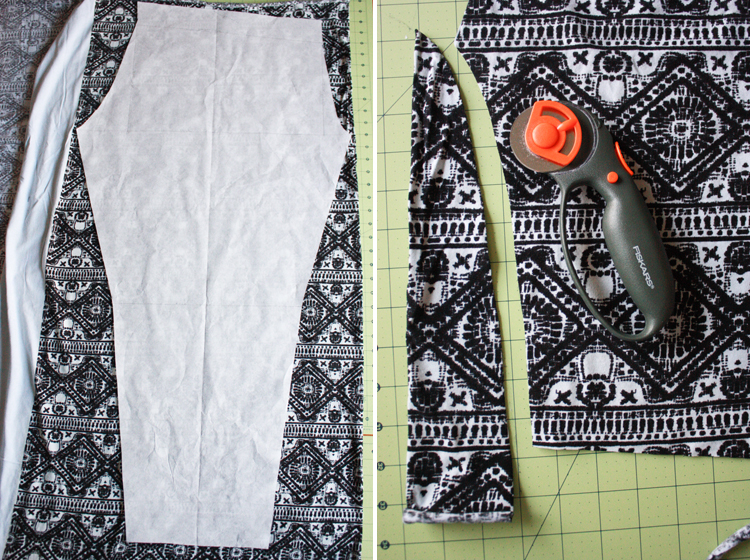
Yay! Now the fun part, cutting and sewing! Use Mim’s tips to find the grain of your knit, ensuring that the stretch is going widthwise across where you lay your pattern.
Using a large cutting mat and rotary cutter is the most precise and fast way to cut, but you can use whatever you’ve got! Fold your fabric in half and lay the pattern on top. Weigh down or pin, and carefully cut around the edge.
In addition to your two pattern pieces, you’ll need a length of elastic about 1″ shorter than your waist measurement. (or just stretch it around your waist until it’s comfortable, overlap the ends 1″ and cut. Sew the elastic together end to end, overlapping the ends by about 1″. You may want to use a zig zag stitch and go over the elastic several times to ensure it stays together!
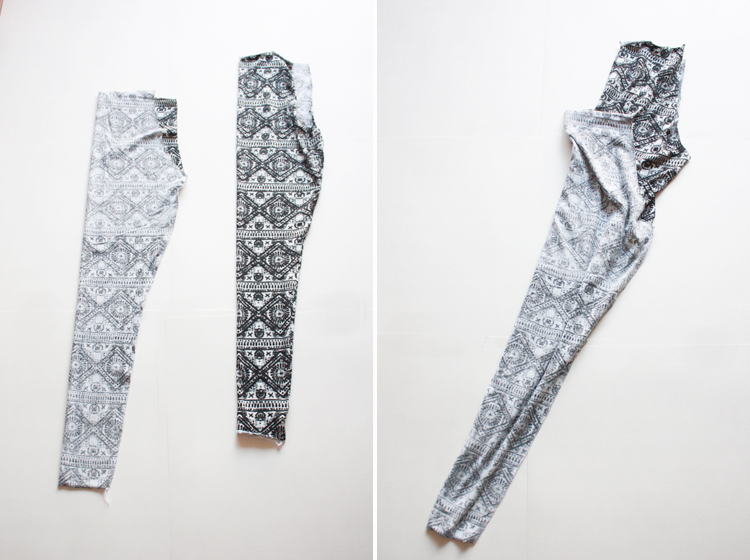
Fold each of the two pattern pieces down the center line, with right sides together. Match up the point of the inseam and the ankle.
Sew or serge along the inseam line on each piece. Turn one piece right side out and place it inside the other.
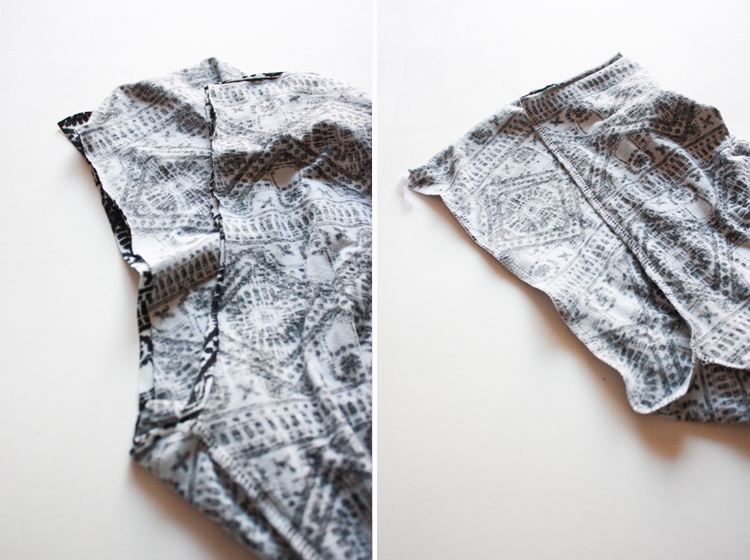
Line up the edges of the pieces, matching the seams you just made. Sew or serge this center line.
Turn the leggings inside out. Look! Pants! One side of the waistline will be slightly higher than the other. This is the back of the pants. Line the overlapped part of the elastic up with the back center seam on the waistband.
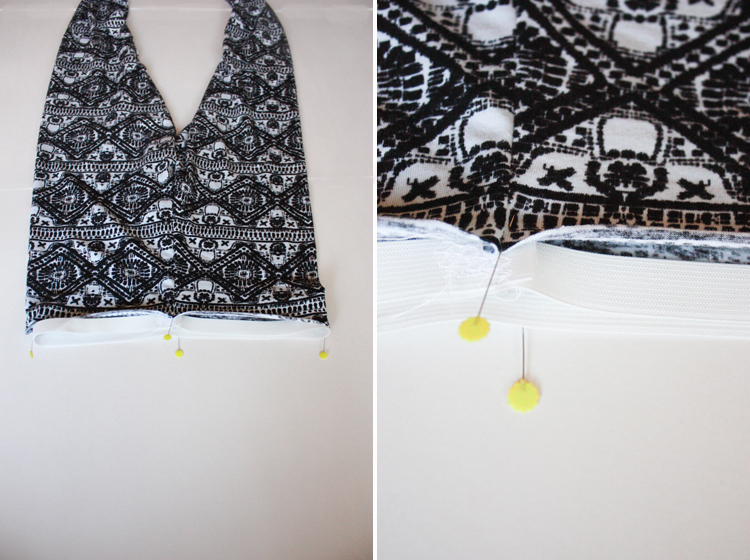
Find the front and sides of the elastic circle, and match them up with the front seam and sides of the leggings. Pin the elastic just inside the legging fabric at the waistband, overlapping the fabric on top of the elastic by only a scant 1/4″.
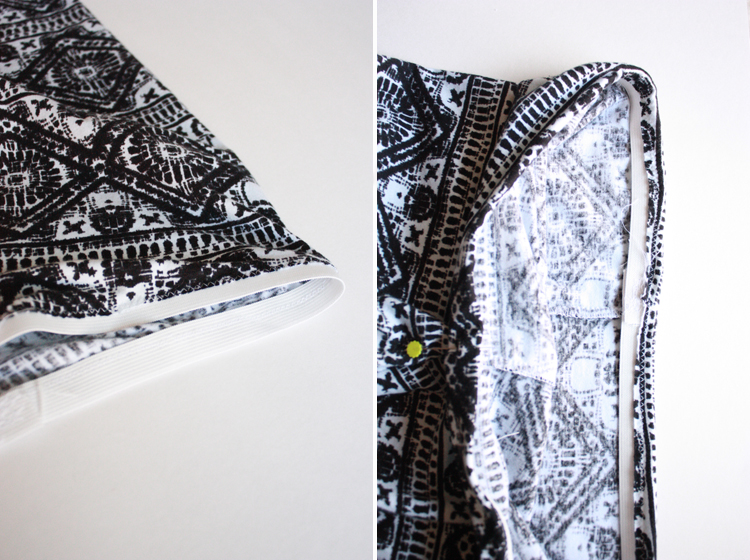
Sew the pants and elastic together along the narrow overlap (with a zig zag or stretch stitch). Fold the elastic down into the pants once, and pull down on the pant fabric, pulling the fold of fabric tight against the elastic.
Fold the elastic down once more, again pulling the fabric tight along the elastic. Sew along the bottom edge of the elastic on the inside, securing the band. Using this method, the elastic becomes fully encased in the fabric, and is sewn in place (rather than just threaded through as in a casing) so it stays aligned.
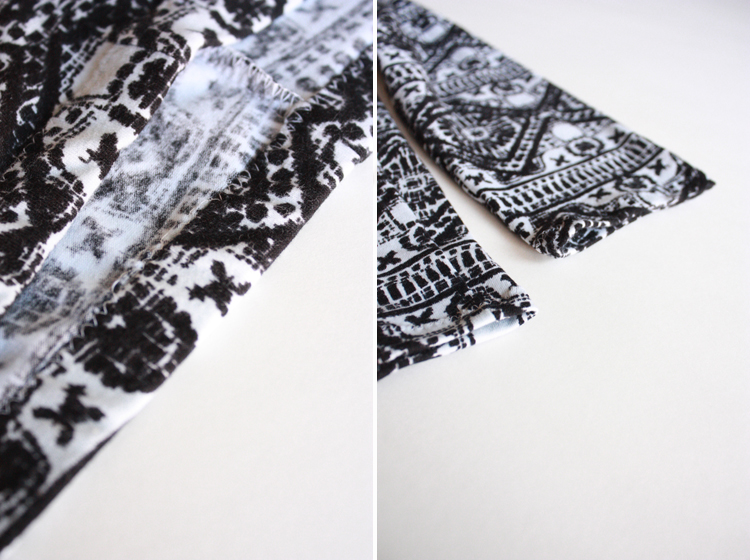
Finish the hems of the pants as you choose (Mim’s post on finishing techniques is very thorough.) On this pair, I simply folded the ends under and zig zag stitched them.
Look at that! You made yourself some homemade (and seriously awesome) leggings!
The first time you make some, it will take a little while because of making the pattern. Once you have your own personal pattern, though, whipping up a new pair (every week…) will be a snap! I’m totally in love with the few pairs I’ve made, and every time I spot some funky fabric I now immediately think “LEGGINGS!!”
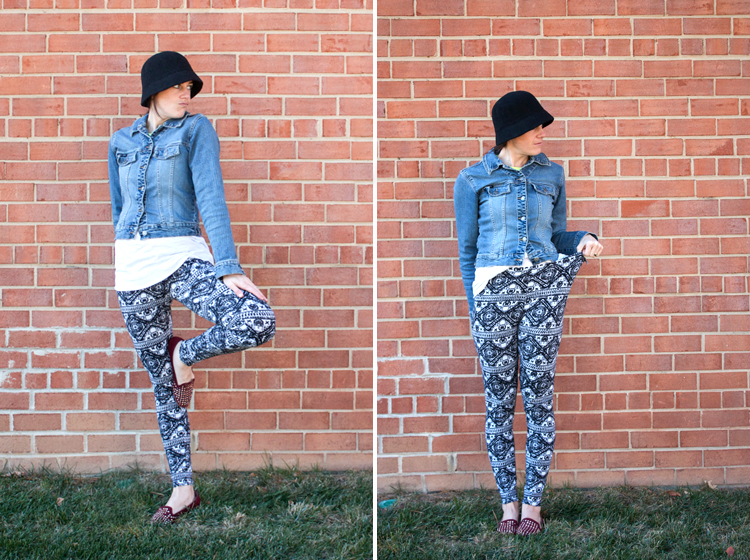
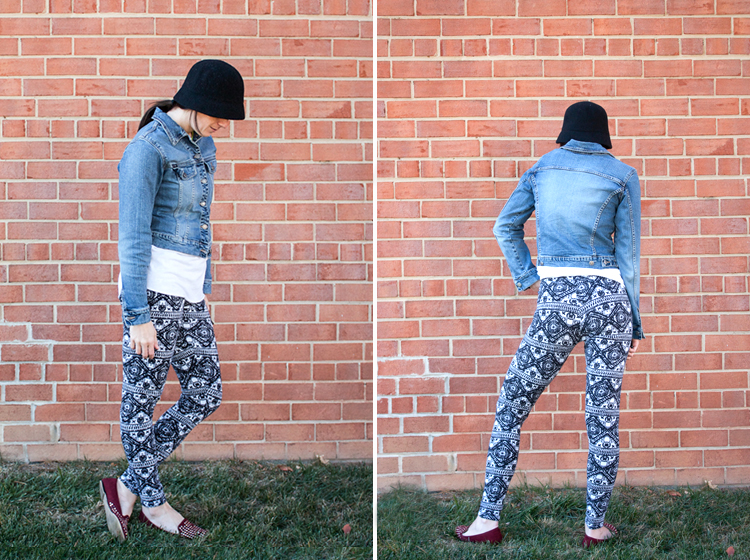
Here I am just hanging out in my new leggings, doing the tree pose because my pants are stretchy and I can! And check out how stretchy they are! (ha! I must have been getting a little loopy by the time I took these!)
Pattern: self-drafted legging pattern (you can do it!!)
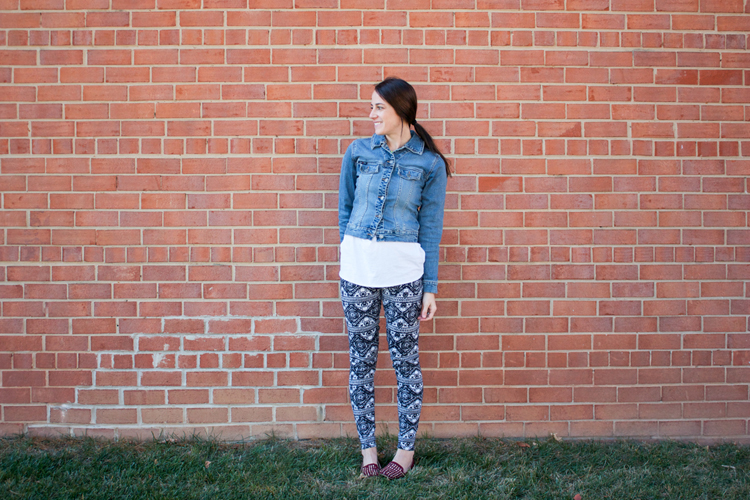
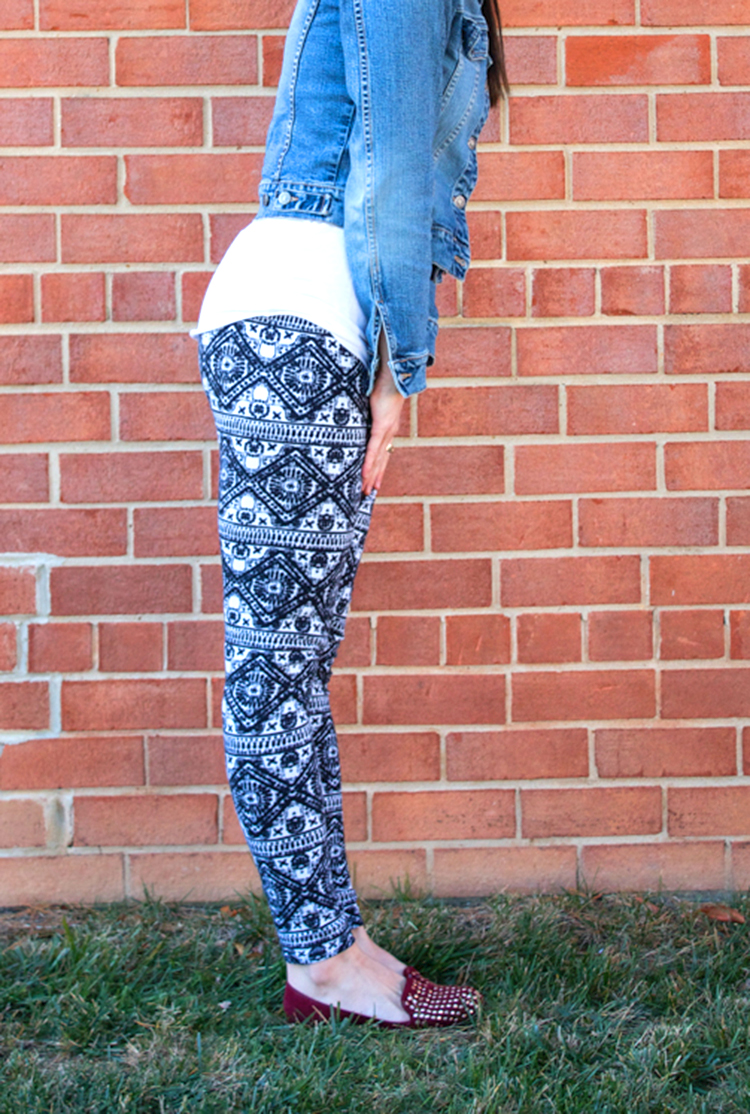
Fabric: Amazing tribal print that someone was getting rid of and handed down to me (score!!) Similarly awesome leggings print styles here, here, here, and I share my favorite places to buy knits on this Knit Fabric post. (Don’t forget to enter the giveaway for $50 to The Fabric Fairy!)
This week we have taught you to make and finish tee shirts, and alter them into dresses and peplum tops. Now with today’s leggings and Miriam’s Maxi Skirts, we’ve pretty much got you covered for a little while!
Tomorrow we’re excited to teach you all about sergers, and more specifically the Baby Lock Diana. Although anyone with a sewing machine can sew knits no sweat, using a serger takes the construction to another level. Similarly, going from a serger to a coverstitch machine takes things up another notch. The Diana is both a serger and coverstich machine in one! We can’t wait to share the fun things it does to make sewing with knits even more fun.

