Hooray! After a month of scheming, working, designing, and just GETTING IT DONE, this two-toned boy girl shared bedroom for my two youngest kids is complete. I worked on this room as the first month in my Room by Room Challenge, and am over the moon with how it came together. Let me share the details with you!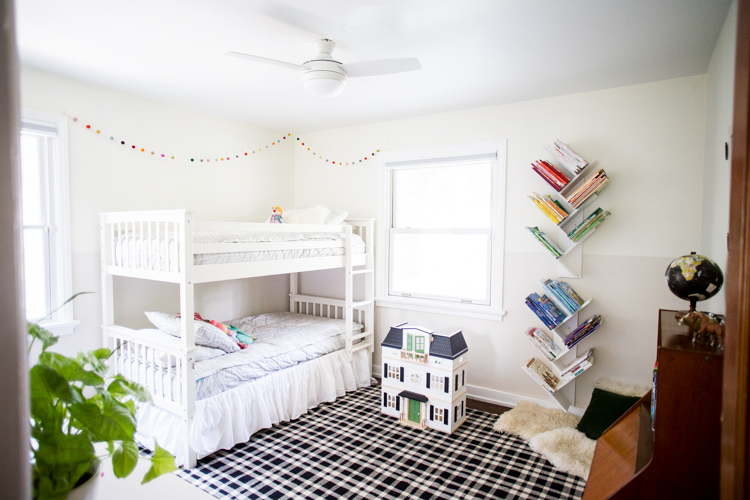
That left the two youngest, a boy and a girl, to share this bedroom. It was a fun design challenge, and exercise problem solving to have their room feel young and fun, neutral but still colorful, and also make room for all of the toys and books in this one room.
I began with the walls, and had the idea to paint them with a neutral color blocking. I chose two subtle colors, a creamy off-white (SW 7563 Restful White) for the top half, and a pale grey (SW 7568 Neutral Ground) for the bottom.
I really love the neutral color blocking added interest to the walls, and they still feel like a bright backdrop for the room. 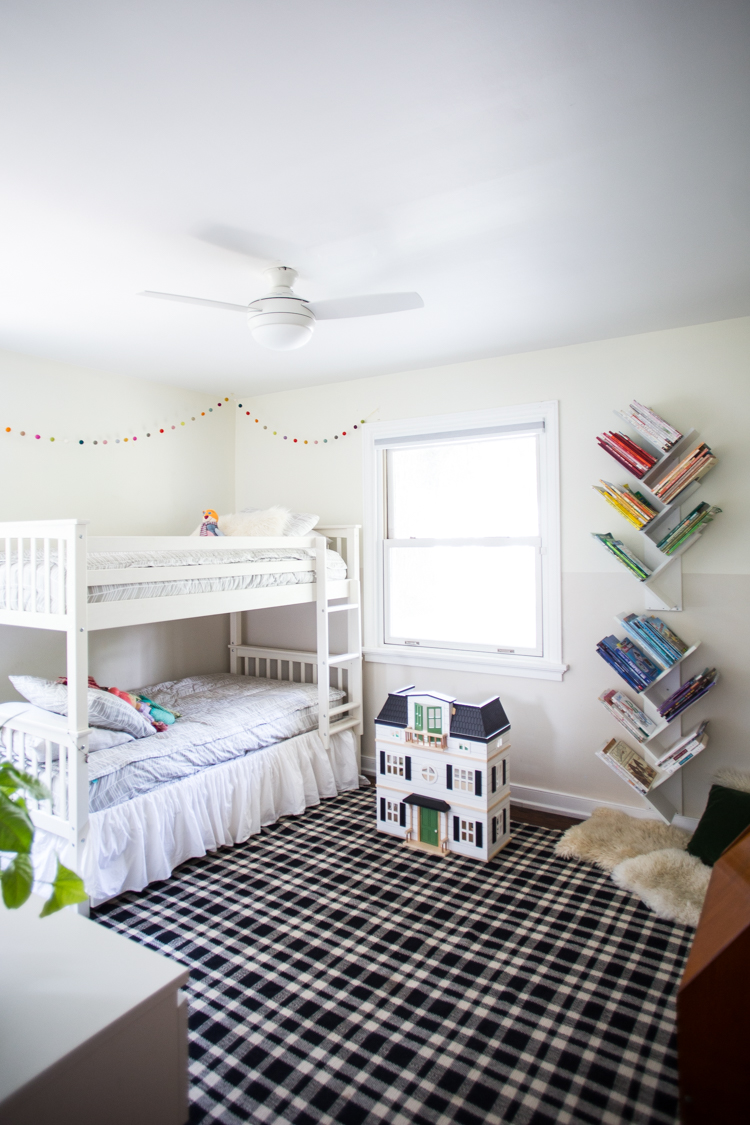
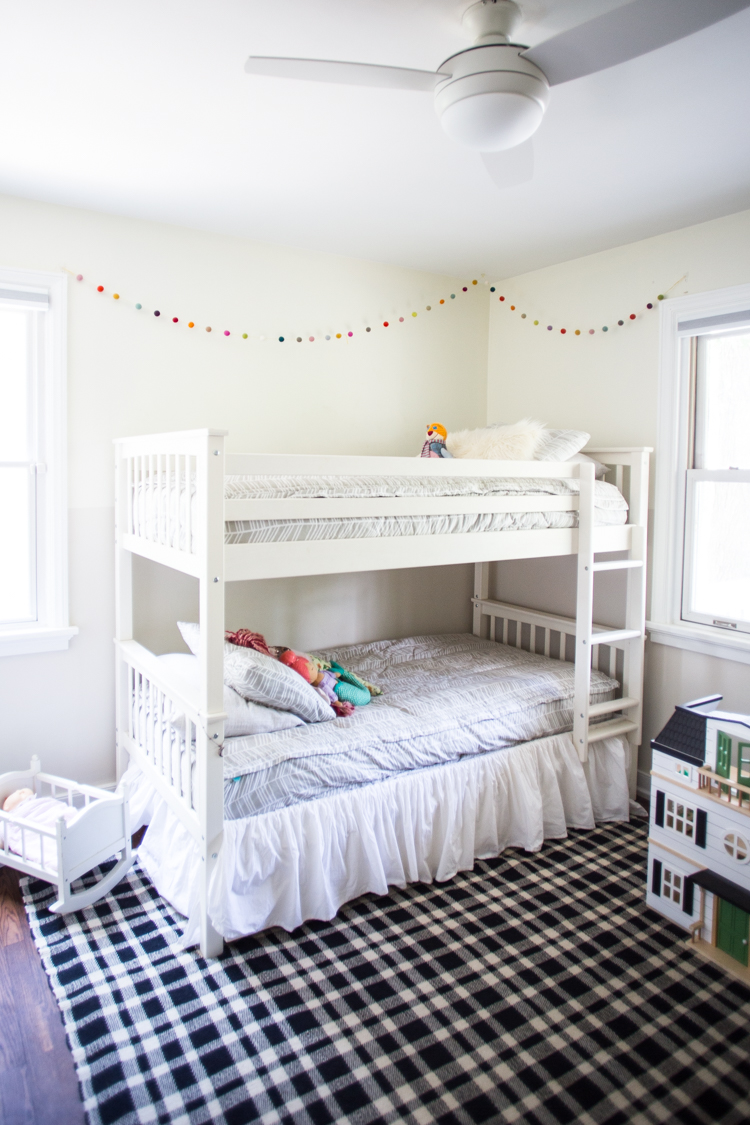
One of my favorite parts of the bunk bed is the included trundle bed, which served as my daughter’s nightly bed when all three kids shared a room. Now, it is a perfect hidden guest bed, and is where the oldest will sleep when his room becomes the guest room.
All three mattresses have the same, amazing Sketched Beddy’s Bedding on them. I have fallen in love with the ease of putting on ALL the bedding at once and the kids can zip their beds “made” every morning. The whole room feels so much more put together and we love them!
I have loved this plaid rug for years, and was happy to use it in this space. The bold, black and white pattern is a fun way to add a LOT of definition to the floor, and as a bonus it hides all of the stray legos and tiny toys that the kids leave on the floor. (although it doesn’t save my bare feet from stepping on them…)
Although it is a flatweave rug, it feels super plush with a thick, carpet pad beneath it. I sourced one from a local carpet company who cut it to size, leaving about 2 inches on each edge for the rug to transition back to the floor. The carpet pad was about $100, which is maybe twice what a typical rug pad would have cost, but it is so soft and thick, it makes the whole room cozy and perfect for sitting on the floor and playing.
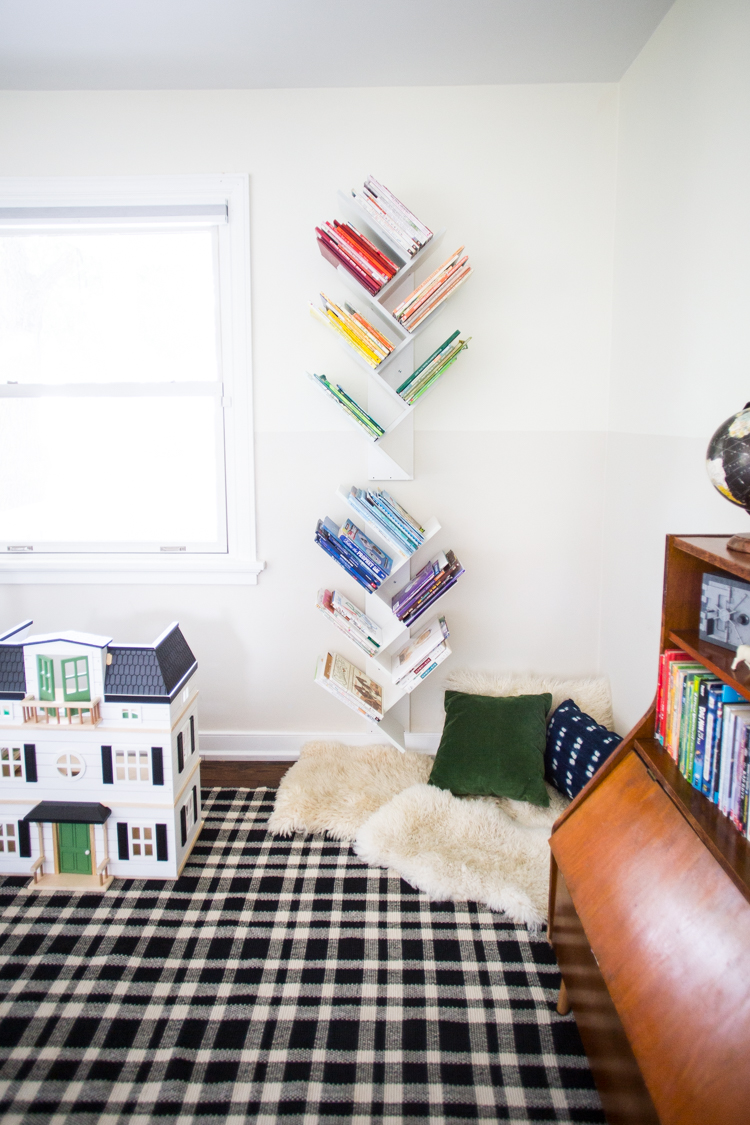
I almost always organized books (and clothes) in color order. It makes such an easy impact, feels really intentional, and the rainbow is really fun, especially in a kids’ room.
Next to the bookshelf is a cozy reading corner. Cozy because I added a pile of sheepskin and some soft pillows to encourage lounging. I want the kids to feel like they have spaces to read all throughout the house, and so setting aside some corners here and there with books and pillows helps in that process.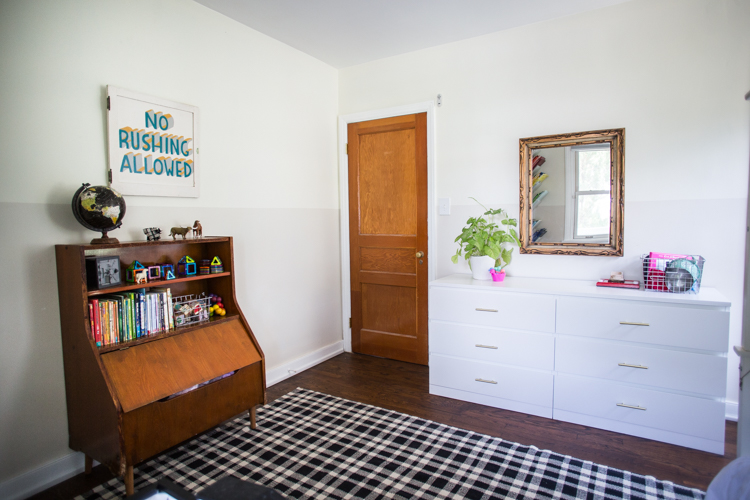
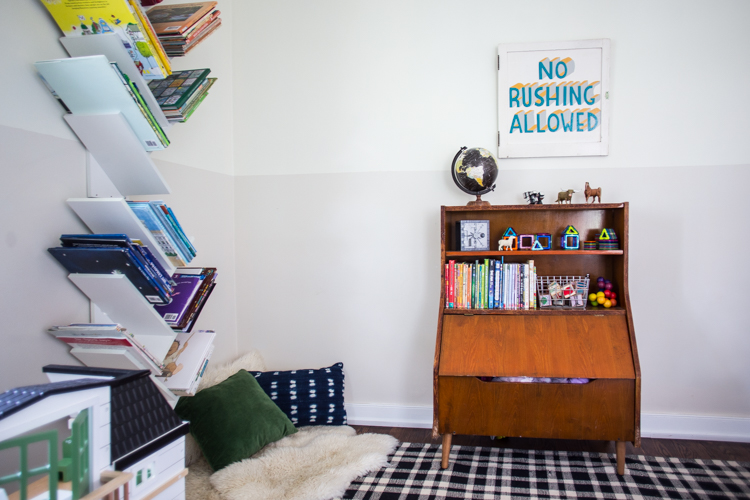
I searched for a week before stumbling across this perfect toy storage shelf and chest. We have a whole bunch of costumes for pretend play, and I wanted them to be easily accessed but not necessarily visible.
I looked through a few, similar options online (here and here) before finding exactly what I needed on facebook marketplace for $20!! The seller said it had been hers as a child, so it was over 30 years old. I didn’t have legs, so I added some mid-century style wooden legs to get it up off the ground and looking more like furniture. And I love it.
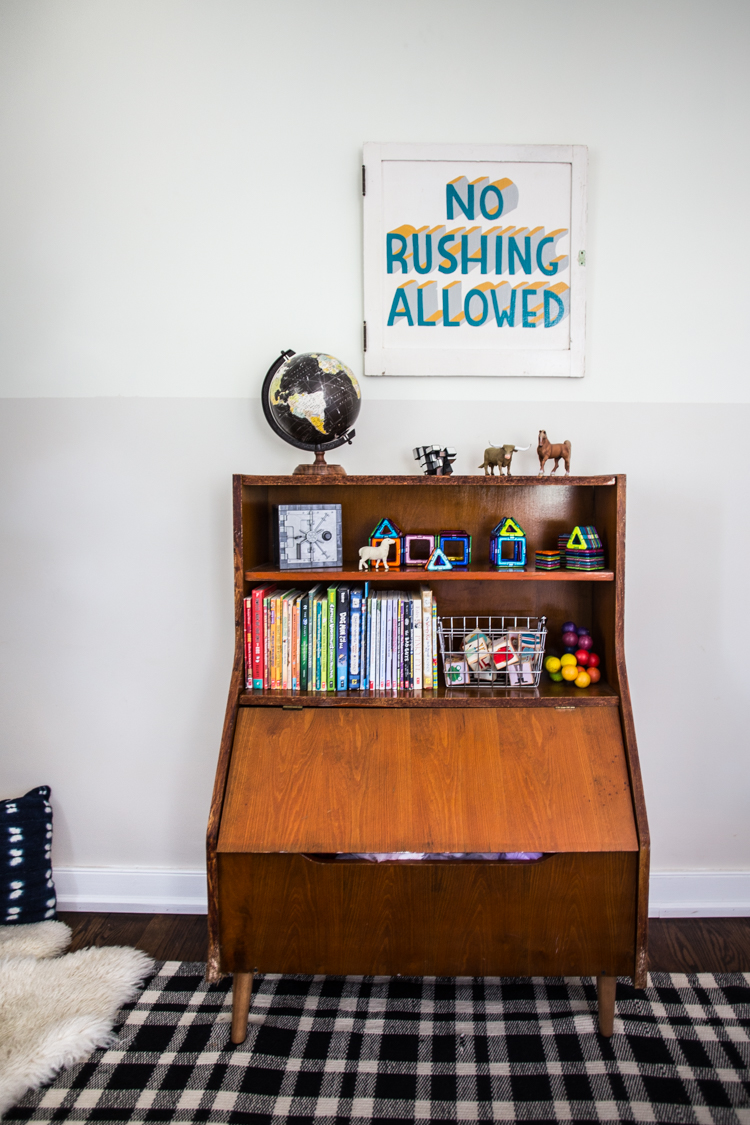
Other than what you see here, the kids each have one drawer of toys in the dresser. One is filled with legos, and the other with baby doll clothes and accessories. One of the major things we have learned through our years of minimalism and only keeping what we love is that the kids play with what they have, and LESS toys actually encourage MORE imagination and creativity.
We used to have a whole room filled with toys, and my kids play even better, longer, and more creatively now that we have pared down to a few simple toys. It makes every aspect of playing easier, as well. They can find what they are looking for, play easily, and clean-up is a breeze.
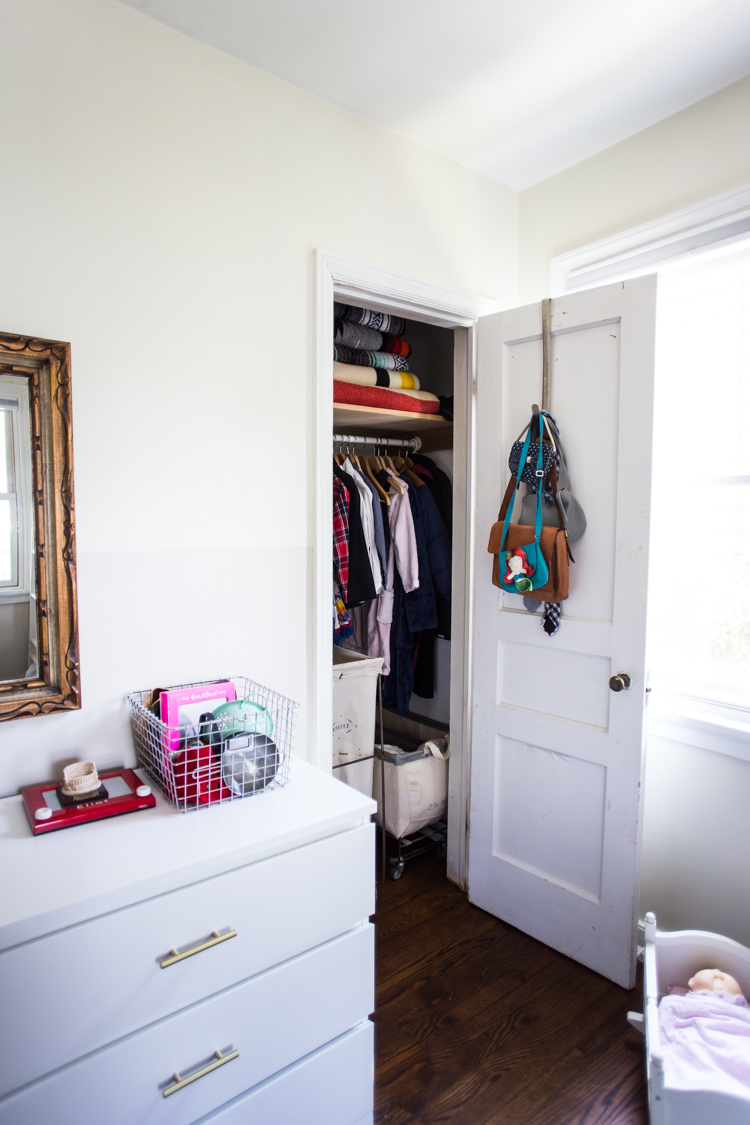
The closet serves for hanging clothes as well as the Steele Canvas laundry baskets that we have had forever and love so much. Since the laundry room is just through the hallway into the kitchen, the kids can wheel their bins out on laundry day, easy peasy.
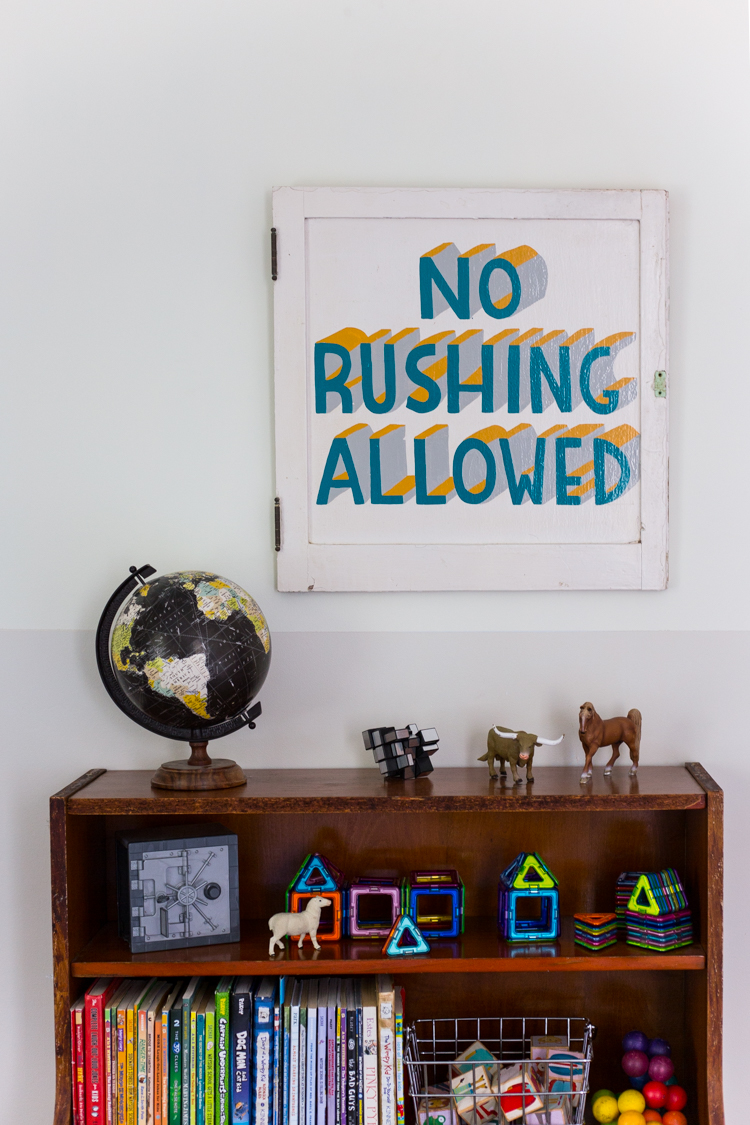
I imagined I would hang more art on the walls in here–and maybe at some point I will. For now I love the simple wooden painted sign “NO RUSHING ALLOWED” that I bought in Kauai. It sends the message of calm and ease with which I hope to approach my kids childhood. Slow, intentional, adventurous. It is a great reminder to enjoy the moment we are in right now.
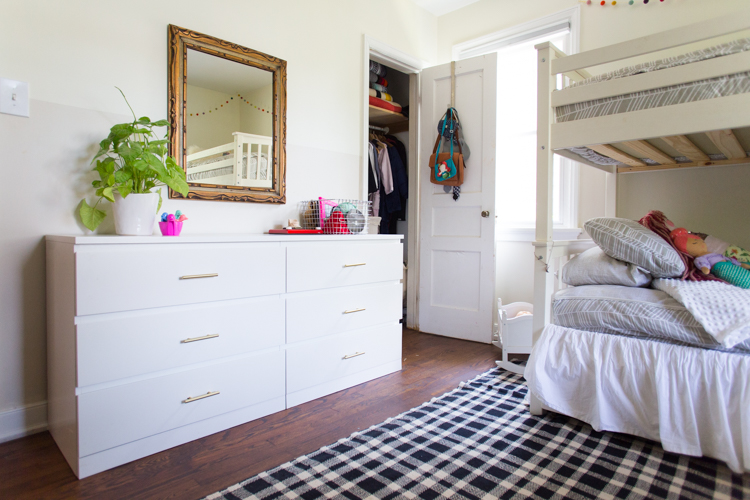
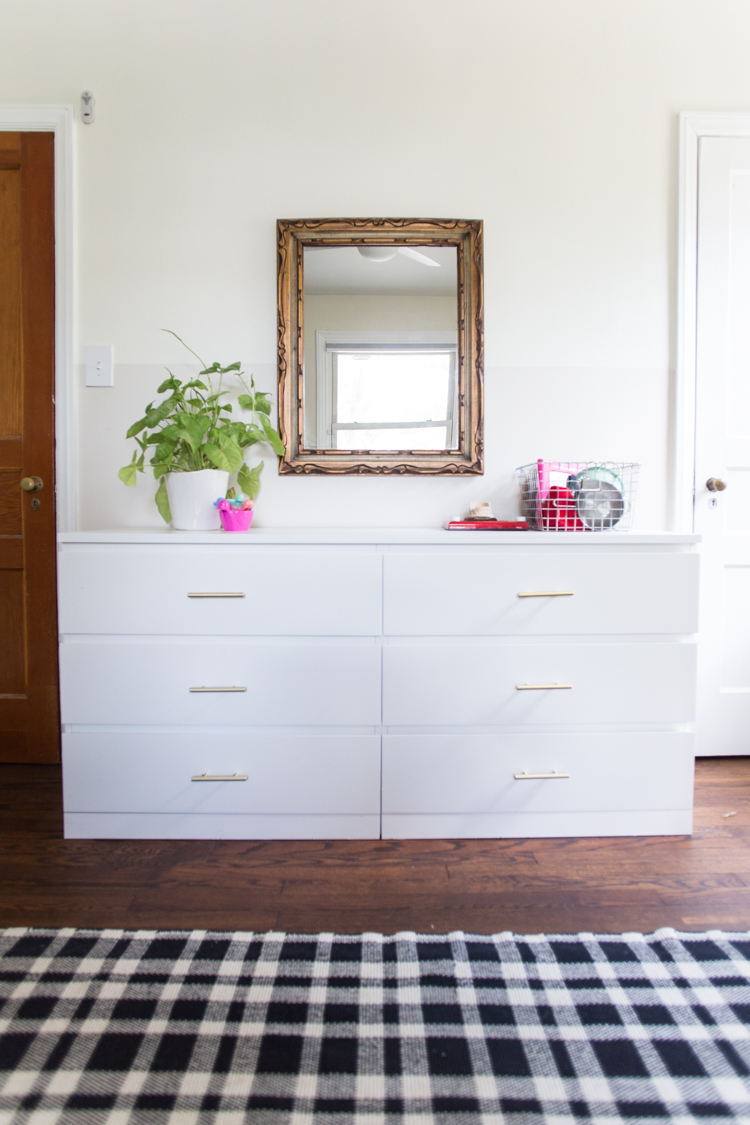
This vintage mirror added some warmth and history to the room. I found the frame at a thrift store in Quincy, California when I was in high school, and have taken it with me everywhere I have lived. I love it, and the stories it could tell. Plus, it is nice for the kids to be able to comb their hair and wipe their faces looking in the mirror in their own room, since the downstairs bathroom is shared.
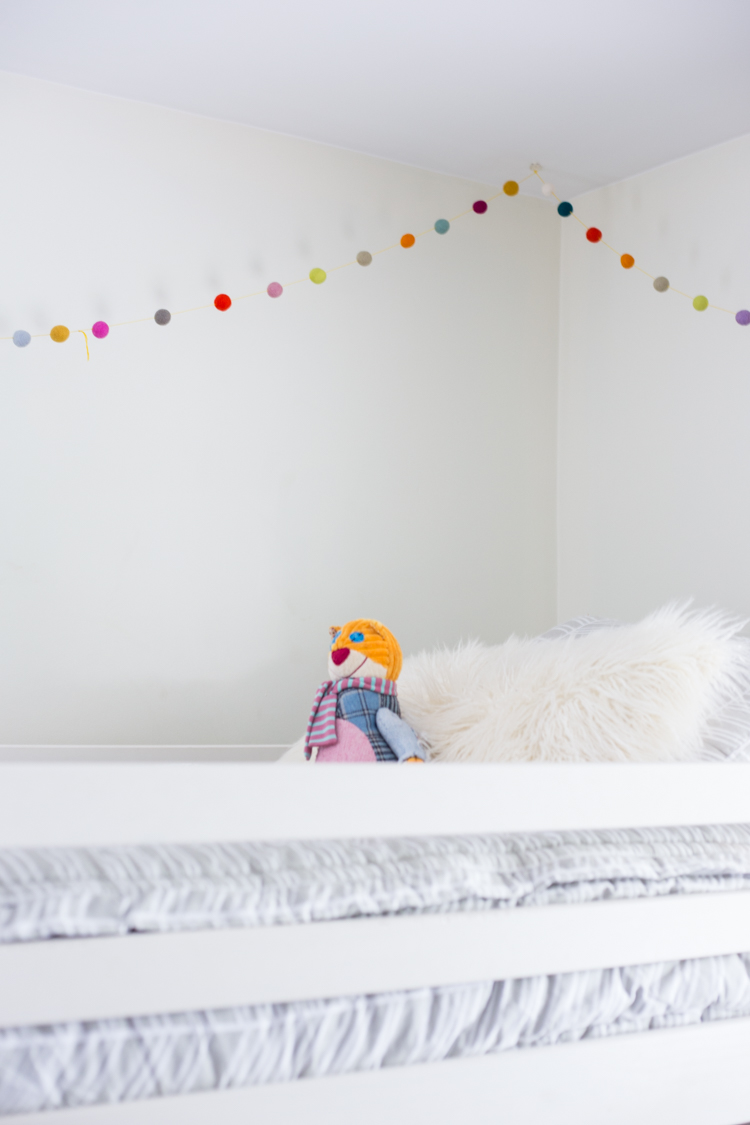
Adding this colorful strand of Hello Maypole felt balls above the bed balanced out the color burst from the books. I also always love having a plant (or five) in a room, so that little growing guy is perfect on the dresser.
And there we go! Pretty amazing to go from this: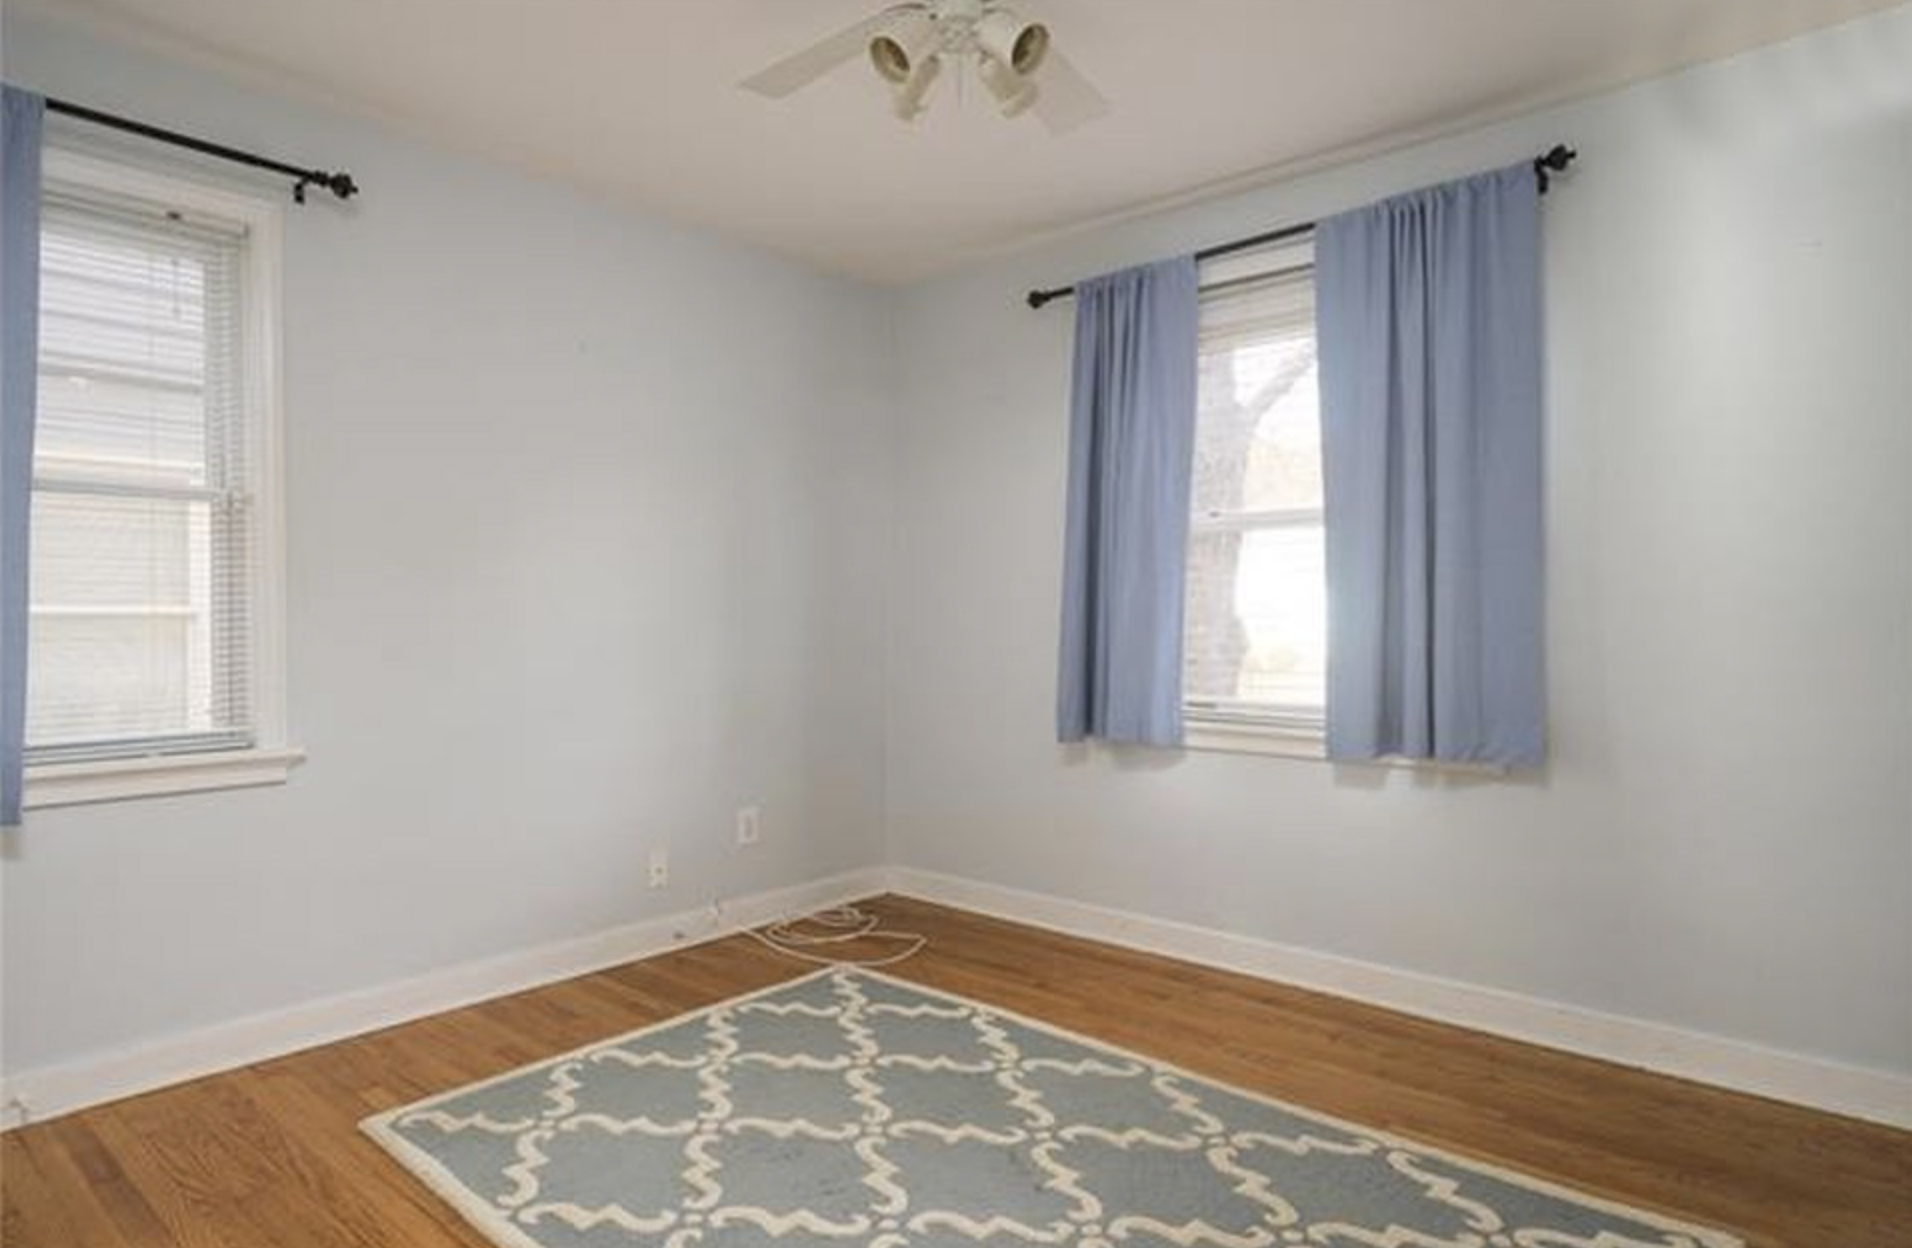

Next month I will be tackling the small, downstairs bathroom and hallway. I am excited to get started!
If you love this room, and this challenge, I invite you to pin images to your boards, and join the Live Free Creative Crew facebook group!
ROOM SOURCE LIST:
Tree Bookshelves (hacked using THIS tutorial)
Mirror, vintage
Toy storage, vintage

