Hand Quilting with Embroidery Floss
Would you like to add a beautiful, simple, handmade finish to your quilt, with no machine involved? You might love hand stitching the quilting with embroidery floss. This easy, hand-stitching technique adds a lot of unique personality to your quilt, with the added bonus that you can complete it anywhere, no cords involved (and definitely no massive quilting machine!)
Hand Quilting As A Beginner
I must begin by confessing that I am not typically a quilter. In my 30 years of sewing, I have completed three quilts, total (Eliot’s baby quilt, this American flag denim quilt, a vintage patchwork quilt). Well, four including this latest beauty.
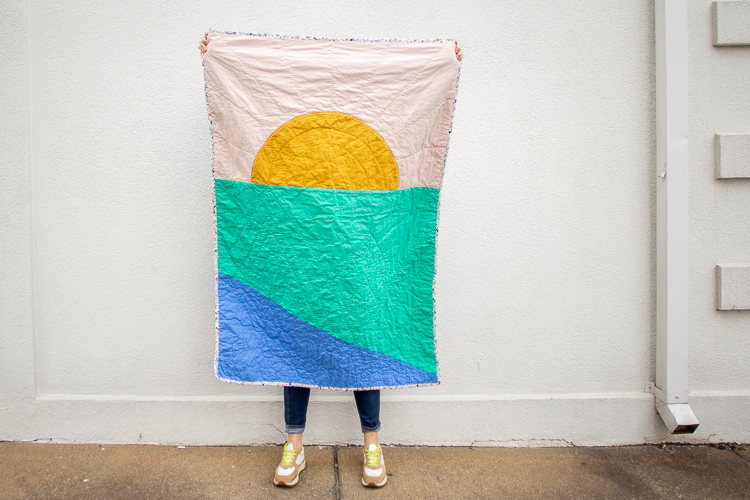
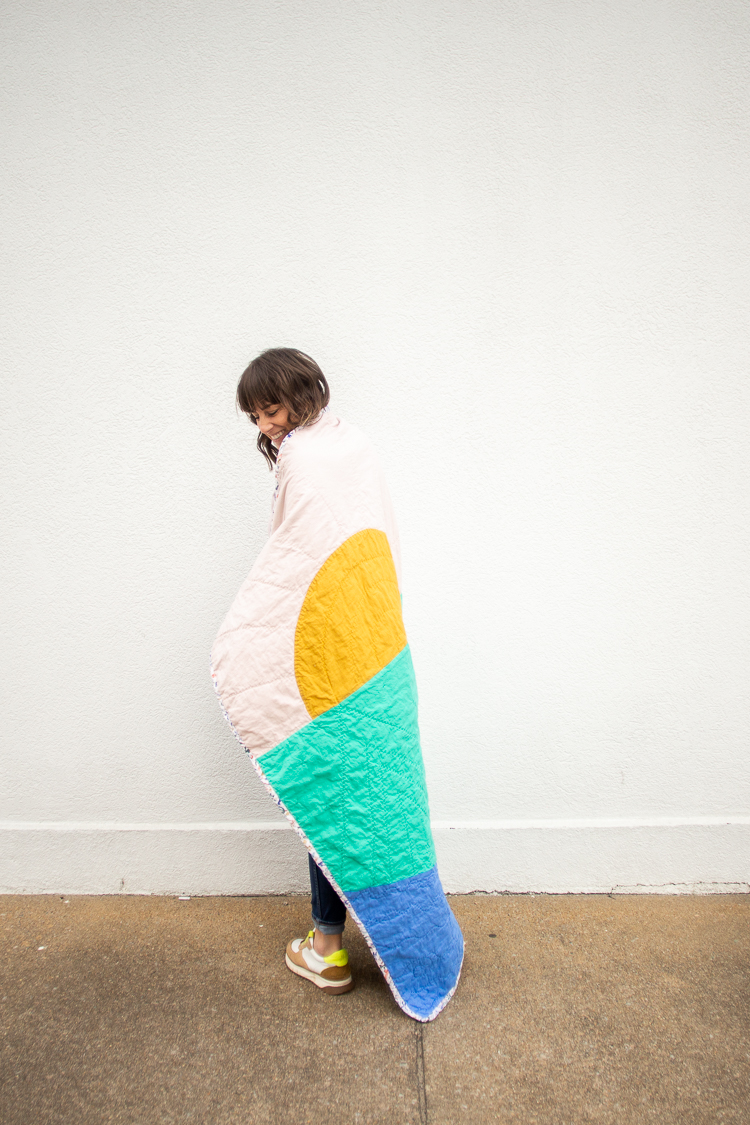
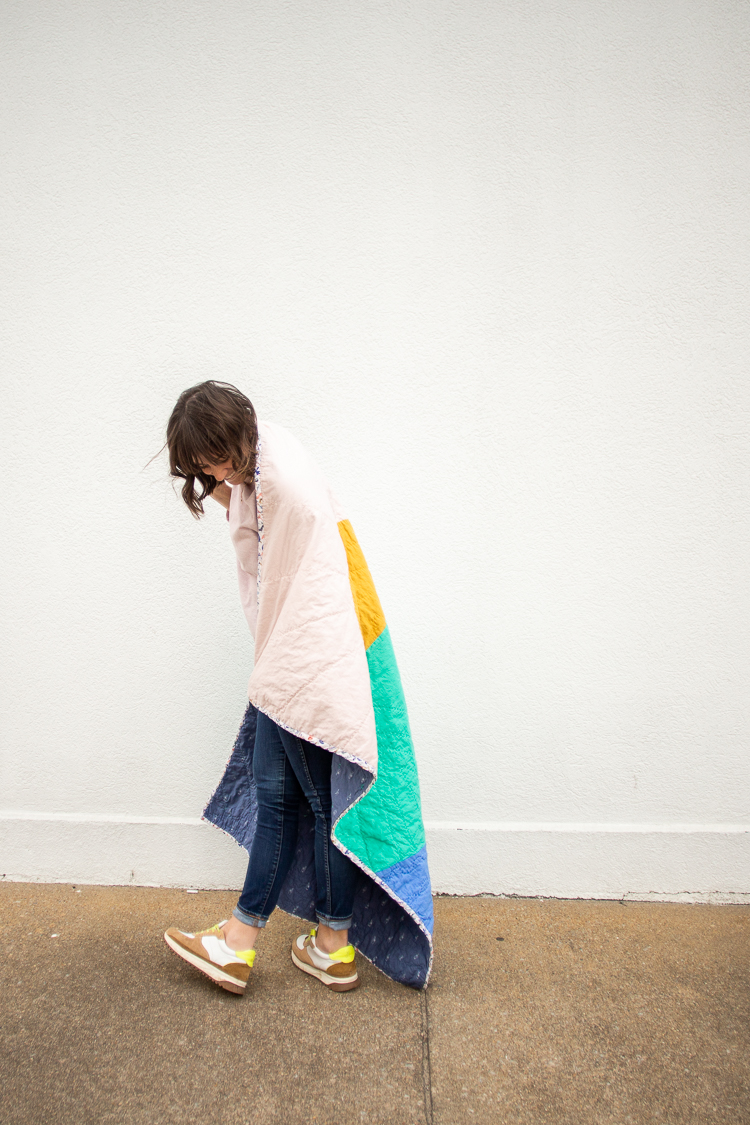
I did not even really set out to make this quilt. Toward the beginning of the pandemic, I saw some amazing fabric online at Dry Goods Design, and ordered it to sew handmade masks. While on the site, I was super inspired by these simple, lovely colors and thought they would go nicely together in a modern quilt. I am now lovingly referring to it as my “quarantine quilt” and appreciate the sunrise design as a symbol of hope for the future.
Hand Quilting For A Modern Quilt Design
Before sewing, I tried out a couple ideas on paper, and then settled on this simple landscape design. Once I finished piecing the top, I felt stuck on the quilting. In the past I have used my own small sewing machine to quilt straight, easy lines on my quilt projects. On this one, I wanted the finished product to look handmade, unique, and special. Not machine stitched. Hand quilted.
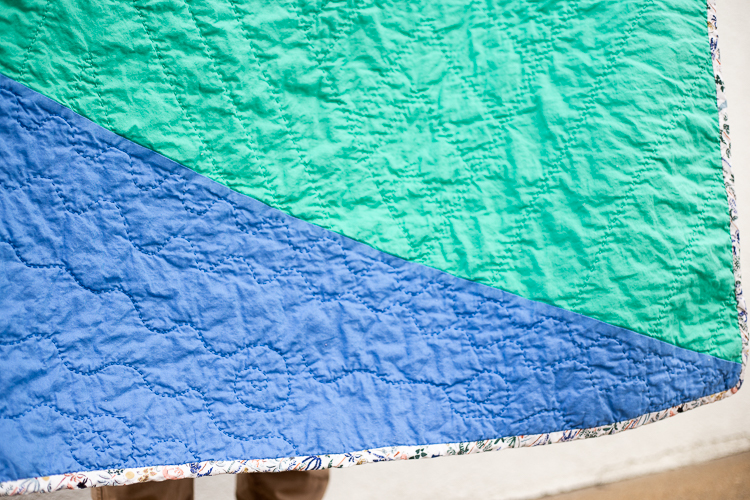
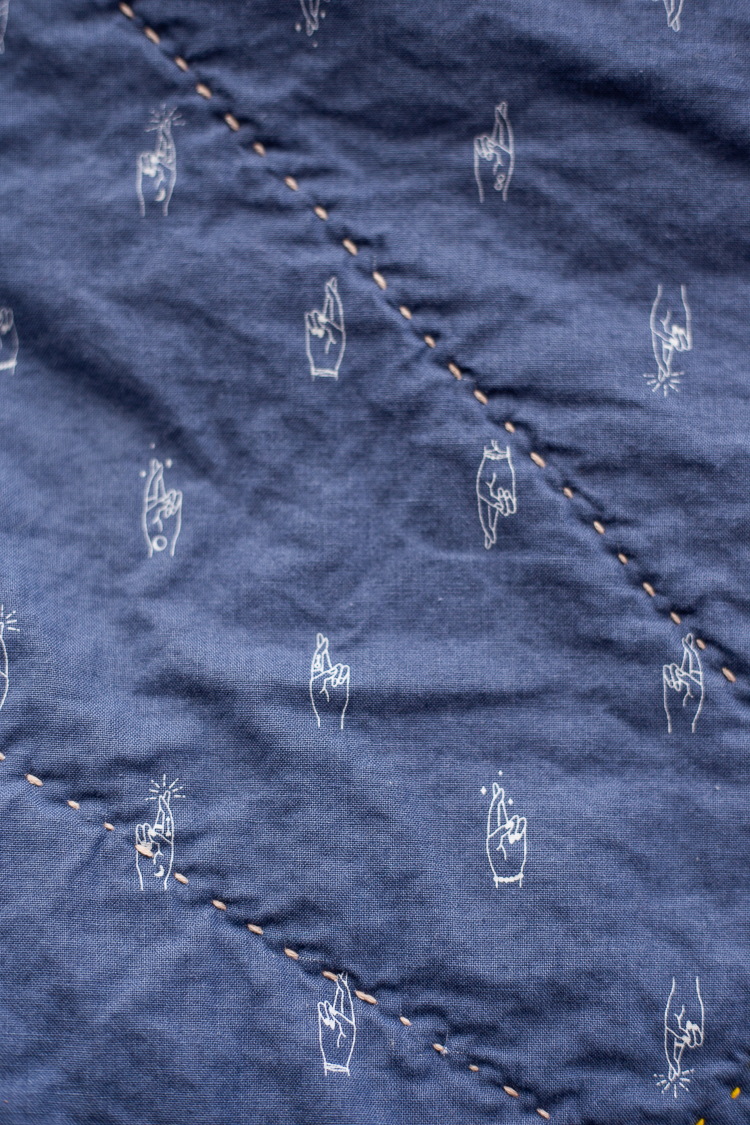
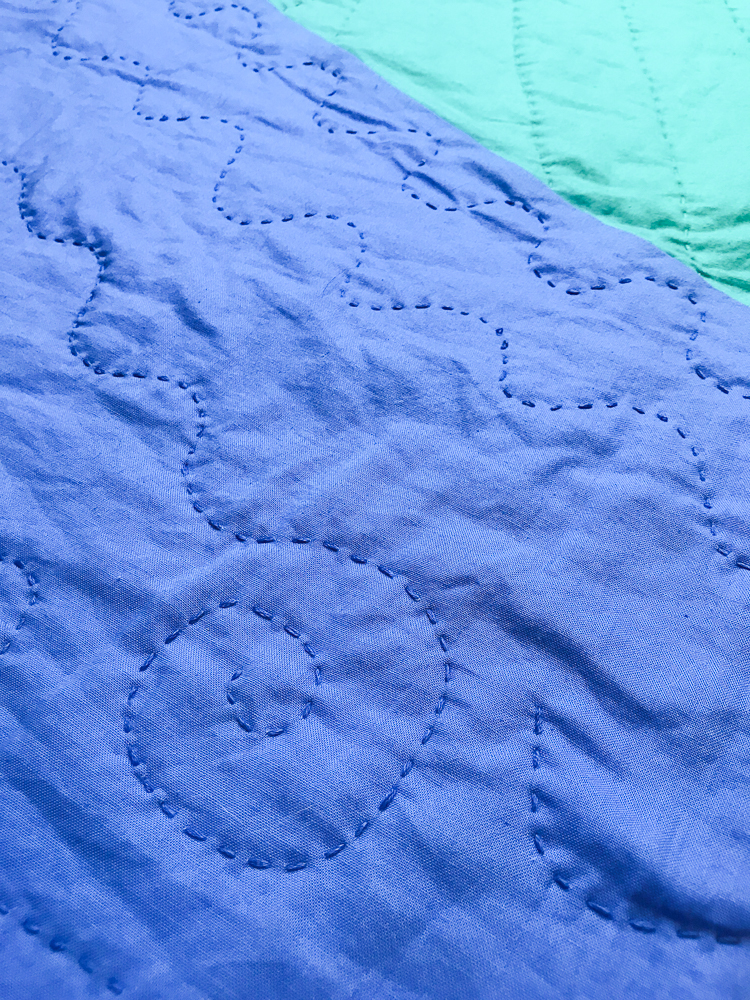
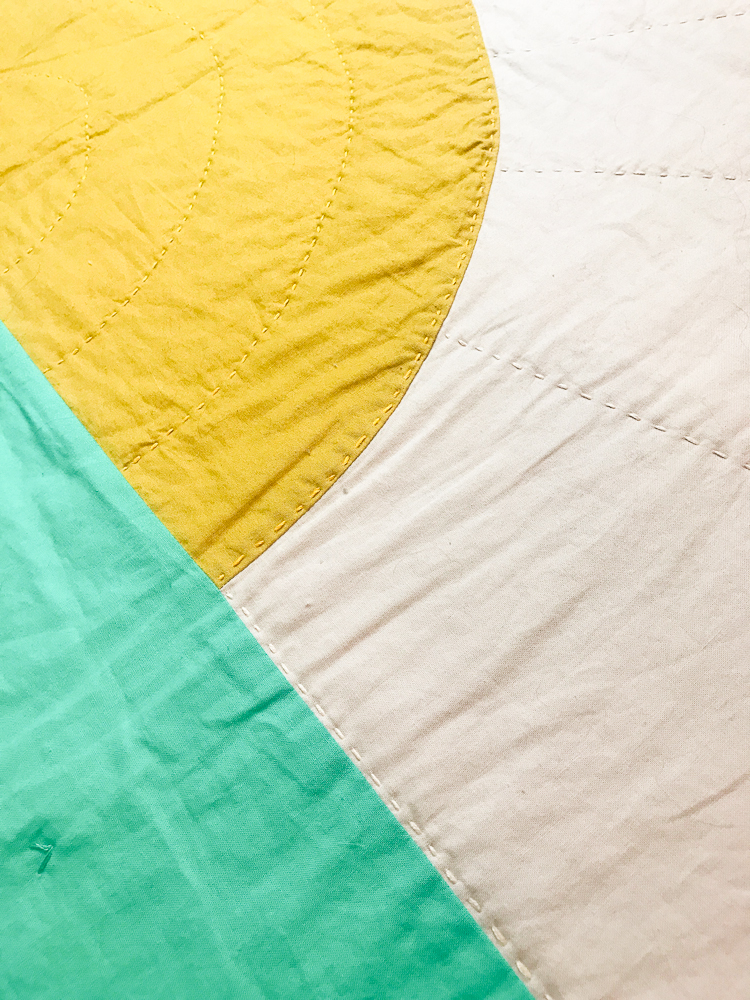
I thought hand stitching the quilting with embroidery floss would give the chunky, Sashiko stitching look that I wanted. I couldn’t find a specific tutorial online for how to hand quilt with embroidery floss, so I experimented with my own ideas and love how it turned out.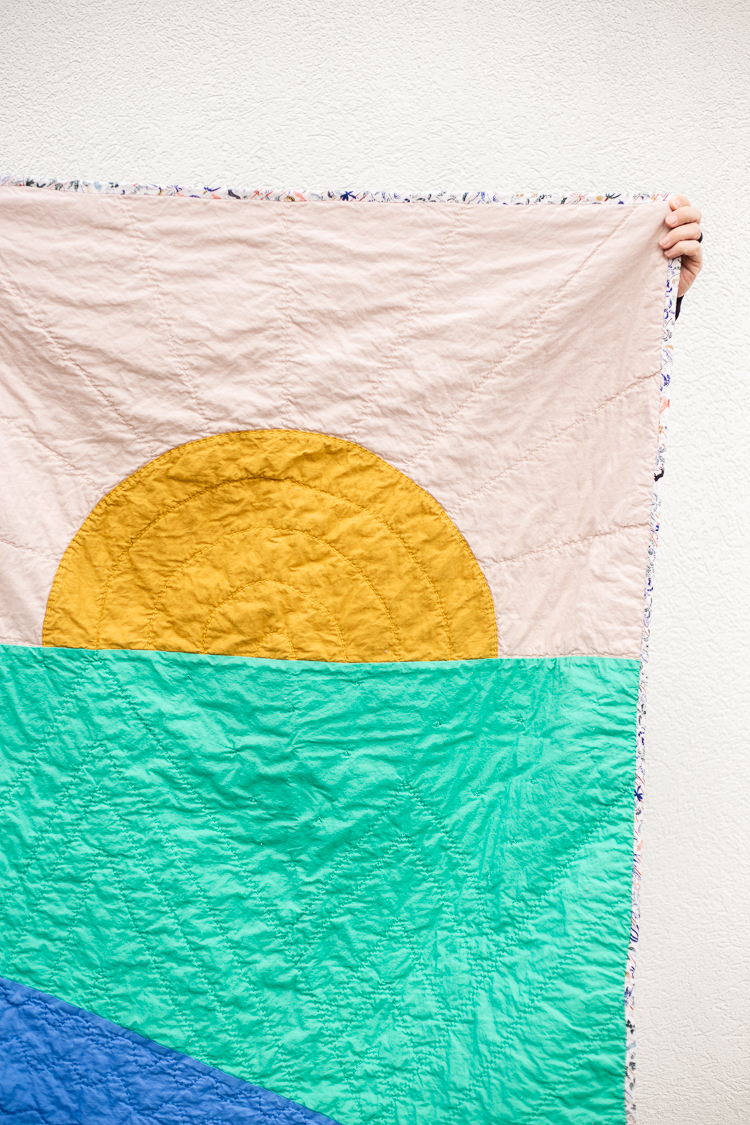
What You’ll Need To Begin:
You’ll want to gather a few materials ahead of beginning hand quilting with embroidery floss:
- Finished pieced quilt top
- Thin batting, I used 100% cotton
- Backing fabric
- Safety pins or basting pins
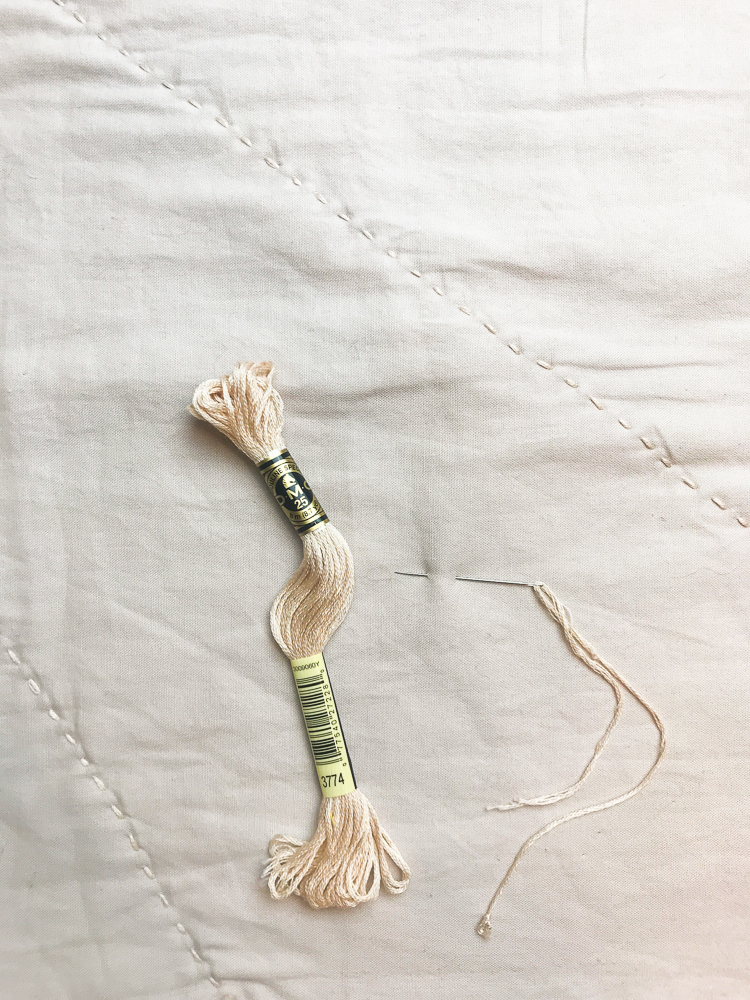
- Embroidery floss in whatever color(s) you’d like to use.
- Embroidery needles, you want the thinnest possible gauge (8-9) needle that still has a wide eye to fit the entire 6-thread floss. These are what I used.
How To Hand Quilt With Embroidery Floss:
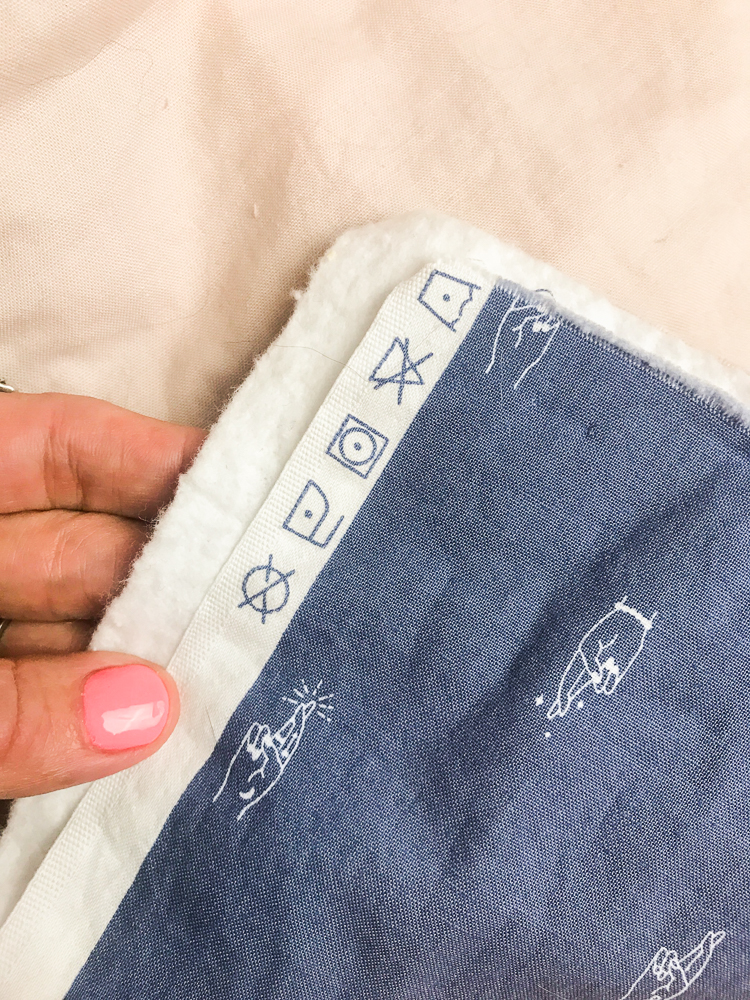
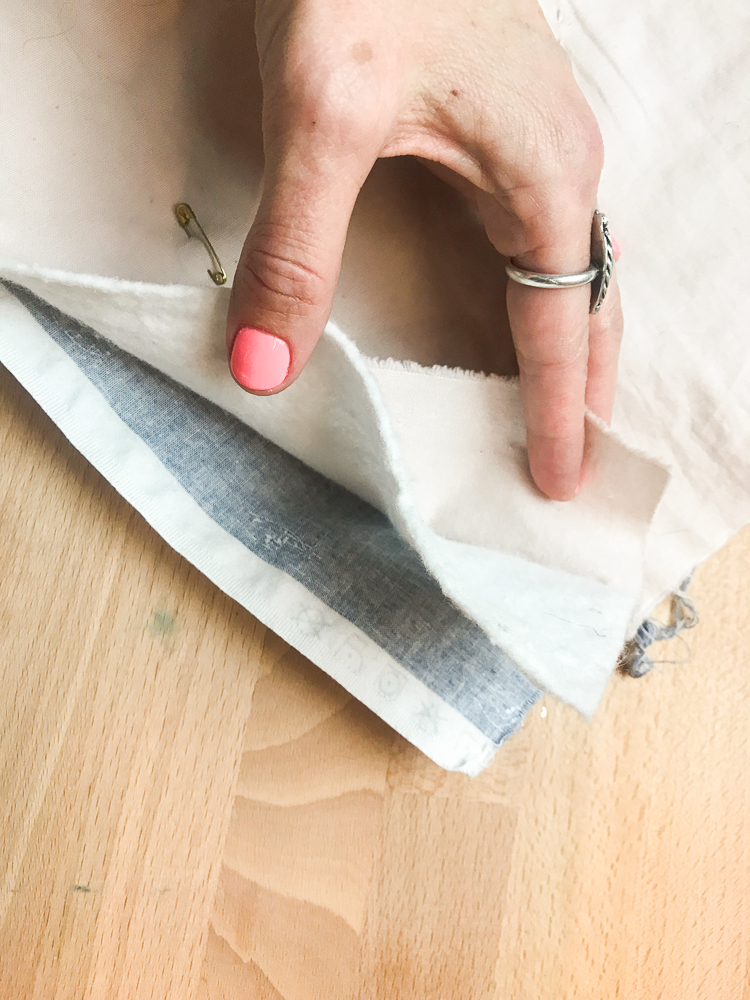
1. Sandwich your finished, pieced quilt top with a thin layer of cotton batting and a fabric backing. The thinner it is, the easier the hand quilting will be. I used this —– batting.
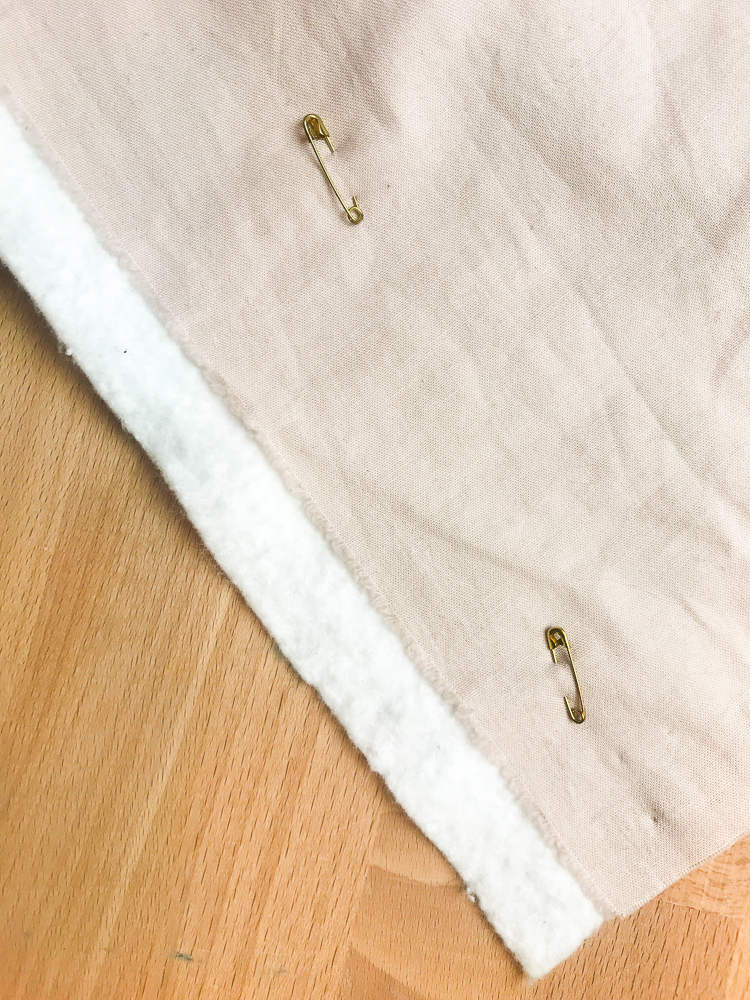
2. Smooth the layers so they are free of wrinkles, and then safety pin them together every 6 inches to hold the layers while you stitch.
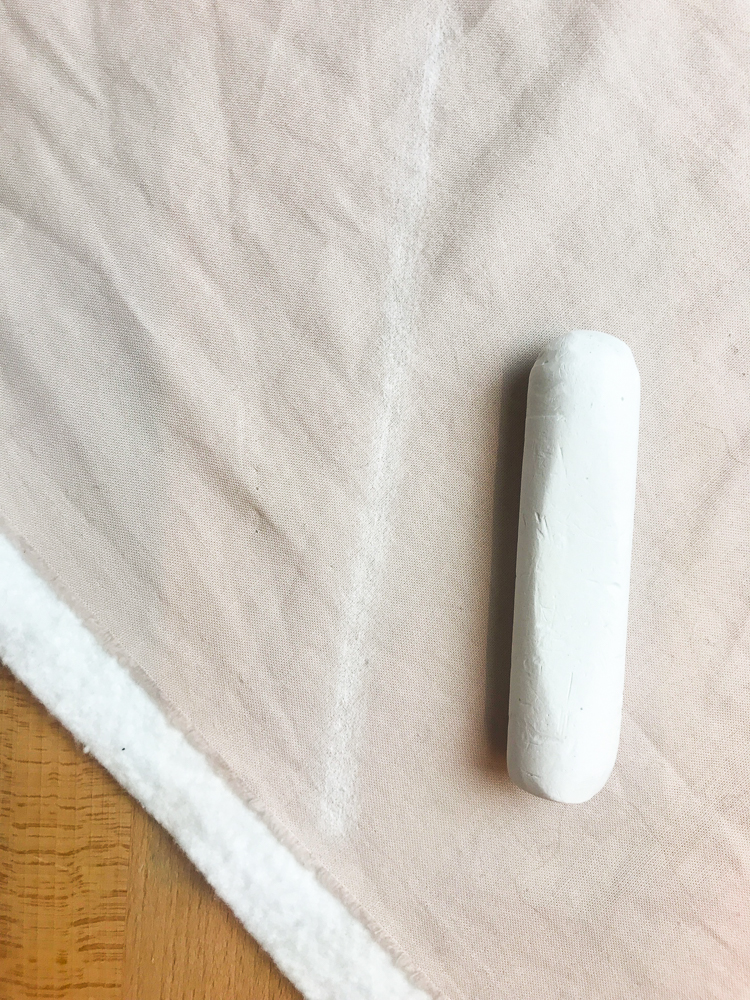
3. Use a piece of chalk or a disappearing fabric pen to mark the quilting lines you’d like to follow. One huge benefit of hand quilting your project is the ability to create dynamic quilting lines that change throughout the quilt, rather than one standard pattern that repeats. On my quilt I chose to emphasize the pieced pattern with yellow sun rays bending around the sun, and pink rays extending into the blush sky, mountains and trees stitched into the green land piece, and waves rolling throughout the blue ocean.
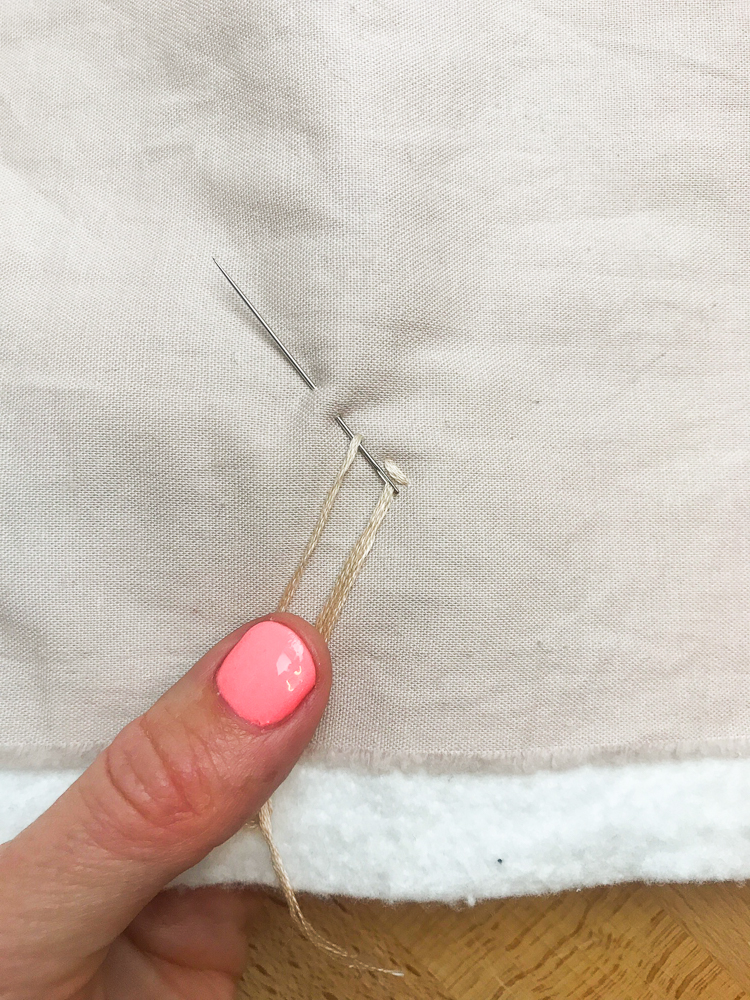
4. Begin your stitching by threading a length of floss through your needle. I liked working with about 12-18” sections at a time. Longer than that, they got tangled easily as I worked. Shorter, and I felt like I didn’t make much progress between thread swaps. Knot one end of the floss and leave the other as a 6” tail through the eye of the needle.
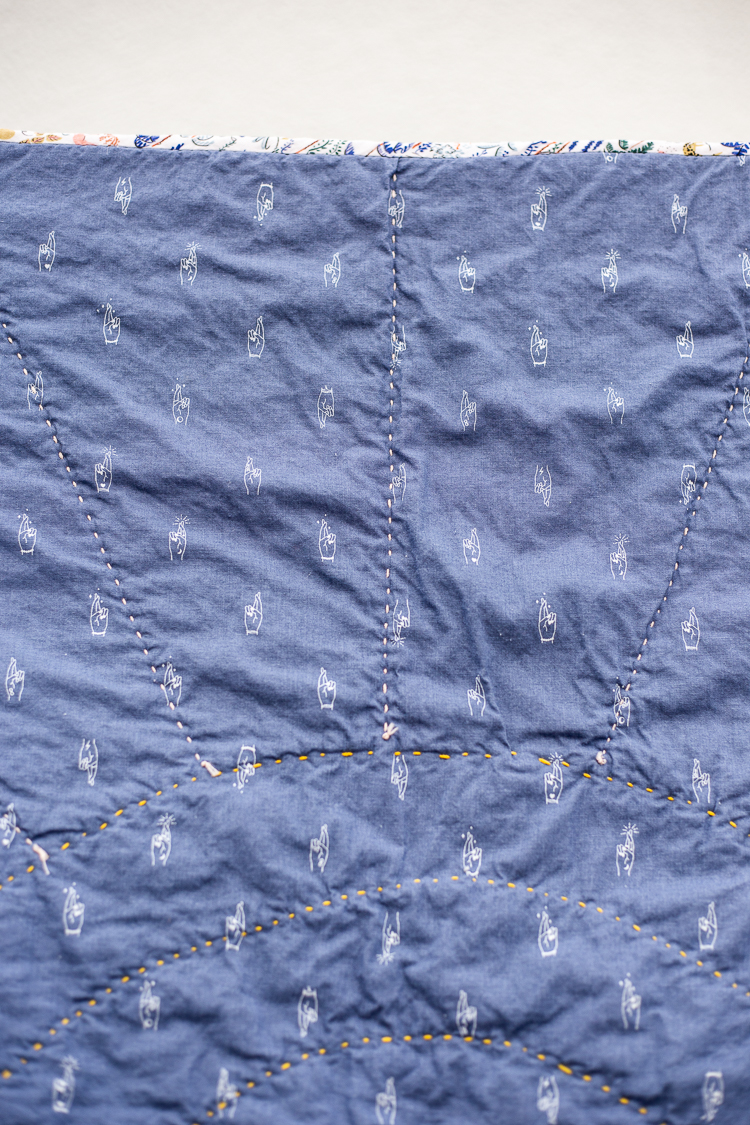
Begin by coming up through the quilt at the end of one of your chalk lines. The knot you made will remain on the backside of the quilt. From there, stitch 1/8” stitches from top to bottom and back again all along your line. When you have 3” of floss left on the needle, stitch to the back of the quilt and make a knot. Clip the extra floss and begin again.
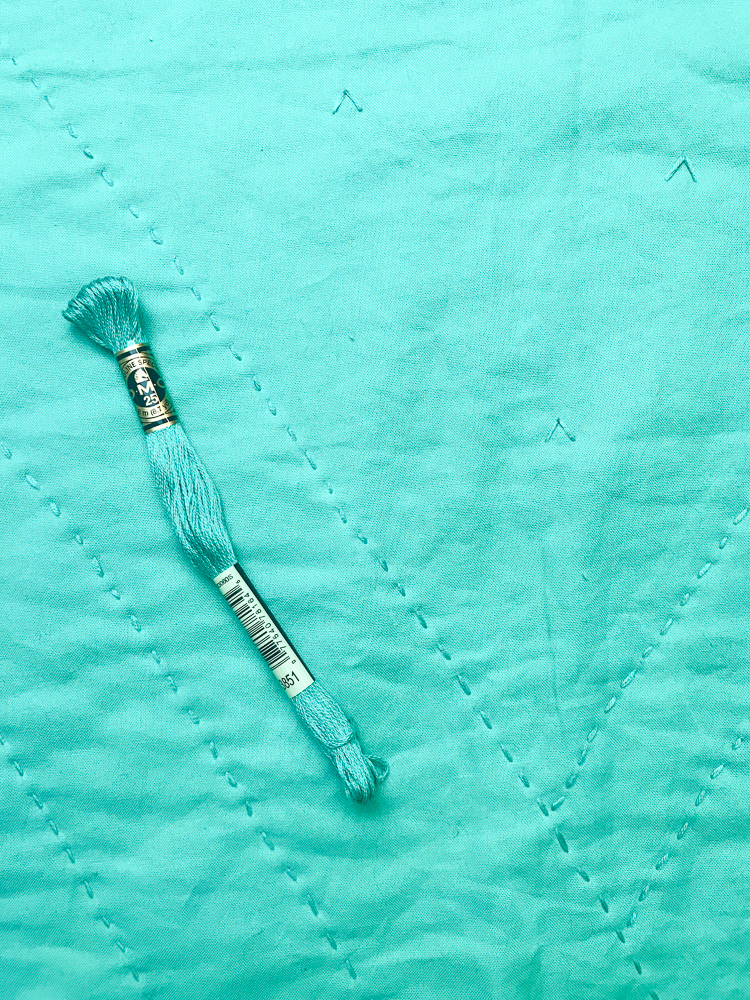
5. Repeat the stitching along all of your design lines, changing floss as your design or colors necessitate. Begin and end all of your stitching with the knots on the backside of the quilt.
6. When all of the lines are hand stitched, put a small drop of super glue on each of the small knots on the back, securing them surely in place. Then, trim all of the extra tails of floss.
7. You’re done hand quilting! Hooray! Doesn’t it look amazing? Great work!
At this point, you’re ready to bind your quilt, which you may opt to do with your machine or by hand. (Three guesses which method I chose?) You’re finished.
Hand Quilting Inspires Creativity
I worked on my hand quilting at home while listening to audiobooks, on a long road trip, and while I watched movies with the kids during snow days. It was a meditative, wonderful, hands-on project that filled my creative soul.
I hope you’ll give hand quilting with embroidery floss a try on one of your next projects, and enjoy the process as much as I did. Happy stitching!

