How To Install Artificial Turf In A Small Yard


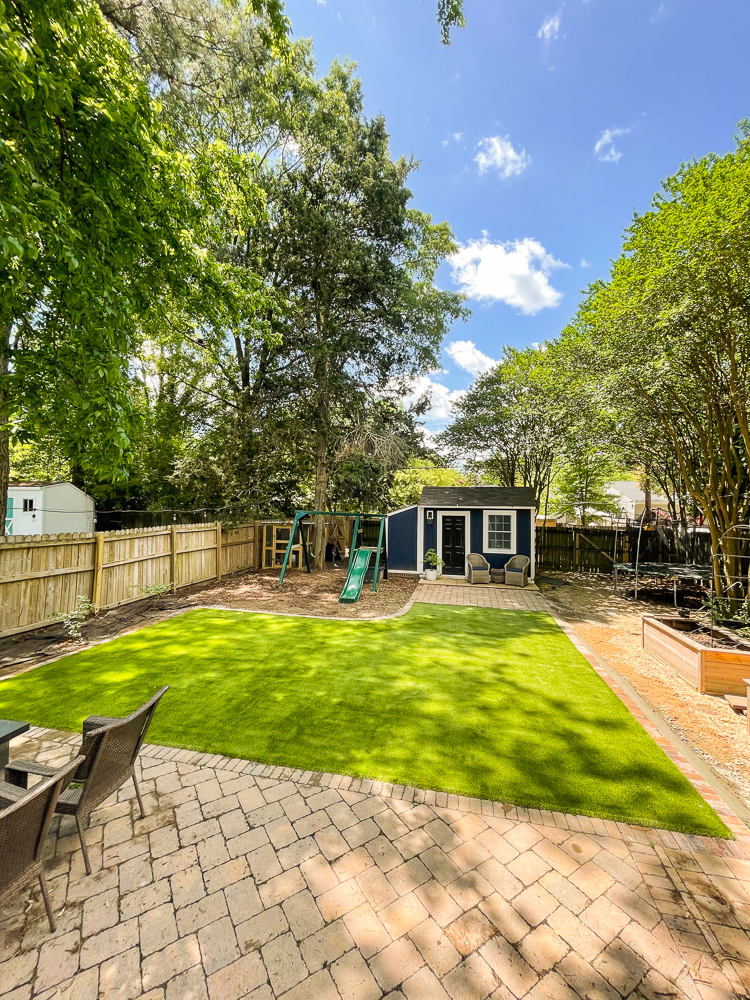
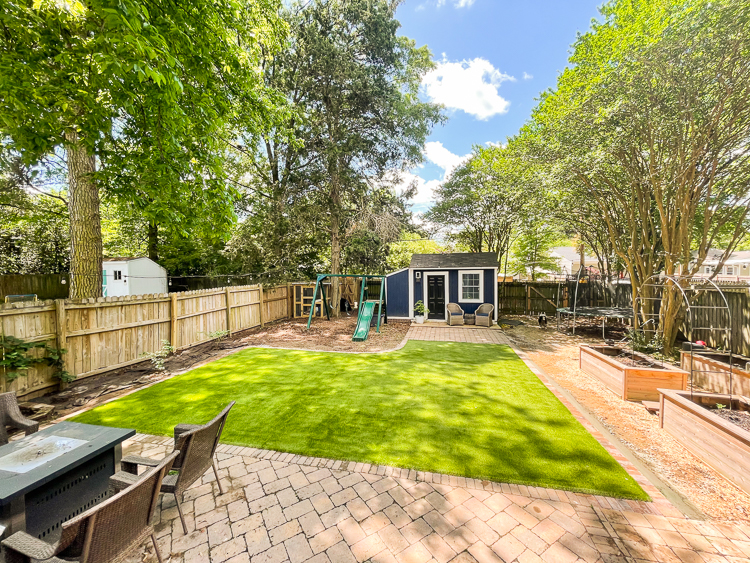
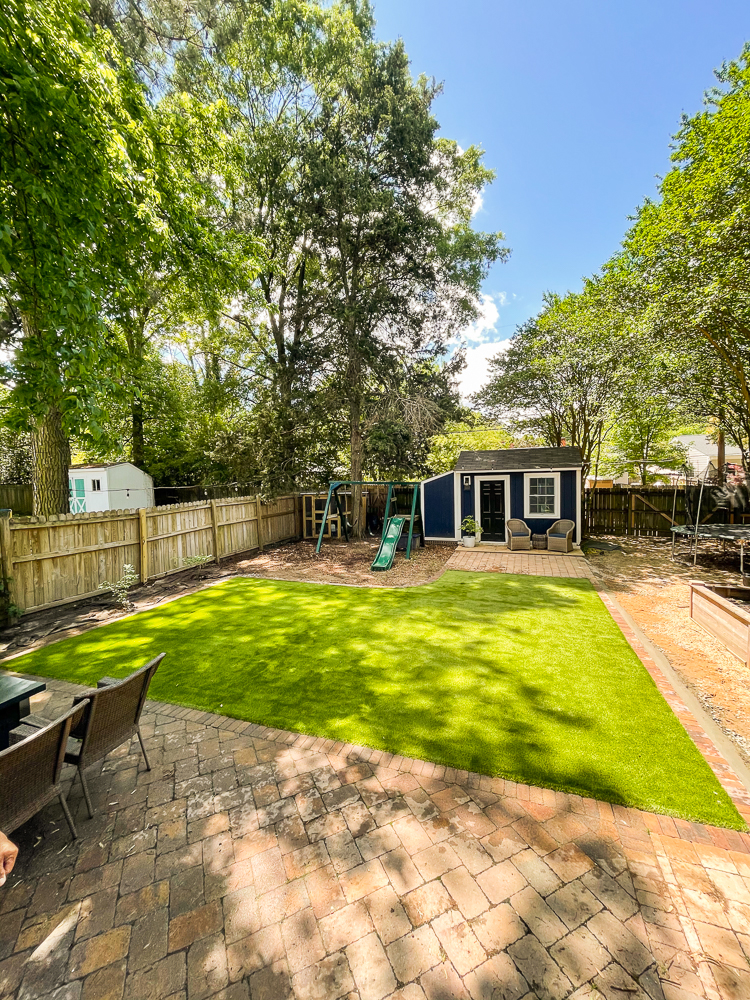
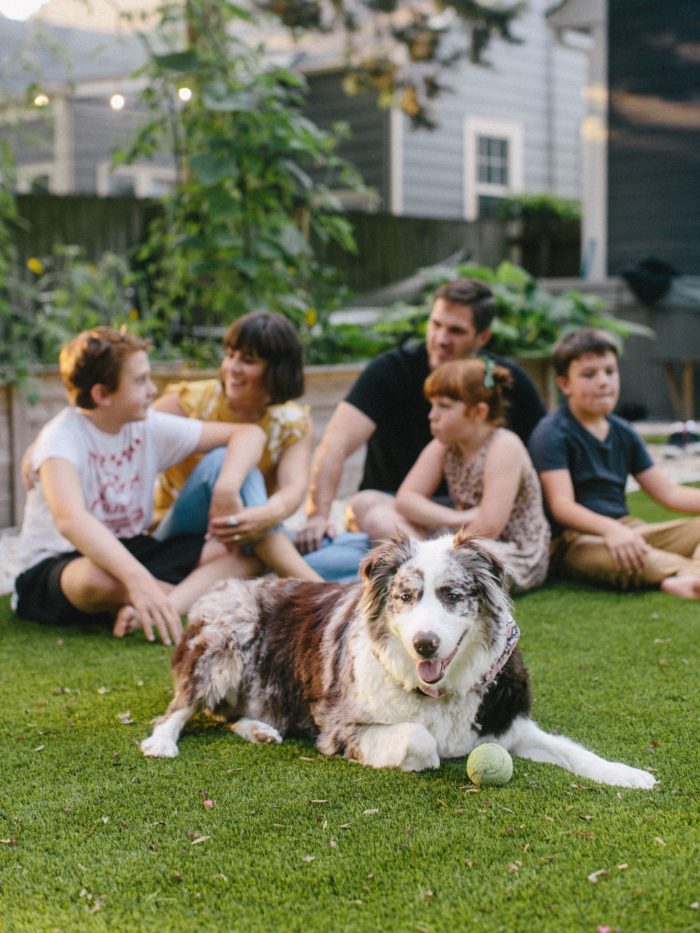
We’re just finishing the first whole season with our backyard artificial turf, and I can easily say this is the best investment we’ve made in our yard to date. The new faux lawn is soft, evergreen, low-maintenance, beautiful, and never gets muddy (which is a big deal in humid, rainy Richmond, Virginia!)
I wanted to share a quick overview of the process of installing the turf, cost, and some great before and after photos. Find all of the details below!
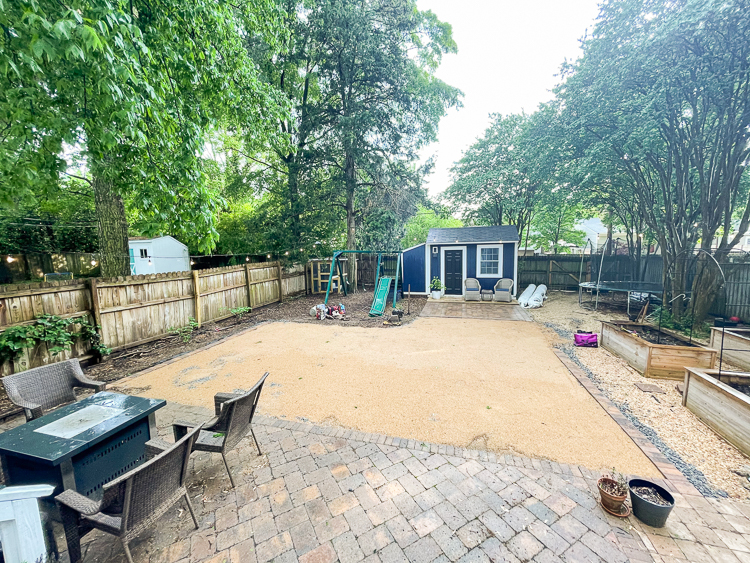
The Before
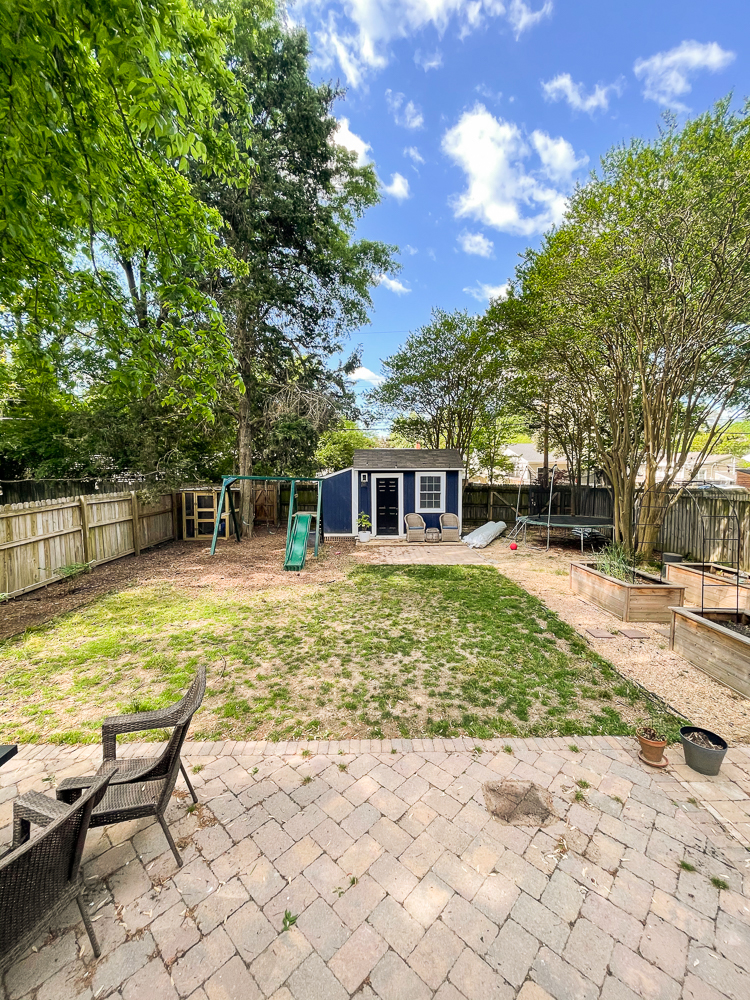
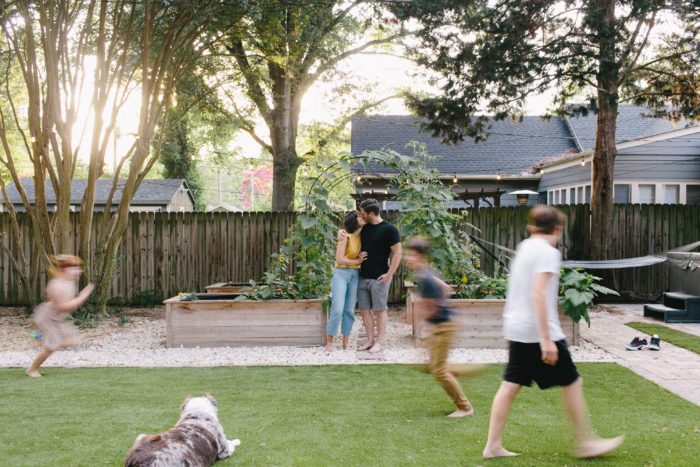
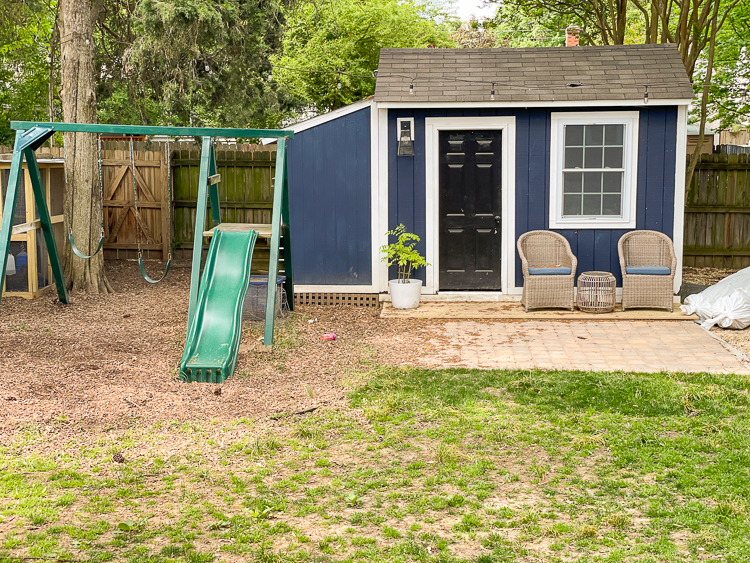
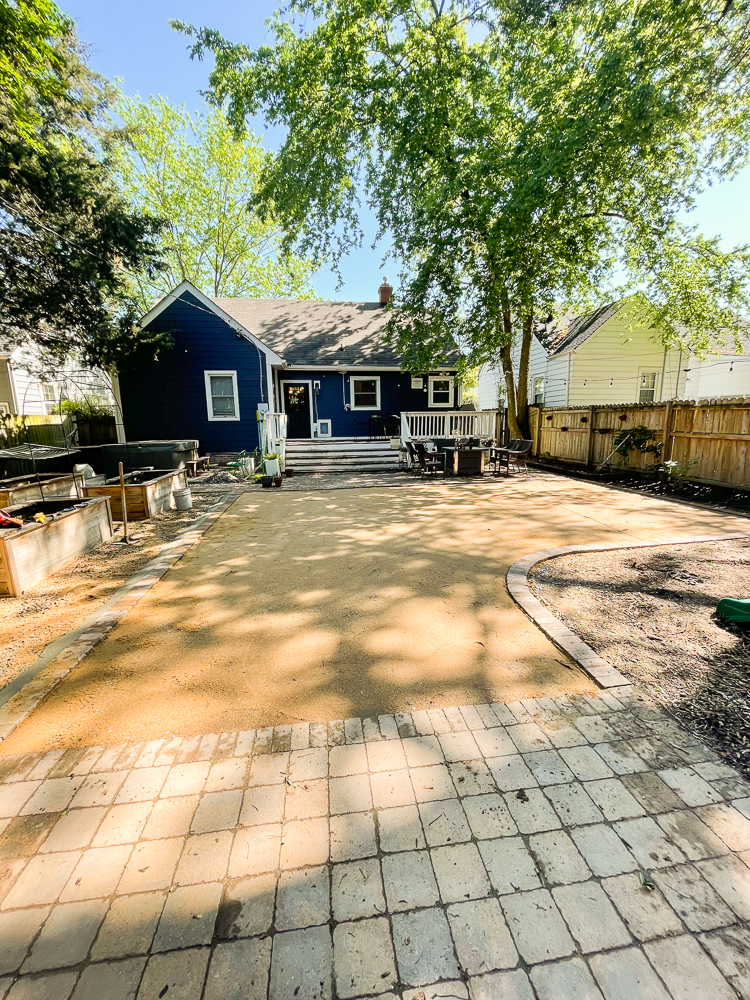
Last year I built garden boxes, added more gravel, landscaped along the fence line, and remodeled the shed. That brings us up to where we were in this photo: lots of great, intentionally designed spaces around a mess of a lawn.
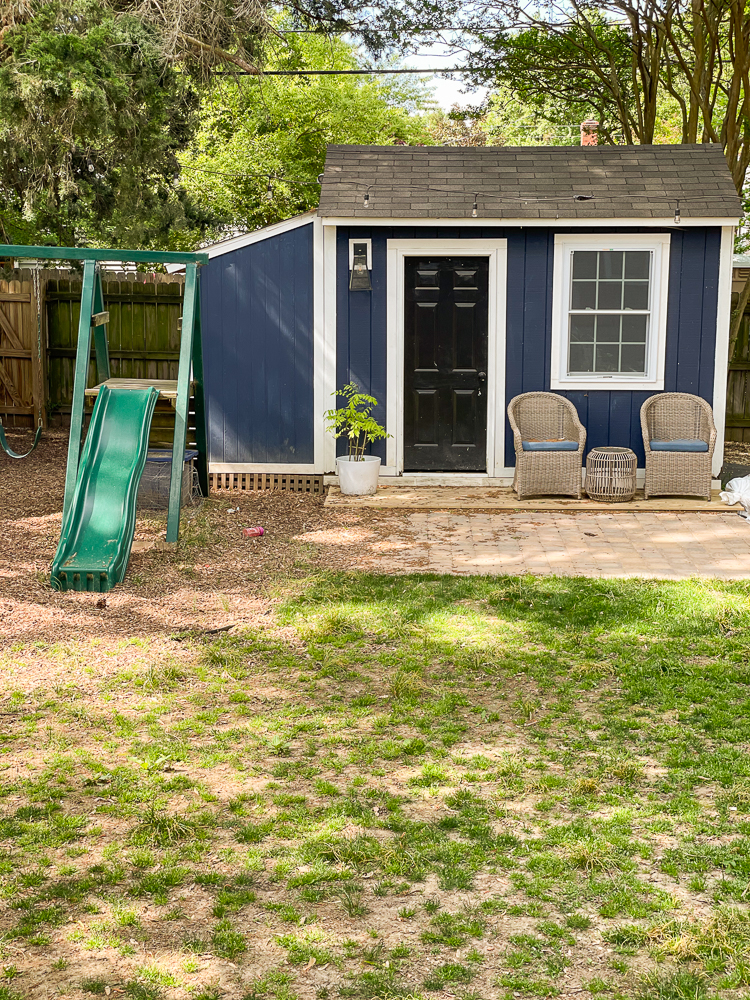
Knowing the only option was some sort of xeriscape, I looked into artificial turf installation in the area. I had a vision of looking out my kitchen window and seeing a beautiful, green grass yard, and knew turf could make that happen.
After looking into a few different types, I talked to a local landscape supply and found one I liked, that was made in the USA, recyclable, and available. I asked my hardscape contractor if he would be willing to help me with this project, and we moved forward with the plan.
How to Install Artificial Turf
Plan and Prepare
I did about 6 months of research on turf before I settled on the installation. The expert opinion on the real lawn being a no-go in our yard solidified it for me. We got an estimate from a local landscape design company that was around $11,o00 for the 700 sq ft area we planned to cover. I was sure with my DIY skills and some help, we would be able to do it for much, much less.
Design Turf Area
Because I had designed the rest of the yard already, this turf area was fairly obvious. I wanted an open stretch in the center of the yard for the kids to play, lay down picnic blankets, and for our pets to run around. I think the overall look of the yard benefits from lots of different types of areas and materials, so it isn’t just a huge stadium-expanse of fake grass.
If you want to add some turf, along with other features and elements in your own yard, consider hiring a landscape designer to make you a PLAN that you can DIY and implement yourself.
Order Materials and Supplies
I ordered the turf and infill sand from local landscape supply store, Pete Rose, Inc. I’m sure there is something similar where you live! This shop sells to both contractors and the general public, and I was able to order the turf directly through them and pick it up in my minivan:)
This is the exact product that I ordered: STR Synthetic Turf 80 oz. Face Weight 1-3/4 in. Field Green/Olive Green/Clover Green Blades Green/Tan
The team at Pete Rose helped me calculate the quantity to order, because the rolls come in 15′ lengths. We took into account the way to order the rolls so the least amount of material would be wasted.
In addition the the turf, I ordered infill sand, seam tape for the 1 seam my yard would need. At Home Depot I ordered the materials for the base layers which included paver base, paver sand, galvanized nails, and bricks to complete the border around the turf area.
Hire Help
When I looked into artificial turf installation videos, I realized that the preparation of the site is almost exactly the same as what you would do to install pavers. I called my hardscape contractor (who helped with the paver patio, and other projects around our yard) and asked his fee to prep the area for turf. We settled on a labor cost that didn’t include the materials, which I bought myself, and he agreed to do the prep and help with the turf installation.
He was interested to learn the process so he could potentially offer it to future clients. I was grateful for his flexibility, and his willingness to experiment with us!
That’s how we prepared. Once all of the materials arrived, here is the process to actually install the turf:
Step 1. Excavate
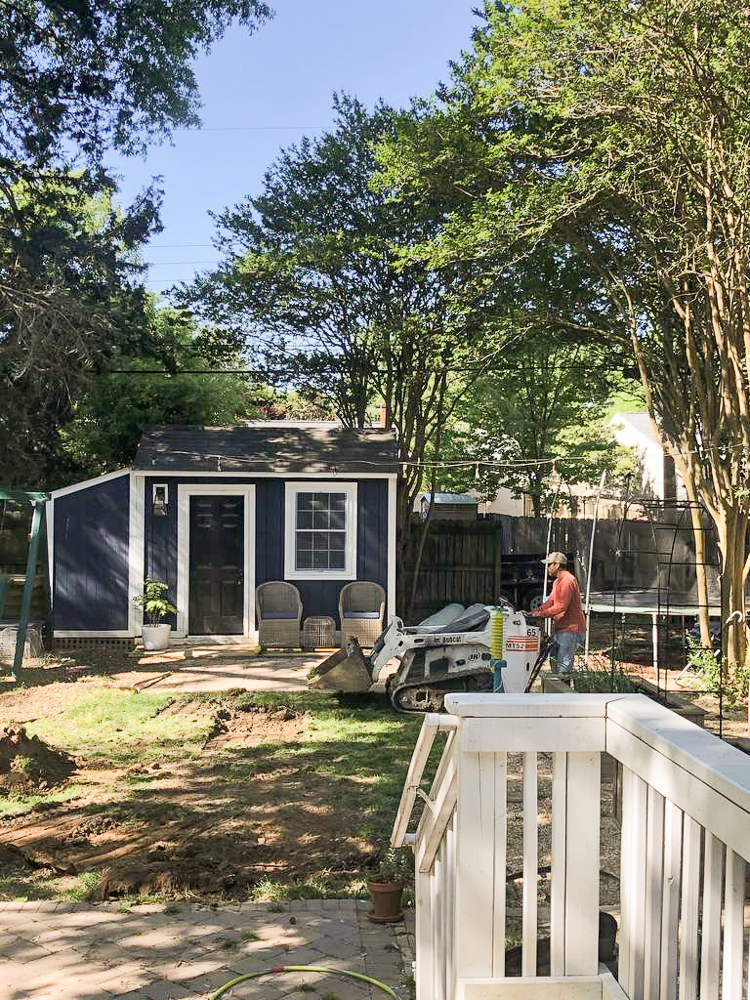
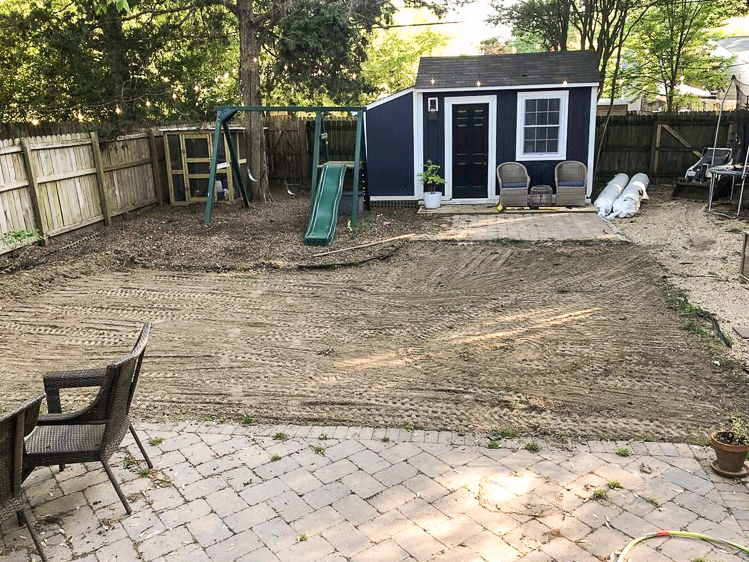
The turf requires 4-6″ of hardscape base. That’s a lot of digging. This is where I was extremely grateful to have hired help for the prep. Jose brought in his equipment to excavate the area and finished in an afternoon.
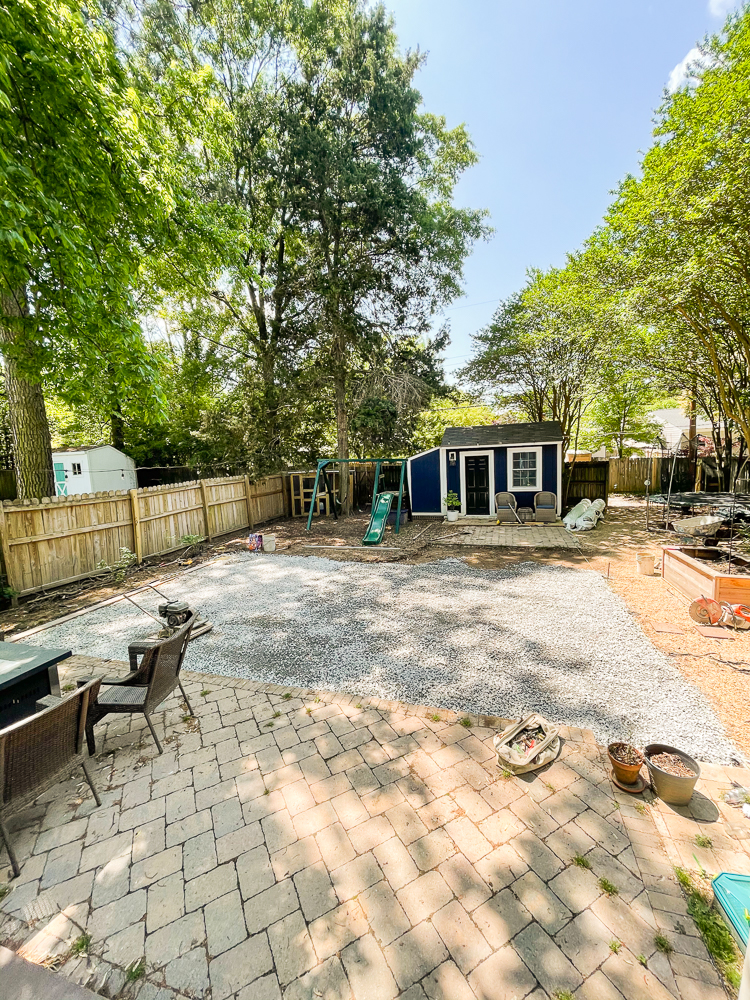
Step 2. Lay Down 2-4” of Paver Base Gravel
Once the area was dug out completely, the next step was adding the paver base. The dug area does’t need to be completely level, because the layers of prep will give you a chance to level it all out. After each inch or two of paver base, Jose used a tamping machine to settle the gravel down into a packed layer.
Step 3. Lay Down 1″ of Leveling Sand
After the inches of packed paver base, we added an inch of sand. This is where things can really be leveled out completely and you can ensure the drainage will run away from the house.
4. Install Border
At this point, the base was ready, both for our brick border, and then for the turf. We laid down the bricks around the three sides of the area that didn’t already have a border. The edge leading into the garden was a couple inches taller than the rest of the area, so Jose back-filled the edge with cement. (Once we finished the turf, we installed another couple inches of gravel to cover the cemented border.
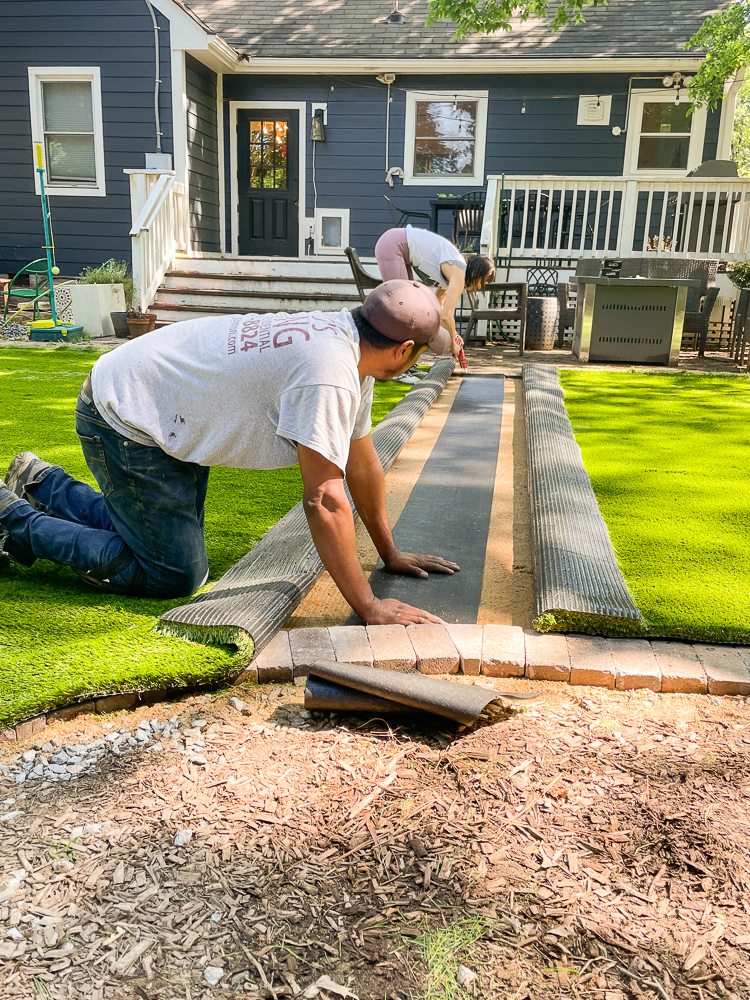
5. Roll Out and Cut Turf
The next step is a fun, big one! We rolled out the turf material on top of the prepared area. It rolls like carpet, and we made sure the blades of grass were pointing the same direction on both of our two rolls.
We laid the turf according to our plan (one was quite a bit shorter than the other, because of the bend in the yard), and matched the edges at the seam. We needed to trim the selvedge from each roll where the seam would meet. It trimmed easily with a box cutter, and we adjusted until the pieces came together nicely.
6. Glue Seams
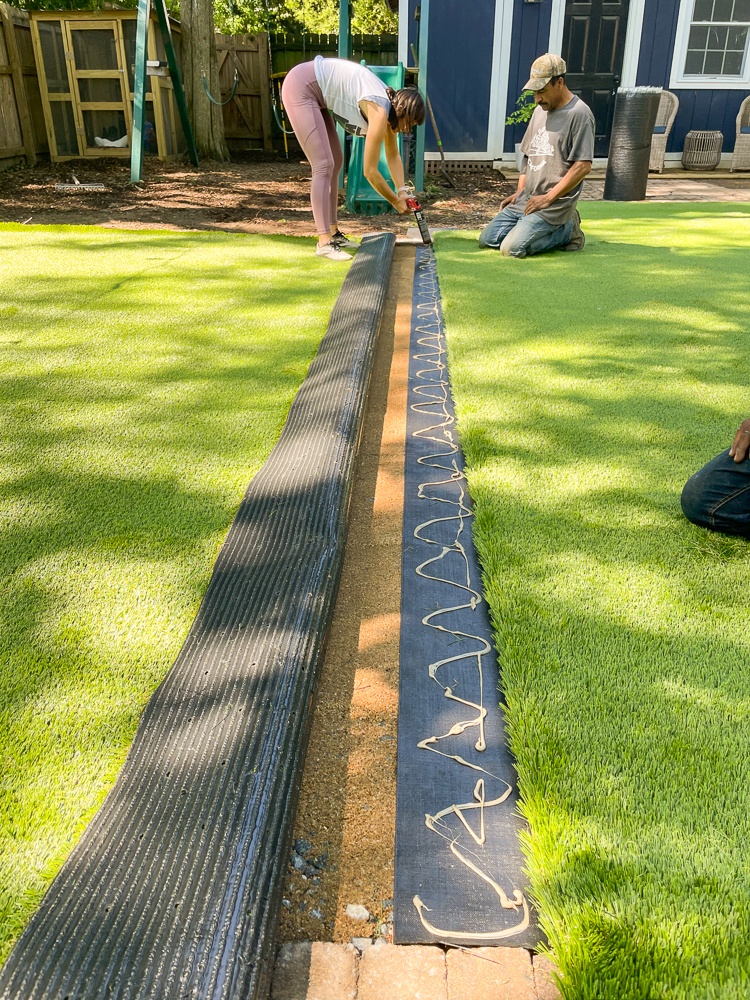
I used Alliance Gator Block Bond XP as adhesive along the seam tape, just squirting it like mustard on a hotdog along the length. We glued down one side, then carefully the other, while holding the blades of grass up away from the adhesive.
7. Nail Down
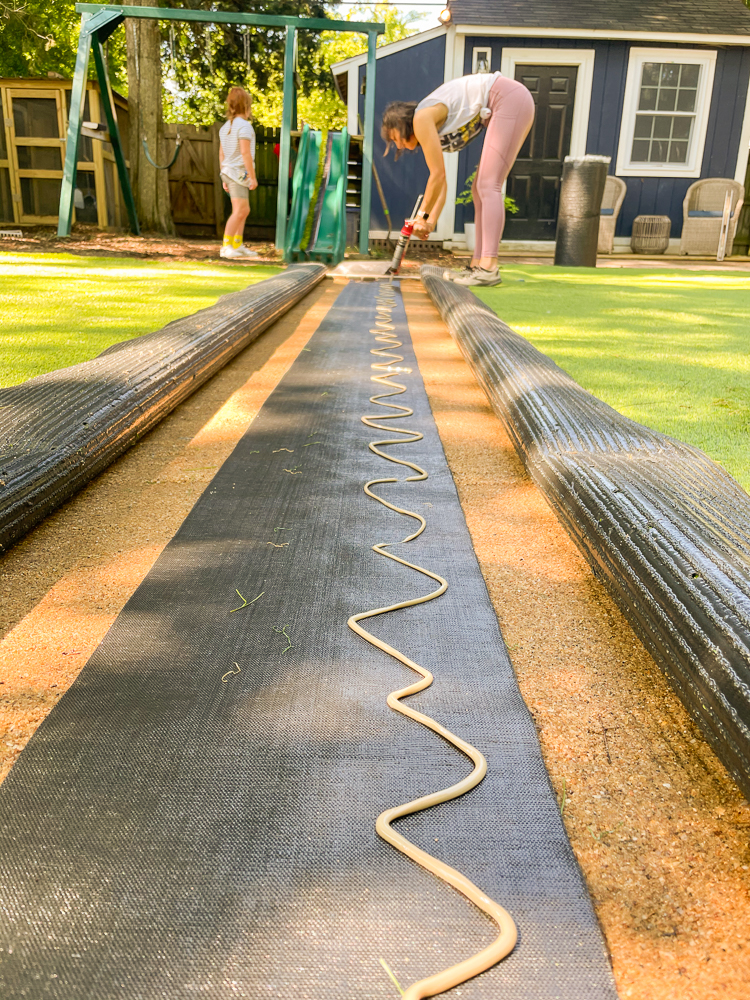
The turf itself is nailed in place throughout the area with 4-6″ galvanized steel nails. We opted to begin nailing every 12″ around the edges, staying about 1″ from the brick border. Once the edges were all nailed in, we went back and added nails about every 24″ throughout the whole area.
I liked to hold the blades of grass to the sides while I hammered the nails, just to not squash them. Once the nails are down, they disappear beneath the turf.
8. Add Infill Sand
The final step in the process of installing artificial turf is the infill sand. The sand both weighs down the fabric of the turf, keeping it in place, and supports the grass blades, so they stick up naturally. We ordered 40, 50-pound bags of green antimicrobial infill sand for this area. It immediately softened up the turf and made it look and feel so much more natural. We simply poked 3-4 holes in each bag and walked around over the turf with them while the sand came out in steady streams. This way we could diffuse it around the whole area well.
I also used a push broom to brush the sand down into the turf as it was being poured. Once it was all installed and the project was done, we were astonished by how amazing it looked and felt.
The Benefits of Artificial Turf
The yard is now a complete dream come true. I can send my kids out to play in any weather, and they aren’t slip-sliding in a giant mud-hole. It’s also much easier to let the dog out in the rain without knowing I’ll be cleaning up mud prints for the week.
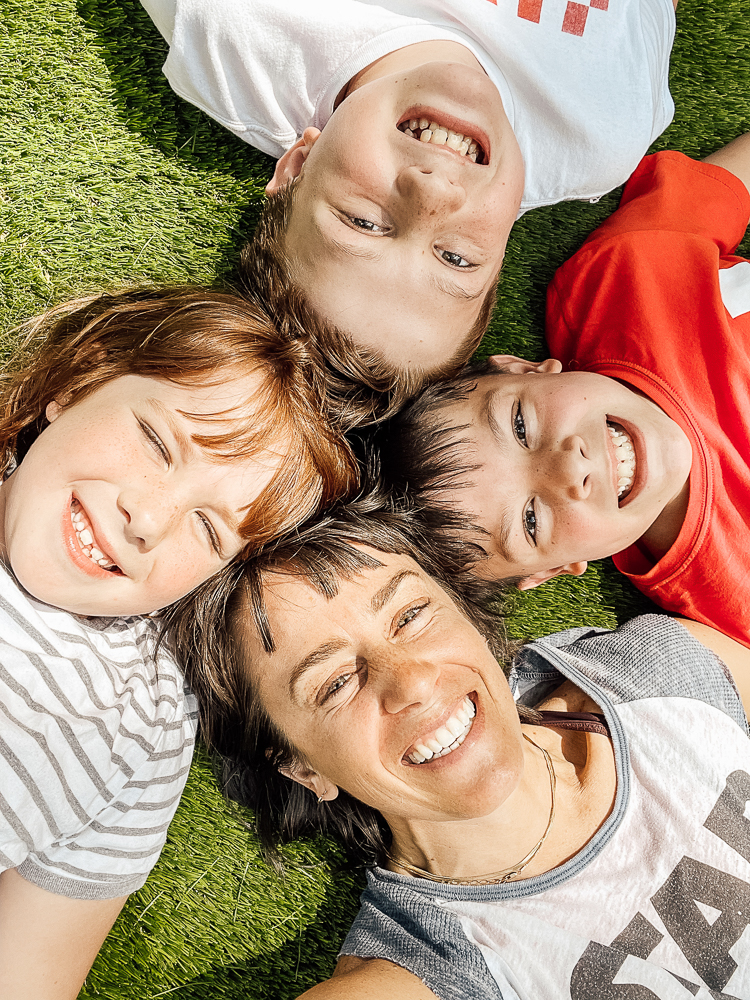
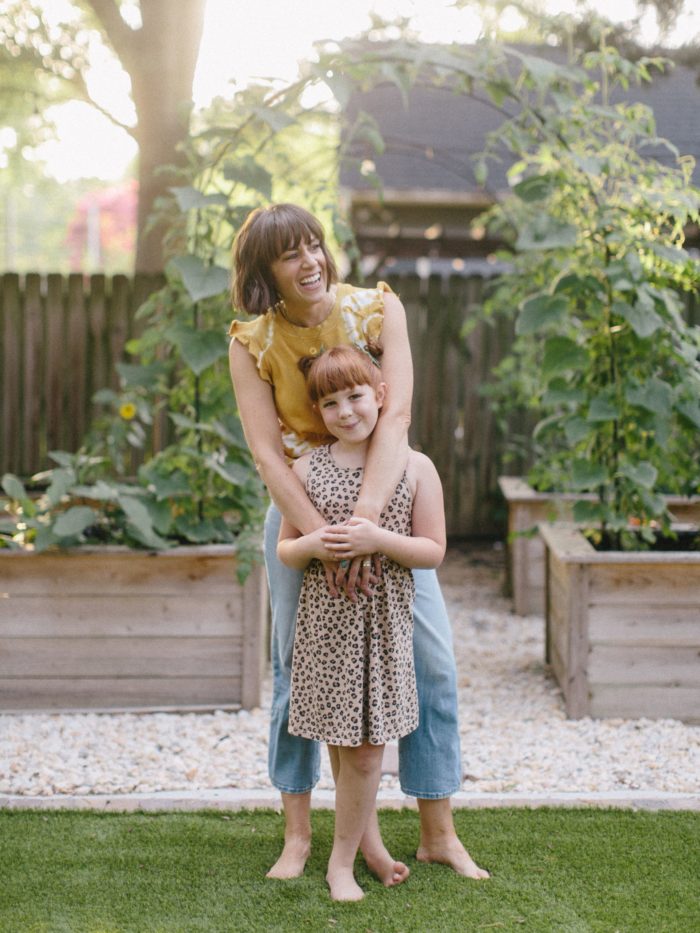
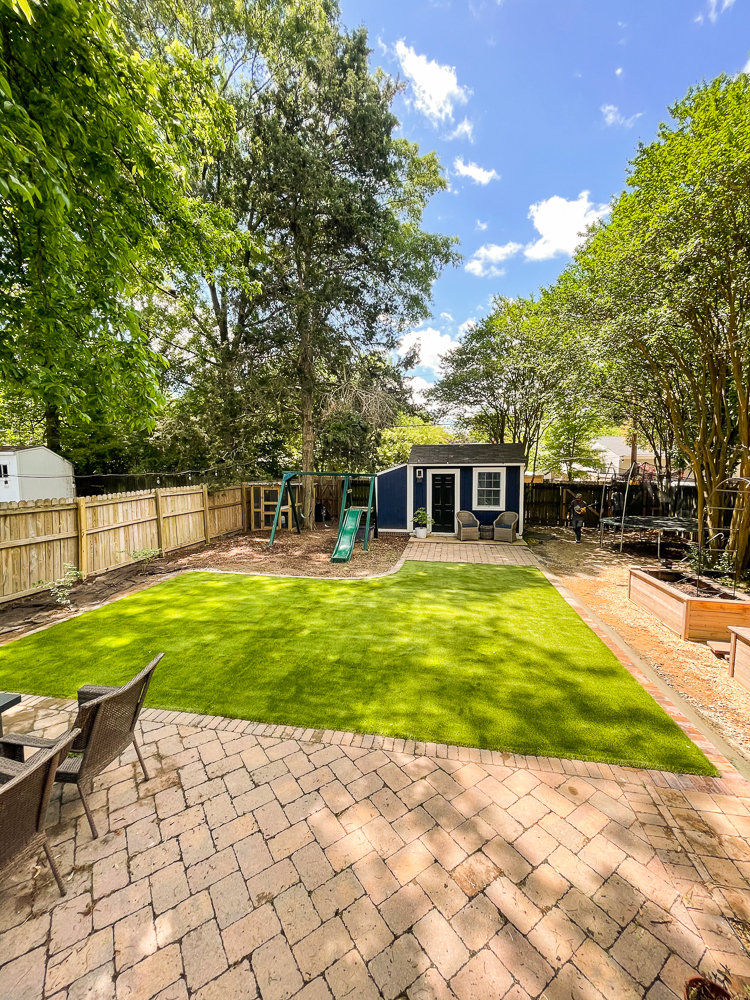
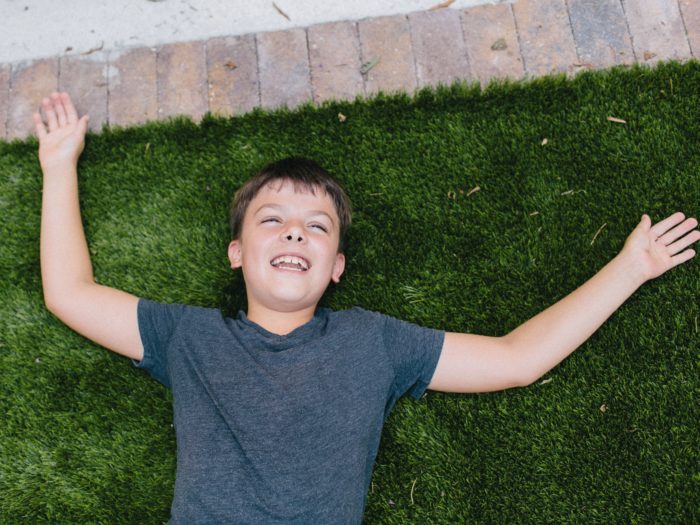
Beyond being so much cleaner, I love the way the turf looks and feels. It is beautiful, natural-looking (like that annoyingly perfect lawn your neighbor has…almost too good to be true:) The turf is much softer and more comfortable than the weeds and mud we had before. My kids lay down to read right on the turf. They take toys out and sit in the middle of the lawn to play. They set up the sprinkler on the hose and dash around in their swimsuits. I can walk back and forth to the clubhouse without putting on shoes.
All of that doesn’t even take into account how we haven’t needed to seed, fertilize, or mow all spring and summer long. It’s truly been amazing. Now that we’re heading into fall/winter, which is really rainy here in the south, I am so happy that we will still be able to use the yard without so much crazy cleanup.
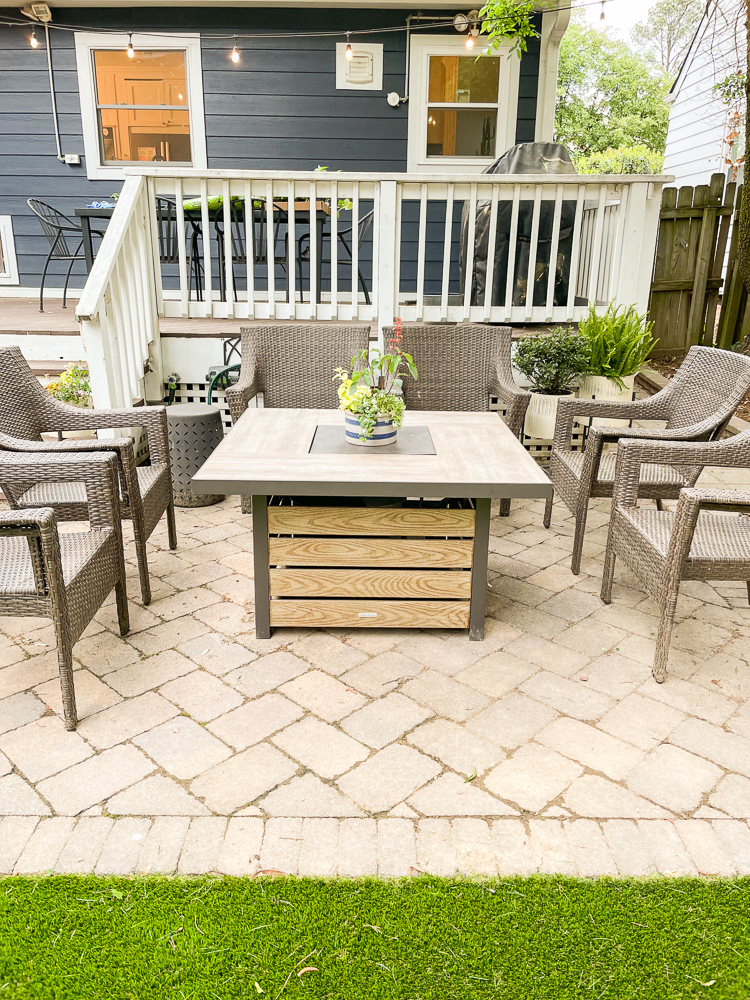
I love the way it looks from inside my kitchen window. I love the way it looks along the beautiful brick edges. I love the way it helps us to really use every inch of this small backyard in a way that brings our family together and encourages us to spend more time outside.

F.A.Q
When sharing about this project on Instagram, I got several relevant questions I thought I’d answer here, in case you’re wondering as well.
What about dog poop?
Just like natural grass, turf is an easy place for a dog to do their business. Ours prefers the mulch and very edges of the turf. We pick up the solids and spray off the turf, easy-peasy.
Does it flood?
Artificial turf is super permeable, and the base layers you install ensure that it has proper drainage. We get massive rainstorms here in Virginia, and ours drains beautifully. Good drainage means it’s also super easy to clean off if the kids spill gatorade, or when we need to spray off pet-poop-remnants. A quick hose-off and it’s clean and new.
Doesn’t it get hot in the summer?
This one will definitely depend on the climate where you live and your particular yard. While it gets into the high nineties regularly in Richmond, our yard is fairly shady most of the day. This was part of the reason we weren’t good candidates for natural sod.
I know in hot, dry, desert climates, a lot of people are in the practice of simply spraying it off a little bit before playing, like you would a hot trampoline or rubber playground mat.
How much did it cost?
I mentioned that our estimate from a full-service landscaping company was close to 11K for this small area. When we opted to do a mostly-DIY with prep help from Jose, the total cost of materials + labor ended up around 4K. Instead of $15 per share foot, we paid around $5. That includes the whole brick paver border in addition to the actual turf.
Like I mentioned above, it has been the best investment we’ve made so far in the yard. We love every bit of our yard (the playground, clubhouse, deck, patio, and garden.) This turf area probably makes the biggest visual and recreational difference in the whole space.
I hope this post helped you get a better feel for the process of installing turf into a small backyard. We love creating intentional spaces where our family can spend time together, and wish you luck on your own project!

